

Make your artwork look like they're from an alternate universe. These Cyberpunk presets work with Photoshop (via the Camera Raw filter) and Lightroom. Download all 788 presets for 90% off.
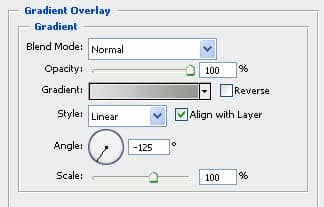
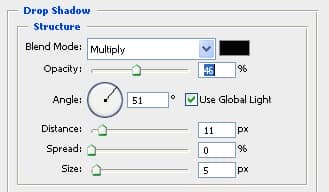
Once you are happy with the shape and colours of the thumbtack layers merge the layers and call the layer ‘thumbtack’. Next bring up the layer effects window for this ‘thumbtack’ layer and apply a drop shadow with these settings.
Step 6 – Creating the Peeling Image
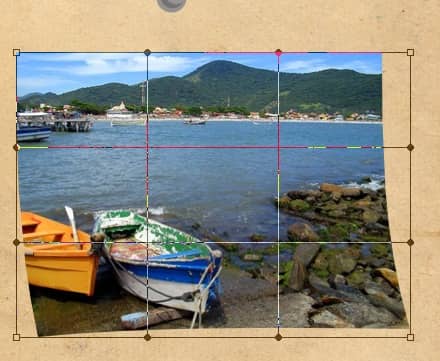
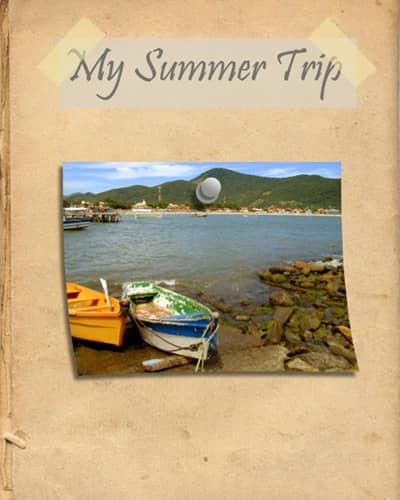
Open an image that you would like to be pinned to the book. Name this layer ‘photo’. Now to add some depth to this image, warp it so it looks like it is bending off the page. Edit > Transform > Warp. Pull the bottom corners out a bit
Step 7: Adding the Drop Shadow
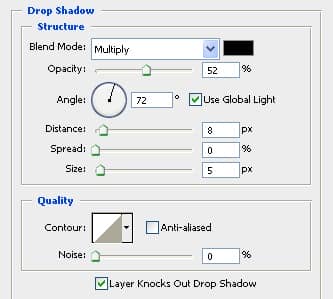
Go to the layer effects window and add a drop shadow to the ‘photo’ layer. Adjust it until you think it looks good, I used these settings.
Make sure this ‘photo’ layer is below the ‘thumbtack’ group. Now drag the thumbtack overtop, it should now look as if the thumbtack was holding the image on.
Final Result
With my final result I tweak the colors in the ‘photo’ layer to bring out more of the orange in the picture. Image > Adjustments > Color Balance. This effect may not apply to your image.
One comment on “Scrapbook Cover”
That's Awesome But needs a little you know more detail.