Turn any photo into a dot grid artwork with these Photoshop actions. You'll get great results with dots that change size. They get larger in brighter areas and smaller in darker areas. Free download available.
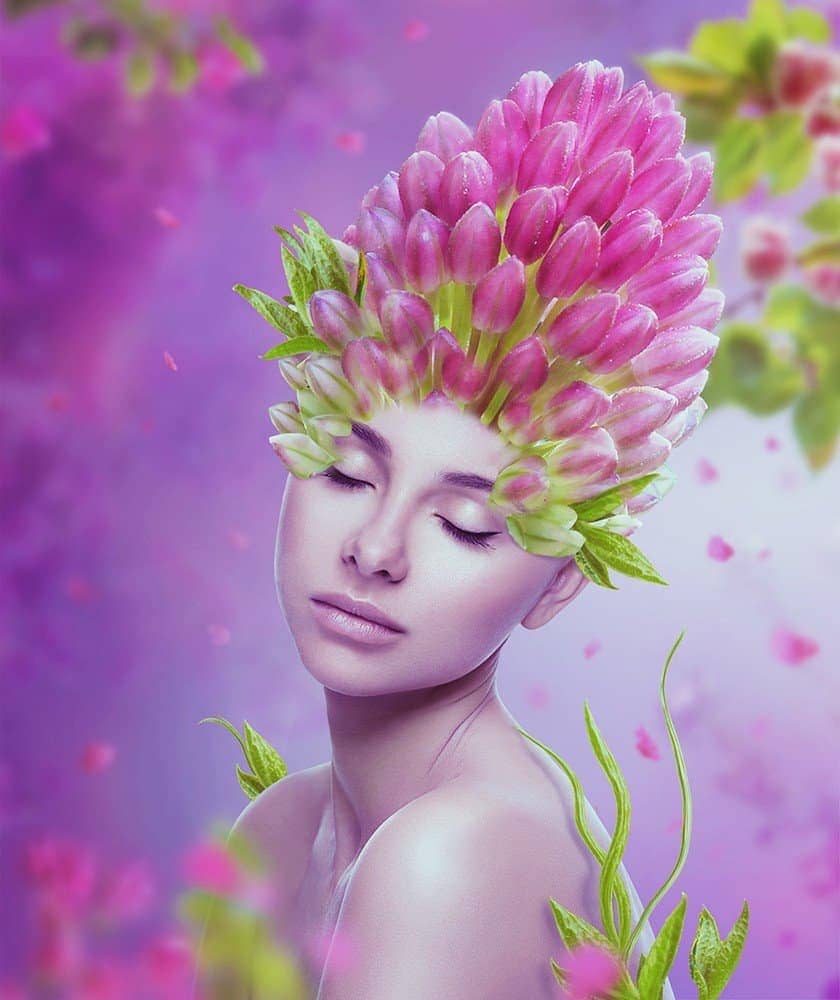
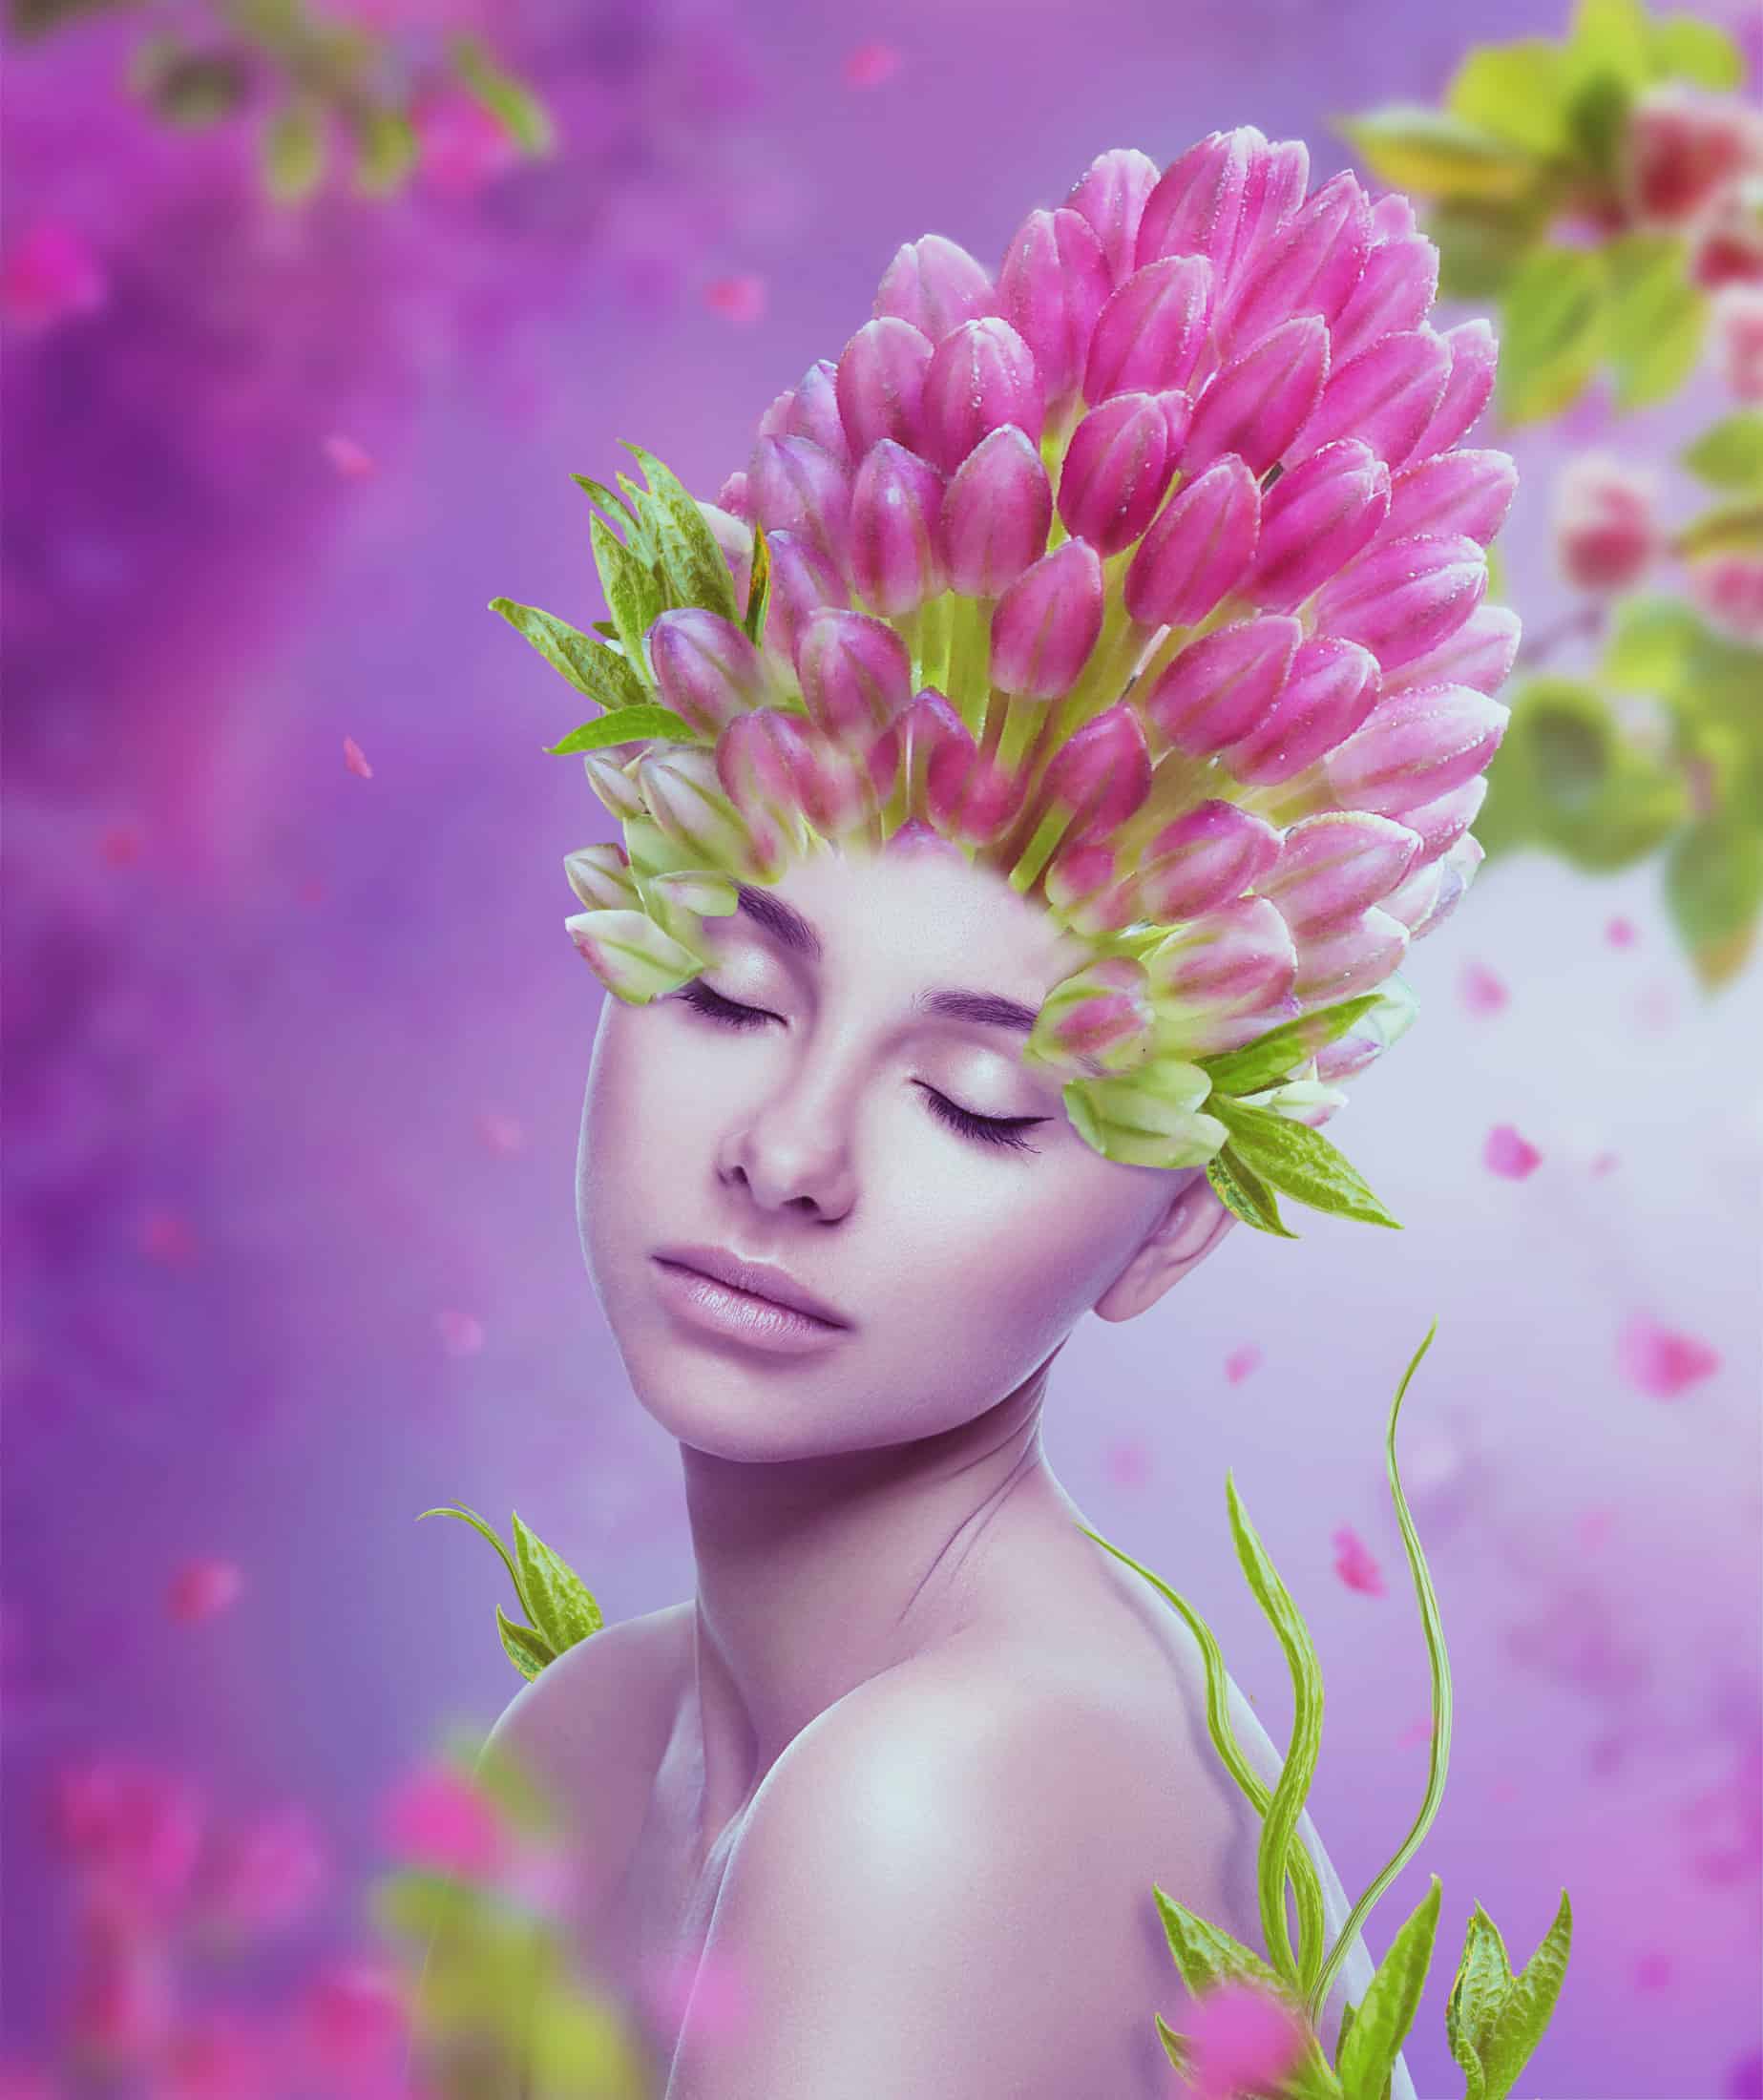
Learn how to create a flowery purple-hued fantasy portrait in Photoshop. This tutorial will show you how to blend flowers to the top of a model's head, create a soft floral background, and color grade with adjustment layers.
Preview of the Final Result
Tutorial Resources
Step 1
Create a new 1847x2000 px document in Photoshop and fill it with white. Hit Ctrl+Shift+N to make a new layer and press G to activate the Gradient Tool. Choose Radial Gradient with the colors #413473 and #bfa0d8. Drag a line from the left to right to get a similar result like below:

Step 2
Go to Layer > New Adjustment Layer > Curves and increase the lightness. On this layer mask, hit B to activate the Brush Tool and select a soft round one with black color. Use this brush to reduce the effect on the right and the bottom left.
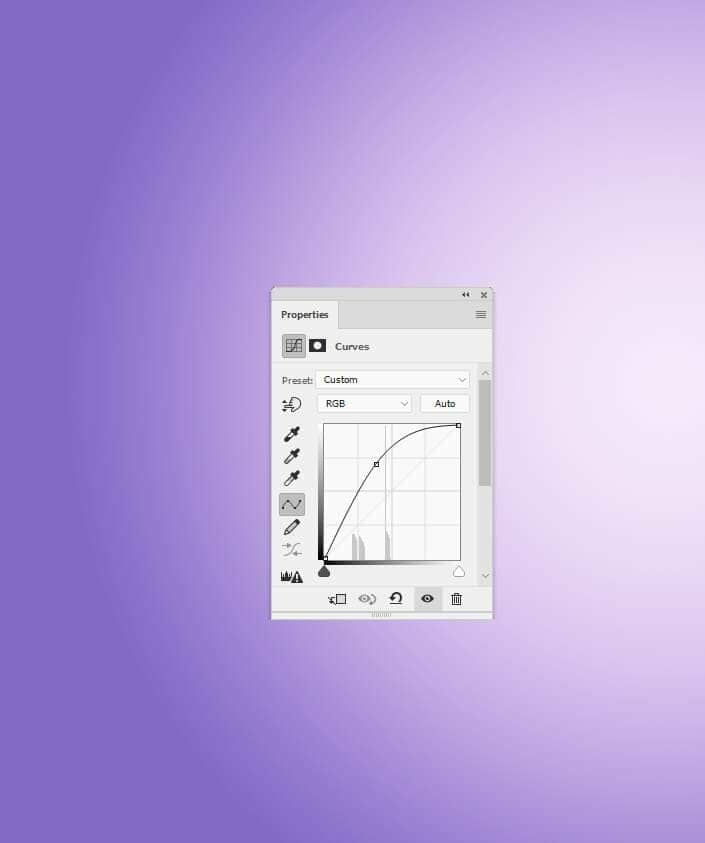

Step 3
Make a Color Balance adjustment layer to give some warmer color to the canvas. On this layer mask, use a soft black brush to reduce the effect on the top and bottom of the canvas.


Step 4
Create another Curves adjustment layer to brighten the canvas again. On the layer mask, use a soft black brush to decrease the light effect on the left and the top right.
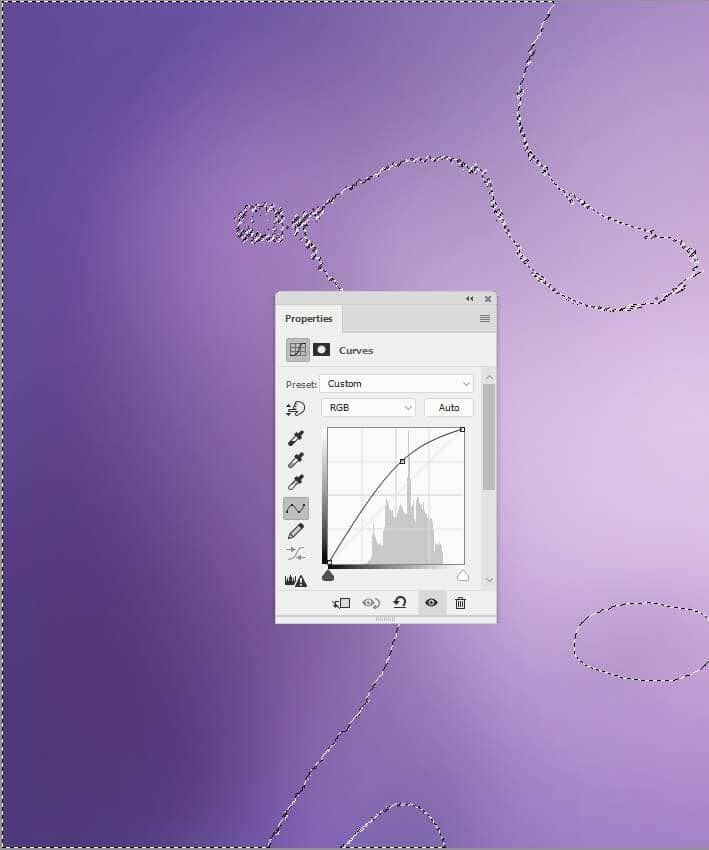
Make a new layer and use a soft white brush with the opacity about 50% to paint around the middle right and bottom of the canvas to make the main light source there.

Step 5
Open the bokeh image and drag it into the main document using the Move Tool (V). Change the layer mode to Screen 100% and convert this layer to a Smart Object. Go to Filter > Blur > Gaussian Blur and set the radius to 66 px:


Step 6
Click the second icon at the bottom of the Layers panel to add a mask to this layer. Use a soft black brush brush to reduce the bokeh effect on the lower part and both sides.

Step 7
Create a Color Balance adjustment layer and set it as Clipping Mask. Alter the Midtones and Highlights settings.


Step 8
Isolate the branch 1 from the background and add it to the top right of the main canvas. Convert this layer to a Smart Object..
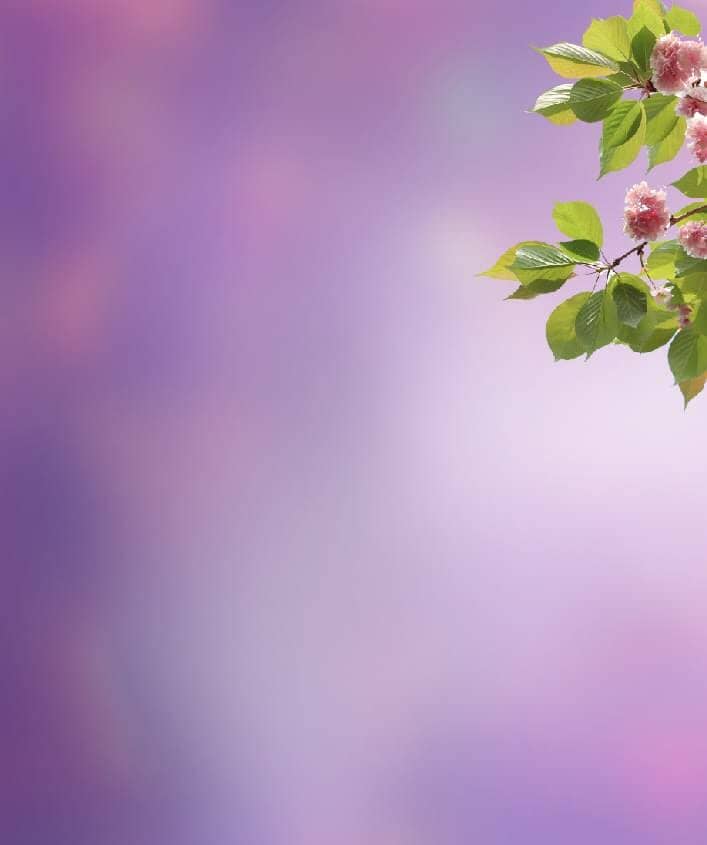
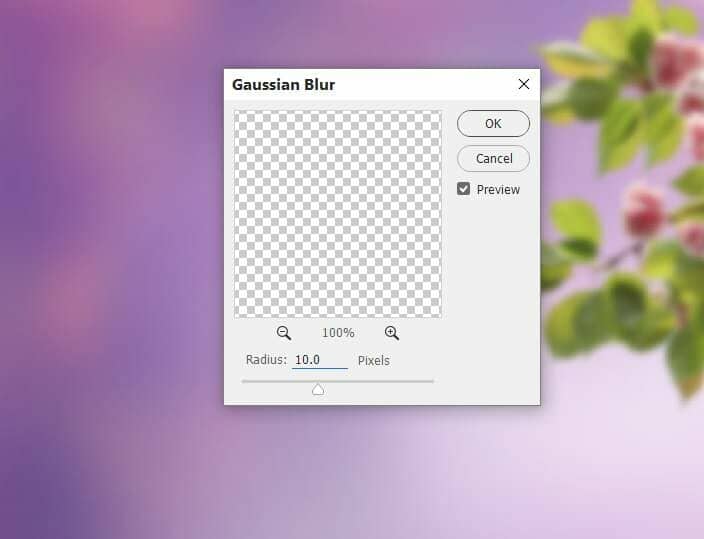
Apply a Gaussian Blur of 10 px to this layer:
Step 9
Make a Curves adjustment layer (set as Clipping Mask) to brighten the lower part of the branch. On this layer mask, paint on the upper part to keep its lightness.


One comment on “How to Create a Flower Portrait Photo Manipulation With Adobe Photoshop”
nice.. very helpful.. thanks for sharing