
Make your artwork look like they're from an alternate universe. These Cyberpunk presets work with Photoshop (via the Camera Raw filter) and Lightroom. Download all 788 presets for 90% off.
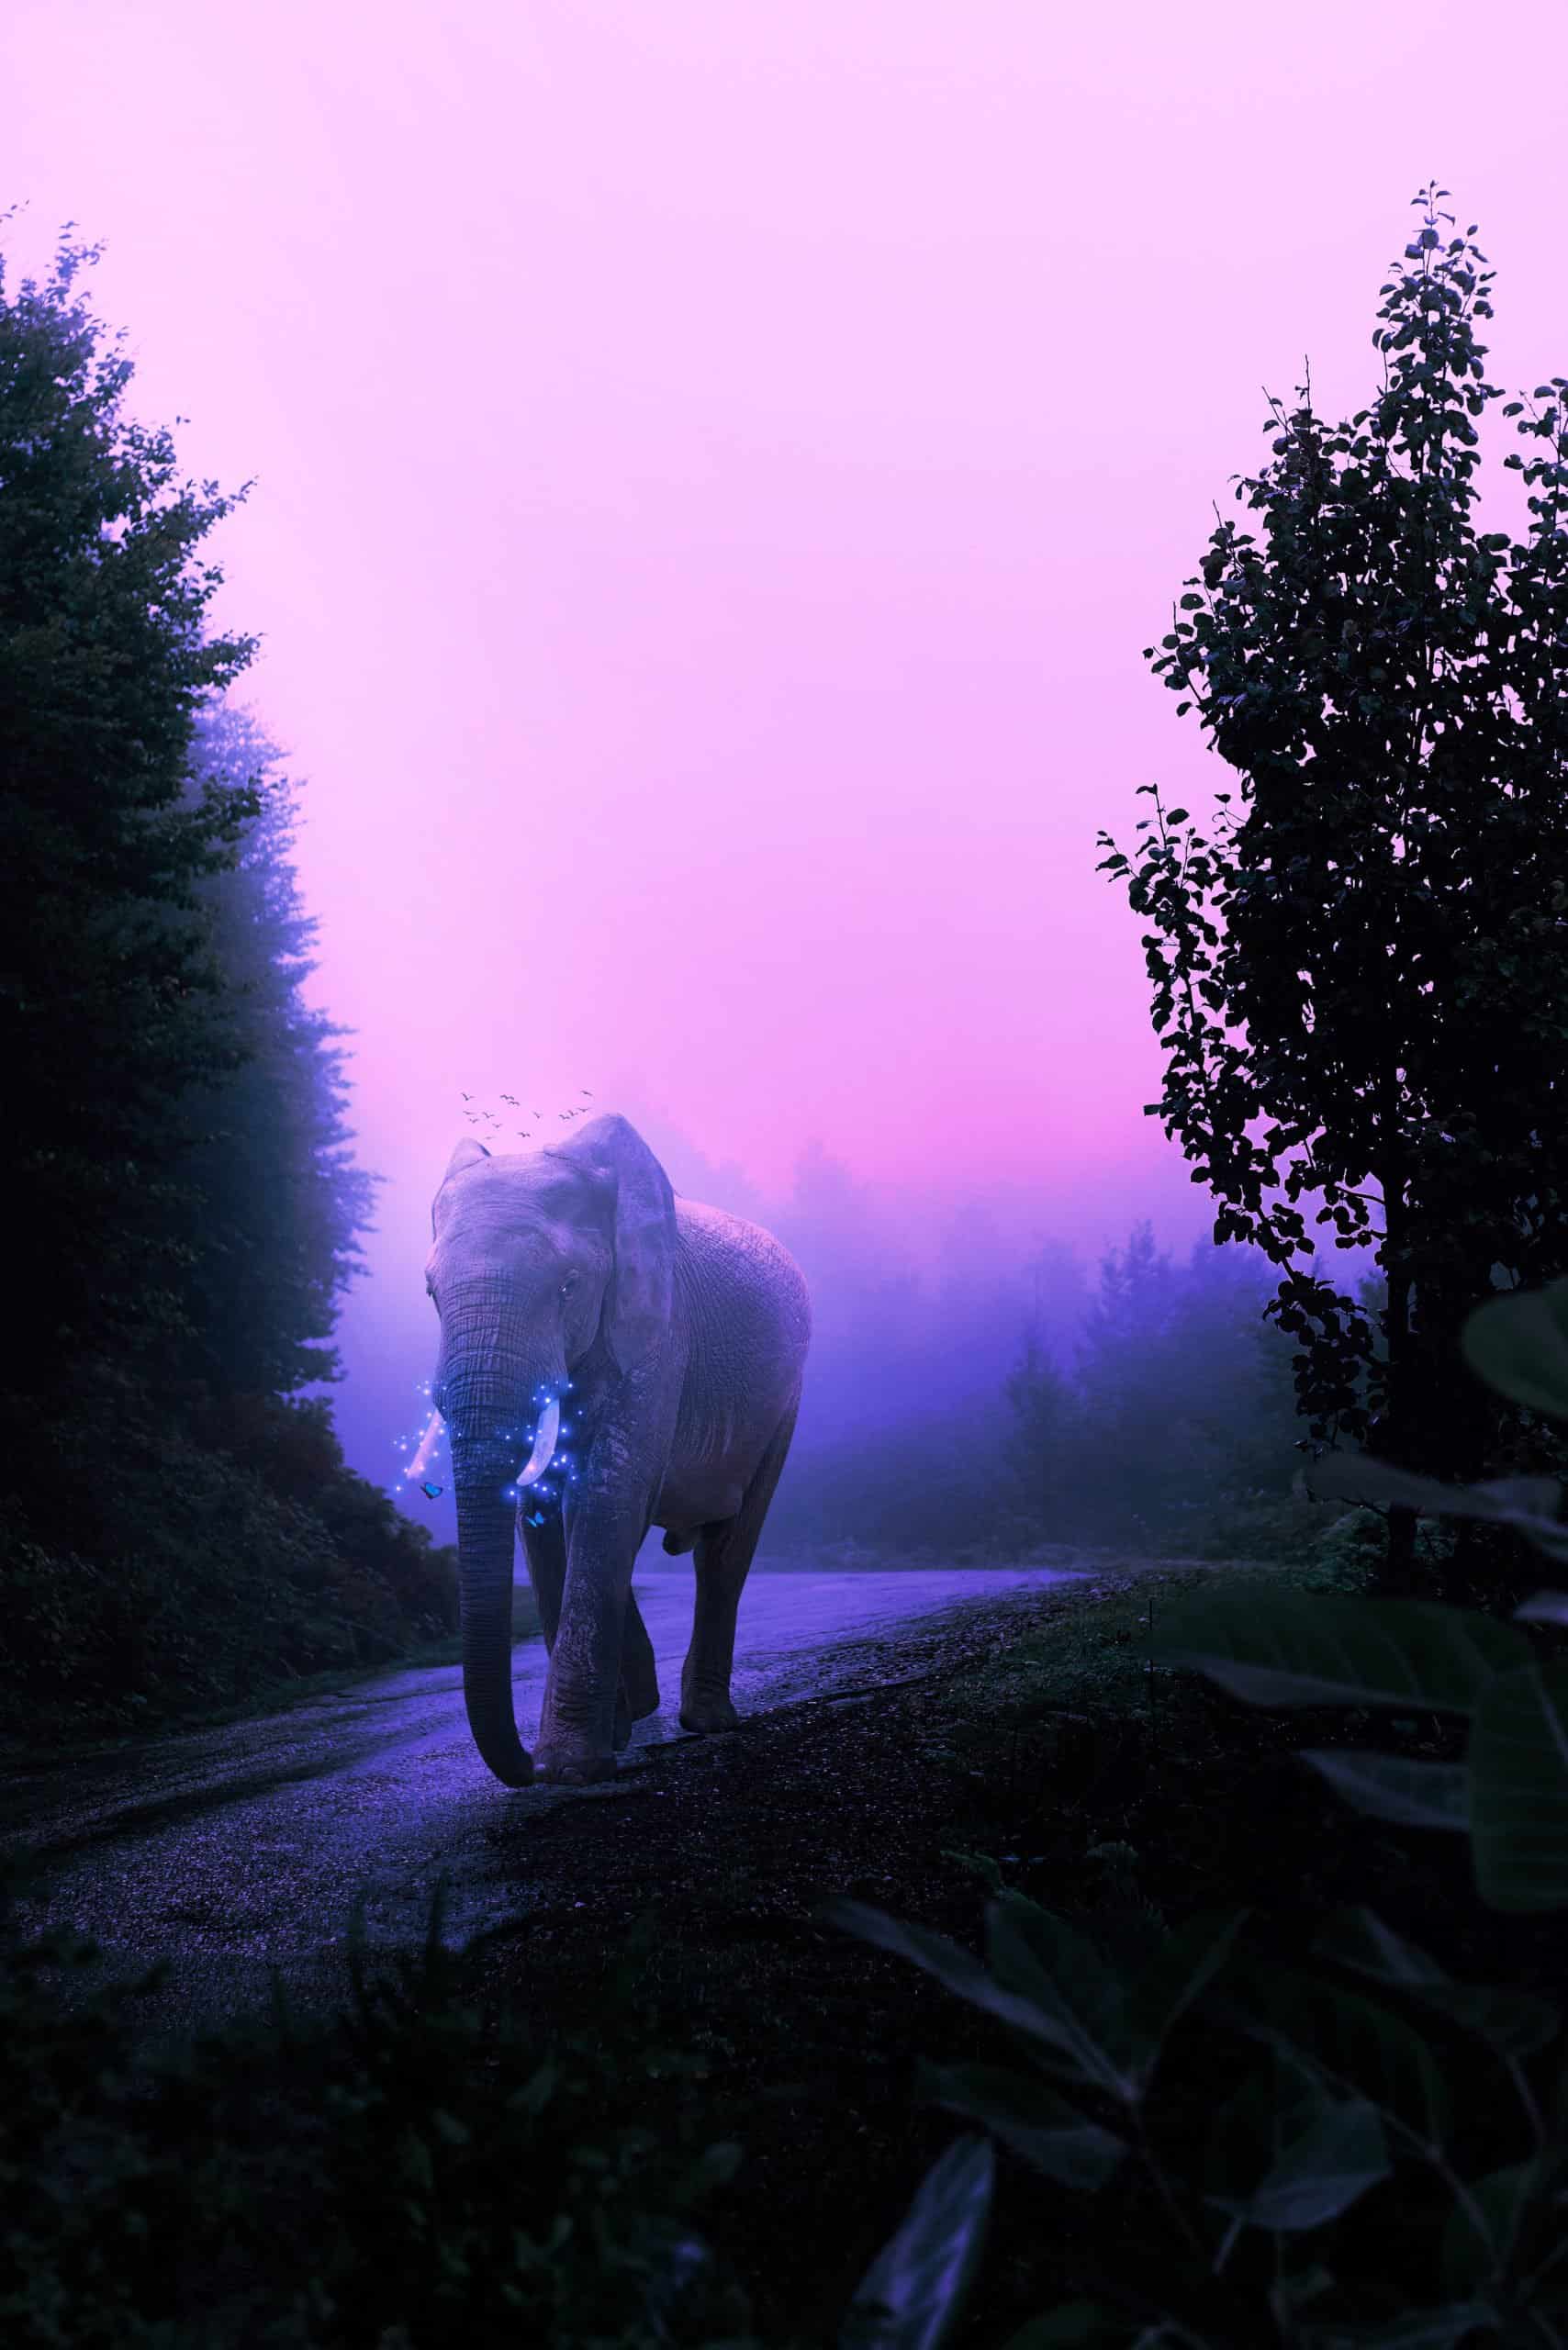
But perhaps the most important lesson I learned is that there are no walls between humans and the elephants except those we put up ourselves and that until we allow not only elephants but all living creatures their place in the sun, we can never be whole ourselves. In This Photoshop Tutorial, we learn how to create a night scene with a glowing effect. For Final Adjustment, we used Camera Raw Filter.
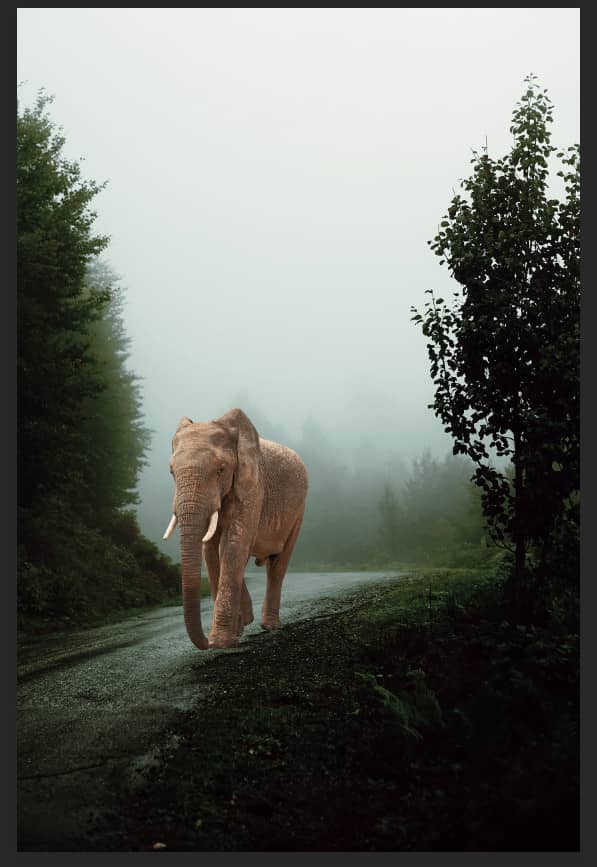
Preview of Final Image

Tutorial Resources
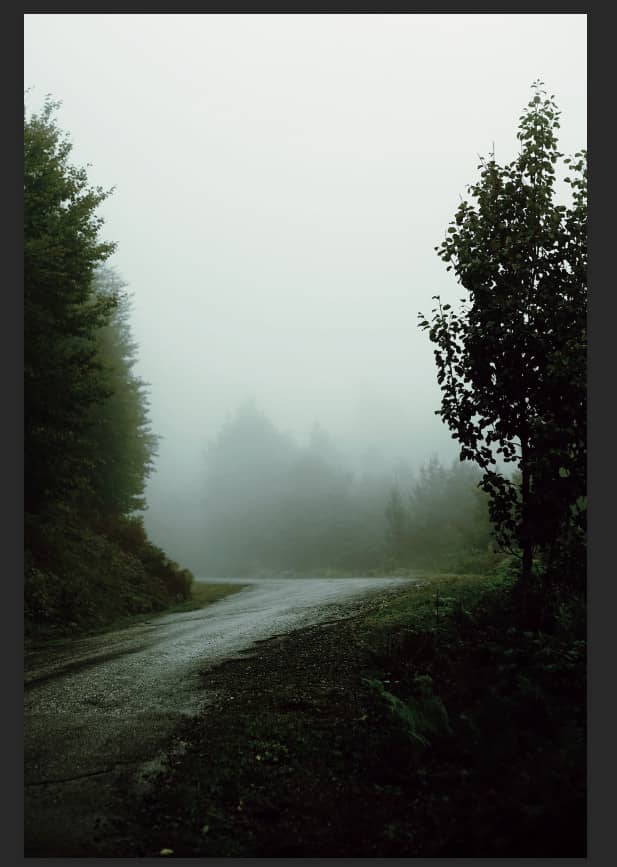
Step 1
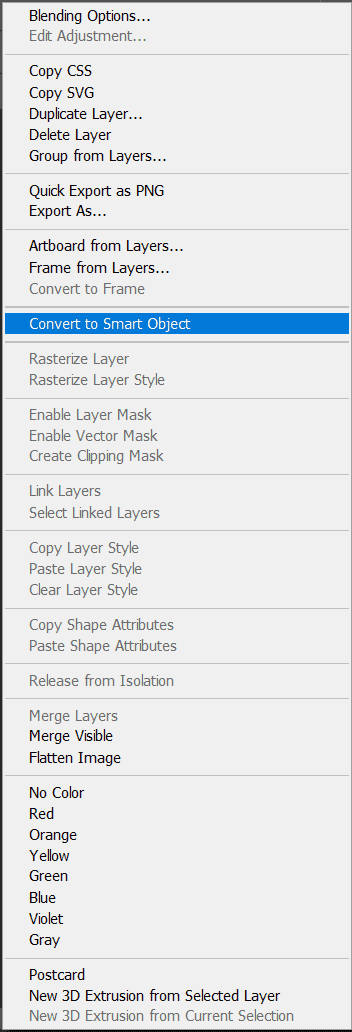
Now, let’s start open a Background image. Go to File > Open and select background photo. Press right click on mouse and in new pop-out window select “Convert to Smart Object”.
Step 2
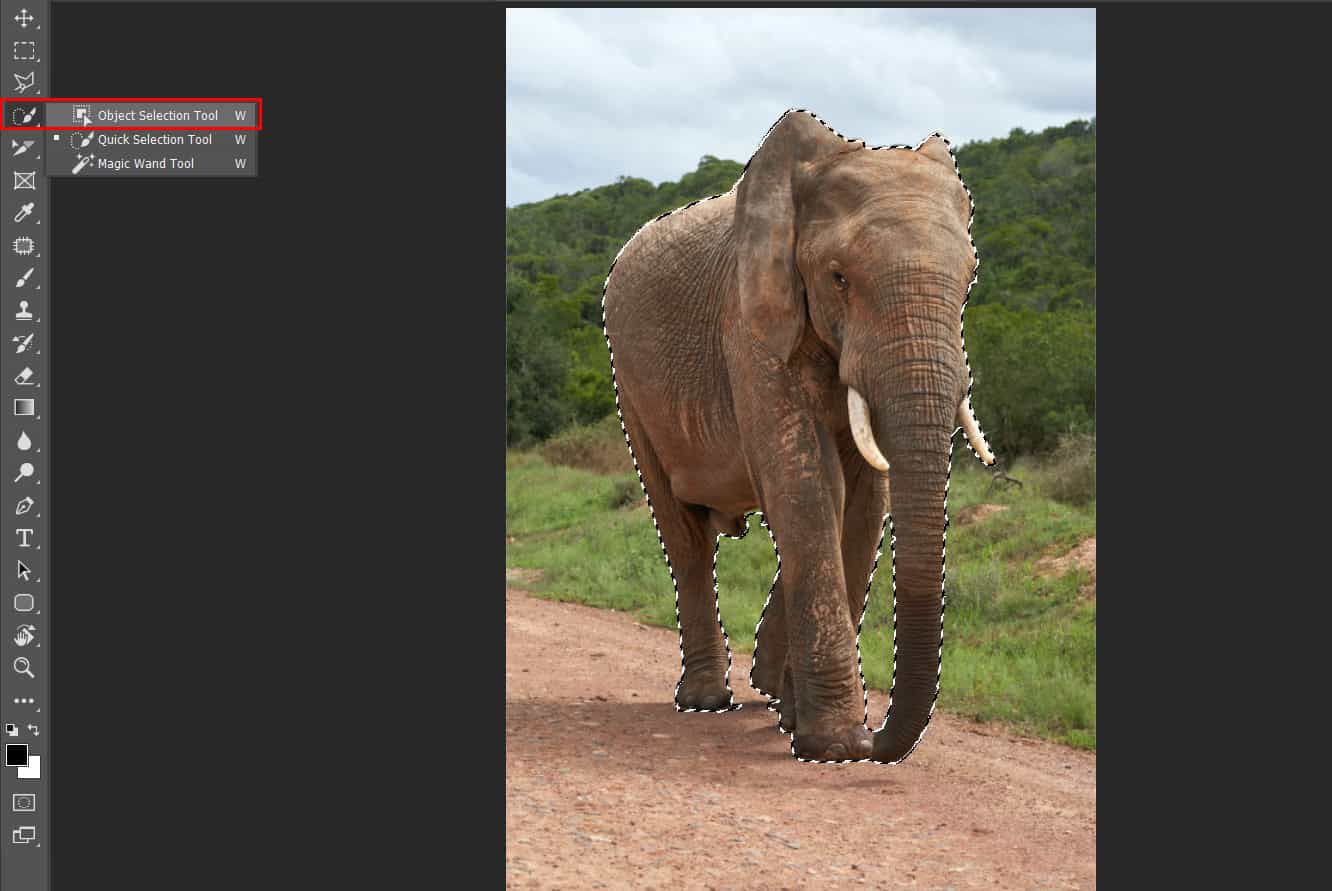
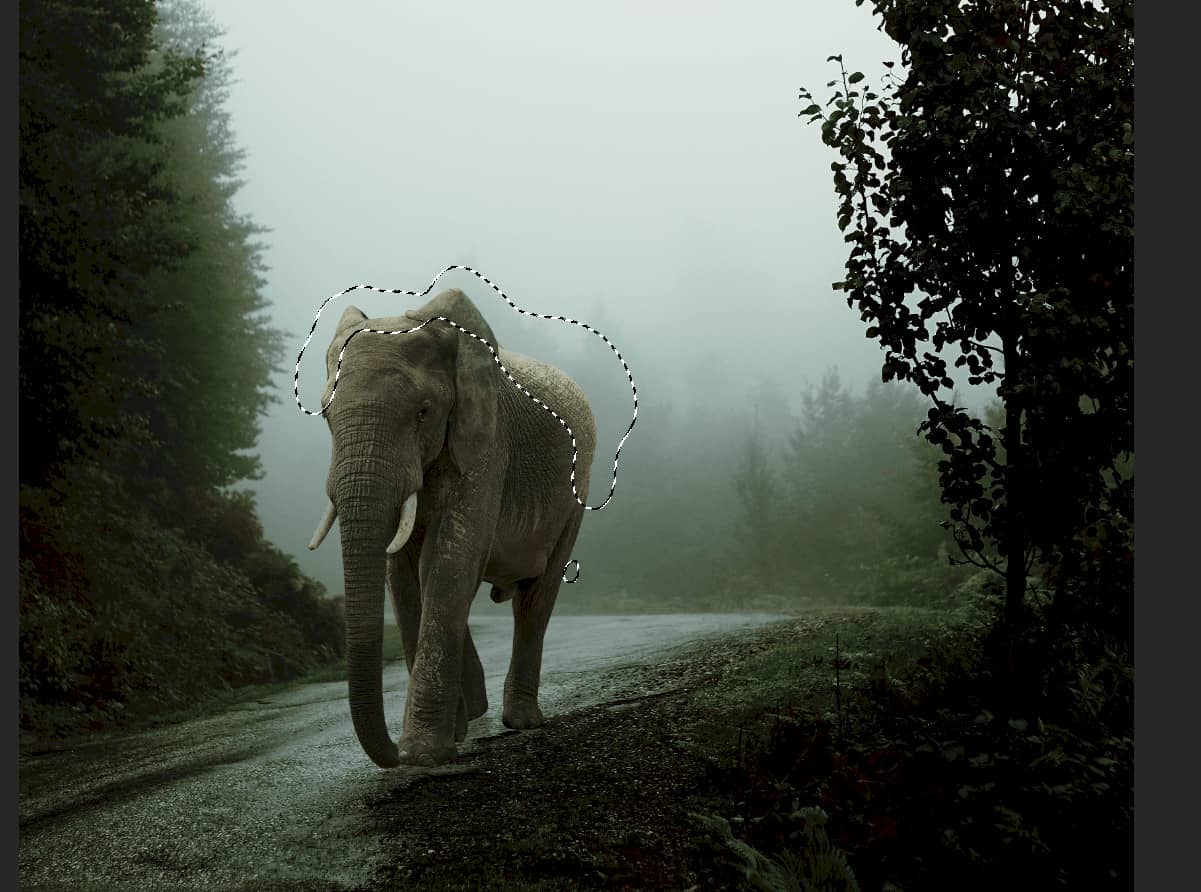
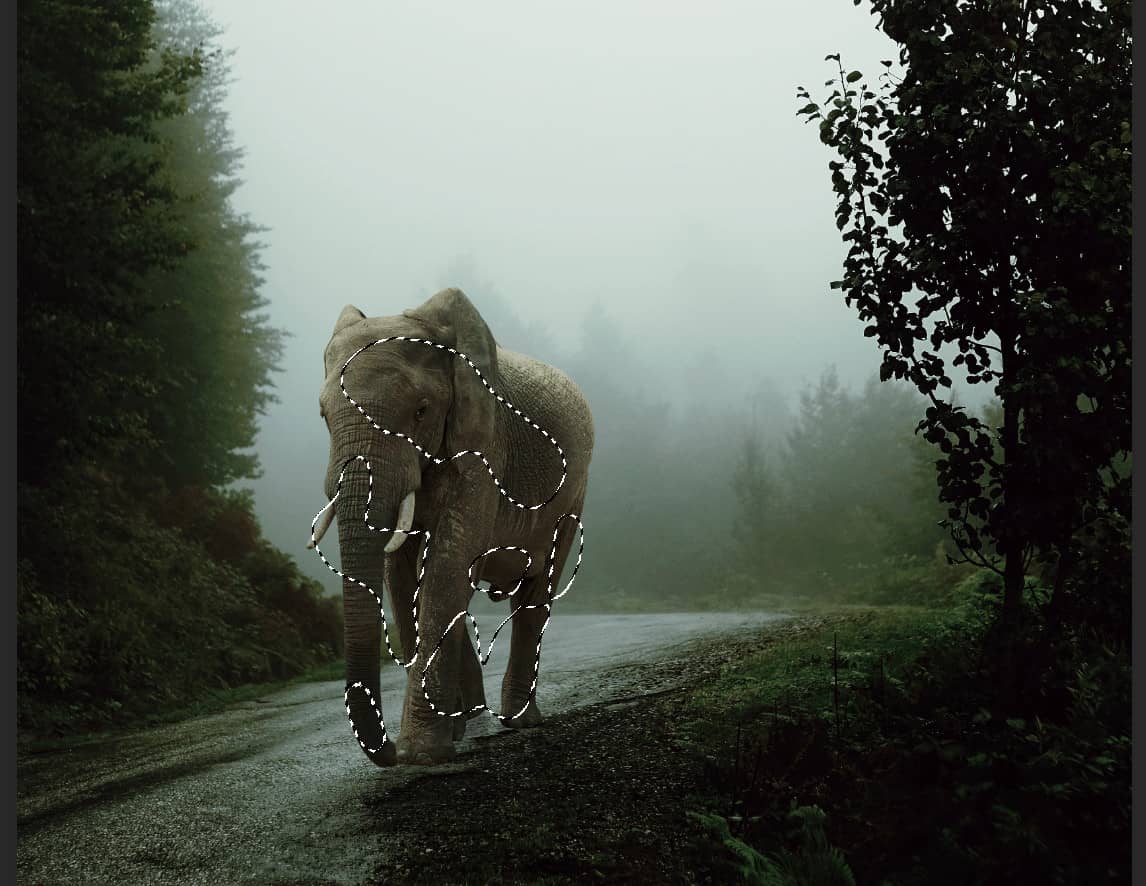
Next we will openElephant. After you open the image, use Quick Selection Tool(W) and start selecting the animal. After the selection area has been created, simply copy (Ctrl / Cmd + C) and Paste (Ctrl / Cmd + V) it to our work canvas. Then position the image with the transform tool (Ctrl / Cmd + T). Hold Alt + Shift and resterize like image below. In Photoshop CC only hold Alt to resterize al sides together.
Step 3
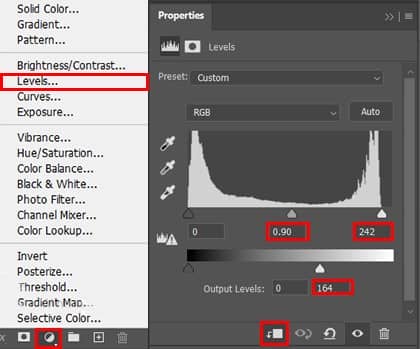
Add Adjustment Layer "Levels"
Step 4
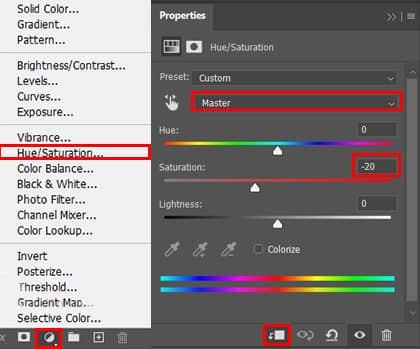
Add Adjustment Layer "Hue/Saturation"
Step 5
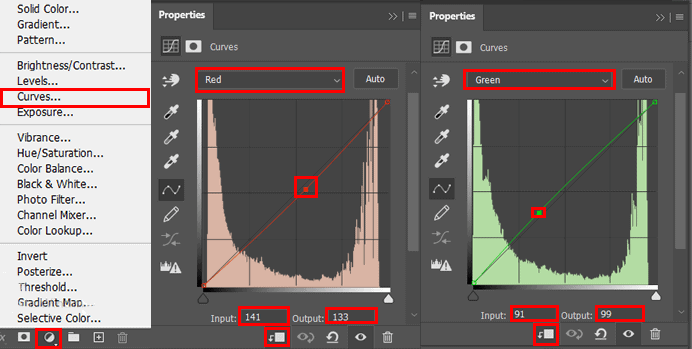
Add Adjustment Layer "Curves"
Step 6
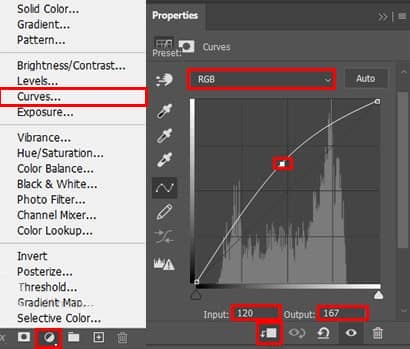
Add Adjustment Layer "Curves" and press Ctrl/Cmd + I to invert and use Brush Tool(B) Soft Round with foreground color white and paint the highlights parts on Elephant.
Step 7
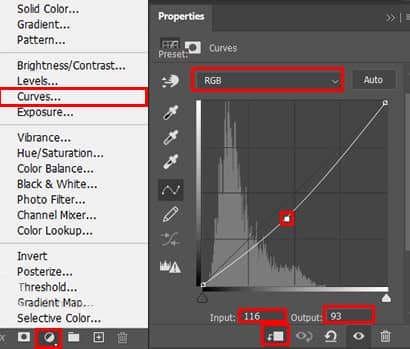
Add Adjustment Layer "Curves" and press Ctrl/Cmd + I to invert and use Brush Tool(B) Soft Round with foreground color white and paint the dark parts on Elephant.
Step 8
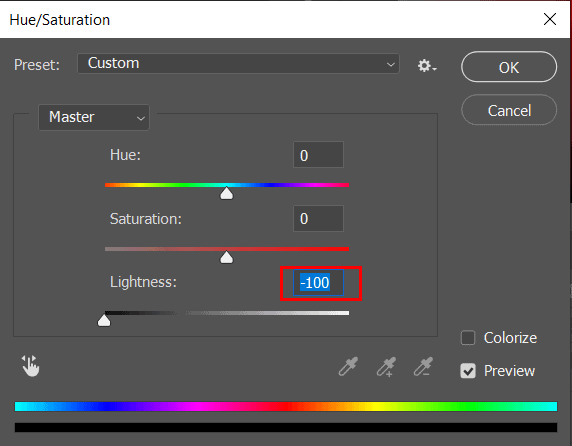
Next, select Elephant layer and Duplicate it (Press Ctrl/Cmd +J) and move it below Elephant layer. We'll use it for a shadow, press Ctrl/Cmd + U to open Hue/Saturation Adjustment layer and set Lightness to -100.
Step 9
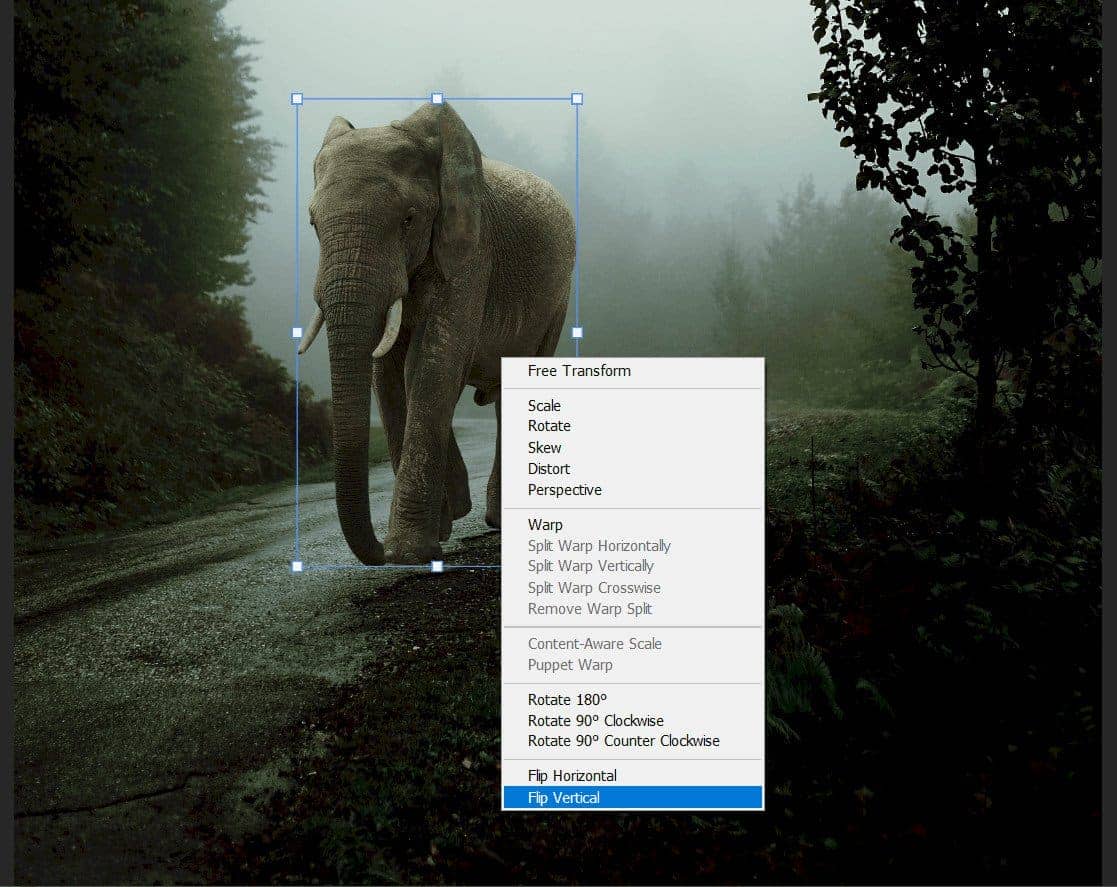
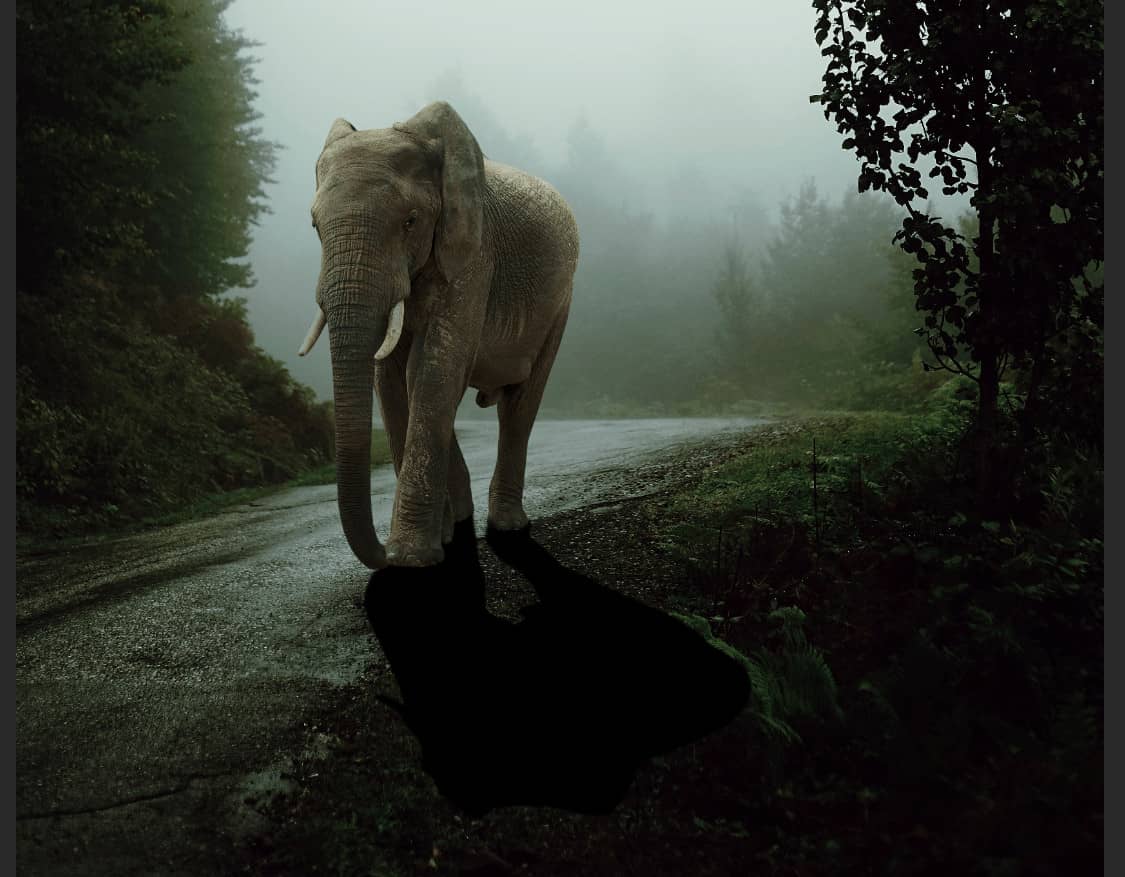
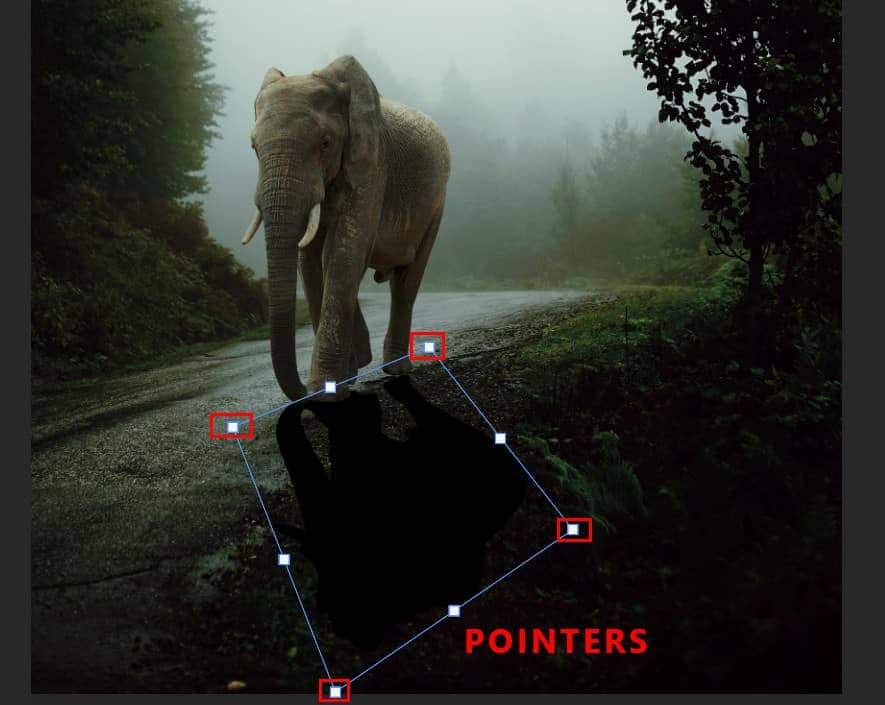
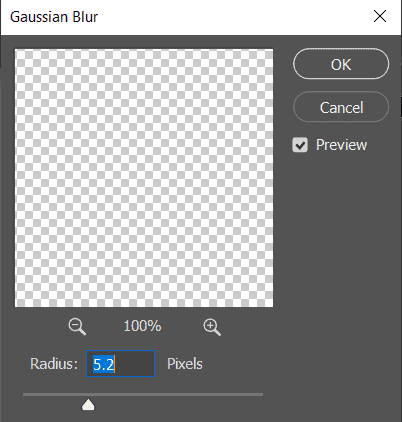
Now open a Transform Tool(Ctrl/Cmd + T) and flip it Vertical. To have complete control hold Ctrl/Cmd and move bottom pointers to right side. Go to Filter > Blur > Gaussian Blur and set radius to 5.2px.
Step 10
Now create another shadow, create a new layer and use a Brush Tool(B) Soft Round with foreground color black and start painting the shadow but first drop a flow to 10%.