


Download Lightroom presets and LUTs, absolutely free. Use the presets to add creativity and style to your photos.
In this tutorial, I'll show you how to create a conceptual artwork of life using the standard of photo manipulation techniques.First, we'll add the sky and make the basic shape of a zigzag road. After that, we'll build the rock wall and the grassy road. Later, we'll add the man and trees as well as branches and change their color to show the periods of life. We'll add the flying leaves and use several adjustment layers to enhance the final effect.
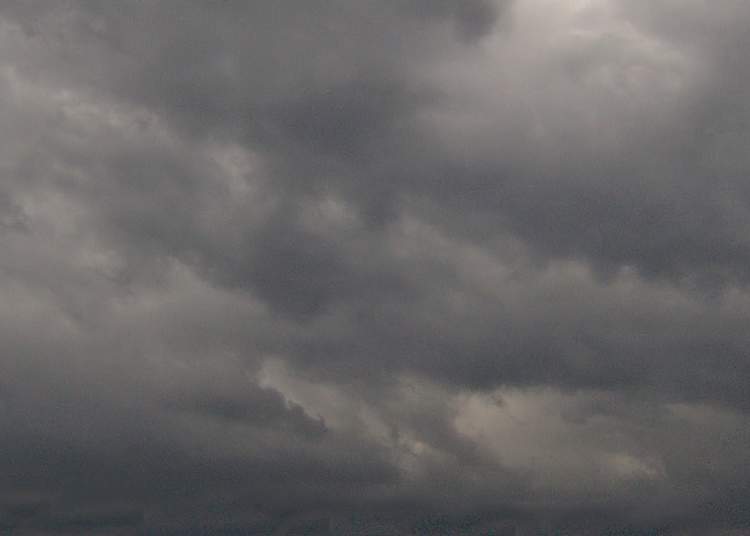
Preview of the Final Result

Tutorial Resources
Step 1
Create a new 2800x2000 pxdocument in Photoshop and fill it with white. Open the sky image and drag it into the white canvas using the Move Tool (V). Use the Free Transform Tool (Ctrl+T) to enlarge it to fit the size of the document. Convert it to a Smart Object.
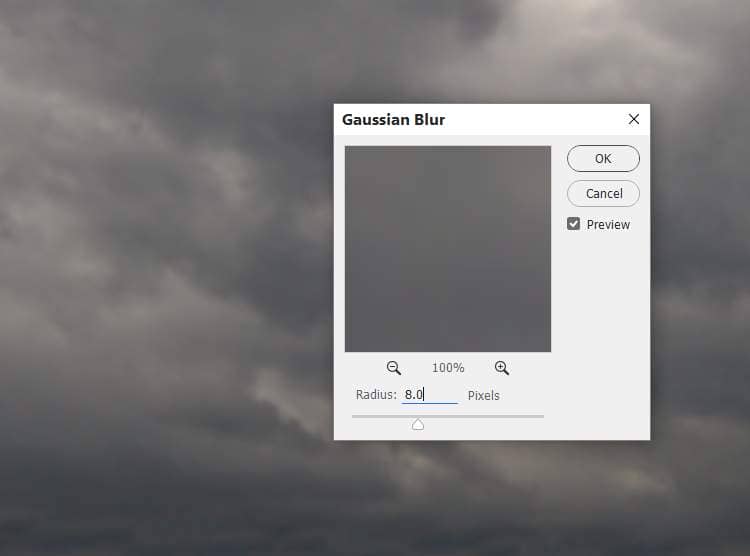
Step 2
On the sky layer, go to Filter > Blur > Gaussian Blurand set the radius to 8 px. This step is to soften the sky.
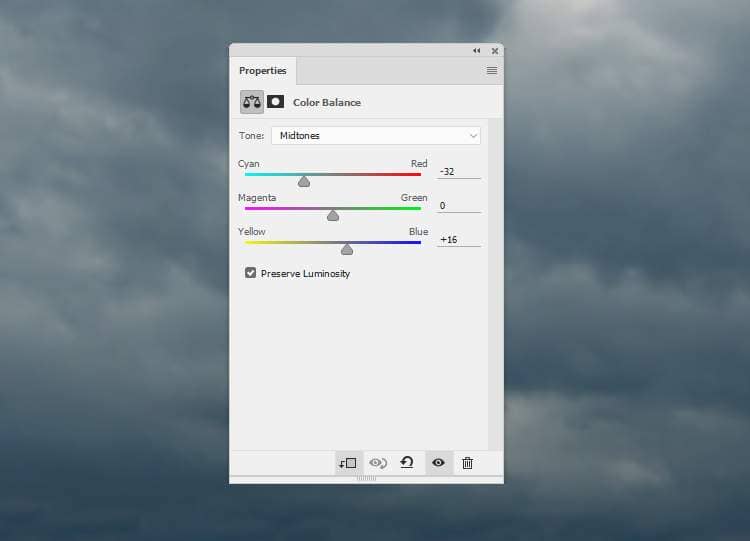
Step 3
Go to Layer > New Adjustment Layer > Color Balanceand set it as Clipping Mask. Alter the Midtonesvalues to give the sky some cyan/blue.
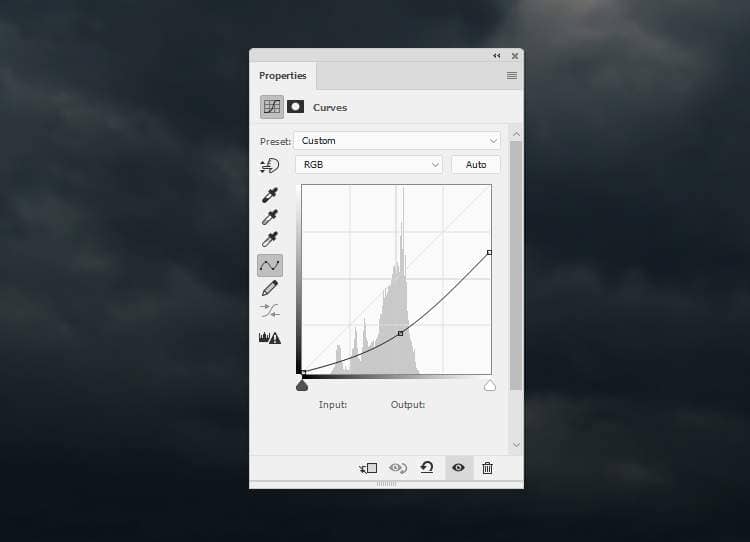
Step 4
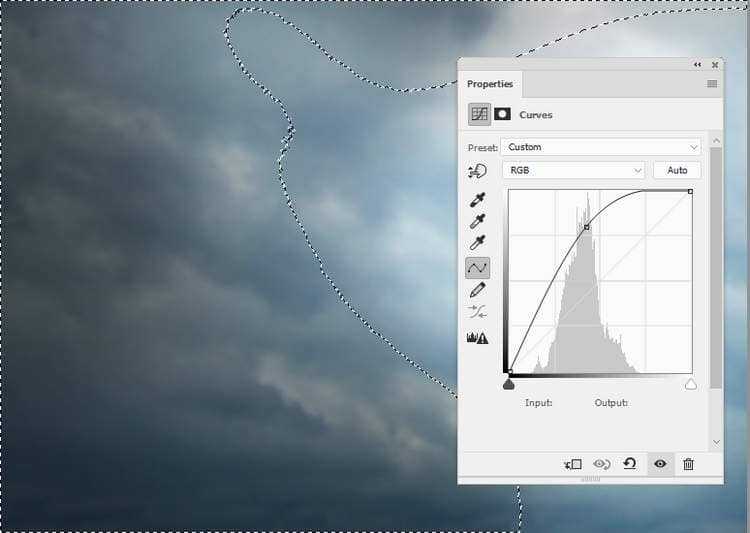
Make a Curves adjustment layer and reduce the lightness. On this layer mask, activate the Brush Tool (B)and select a soft round one with black color. Use this brush to erase the dark effect on the right and the upper of the canvas as we aim to add the main light there.
Step 5
Create another Curves adjustment layer to brighten the right. On the layer mask, paint on the left and the lower of the sky to keep their lightness.
Step 6
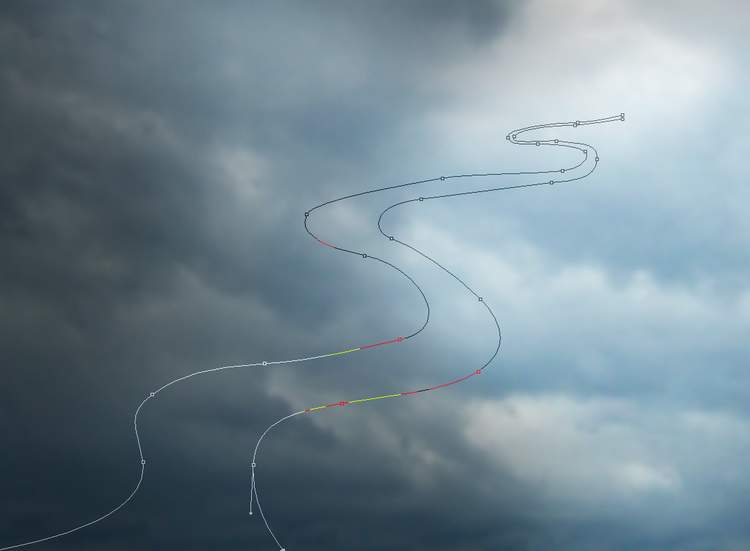
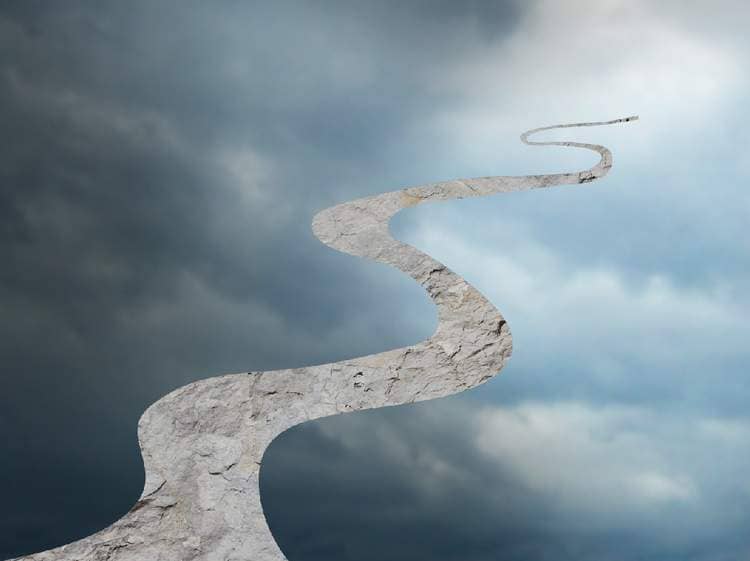
Create a new layer and use the Pen Tool(P)to make a shape of a zigzag path .
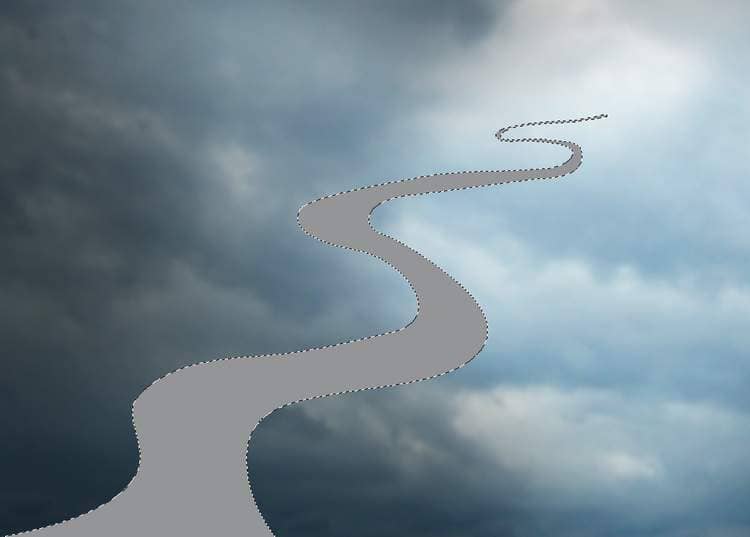
Hit Ctrl+Enterto turn the path into a selection and fill it with the color #959698.
Step 7
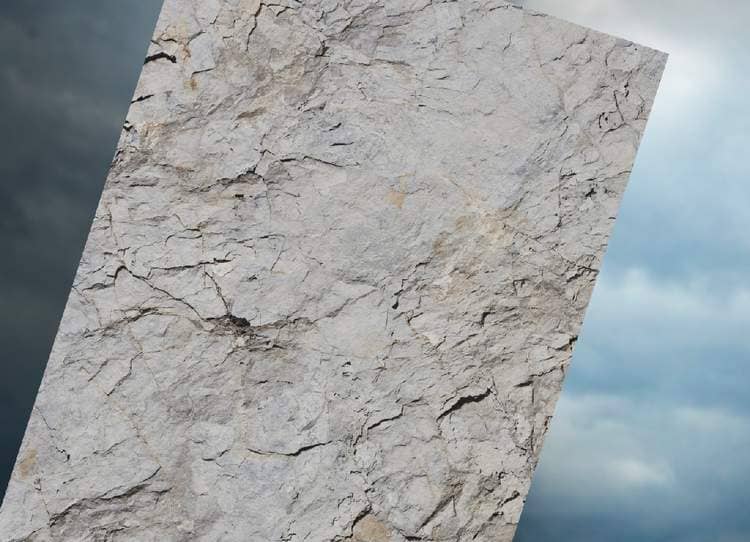
Open the rock image. I've used the image 4 but feel free to use the one you like. Drag it into our main document and convert it to a Smart Object. Use Ctrl+Tto rotate it as shown below:
Hold down the Ctrl key while clicking the path thumbnail layer to load its selection. Click the second icon at the bottom of the Layerspanel to add a mask to this layer and we have the result below:
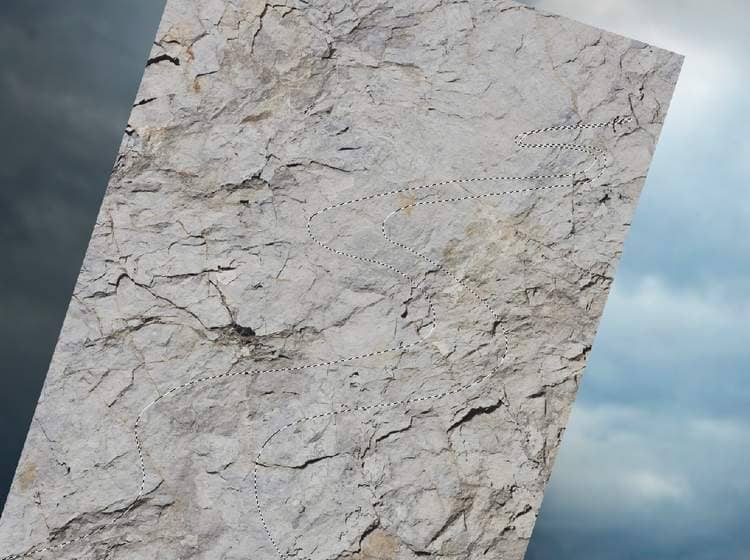
Step 8
Hide the base shape and on the rock layer mask, activate the Brush Tool and select a hard round one with black color. Use this brush with the size about 30-40 pxto refine the edges of the path to make it rugged.
5 comments on “How to Create a Conceptual of Life Photo Manipulation with Photoshop”
so imformative
Thank you for sharing your methods! I didn't follow the tutorial but I looked at your steps and it helped me understand how it's done.
Very insightful! Thanks.
WONDERFUL!! Thank you!
It was so wonderful totally loved it 😊