

Download Lightroom presets and LUTs, absolutely free. Use the presets to add creativity and style to your photos.
In this tutorial, you will be shown how to create a Deus EX inspired high-tech eyeball by using retouching techniques and creating a futuristic iris using Shape layers and Layer Styles.
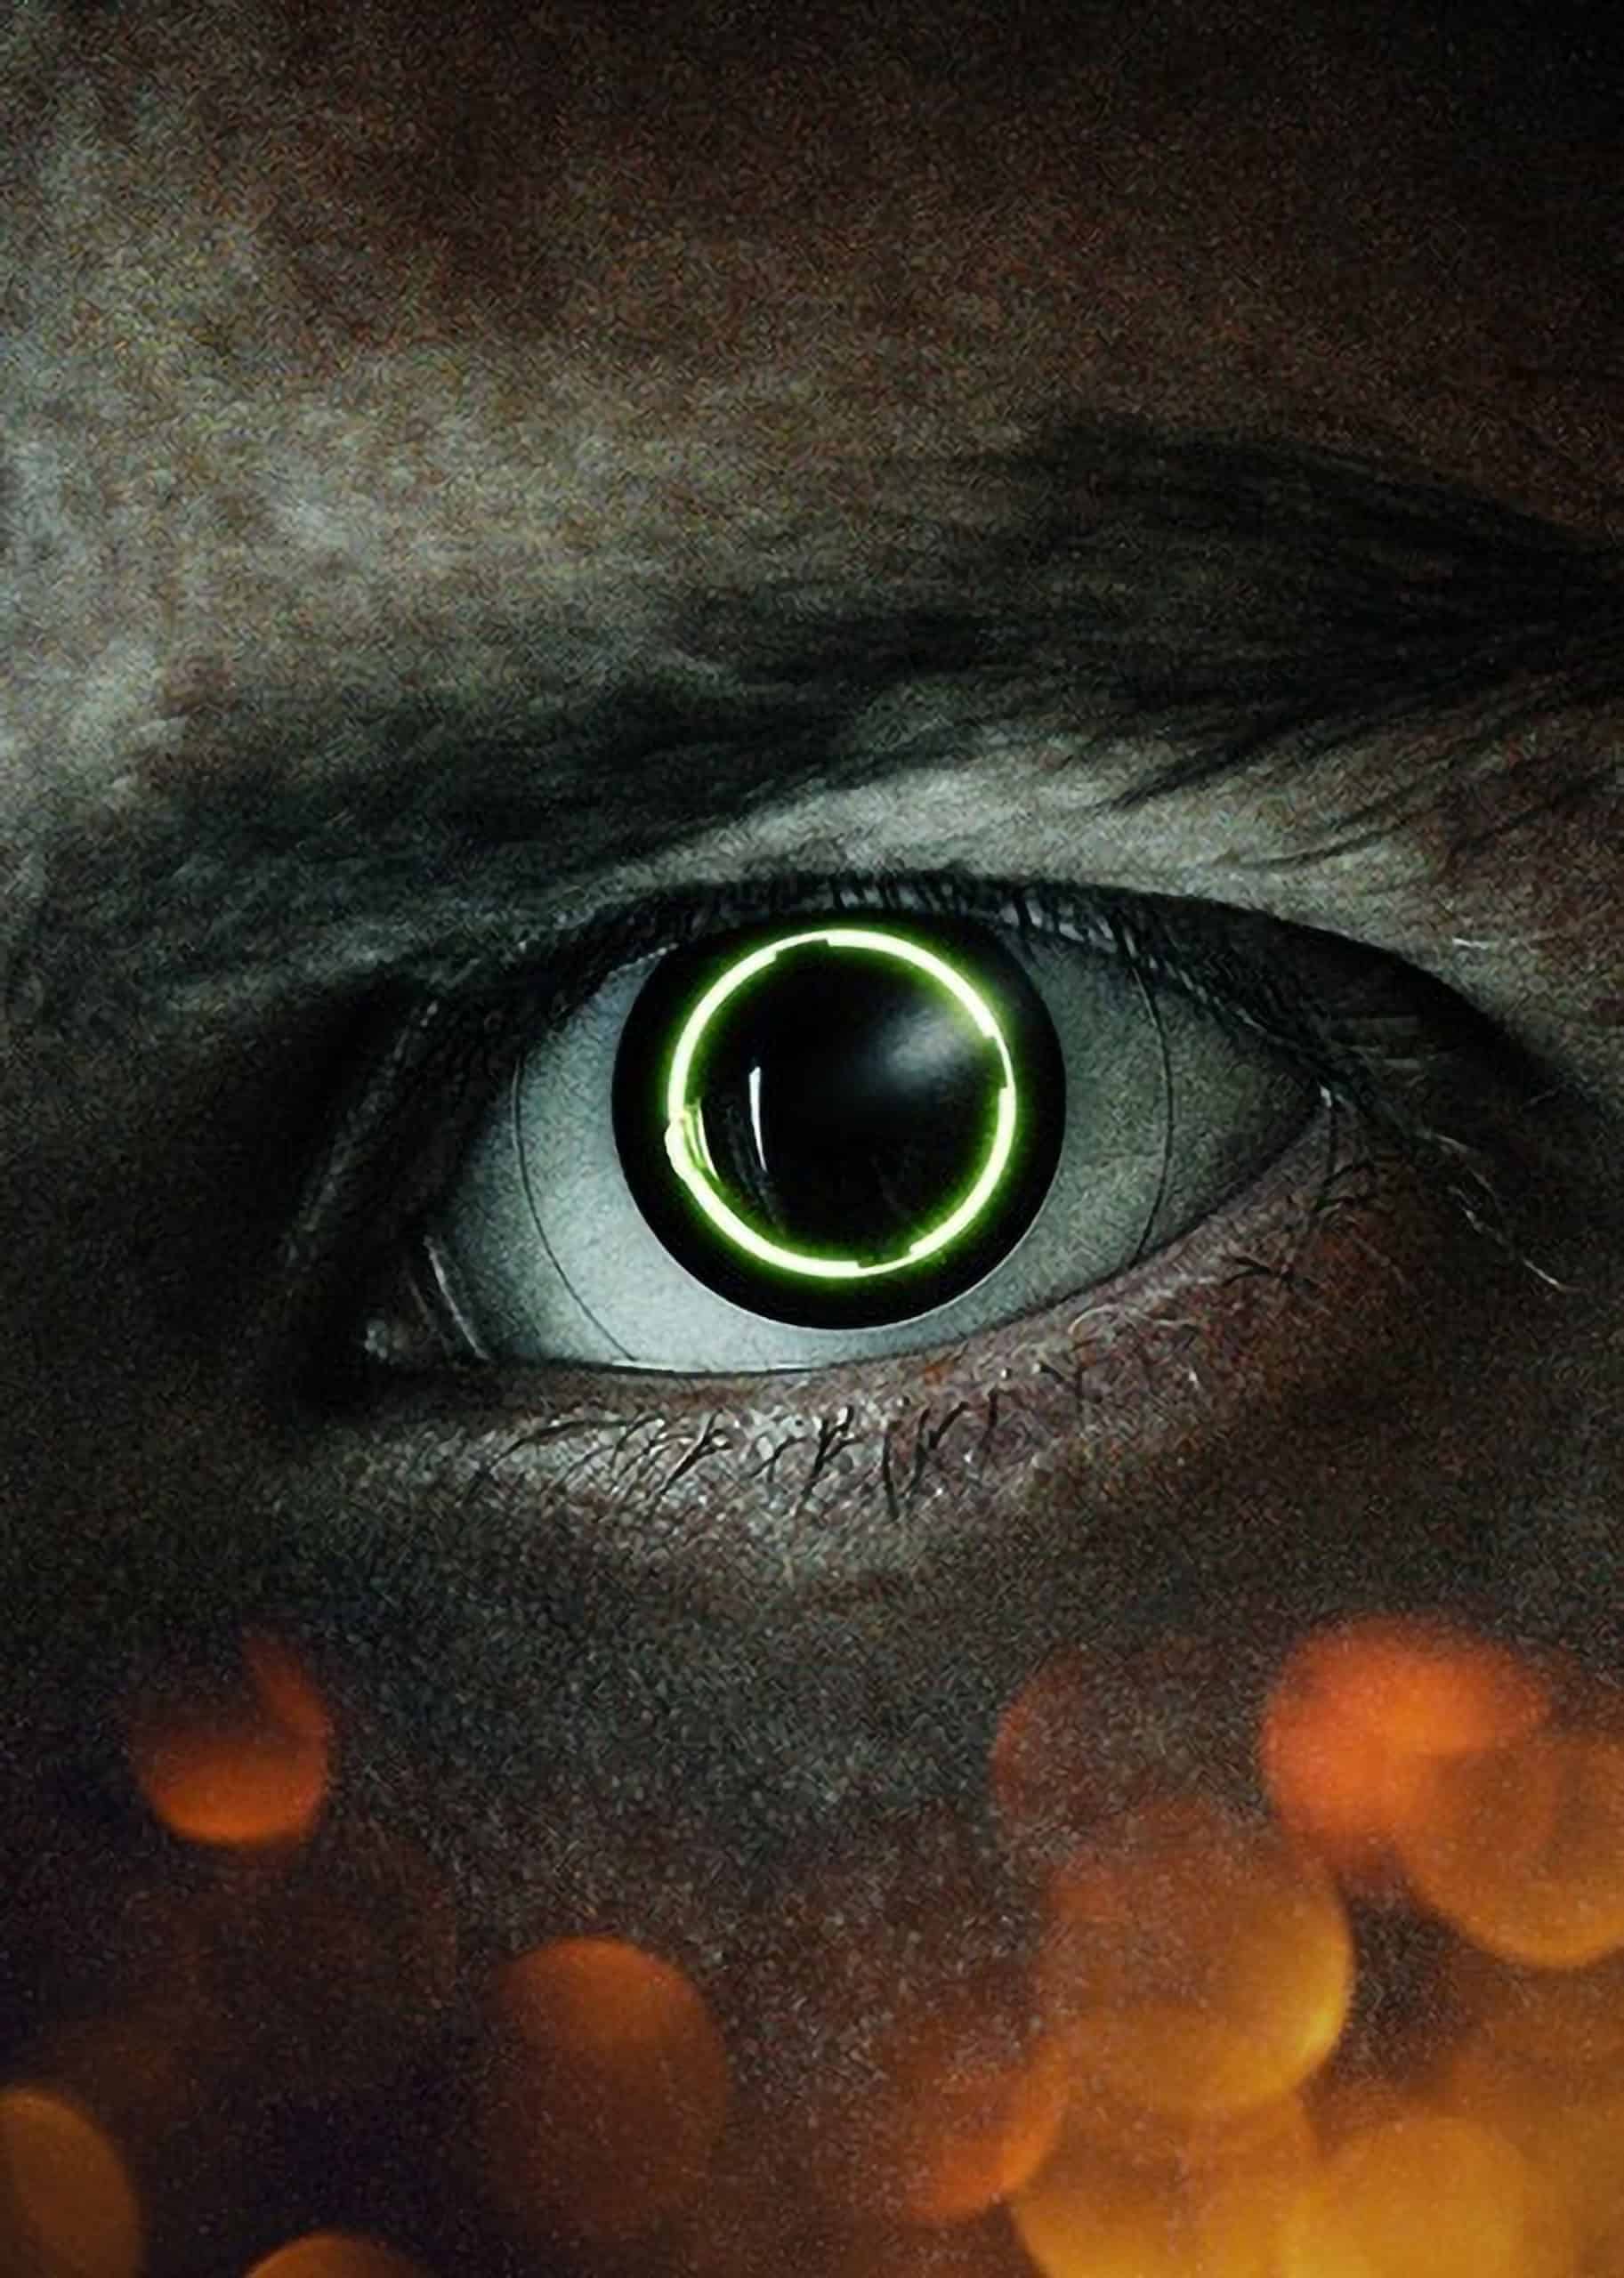
Preview of Final Results

Deus-Ex Inspired Photo Manipulation Photoshop Tutorial
Resources
- Eye Stockphotographby Emogilly
Bokeh Packby Araleva(Alternative)
Step 1
We would first need to crop the photograph a little bit so the composition is evened out better. Use the Crop Tool (C) and crop about half an inch from the bottom.

Step 2
Before we start on the high-tech part of the eyeball, we first need to retouch the small veins on the eyeball itself as it's a futuristic prosthetic eye. Grab the Spot Healing Brush (J) and simply go over the areas you want to retouch until you think you are completely done. After the color correction steps, there might be some dark spots left but we can fix that later.

You can fix any spots on the eyeball or skin that may annoy you but for this tutorial, I'd like to focus on the eyeball.
Step 3
Create a copy of the photograph layer and rename it 'Texture'. We will use this layer later so the hard-edged shape layers will blend in better with the photograph. Set the Blending Mode to Soft Light and the Opacity at 50%.
Step 4
To achieve that futuristic blue and green tint, we will need to add a Curves Adjustment Layer with the settings shown below. Select the Red channel and add the anchor points as shown. Do the same for the Default RGB Channel.


Step 5
To create a more cinematic look, we will need to sharpen the photograph. Before we use the Sharpen Filter, the photograph layer must be converted to a Smart Object Layer so the effect won't be permanent and easy to edit whenever we want. Right-click on the photograph layer and select 'Convert to Smart Object'. Do the same with the 'Texture' layer we had created earlier.
With the Background layer selected, go to Filter > Sharpen > Unsharp Mask. Set the Amount to 500 and the Radius to 3.8. This might seem a bit extreme but it will work perfectly for what we are trying to achieve.

Repeat this exact step for the 'Texture' layer.
Step 6
Create a new folder and name it 'Eyeball' and place it below the 'Texture'. Remember, whenever you are working on the eyeball, you need to be in the Eyeball folder.
7 comments on “How to Create a Deus-Ex Inspired Photo Manipulation with Photoshop”
Good
Having read through the steps, and revisited the example image at the start I can't imagine why I would want to do this. Is there something about the title that I don't understand?
Great tutorial, easy to follow with all the screen shots. You came across just fine. Especially enjoyed it because I love the game,Thanks!
good idea, nice realisation. But it's not explained very well !
Great effect which you do very well! As a tutorial your steps could be explained a bit better.
Thanks very much though!
Fantastic idea, beautifully executed, but terribly explained.
Still ... you're a genius!
3