Turn any photo into a dot grid artwork with these Photoshop actions. You'll get great results with dots that change size. They get larger in brighter areas and smaller in darker areas. Free download available.
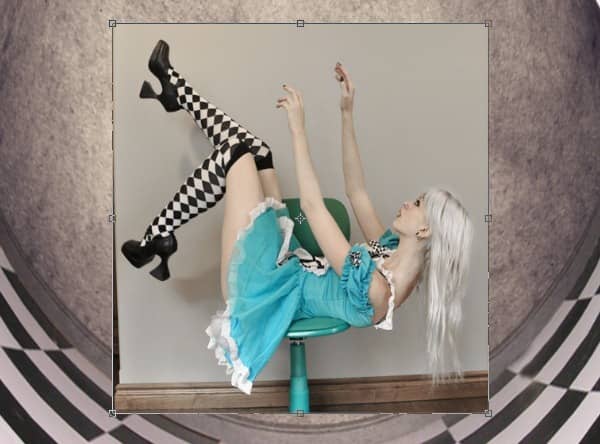
Step 5
Choose the Magic Wand Tool and set the tolerance to 15. Hold down the Shift key and left-click to select the areas around the model. Don't worry if you get some of her hair, as you will be able to bring it back in the next step. Once you have most of the background selected, choose "Layer > Layer Mask > Hide Selection" from the Photoshop menu. This will add a selection mask to your model layer that will allow you to paint over parts of the photo with black or white to either show or hide portions of the image.
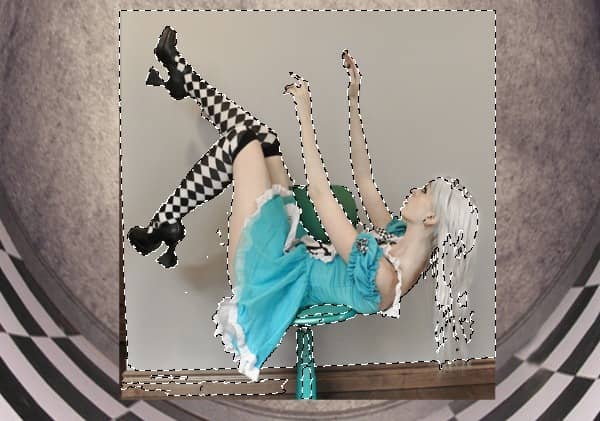
Step 6
Choose the Brush Tool and set the Opacity to 50%. Gently brush over the remaining visible pieces of the background using black. Remember you can use the [ and ] keys to change your brush size on the fly. When working in tight spaces or along the model's skin, you may find it more comfortable to use the Polygonal lasso tool to outline the area before brushing over to reduce the risk of mistakes. To bring back any part of the model you brushed over, change the foreground color to white.

Here is how she should look when finished:
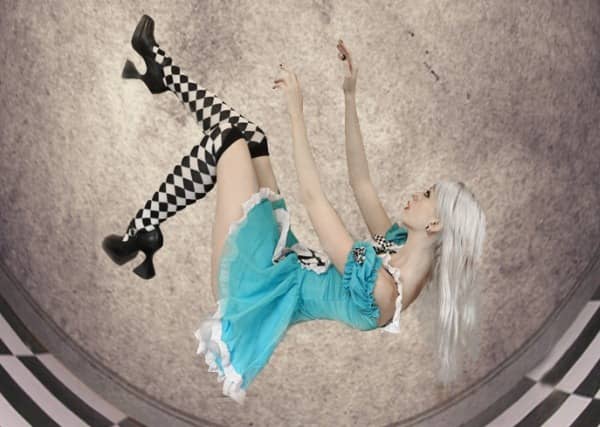
Step 7
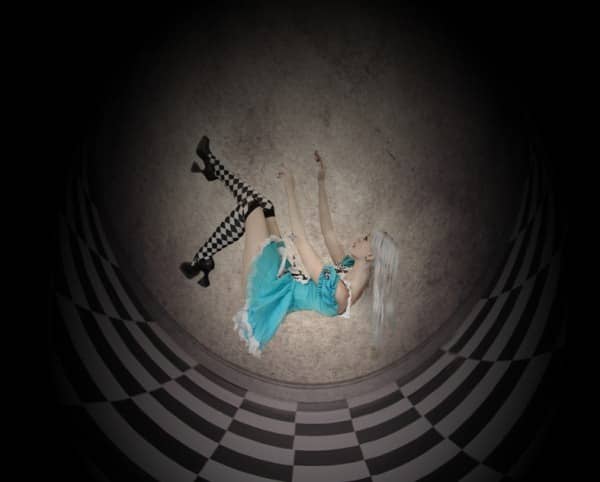
Create a new layer called "gradient." Right-click the Bucket Tool in the left toolbar and choose the Gradient Tool. Set your foreground to black and ensure the "Foreground to Transparent" gradient is selected in the Gradient options bar, and click the "Radial Gradient" button and "Reverse" checkbox.

Step 8
Left-click the document just above the model's belly and drag downwards to extend the gradient beyond the document's bottom edge. Release to create the gradient.
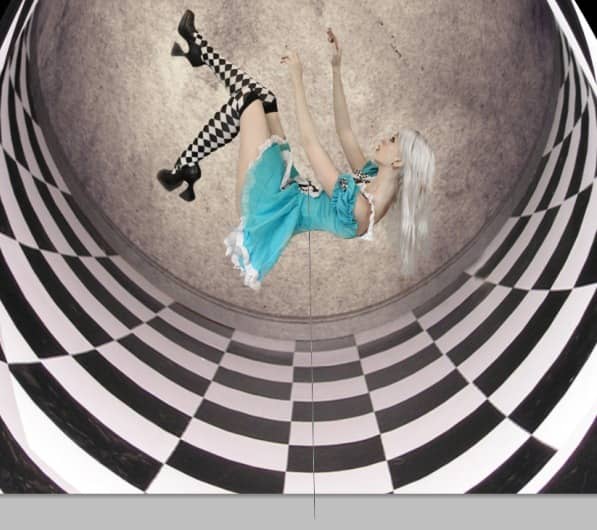
Choose the Move Tool and drag the bottom of the gradient down a little to lighten up the floor. This is a good point to re-adjust your background if you need to. Here is how your image should look so far:
Step 9
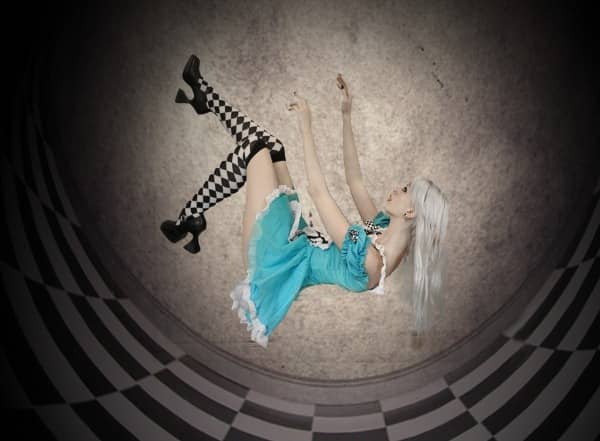
Select the gradient layer and click "Layer > Layer Mask > Reveal All." Ensure the foreground is set to black and choose the Brush Tool. Set it to about 420 pixels at 40% opacity and click a few times over the model to brighten up the area around her.
Step 10
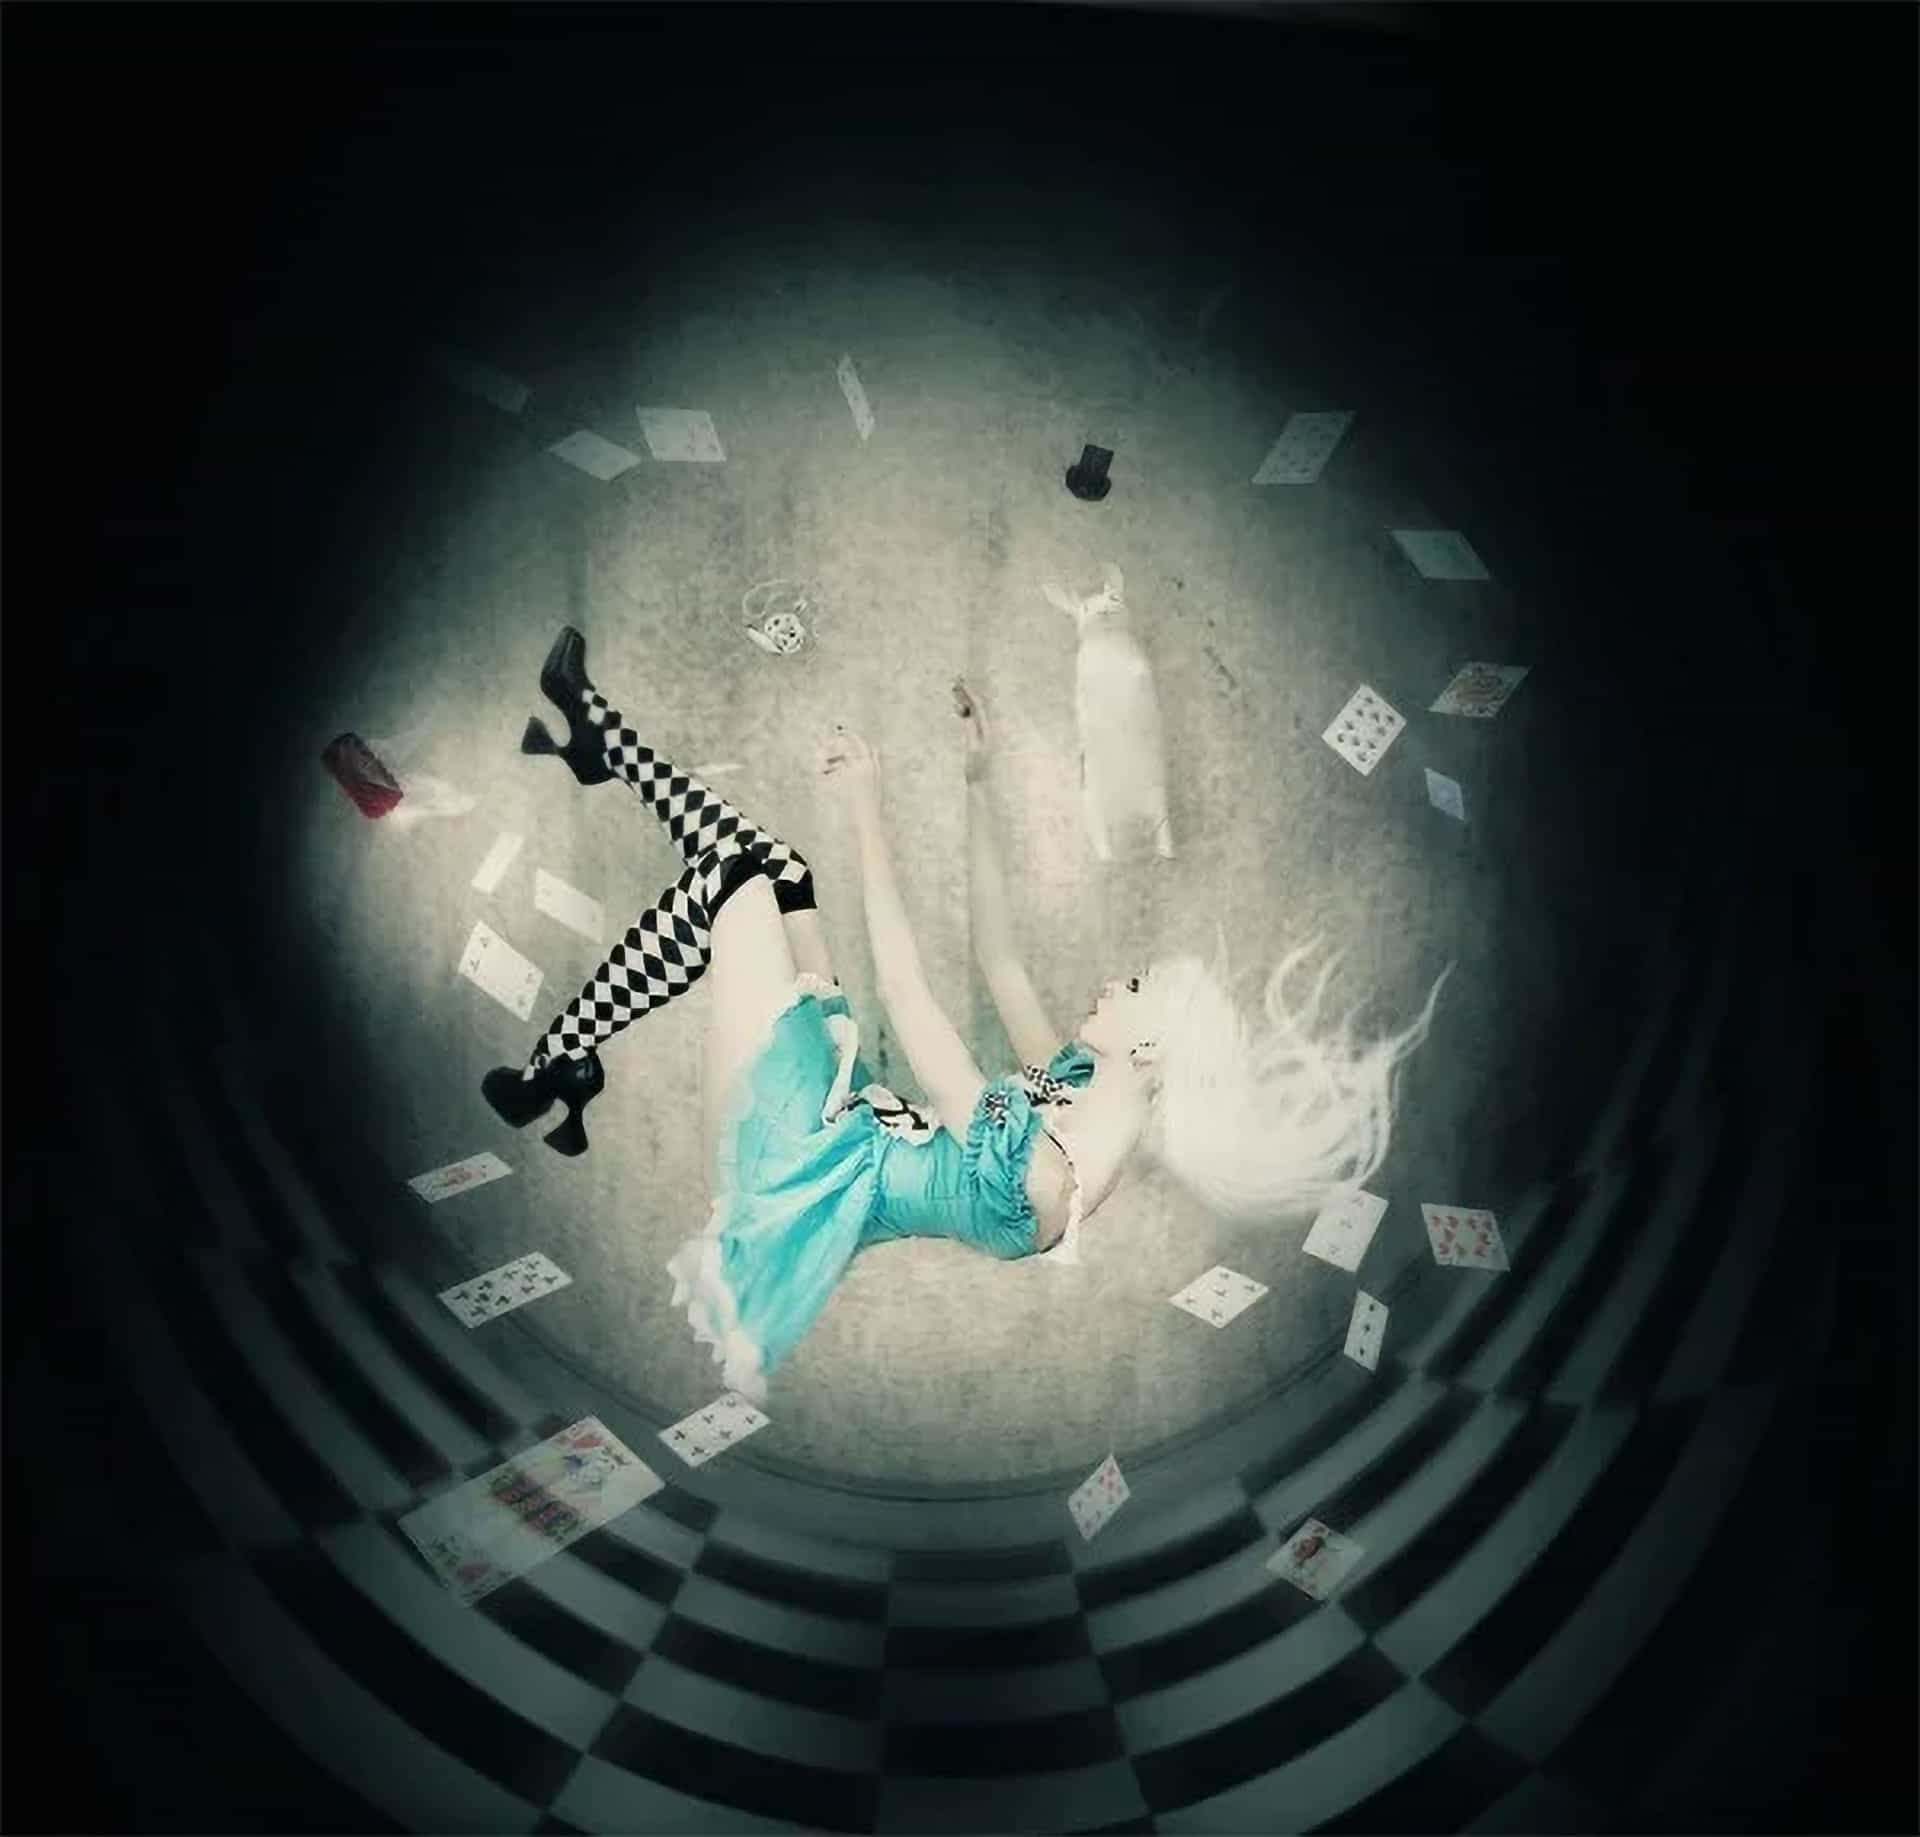
Right-click the model layer and choose "Duplicate Layer." Turn off the original layer by clicking the little "eye" icon to the left of the layer name in the layer panel. Righ-click the copy layer and choose "Rasterize Layer." It's always a good idea to create duplicates of your layers before making a major change to it, in case you ever need to go back to the original layer state. Rasterizing the layer will allow you to access the Adjustment options, which were previously unavailable.


8 comments on “How to Create an “Alice in Wonderland” Inspired Artwork with Photoshop”
Love it
dank je wel voor deze super tutorial
AMAZING but I did it myself and it was 10x better
what an awesome tutorial!!
c_oOl n_-eX+ d_0 j_Us)+_iN_n b_iE_-Be_r
amazing tutorial thanks
AWESOME TUTORIAL!~
LOOKS WICKED!~
Thanks Vail Joy, its helpful on me!