

Make your artwork look like they're from an alternate universe. These Cyberpunk presets work with Photoshop (via the Camera Raw filter) and Lightroom. Download all 788 presets for 90% off.

Step 19
To add the final touch up for the logo go to Layers Palette, hold Ctrl and leftclick on trapezoid shape layer's thumbnail (this will recall its selection). Then go to Select > Contract, and set a proper value to the size of your shape. If it's similar as mine, type around 25 pixels there. If not, just experiment with the value.

The selection should now shrink 25 pixels. So create new layer above and grab Brush Tool (B). Set all the brush values to 100% (except for Hardness, it can be around 50-60%) and paint an uneven horizontal stroke. Use anykind of hot color (it can be a saturated and bright red or orange, or brown etc.)

When you're done deselect the selection (Ctrl+D) and lower the red stroke layer's opacity to around 6%, so it's barely visible, but still noticable.

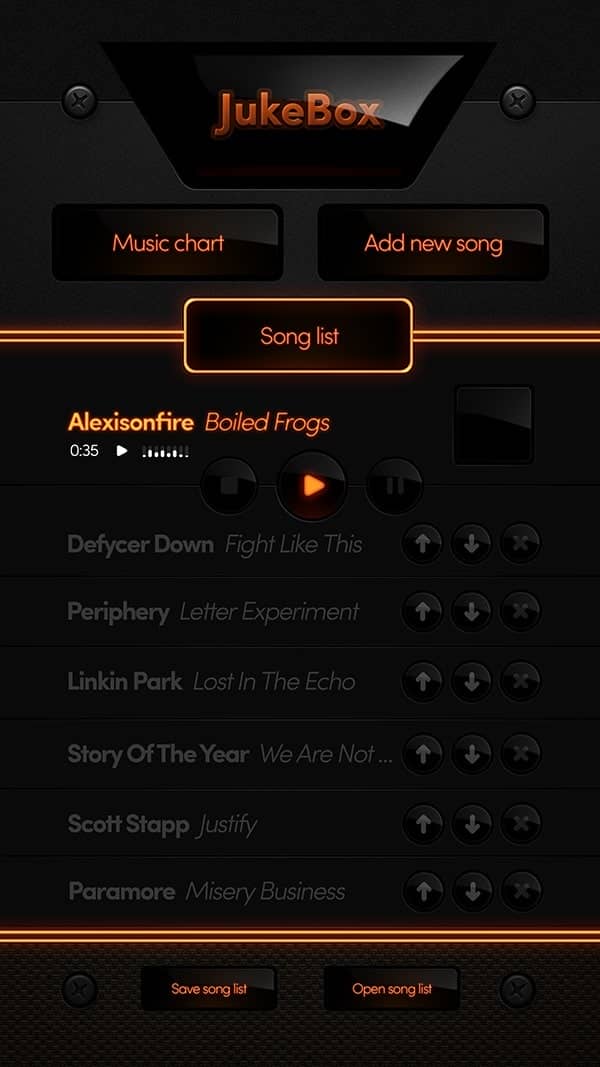
Step 20
Now let's create some buttons. Grab Rounded Rectangle Tool (U), set the Radius of the rounded corners to 20px (indicated with red circle below). Then pick black color and draw a button shape, as shown below.

Step 21
Next duplicate that button shape and use Ctrl+T > Free Transform to resize it down. If the proportions are not right, you might try to adjust it using Direct Selection Tool (A). This tool gives you the ability to change the placement of anchor points. You can change them by clicking on the shape path.
If you got lost or don't know how to do this, there are two other ways of doing it quite fast:
1. You can simply go back to Rounded Rectangle Tool (U) and draw the same button shape, but a bit smaller, so it fits right in the center of our main shape
2. Refer to step 19 (first screen shot in this step) and follow the exact instructions there. It's basically the same process, but the Contract value should be around 12 pixels now.

Duplicate that smaller black shape (so you have 3 black shapes in your layers palette: 1 bigger and 2 smaller ones). Change the color of the new shape to satuated brown #401c02. Hit Ctrl+Alt+G so the layer becomes a clipping mask. Then go to the Layers Palette, add a layer mask to this brown shape layer (if it isn't already there), select the mask and hit Ctrl+I to invert the colors. This will make the brown button disappear.

Now make sure you have the layer mask selected with your mouse. Then pick Brush Tool (B), set its Opacity to 100%, Flow to 2% and Hardness to 0%. Use white color and softly paint on the mask (where the red arrows indicate) to reveal the color.

Alright, if you got it properly, it should now look similar to the screen below. To make sure you understand what a Clipping Mask (Ctrl+Alt+G) is, pay attention to the red circle in layers palette below.

Step 22
Go to the Layers Palette, Ctrl+rightclick on the "button center" layer's thumbnail to call it's selection. Then rightclick and select Stroke.

Then go to Layer > Layer Mask > Hide All.

Reveal the mask by paitning on it with soft white brush. Paint where red arrows indicate to give some nice edge light.

Step 23
Now type "Music chart" (color doesn't matter) in the center of the button . Next, go to Layers Palette, rightlclick on the text layer and select Blending Options. Set everything exactly as shown in the images below.

Step 24
OK, as for final step, just go to Layers Palette, find the gloss layer from steps 17 and 18 and simply duplicate it using Ctrl+J). Drag that layer to our button group (on the very top), resize it down a bit (so it fits the button), position it properly in the central part and hit Ctrl+Alt+G for clipping mask.
14 comments on “How to Create a Beautiful Audio App User Interface”
The instructional exercise was extremely useful… Here I figured out how to make a UI of an applications. I'm extremely grateful to you.
Sensacional
Great
This tutorial was really helpful... Here I learned how to make an user interface of an apps. I'm really thankful to you.
Helo Wojciech,
Great. Only with elements of Photoshop this strong statement. And--an insane fleiss work.
alexisonfire YEAH!
this is cool
Nice technique. Really useful…thanks for the post…
Great job! Interesting process, love to make it.!
good job but it dificult for me
i want to learn photoshop so that i can also share it with others
can you plz send me some ps shortcuts on my email id.
I want to learn Photoshop and wave page dissing. I am very happy to see your system.
I want learn all posses of Photoshop. If you share with me by bangla language, I will very pleased.I also want to learn wave page dissing