


Luminar AI lets you turn your ideas into reality with powerful, intelligent AI. Download the photo editor and see how you can completely transform your photos in a few clicks.

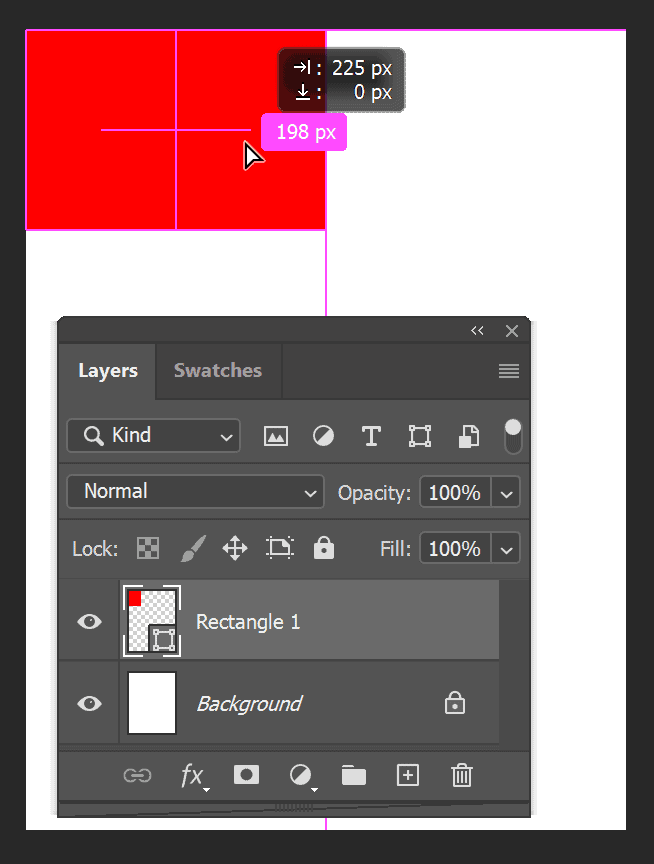
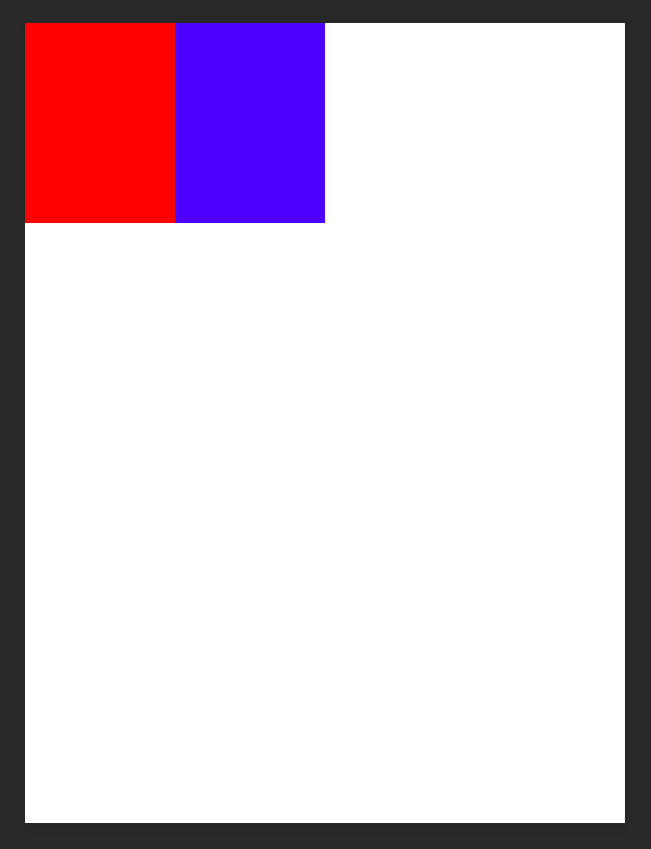
Step 3
Activate the Move Tooland drag the rectangle to the corner.

Step 4
While the Move Tool is active, hold Shift + Altand then drag to duplicate the rectangle. Place the new rectangle next to the original rectangle.
Step 5
Change its color by double clicking its thumbnail in the Layers Panel. In the Color Pickerdialog box, select new color.
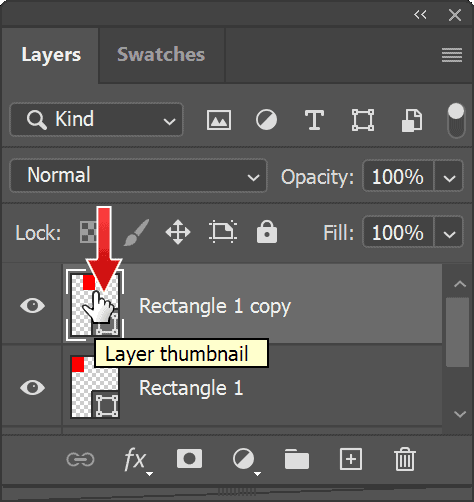
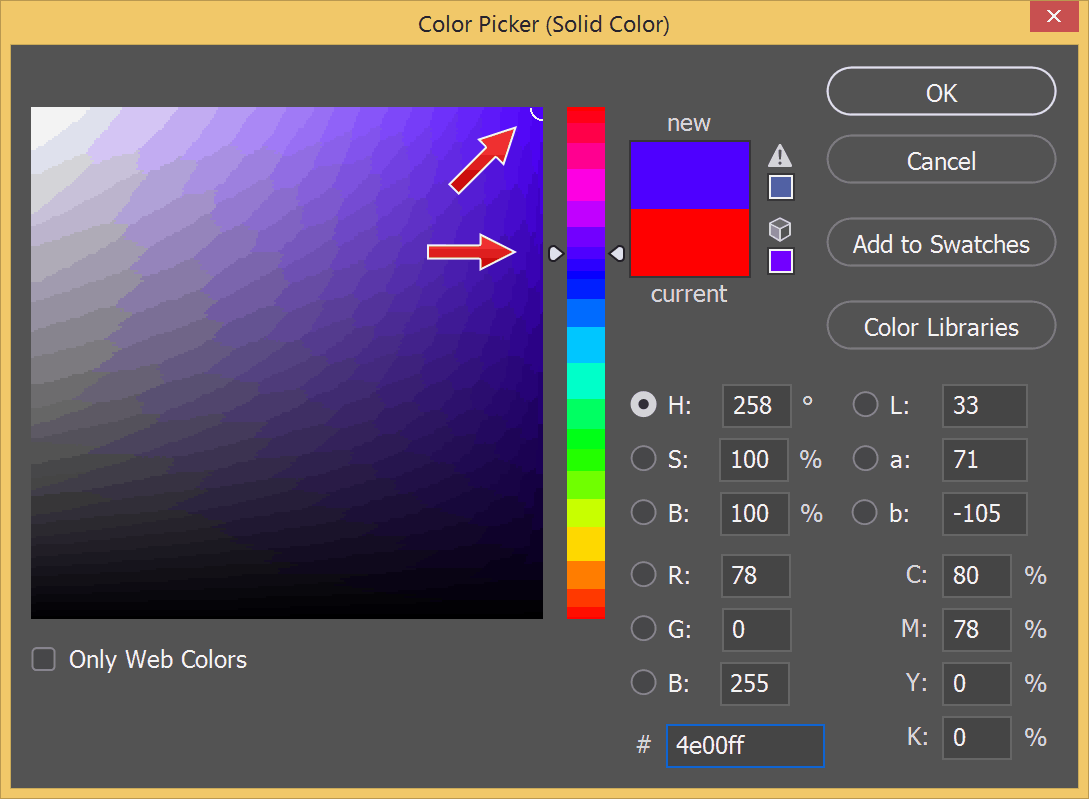
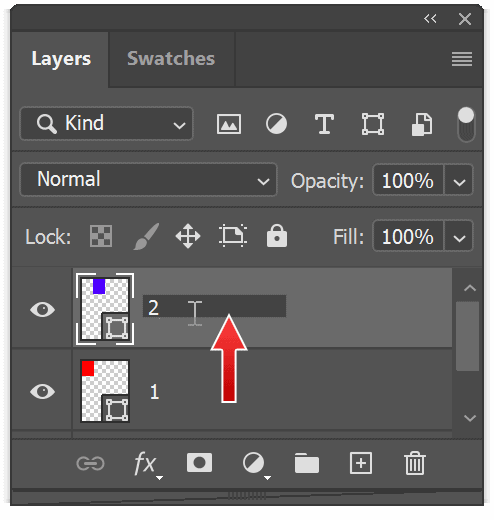
Step 6
Always name your layers. The default name is bad. To rename it, double click the layer's name. We simply use number for each rectangle. The first is 1, the second is 2, the third will be 3, and so on. Pretty clever huh? Renaming layers early will keep you away from headache. This guide file is going to have no less than 40 layers and you don't want to waste time guessing which is which.
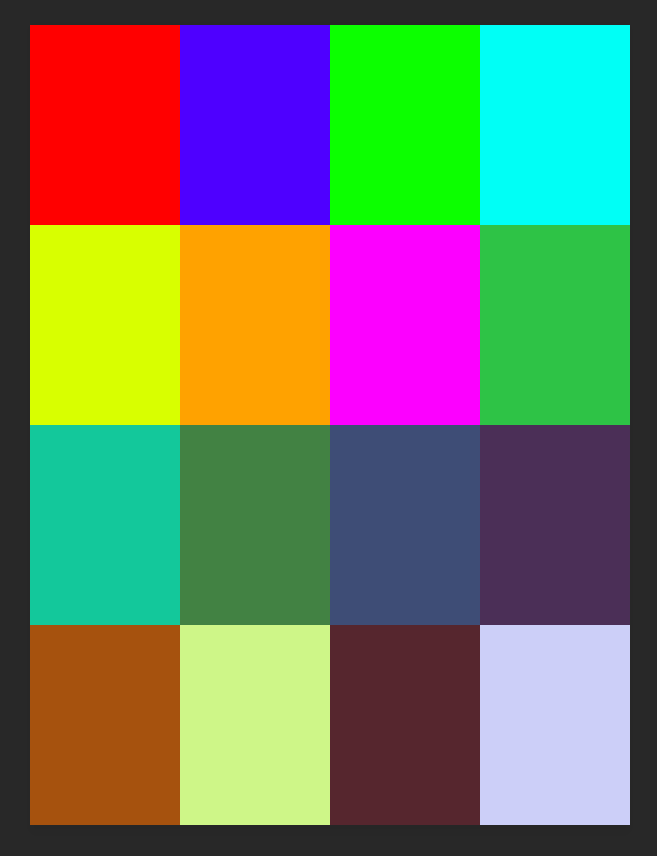
Step 7
Repeat this until we fill all the canvas with rectangles. Each rectangle should have different color. You should also rename the layer.

Step 8
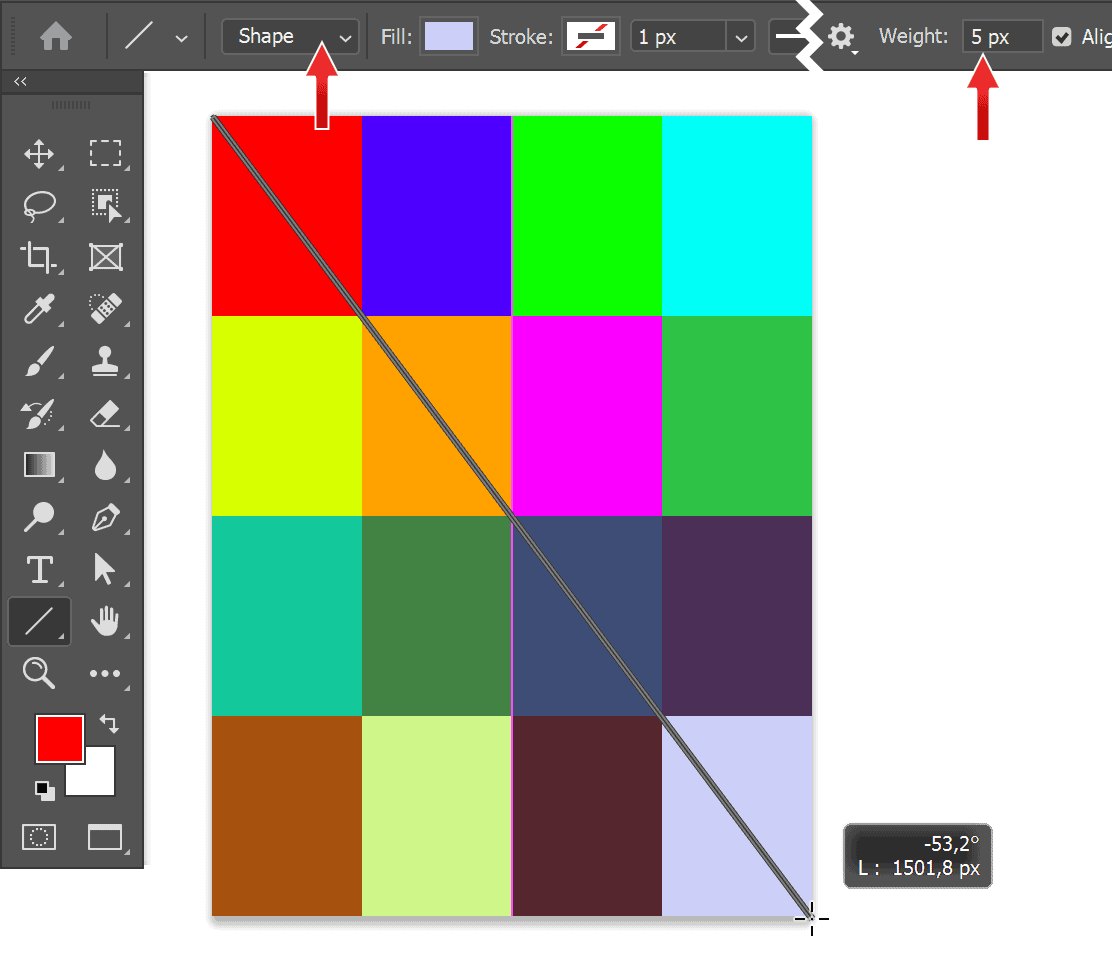
Activate the Line Tool.

Step 9
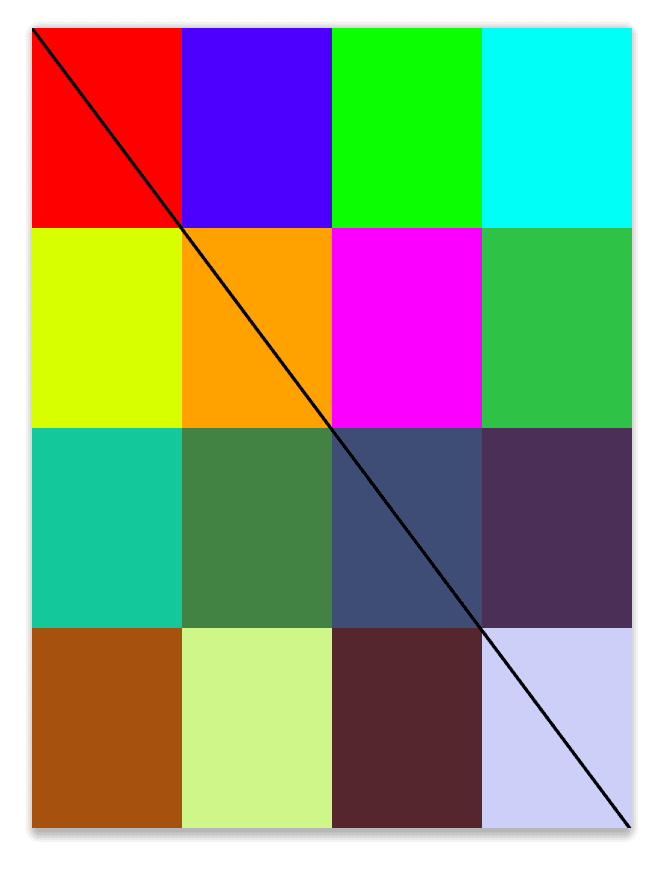
Make sure Shapemode is selected in the Options Bar. Set the line's Weightto 5 px. Click and drag to draw a line from corner to corner.
Step 10
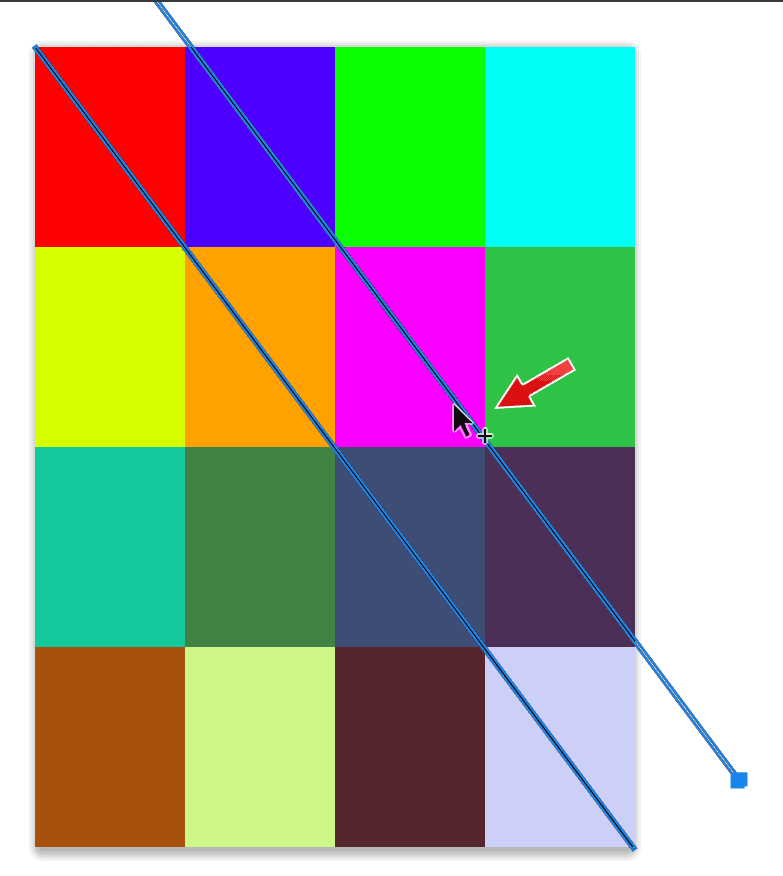
Select the line using the Path Selection Tool, and then Alt- drag to duplicate the line.
Step 11
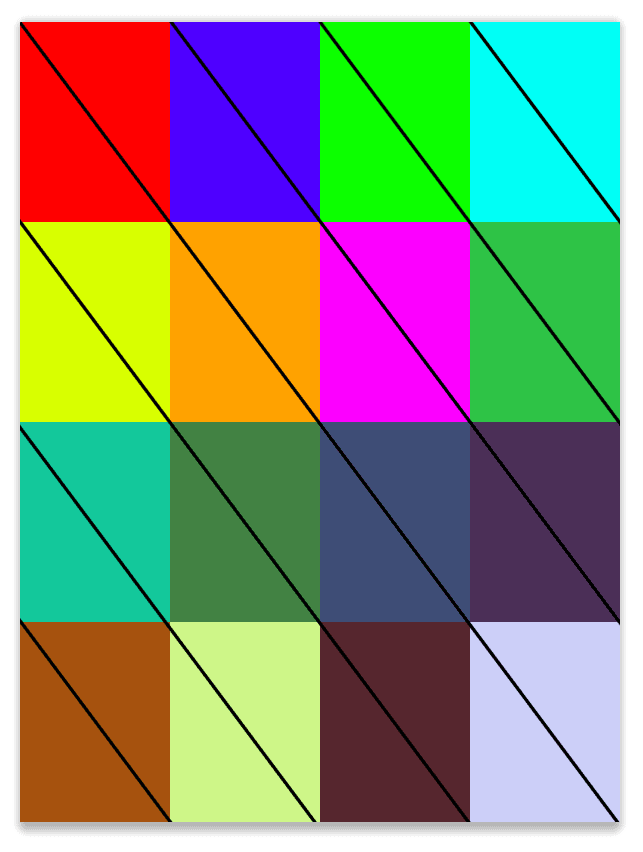
Keep on duplicating the line until we have diagonal line on every rectangles.
Step 11
Select all the lines, hit Ctrl + Cand then Ctrl + Vto duplicate them. hit Ctrl + Tand then rotate them until all the rectangles are filled with Xs.

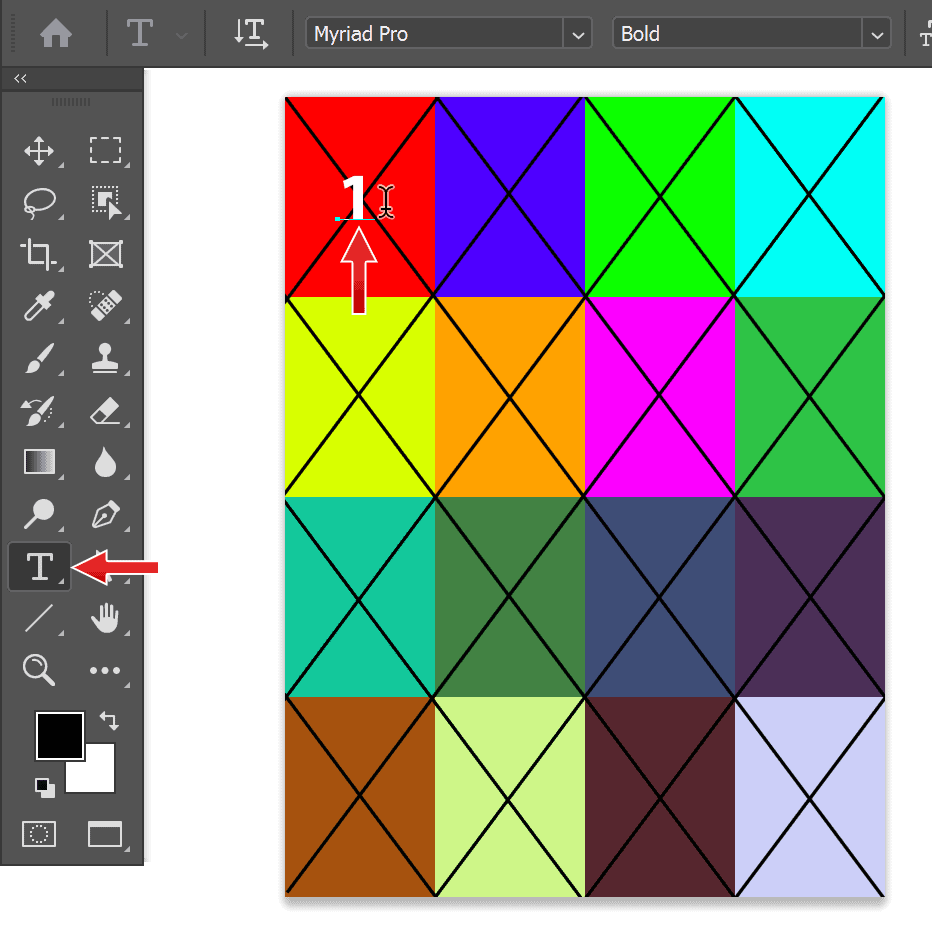
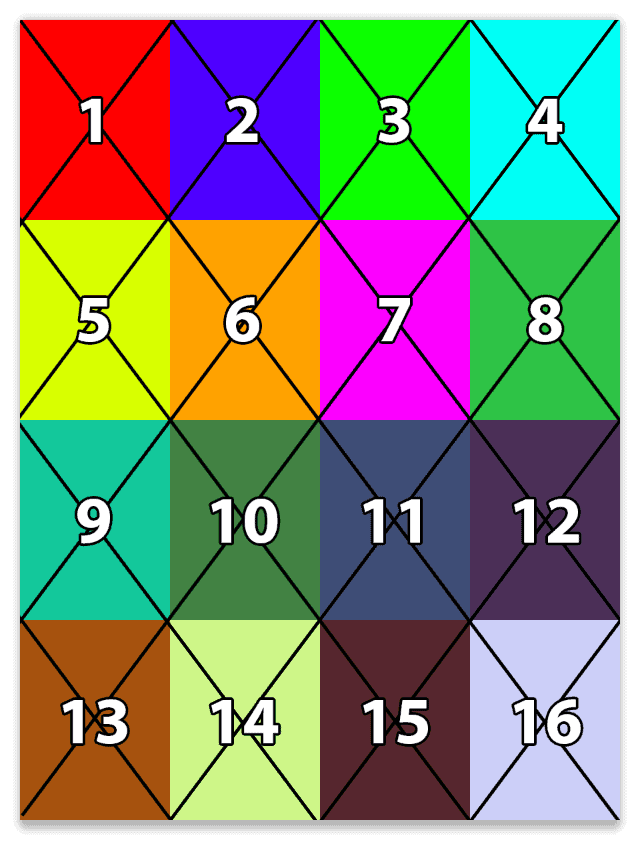
Step 12
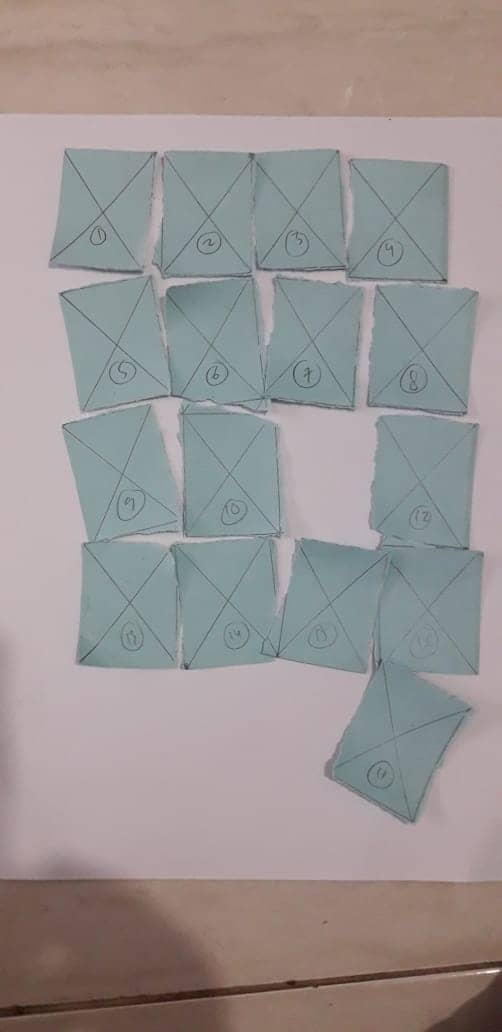
Add number to each rectangle to make it more recognizable.
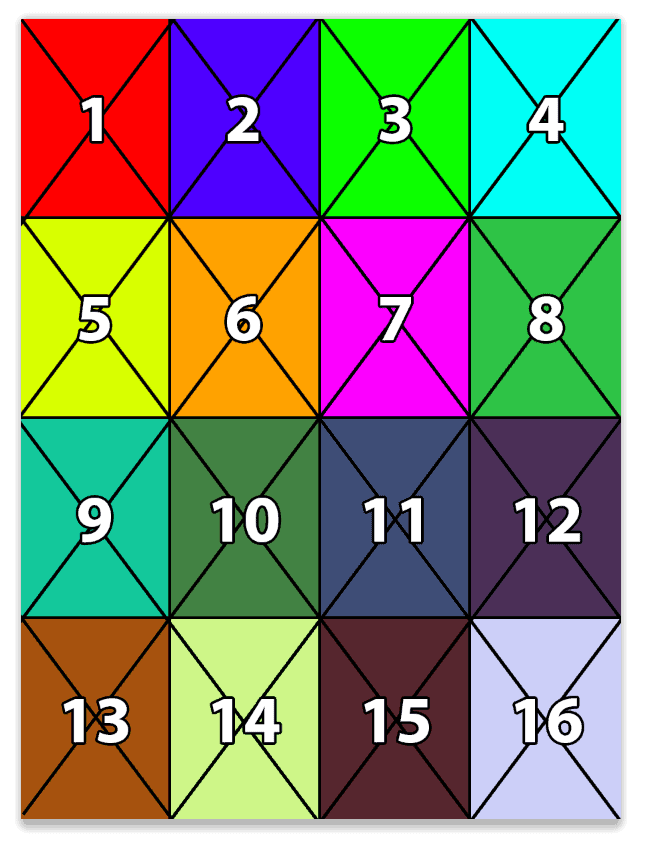
Step 13
I also add layer style Stroke to the text because its add legibility, means easier to read. To add Stroke, double click the layer in Layers Panelto open up the Layer Styledialog box. We can also add Stroke to the rectangle to add clearer edge definition. After this, we're done with the guide file. Save and close it. Soon, we're going to incorporate this file into the mockup file.
Step 14: Making The Mockup File
We've done making the guide file, that's where we place the photo that's going to be torn apart. Now, off to making the mockup file. Open up the photograph of the torn photo. You can use your own or use my photographsupplied at the early part of this tutorial.
One comment on “Making Photoshop Mockup of A Torn Photo”
Nice.