


Make skin look perfect in one-click with these AI-powered Photoshop actions.
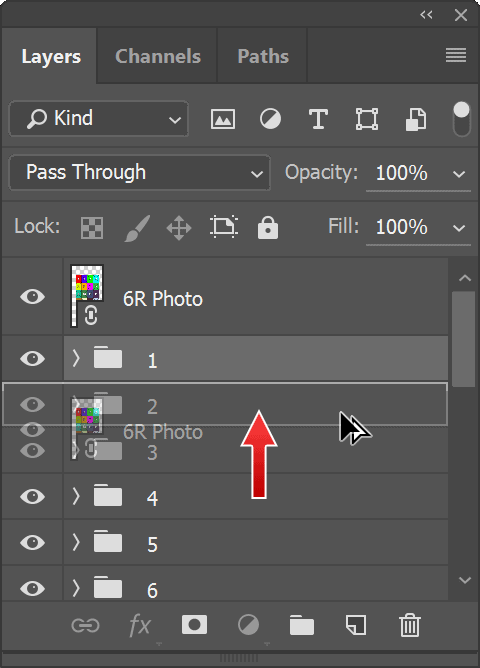
Step 41
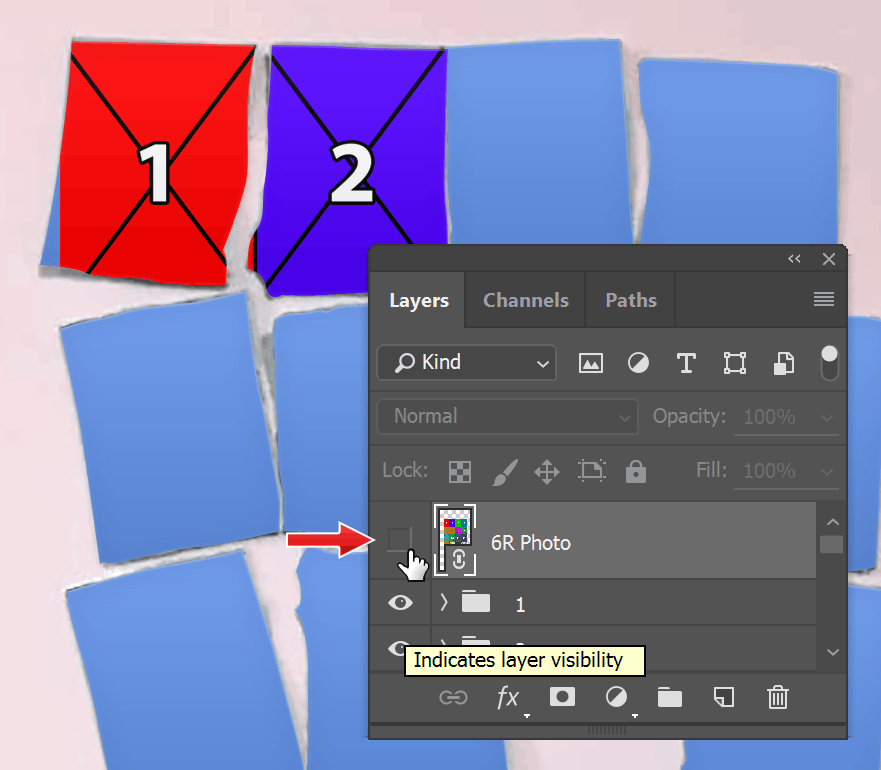
We don't need to see the guide file at this stage onward. To hide it, click on the eye icon next to its name in Layers Panel. As you can see below, now we have rectangle 1 from the guide file sits inside the first pience and so as the second rectangle.
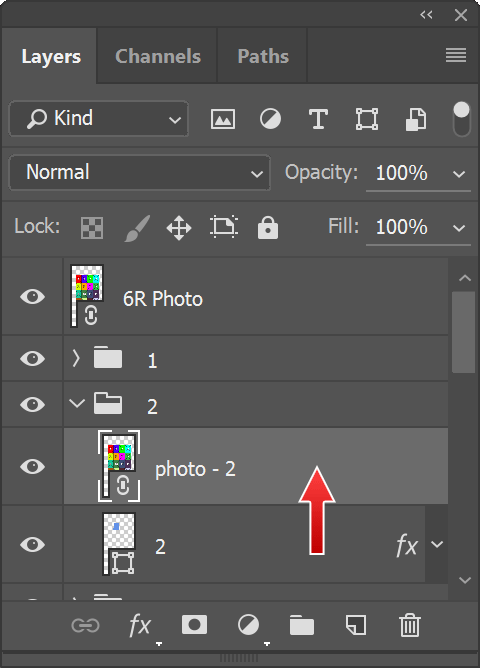
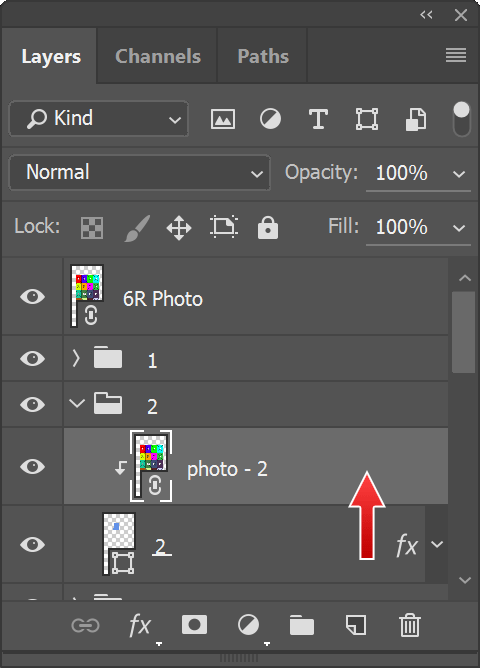
Step 42
Continue duplicating and placing the guide file into each piece. In the mockup, the rectangles should be confined inside each piece. Of course, layer transformation is still needed and we're going to do it soon.
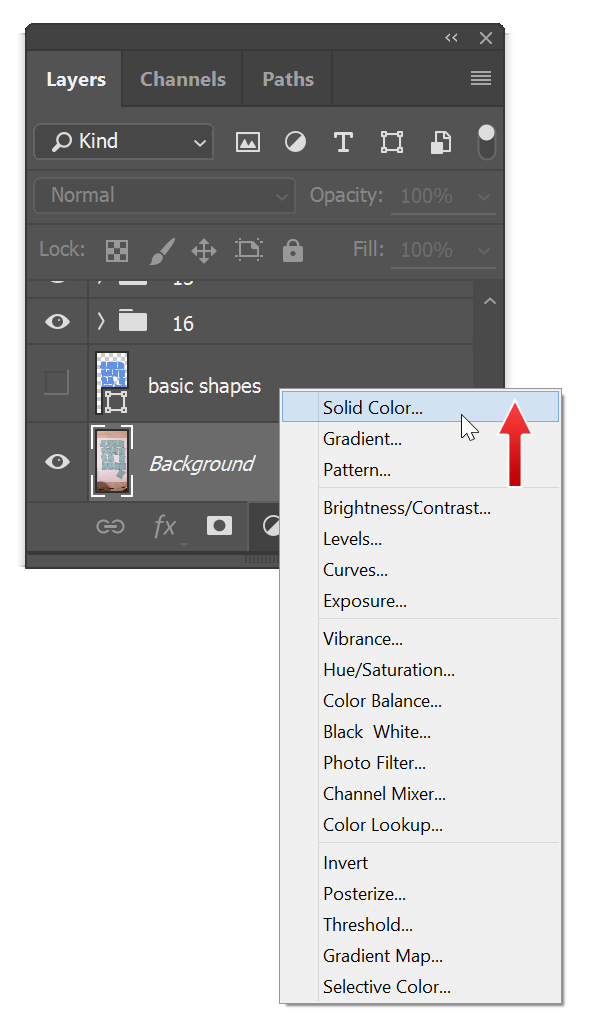
Step 43
Let's add a solid color to cover the background which might distract us. Activate the Backgroundlayer, which can be found at the bottom of the layers, and click Add Adjustments Layericon. Select Solid Color. In the popped up dialog box select white or any neutral color suitable to your file and then click OK.

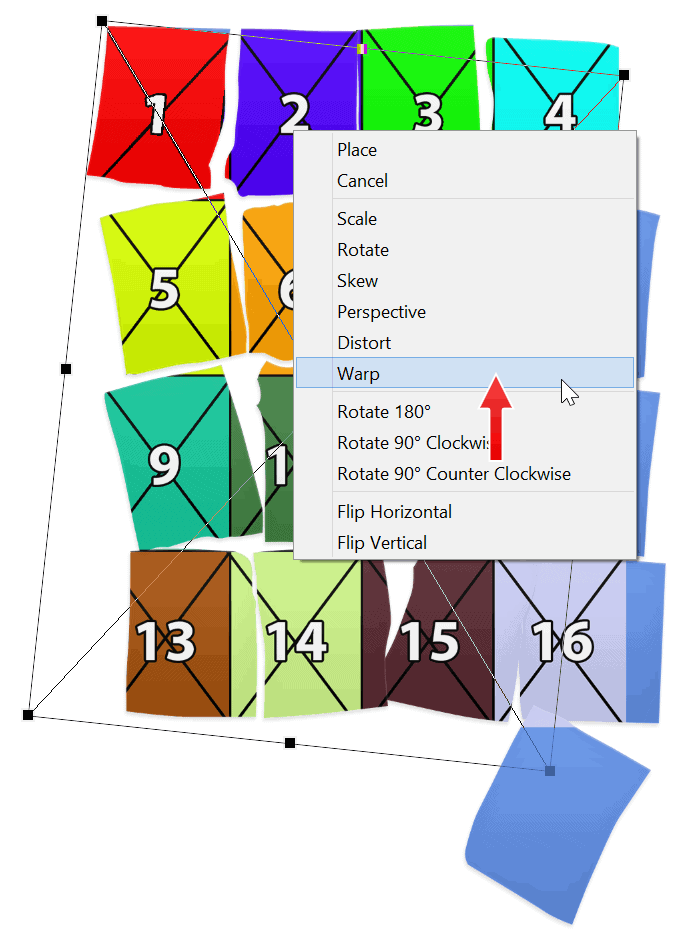
Step 44
Next step we need to do is match the photo position to its corresponding piece. The first rectangle should sit right on the first piece. So, make sure the photo inside the first piece is selected. Hit Ctrl + Tto perform transformation. Rotate it if needed. Right click and select Warp. Warp transformation gives you greater control on the transformation process.

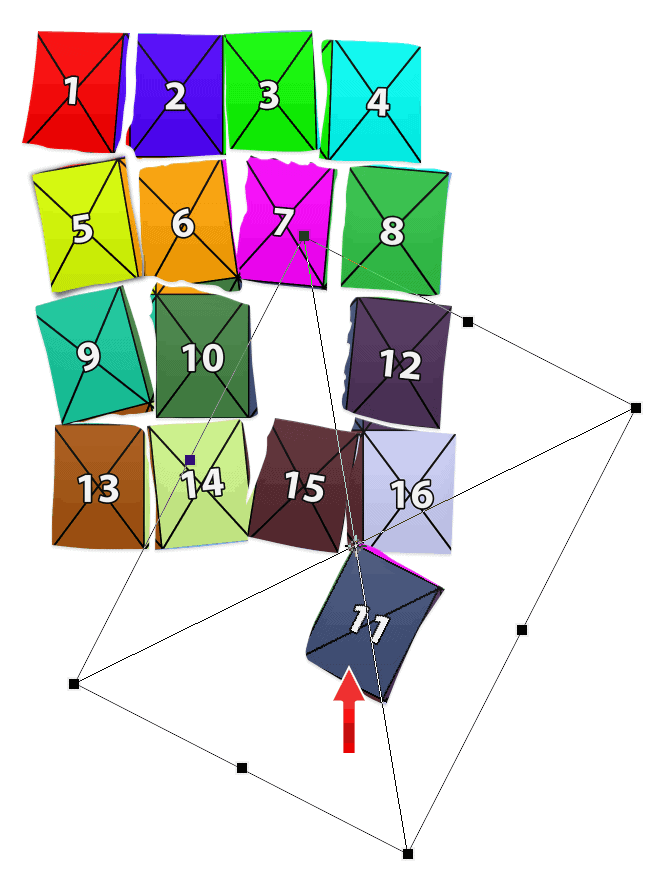
Step 45
If you are following me by putting one of the pieces off its position, you should also place the photo accordingly. In this case, the piece number 11 is way down. The photo guide should go there too.
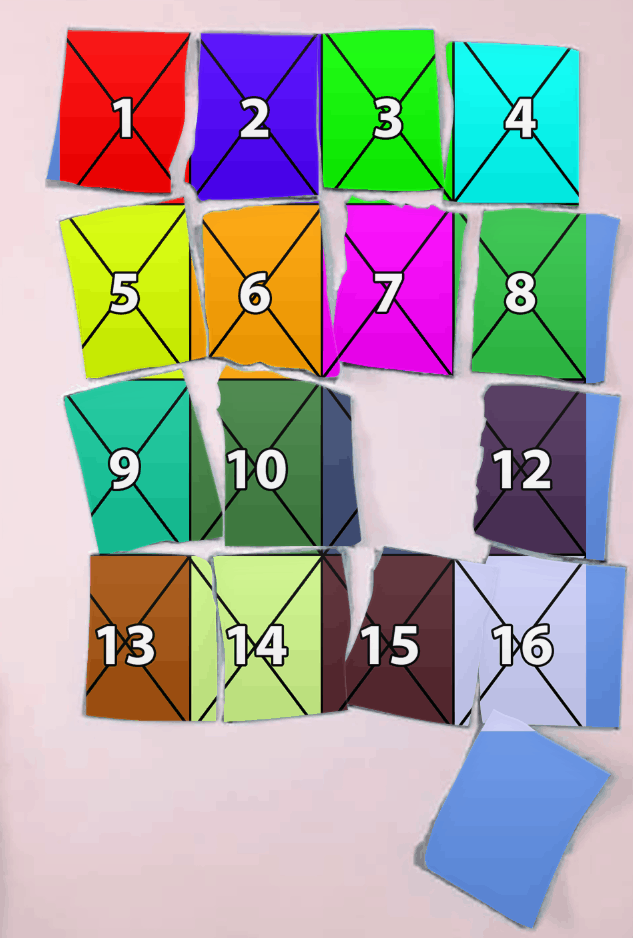
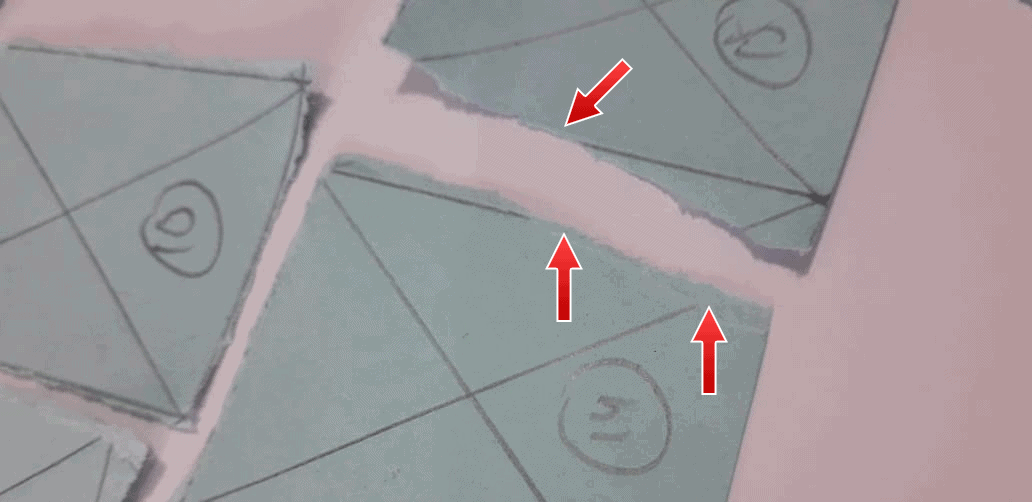
Step 46
If you look closer, the paper color is protruding on the edge of the photo pieces. We do want to keep this effect, that's why we don't use scissor or utility knife . We want to produce the same effect in this mockup.
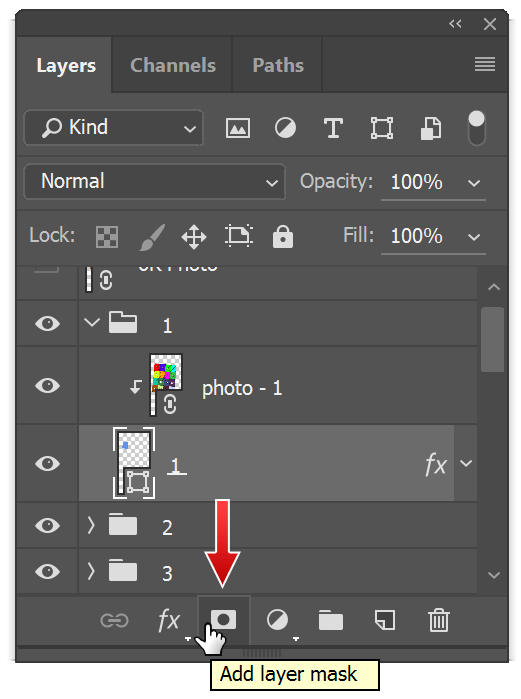
Step 47
We will start with the first piece which is placed inside the 1group folder. Select the photo layer and add layer mask.
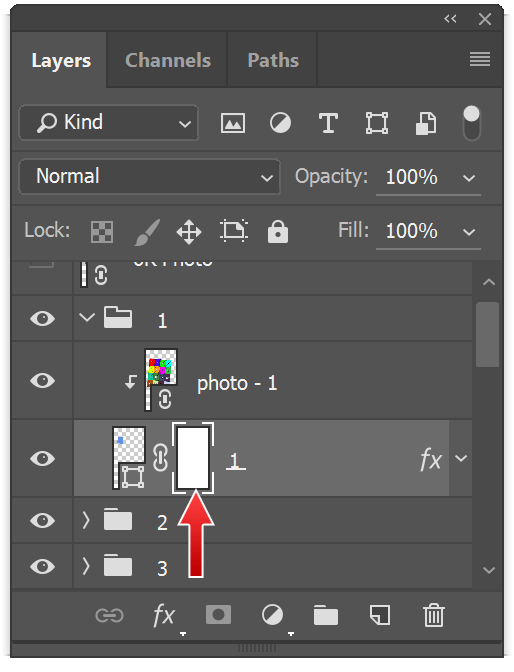
Step 48
The layer now have a mask next to it. Using the mask, we are going to hide some edges of the photo piece and therefore reveal the paper behind them. First, make sure the mask is active, indicated by thin white lines surrounding it.
Step 49
Activate the Brush Tool. Right click to open the Brushes Panel. Select rough edged brush tip and set enough Brush Size.
One comment on “Making Photoshop Mockup of A Torn Photo”
Nice.