

Make skin look perfect in one-click with these AI-powered Photoshop actions.
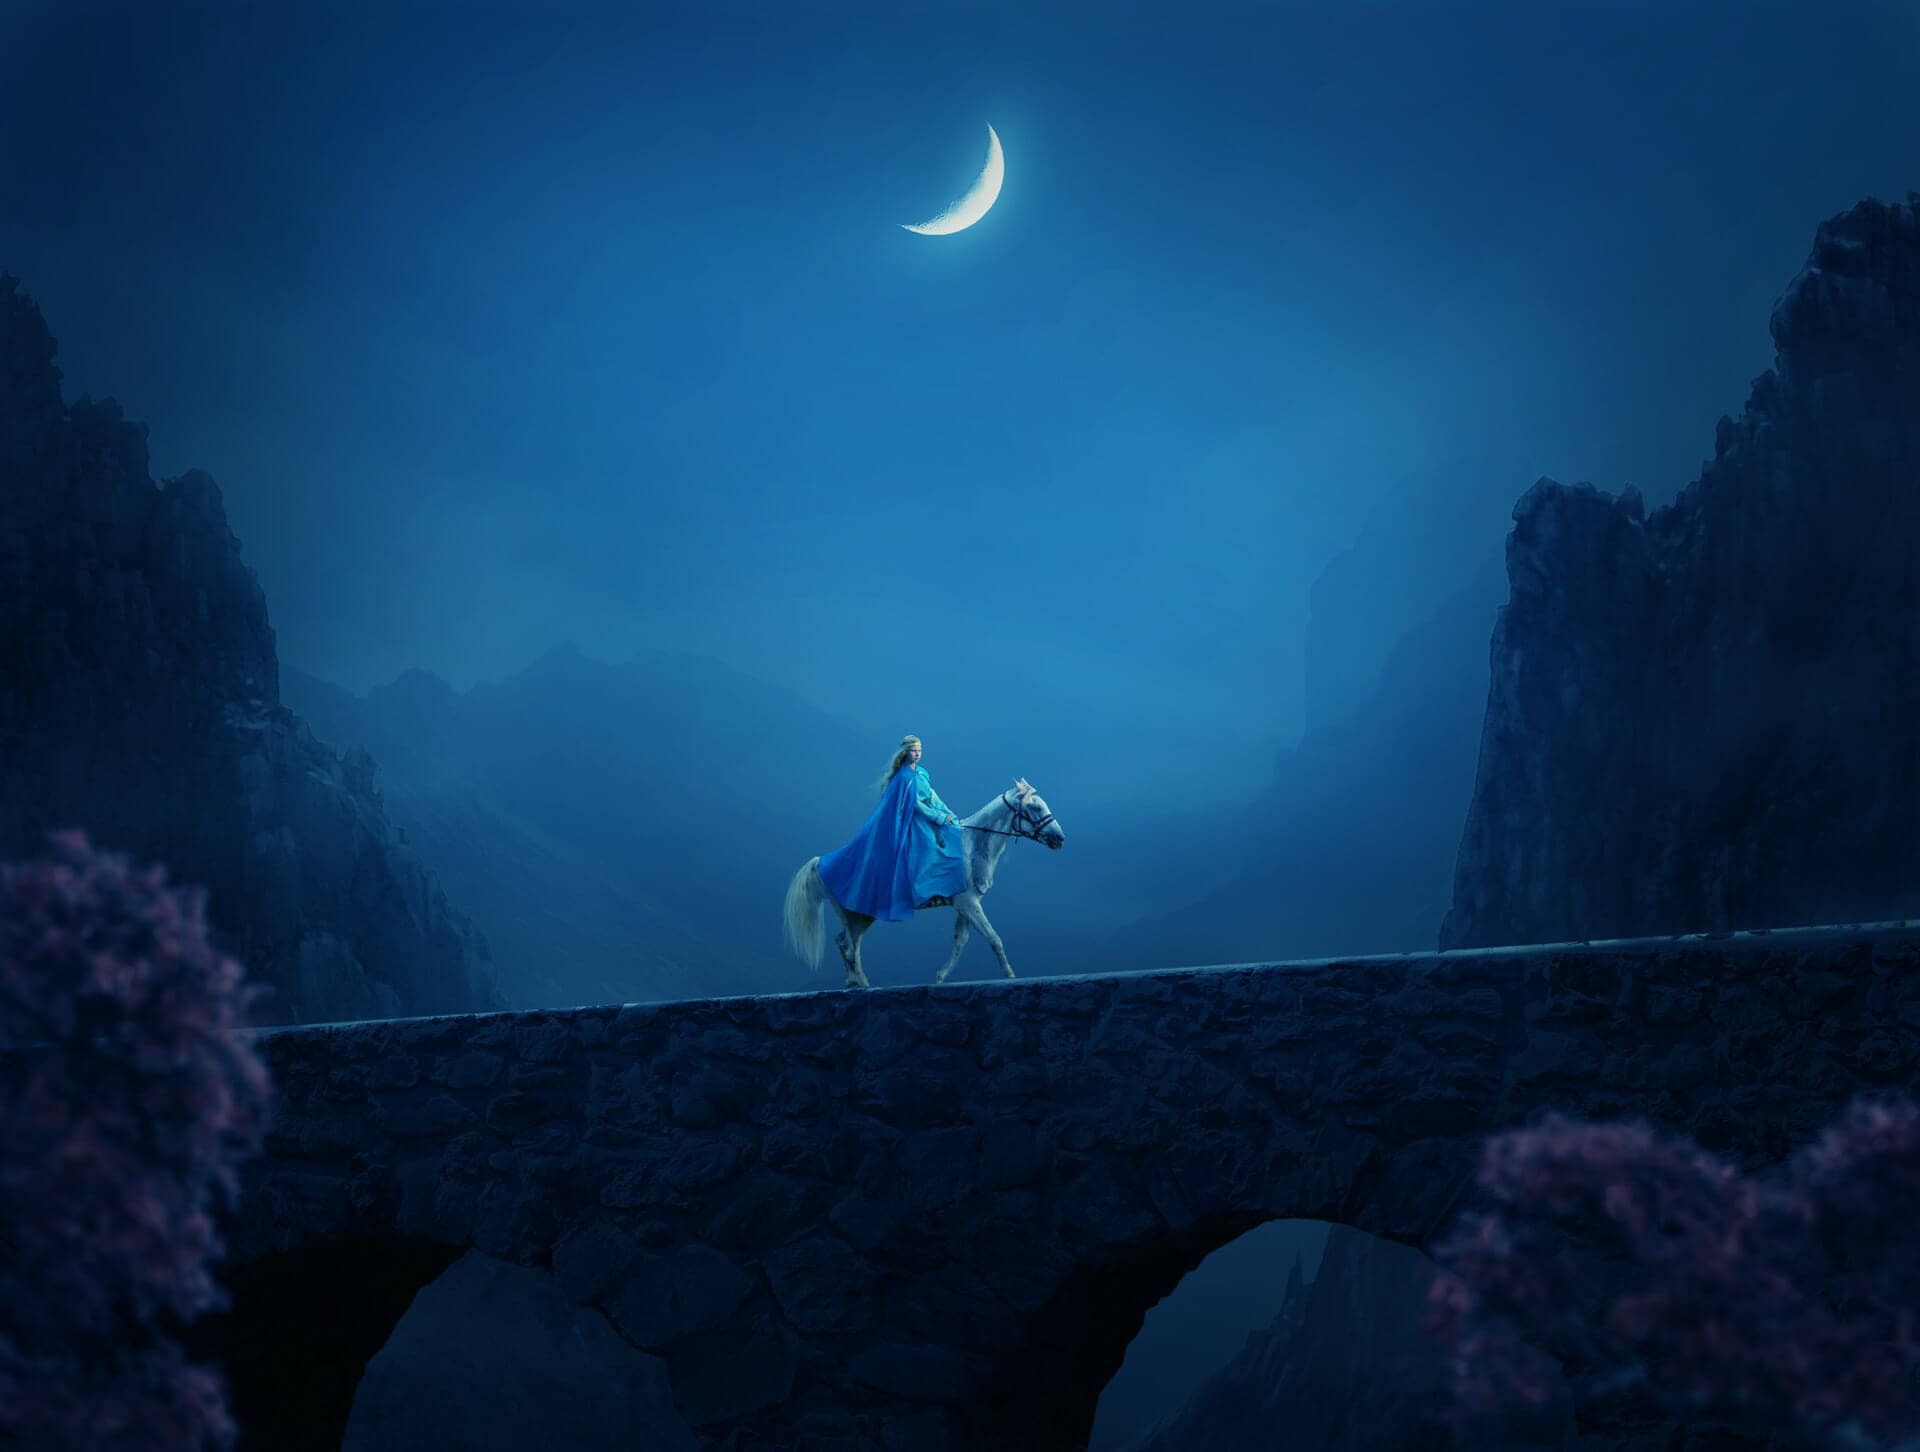
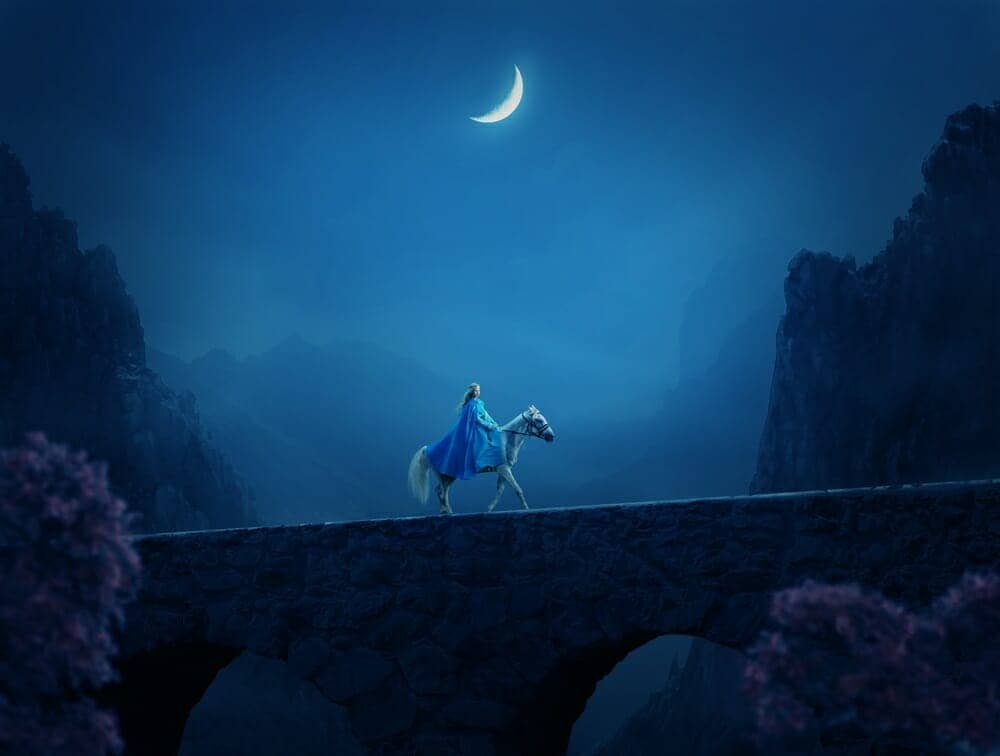
In this tutorial I'll show you how to create a night landscape featuring a medieval woman riding a horse. First, we'll build the base scene using several images of sky, landscape and rocks. Later, we'll add the bridge, moon and model. We'll import the tree and use several adjustment layers to complete the final effect.
Preview of the Final Result
Tutorial Resources
Step 1
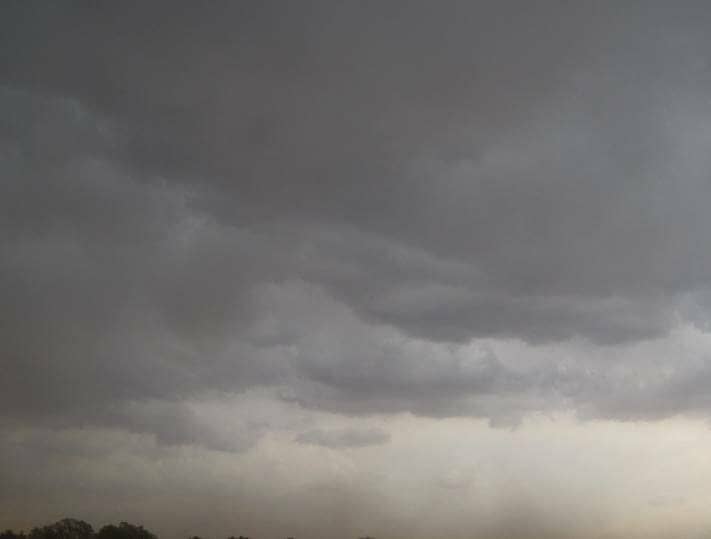
Create a new 1800x1361 px document in Photoshop and fill it with white. Open the sky image and use the Rectangular Marquee Tool (M) to select the sky part and drag it into our white canvas using the Move Tool (V). Convert this layer to a Smart Object.
Step 2
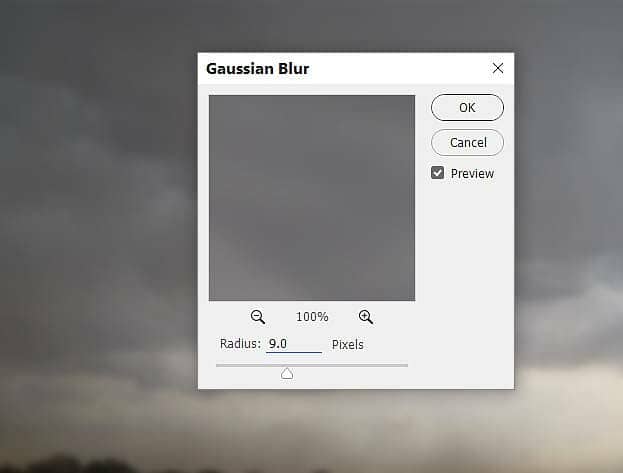
Go to Filter > Blur > Gaussian Blur and set the radius to 9 px.
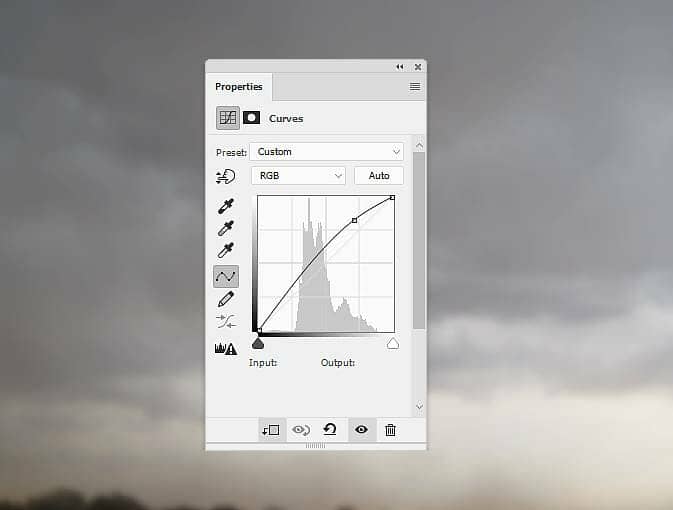
Step 3
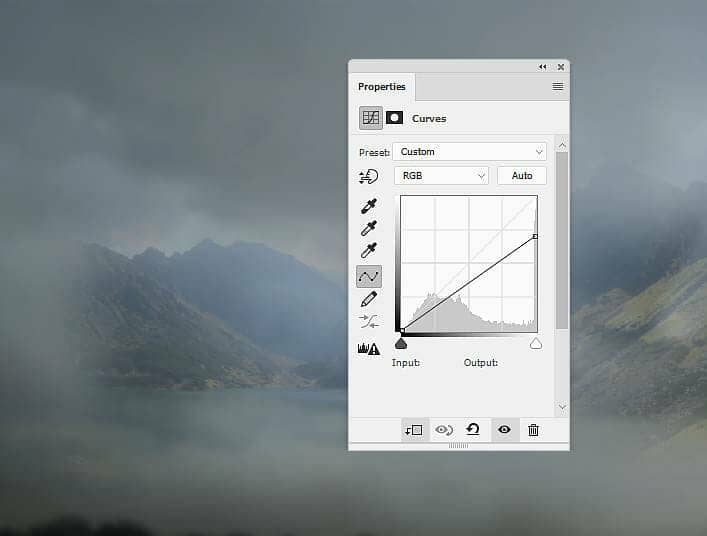
Go to Layer > New Adjustment Layer > Curves and set it as Clipping Mask to bring more light to the sky.
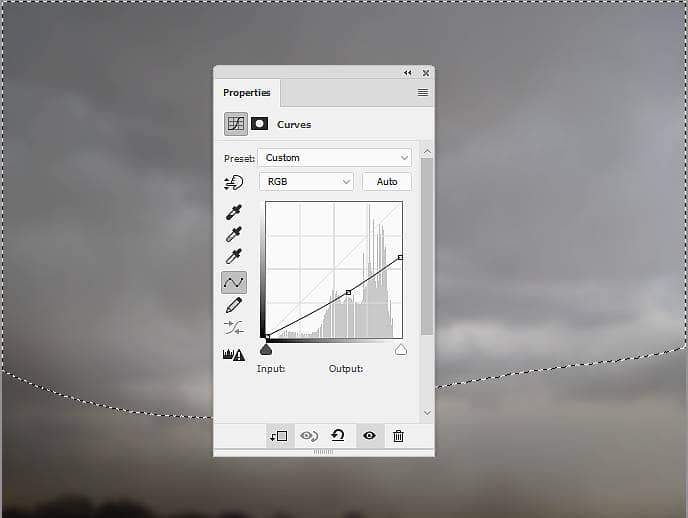
Step 4
Make another Curves adjustment layer (set as Clipping Mask) and decrease the lightness. On this layer mask, activate the Brush Tool (B) and select a soft round one with black color. Use this brush to remove the dark effect on the upper of the sky, leaving the effect visible on the bottom only.
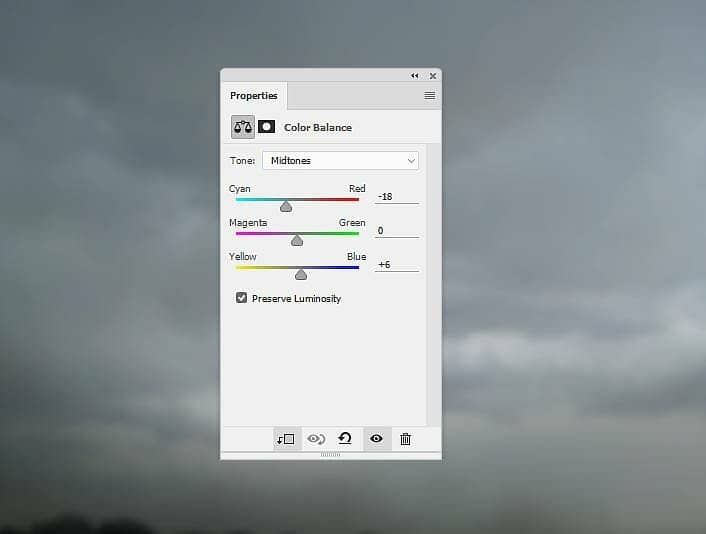
Step 5
Create a Color Balance adjustment layer and change the Midtones settings:
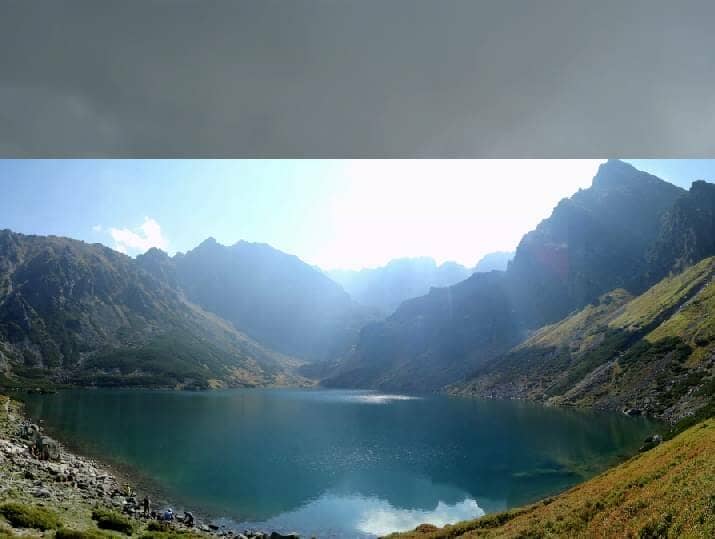
Step 6
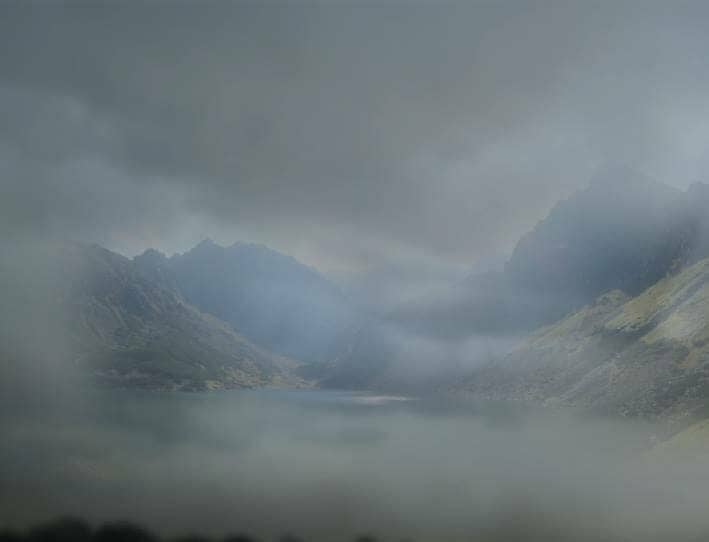
Open the landscape image and drag it into our main document using the Move Tool and place it in the bottom of the canvas. Click the second icon at the bottom of the Layers panel to add a mask to this layer. Use a soft black brush to remove the hard edges and hide the lake part.

Step 7
Make a Curves adjustment layer (set as Clipping Mask) and decrease the lightness. On this layer mask, use a soft black brush with the opacity about 10% to reduce the dark effect on the mountains in the middle.

Step 8
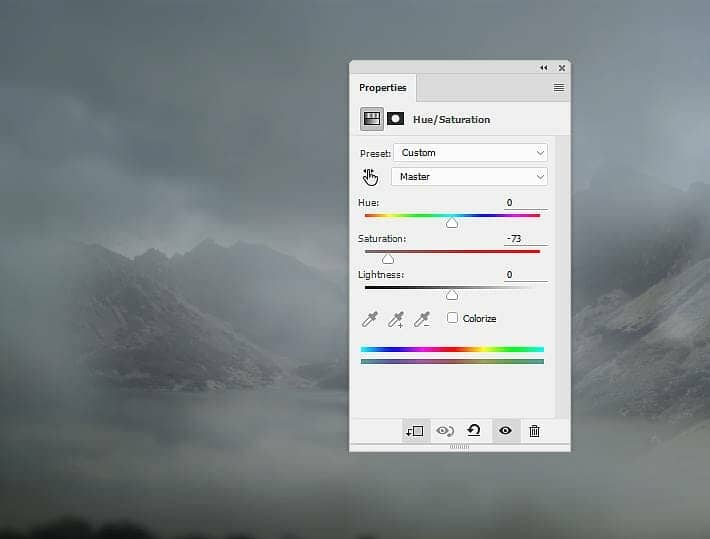
Create a Hue/Saturation adjustment layer and bring the Saturation values down to -73.
Step 9
Open the rocks 1 image and isolate them from the background using the Magnetic Lasso Tool (L) . Select the left rock to add to the right of the foreground of the main canvas and use the Free Transform Tool (Ctrl+T) to tweak the rock a bit. Flip it horizontally by choosing Edit > Transform > Flip Horizontal.