

Luminar AI lets you turn your ideas into reality with powerful, intelligent AI. Download the photo editor and see how you can completely transform your photos in a few clicks.
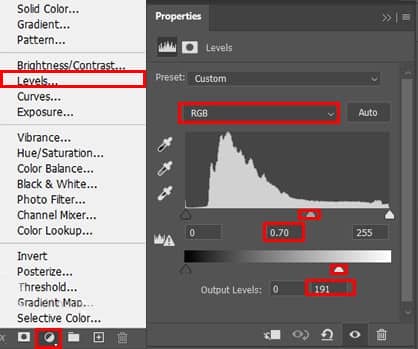
Step 9
Add Adjustment Layer "Levels"
Step 10
Add Adjustment Layer "Hue/Saturation"
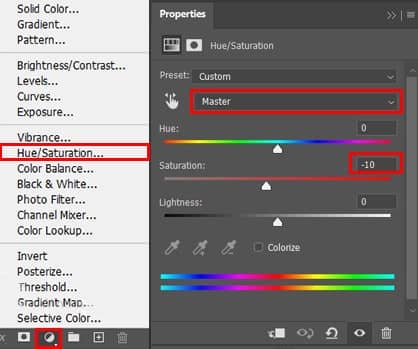
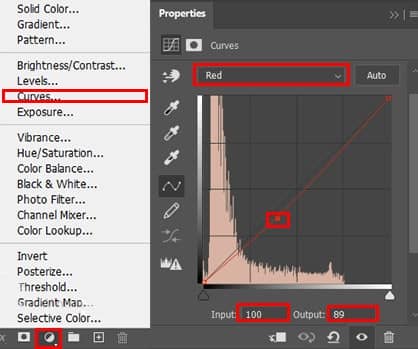
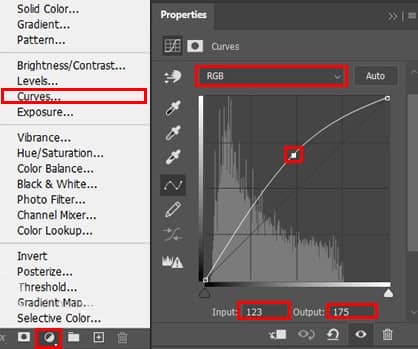
Step 11
Add Adjustment Layer "Curves"
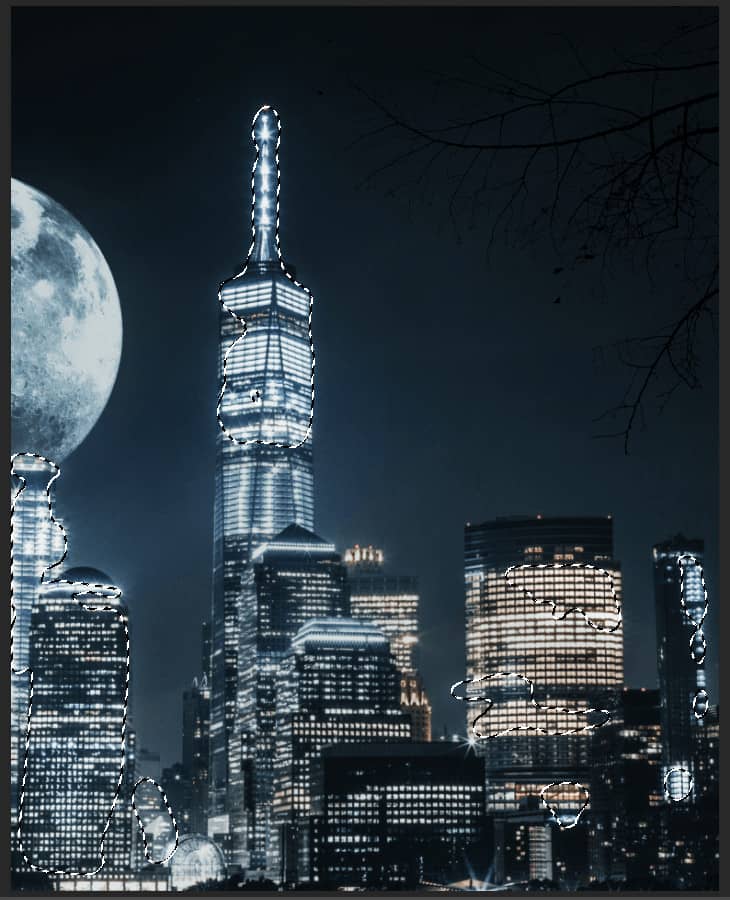
Step 12
Add Adjustment Layer "Curves" and press Ctrl/Cmd + I to invert. Then use Brush Tool(B) Soft Round with foreground color white and paint the lights on buildings.
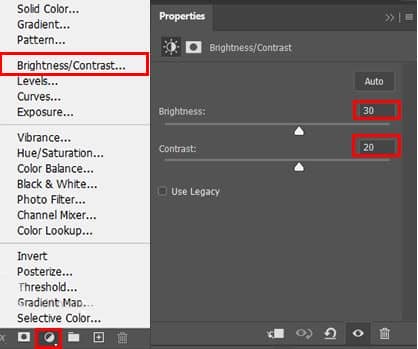
Step 13
Add Adjustment Layer "Brightness/Contrast"
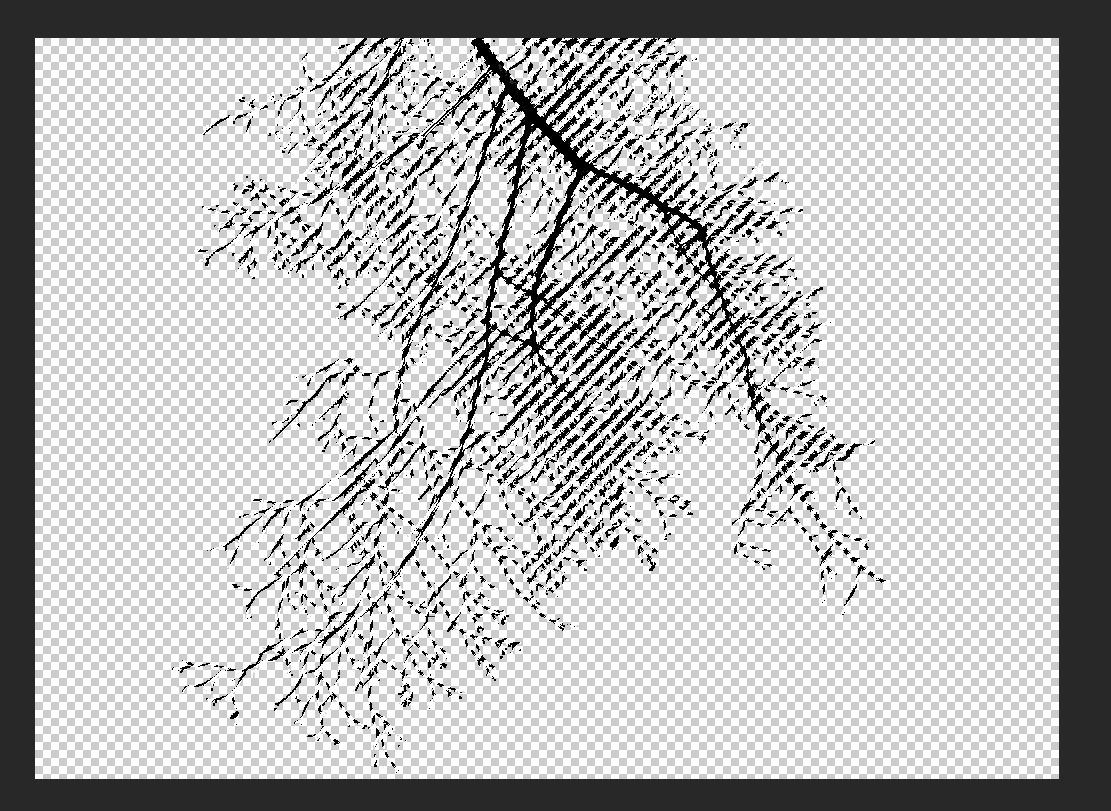
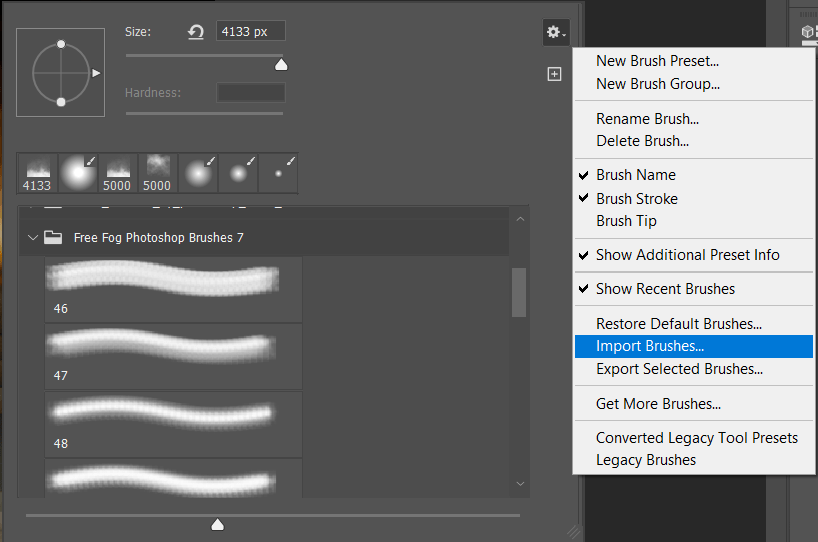
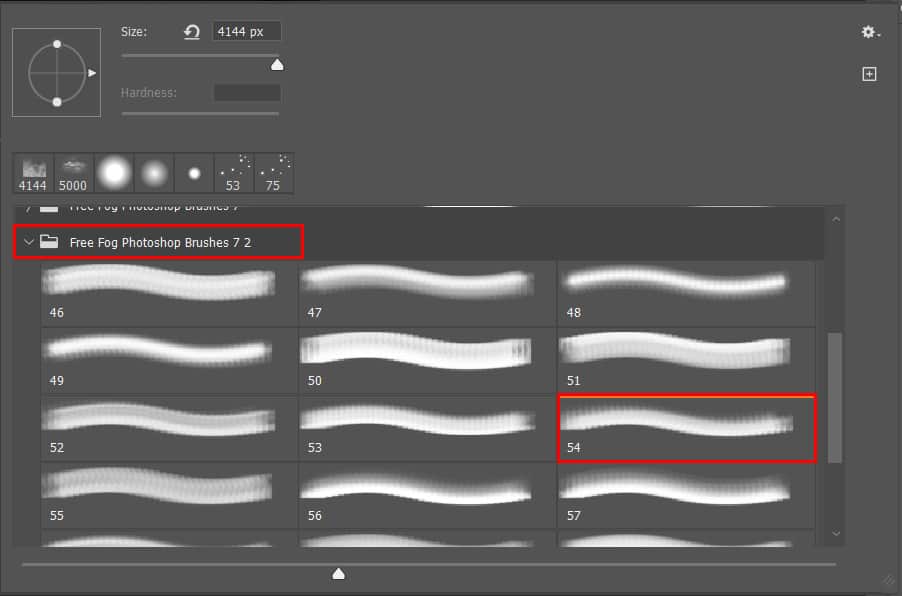
Step 14
Next, we add Fog but first we need to import brushes. Select a Brush Tool(B) and right click on background. Now click on the gear icon and Import Brushes (Select a downloaded brush).
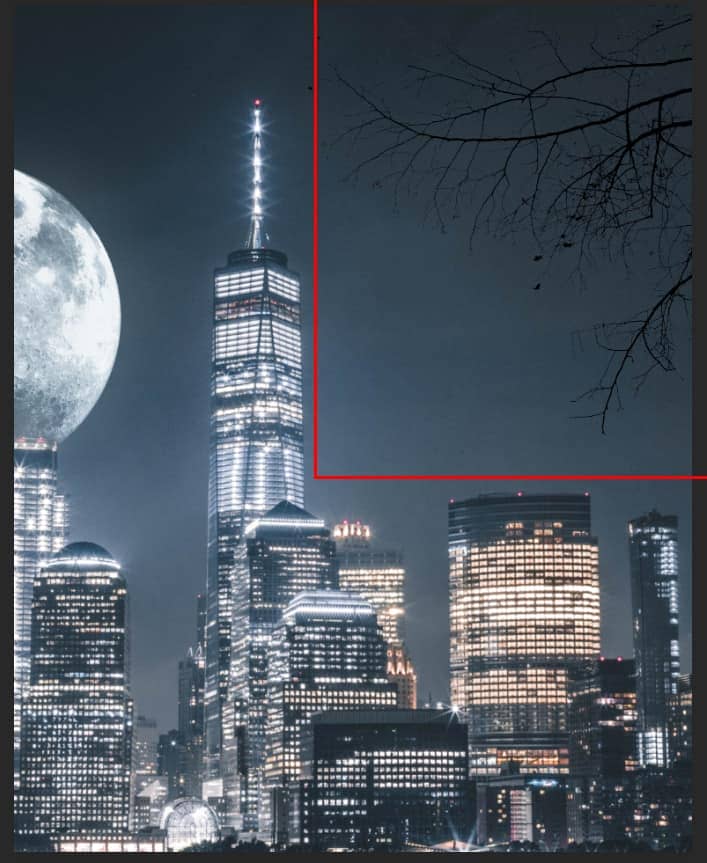
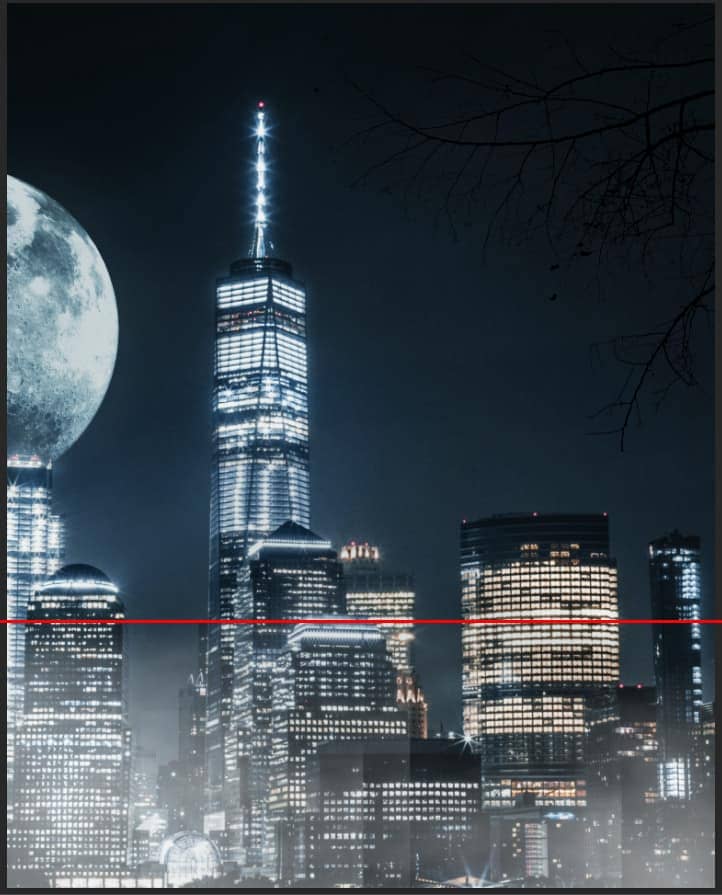
Step 15
Create a new layer with Foreground color White. Select Brush Tool(B) and right click on background to select Fog folder then start painting the fog.
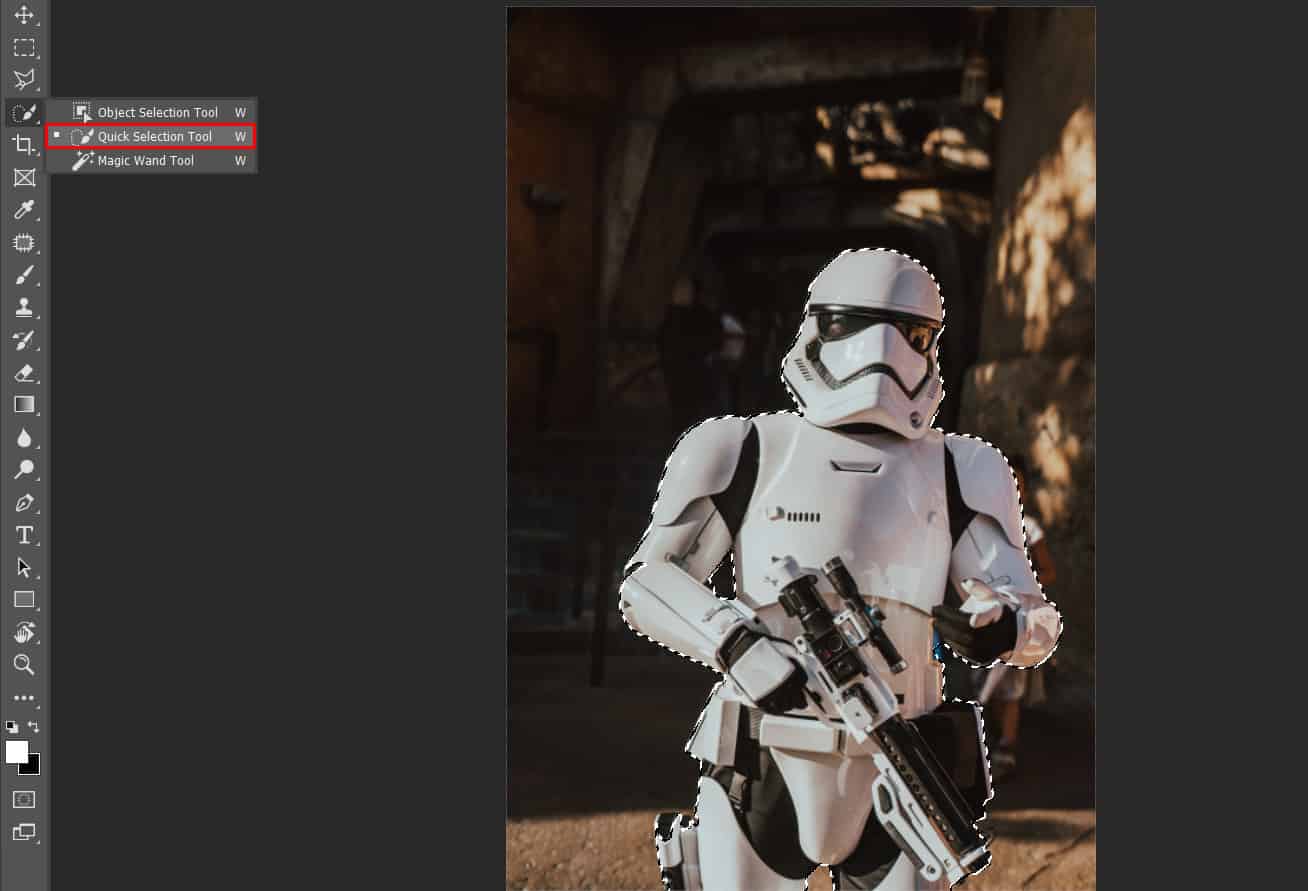
Step 16
Next we will openModel. After you open the image, use Quick Selection Tool(W) and start selecting Soldier. After the selection area has been created, simply copy (Ctrl / Cmd + C) and Paste (Ctrl / Cmd + V) it to our work canvas. Then position the image with the transform tool (Ctrl / Cmd + T). Hold Alt + Shift and resterize like image below. In Photoshop CC only hold Alt to resterize al sides together.

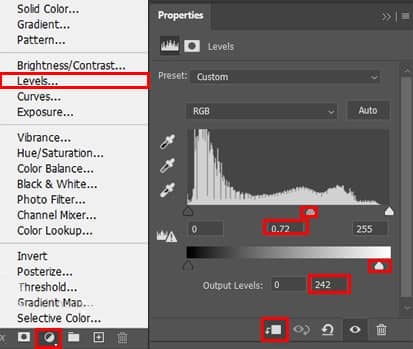
Step 17
Add Adjustment Layer "Levels"
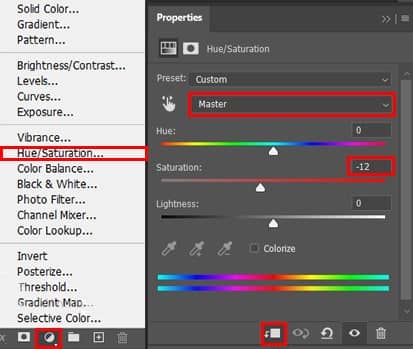
Step 18
Add Adjustment Layer "Hue/Saturation"
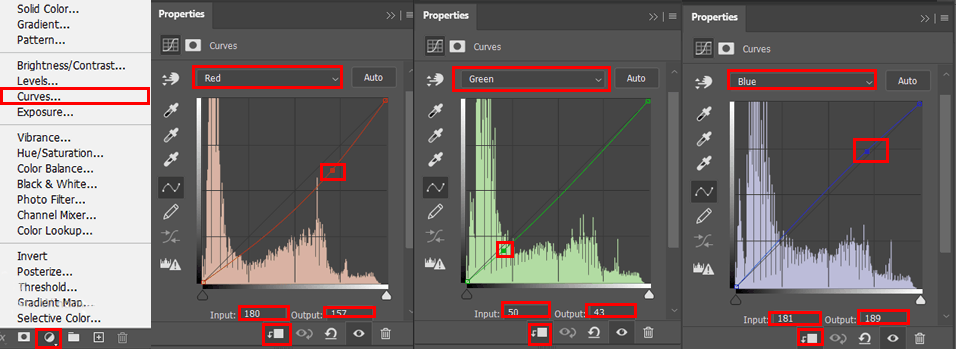
Step 19
Add Adjustment Layer "Curves"
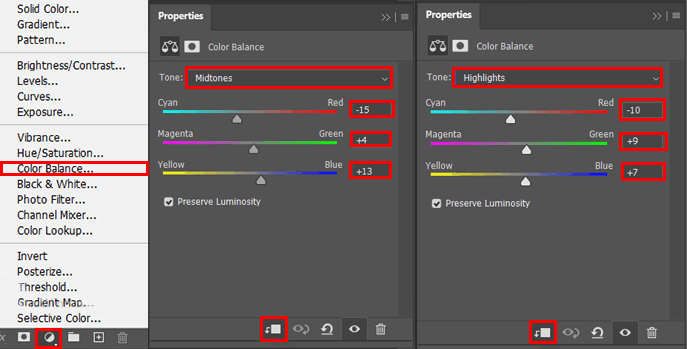
Step 20
Add Adjustment Layer "Color Balance" and set Opacity to 80%.
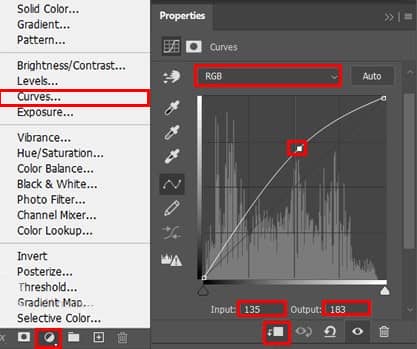
Step 21
Add Adjustment Layer "Curves" and press Ctrl/Cmd + I to invert. Then use Brush Tool(B) Soft Round with foreground colow white and paint on Highlight parts.

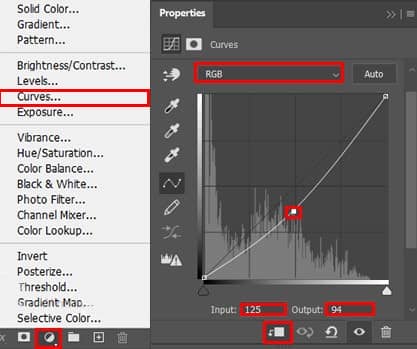
Step 22
Add Adjustment Layer "Curves" and press Ctrl/Cmd + I to invert. Then use Brush Tool(B) Soft Round with foreground color white and paint the dark parts.

Step 23
Next, add some fire particles, After you open the image, use Rectangular Marquee Tool(M). With the Rectangular Marquee tool, drag over the area you want to select. Hold down Shift as you drag to constrain the marquee to(release the mouse button before you release Shift to keep the selection shape constrained).
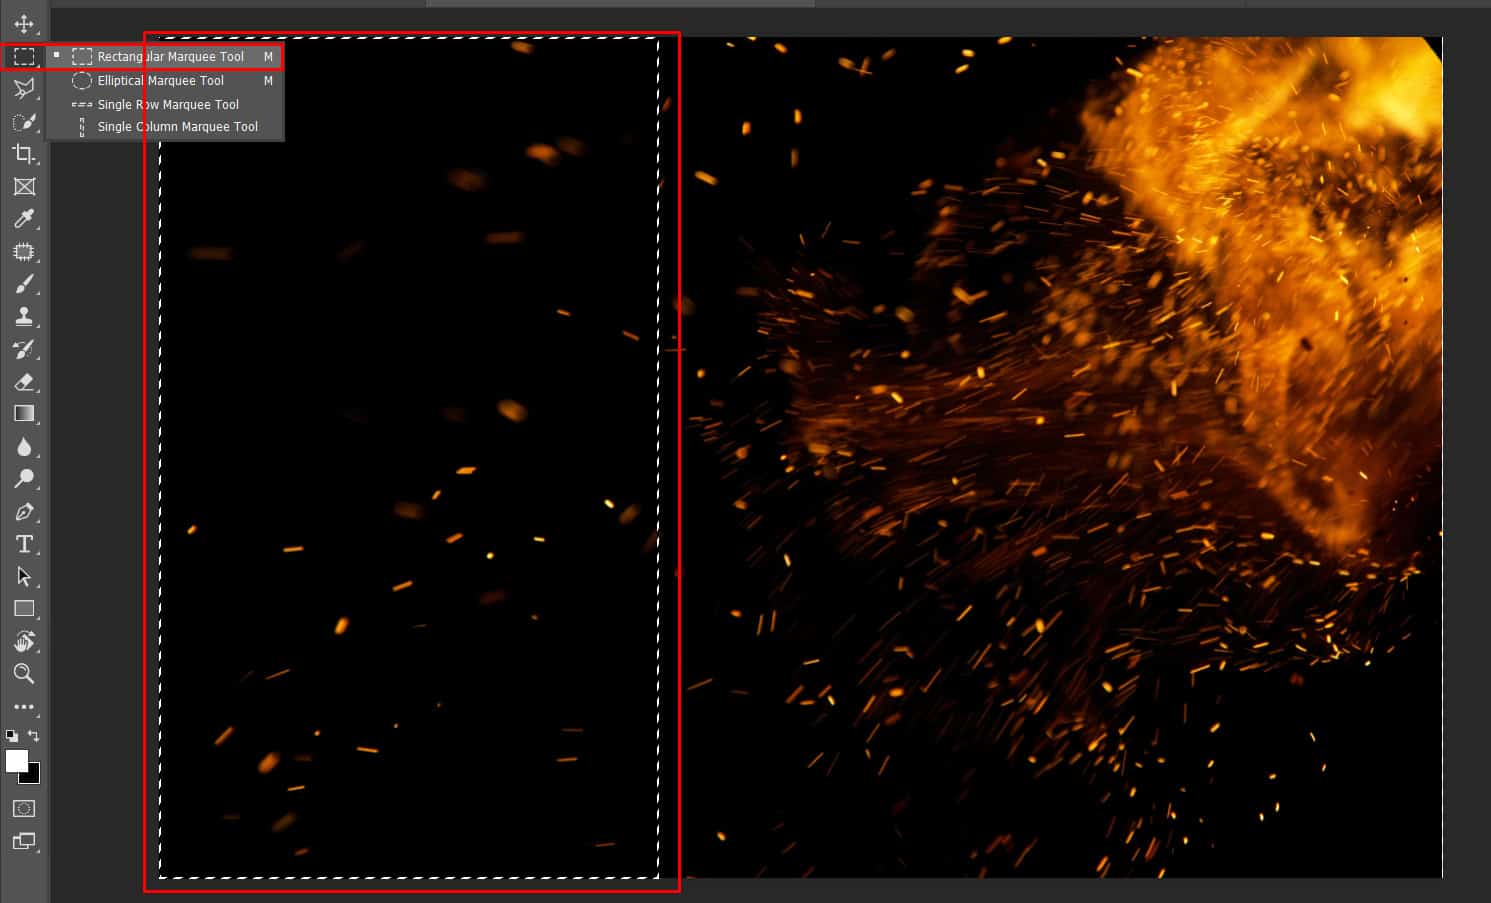
After the selection area has been created, simply copy (Ctrl / Cmd + C) and Paste (Ctrl / Cmd + V) it to our work canvas. Then position the image with the transform tool (Ctrl / Cmd + T). Hold Alt + Shift and resterize like image below. In Photoshop CC only hold Alt to resterize al sides together.
3 comments on “Create a Movie Poster in Photoshop”
do you need me
Nice
bro