


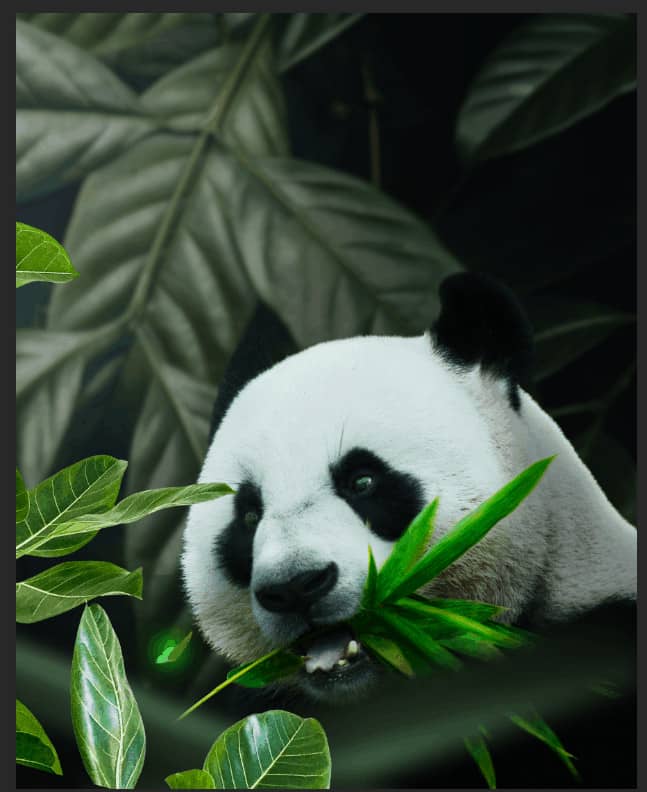
Turn any photo into a dot grid artwork with these Photoshop actions. You'll get great results with dots that change size. They get larger in brighter areas and smaller in darker areas. Free download available.
Step 19
Next, create a new layer and change Blend mode to Soft Light with Opacity 80% then use a Brush Tool(B) Soft Round with foreground color white and Size to max(5000px). Then paint to left.
Step 20
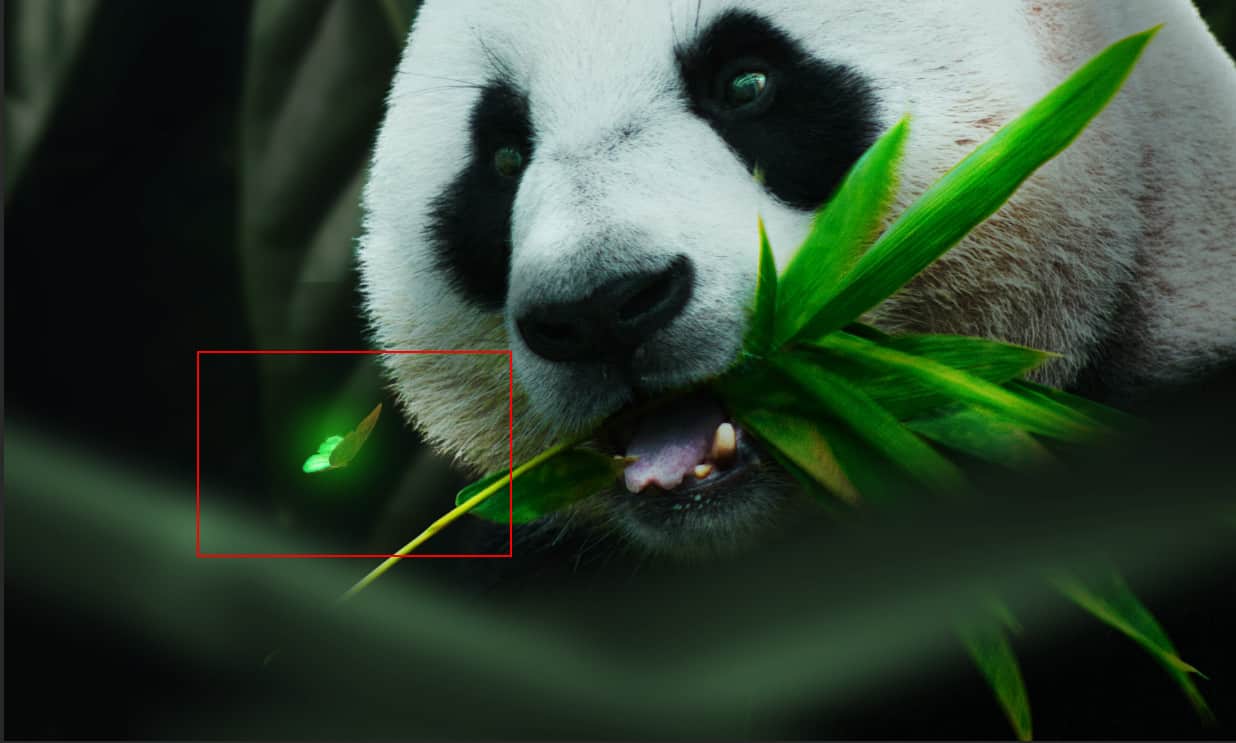
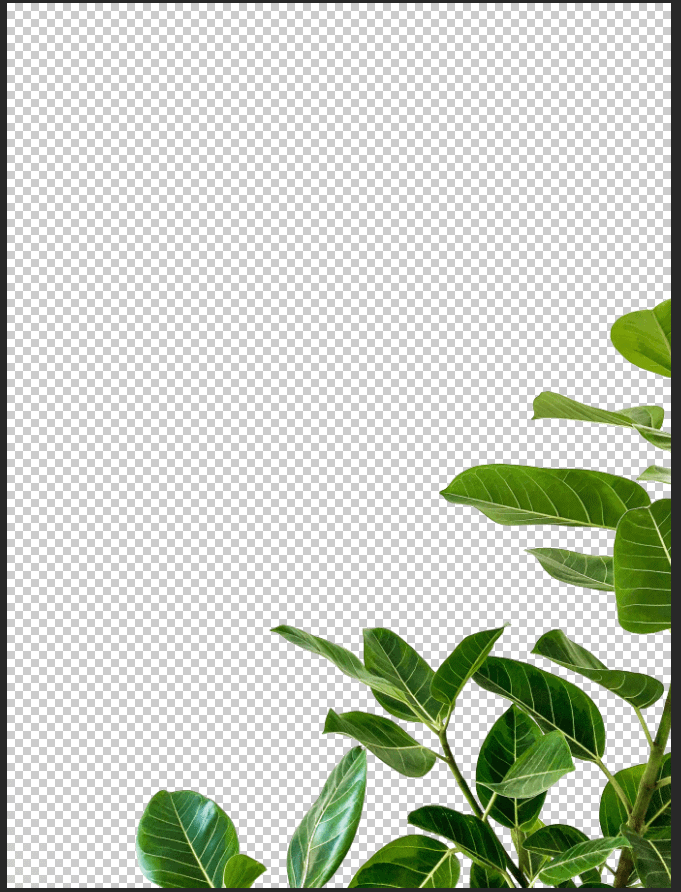
Now, go to File > Open and select Leaves. Now that we have opened we need to remove the background, the easiest way to do that is Color Range. Go to Select > Color Range and with the pointer click on white color on image, Fuzzines set to 40 then press OK.
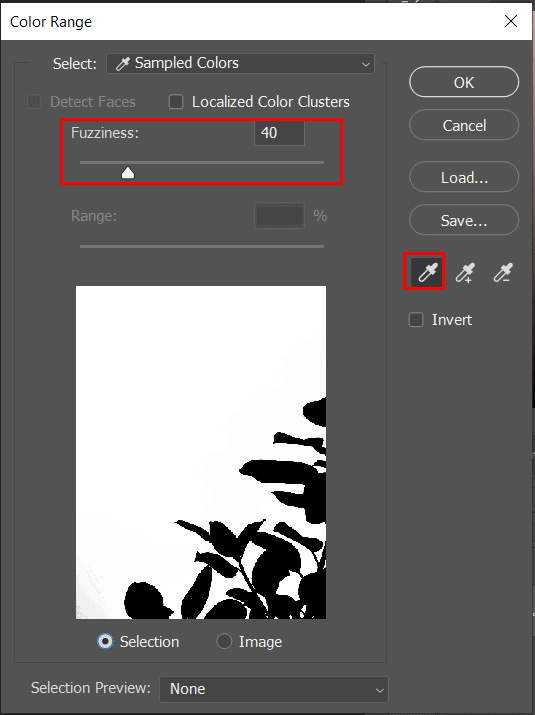
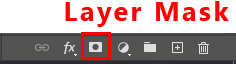
Now press Ctrl/Cmd + Shift + I to invert the selectioin and click on layes mask icon.
Step 21
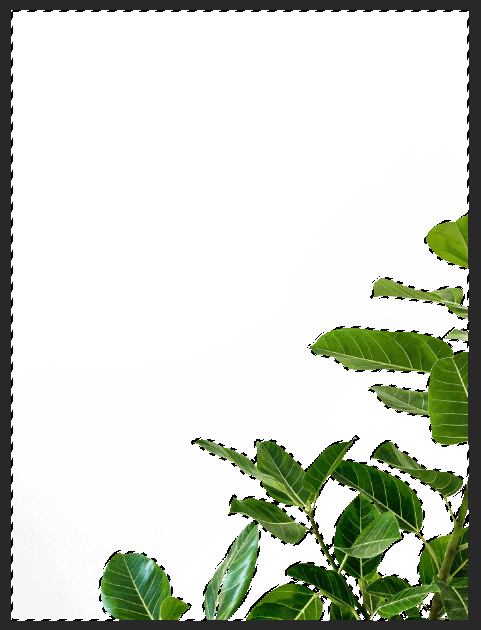
After the selection area has been created, simply copy (Ctrl / Cmd + C) and Paste (Ctrl / Cmd + V) it to our work canvas. Then position the image with the transform tool (Ctrl / Cmd + T). Hold Alt + Shift and resterize and Rotate like image below. In Photoshop CC only hold Alt to resterize al sides together.
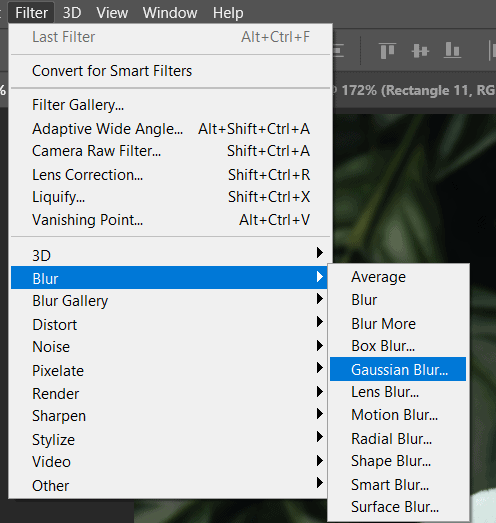
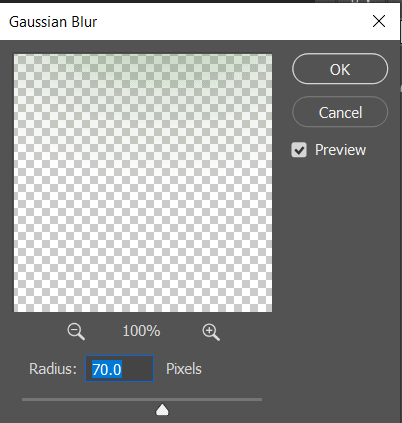
Then go to Filter > Blur > Gaussian Blur set radius to 70px.
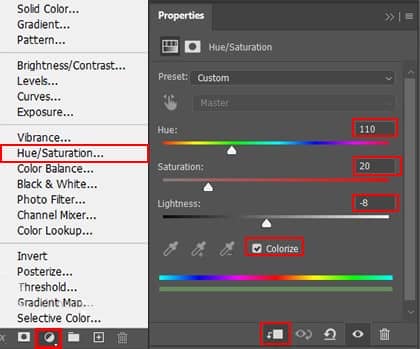
Step 22
Add Adjustment Layer "Hue/Saturation"
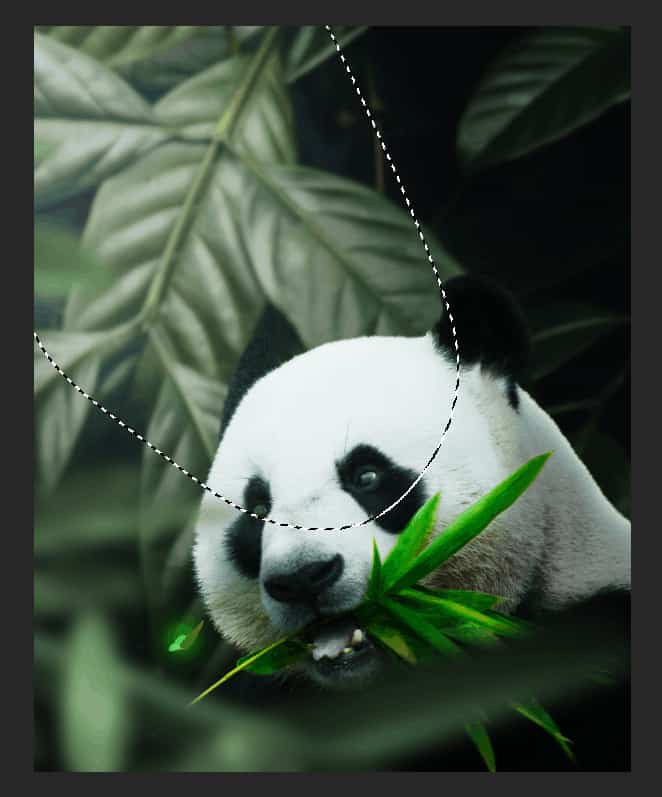
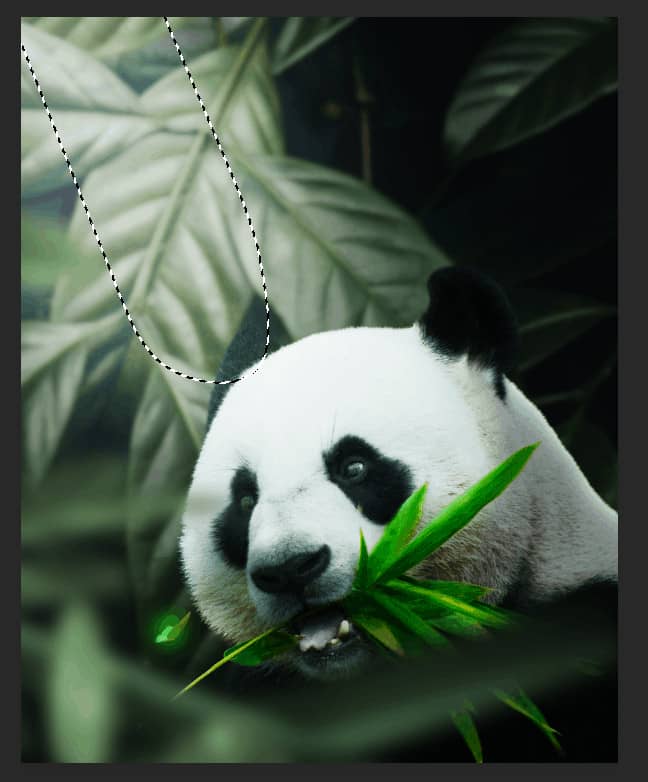
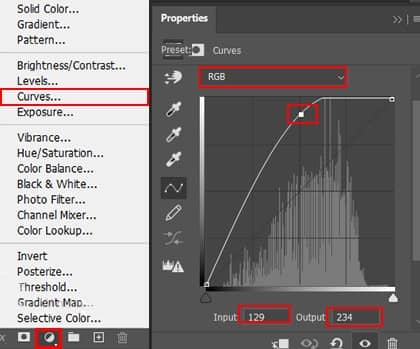
Step 23
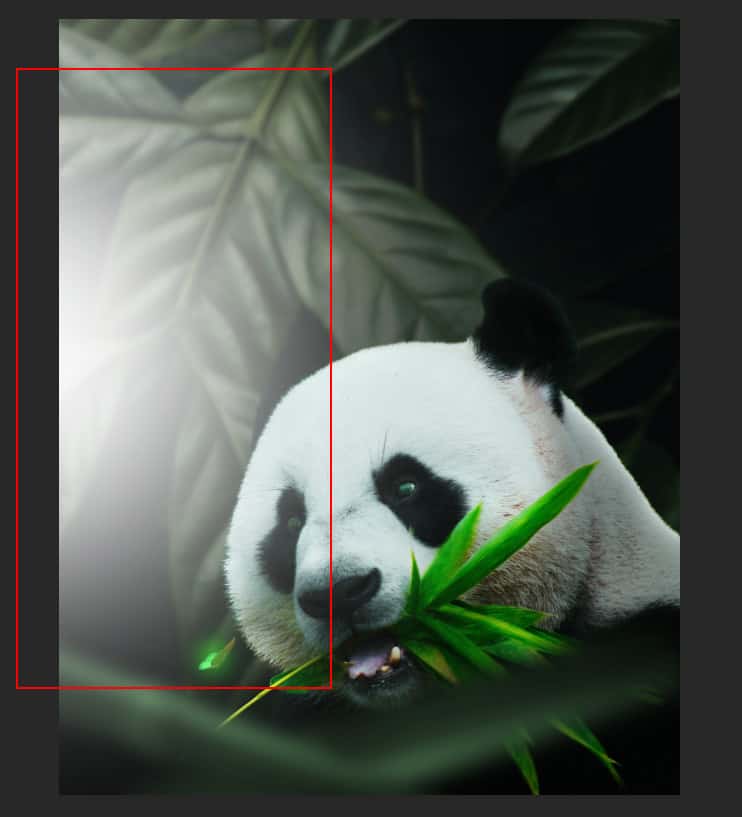
Let”s add some light, first use Polygonal Lasso Tool(L) and make selection form left corner. Then click on adjustment layer icon and select Curves. Go to Filter > Blur > Gaussian Blur and set Radius to 200px. Opacity set to 60%.

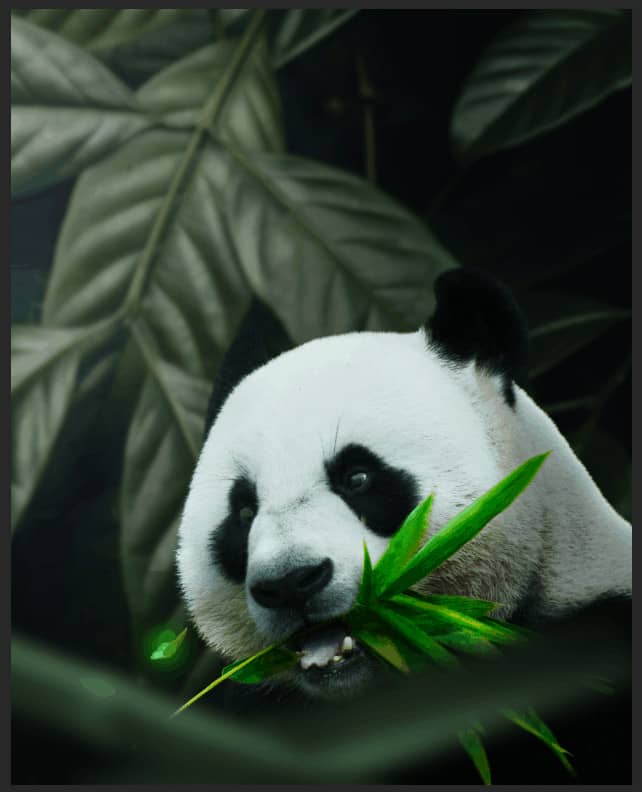
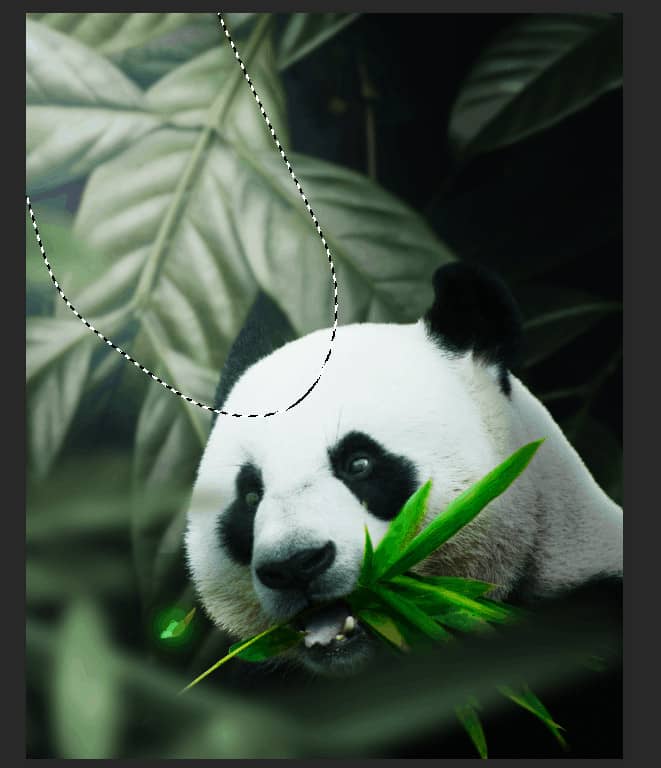
Step 24
Next, create another Polygonal Lasso selection then add adjustment layer curves and go to Filter > Blur > Gaussian Blur and set Radiuss 200px. Opacity set to 32%.
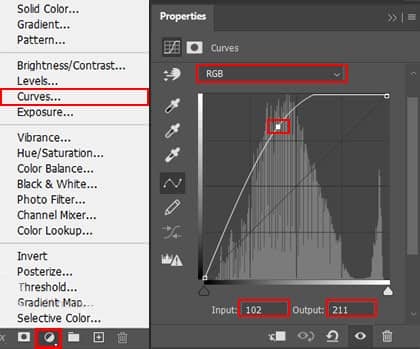
Step 25
Create the last Polygonal Lasso selection and Add Adjustment Layer “Curves” then go to Filter > Blur > Gaussian Blur and set Radius to 200px. Opacity set to 24%.
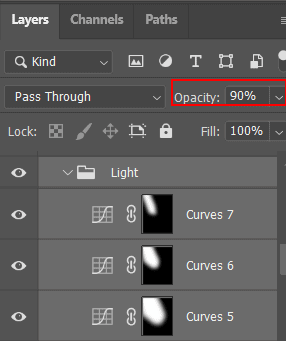
Select all three Adjustment layers and put in all in group, press Ctrl/Cmd + G and change opacity of group to 90%.
Step 26
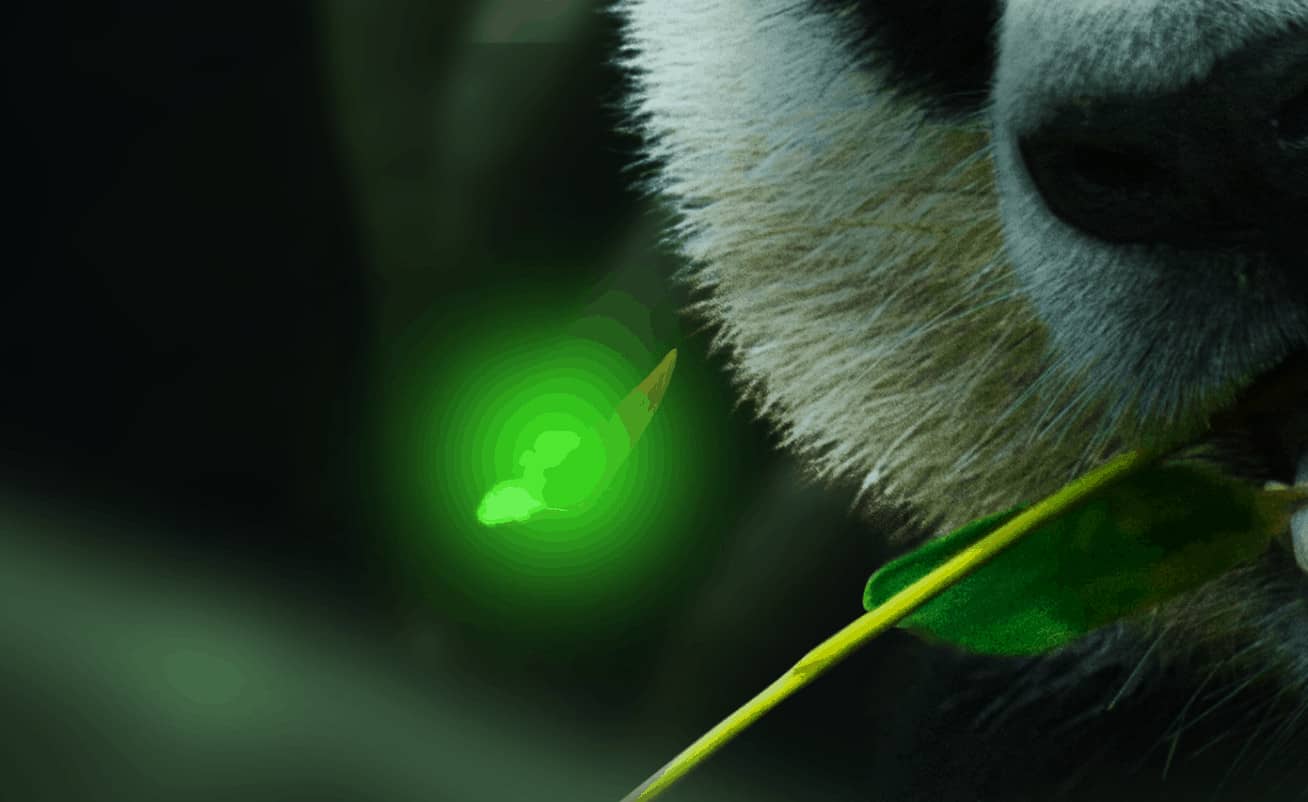
Next, add some fire particles, After you open the image, use Rectangular Marquee Tool(M). With the Rectangular Marquee tool, drag over the area you want to select. Hold down Shift as you drag to constrain the marquee to(release the mouse button before you release Shift to keep the selection shape constrained).
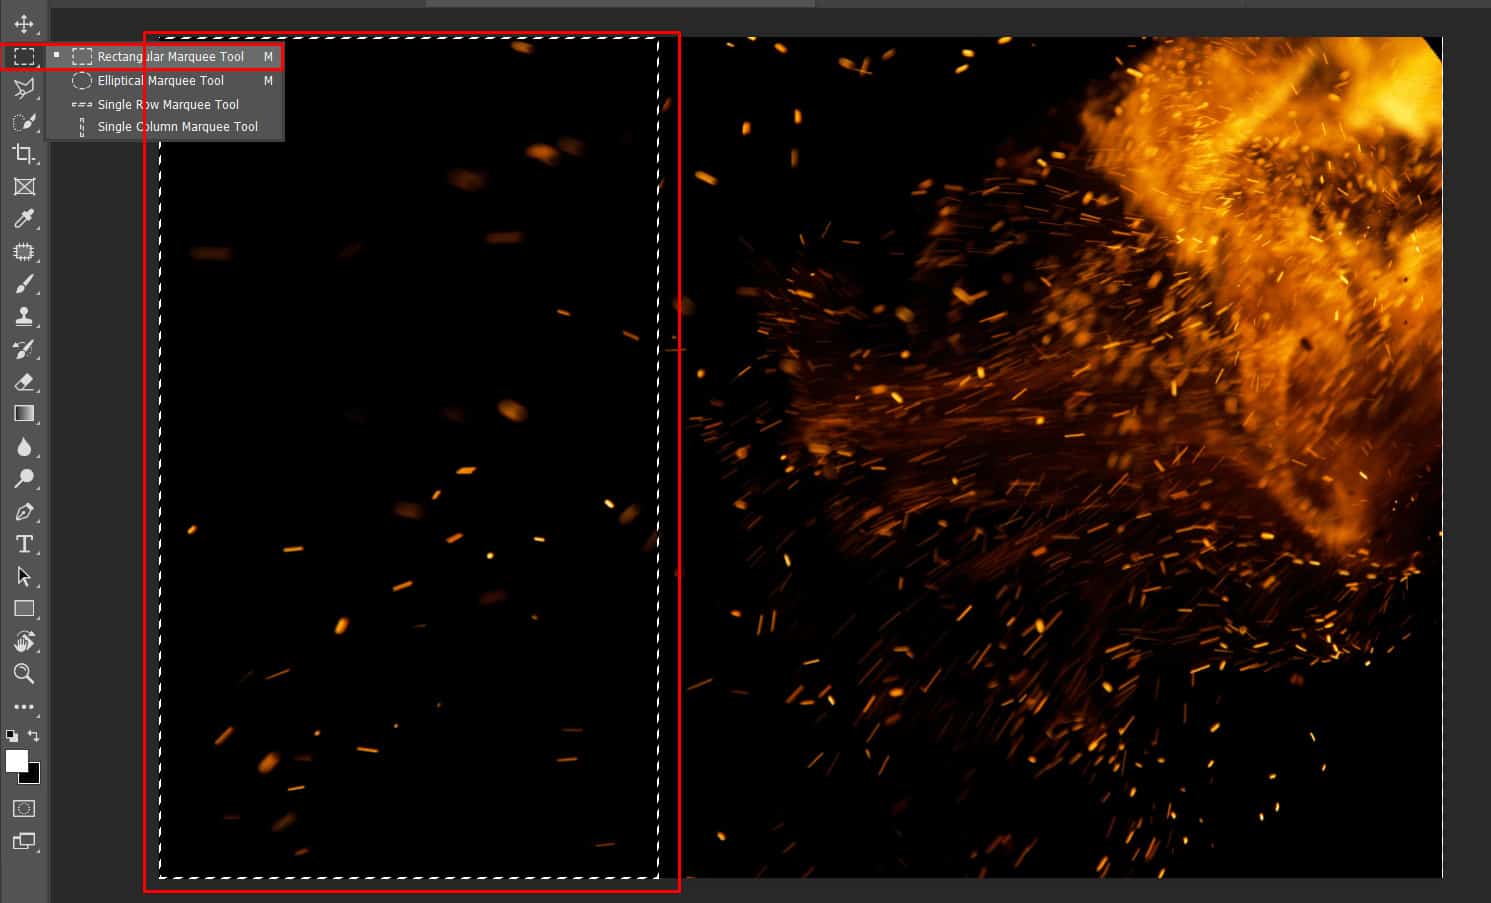
After the selection area has been created, simply copy (Ctrl / Cmd + C) and Paste (Ctrl / Cmd + V) it to our work canvas. Then position the image with the transform tool (Ctrl / Cmd + T). Hold Alt + Shift and resterize like image below. In Photoshop CC only hold Alt to resterize al sides together.