
Luminar AI lets you turn your ideas into reality with powerful, intelligent AI. Download the photo editor and see how you can completely transform your photos in a few clicks.
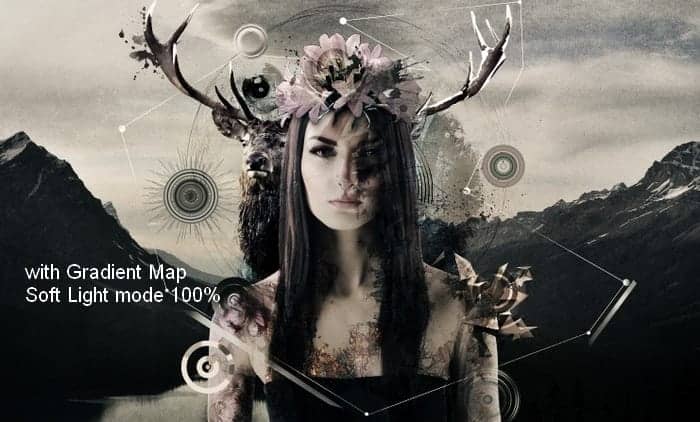
Step 33
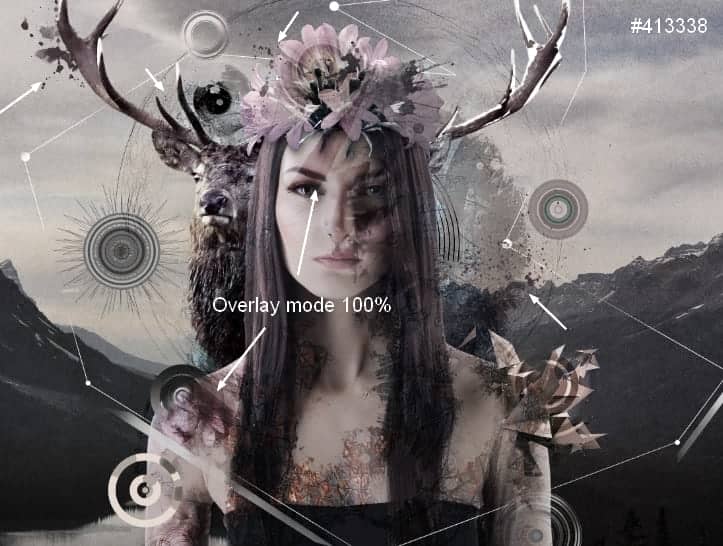
We finished adding the elements, now it's time to change the color and mood. Create a Gradient Map adjustment layer on the top:
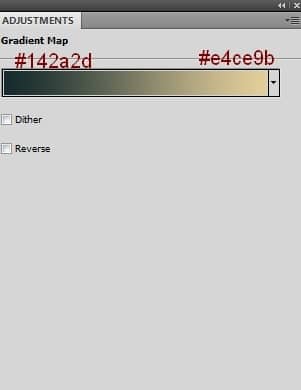
Change this layer mode to Soft Light 100%:
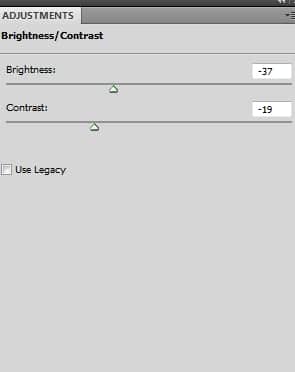
Step 34
I used Brightness/Contrast to reduce the lightness of the image:
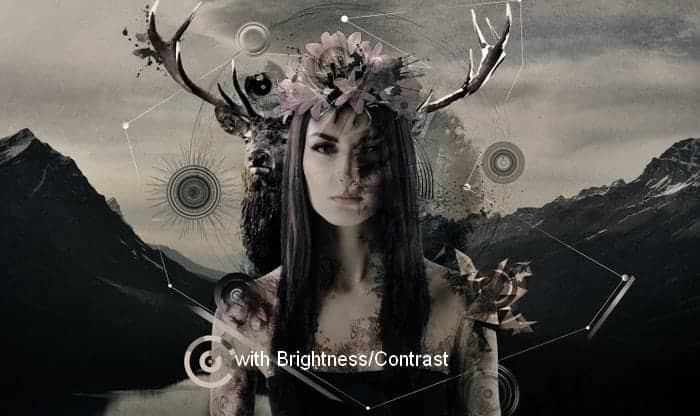
Step 35
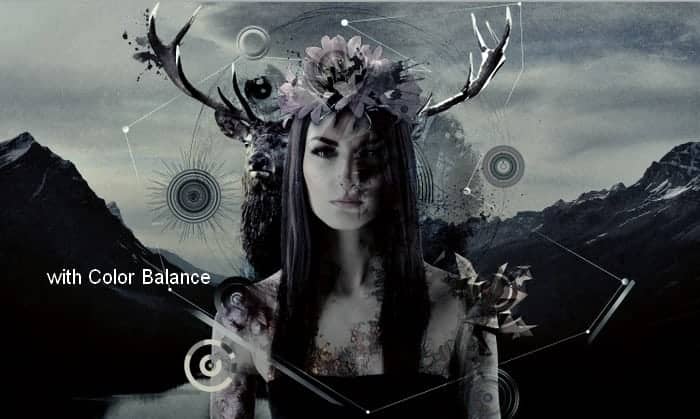
I used Color Balance to add some cold tone to the scene:
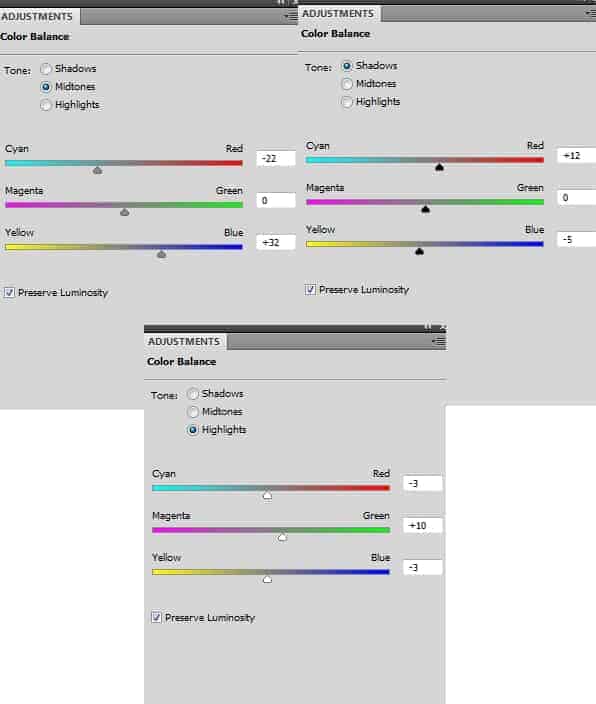
Step 36
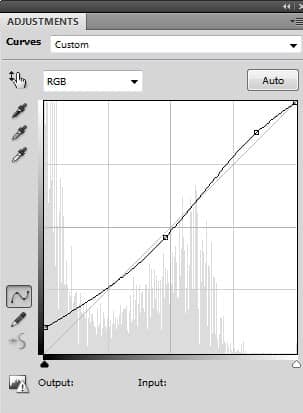
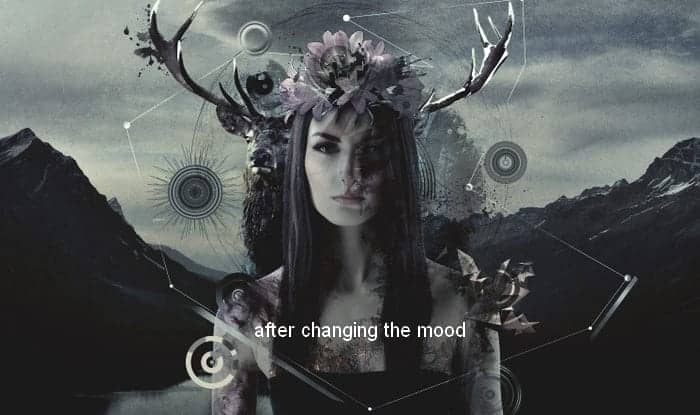
I used Curves to change the image atmosphere:
Step 37
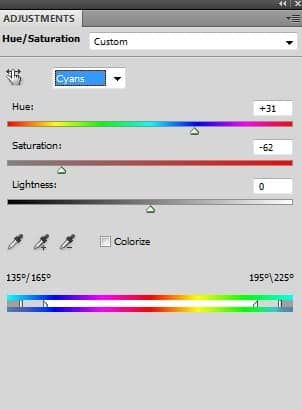
Final step: I used Hue/Saturation to alter the color:
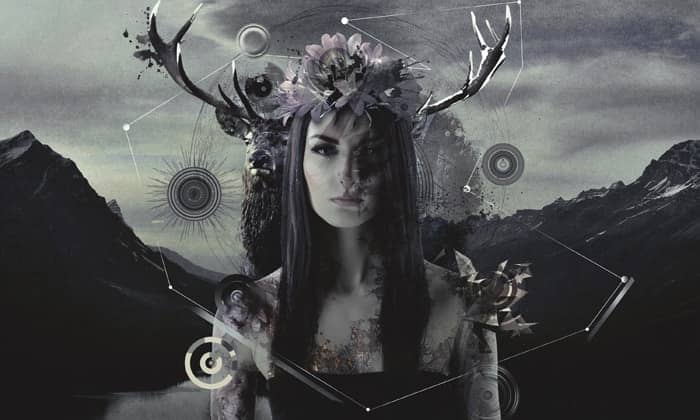
Final Results
Download the PSD
[vc_column width="1/1" el_position="first last"] [vc_cta_button title="Download" href="https://downloads.photoshoptutorials.ws/Feeling.zip" color="btn" size="btn-large" icon="none" target="_self" position="cta_align_right" call_text="Feeling.zip | 77.7 MB" width="1/1" el_position="first last"] [/vc_column]
6 comments on “Composite a Modern Matte Portrait in Photoshop”
BENERAN MAU MENINGGAL GAK YA?
Beautiful ;)
I don't fully understand step 7? Pls help!
The tutorial is fine for the most part but I'm astonished that the author can get away with such laziness. The point of a tutorial is to teach you _how_ not what you did.
Let me help you:
Add a Curves layer (from the adjustments panel). Add a point in the middle of the line and drag it down. This will darken it. OR.... add a Brightness/Contrast layer instead of Curves. No reason to use curves for something this basic.
Click on the layer mask thumbnail in the layers panel. Use the Brush tool (b) and then right-click on the document and pick a round brush with a hardness of 0-50%. Set your foreground color to black and then paint over the areas that you want to brighten back up.
where can i get some of your tutorials, pls am a graphic designer and i want to learn more. pls help
Pls help send. Autocad 2d tutorials.