
Make your artwork look like they're from an alternate universe. These Cyberpunk presets work with Photoshop (via the Camera Raw filter) and Lightroom. Download all 788 presets for 90% off.

Create Clipping mask from this adjustment layer to adjust only one layer below (=RUIN IN BACKGROUND) and not the rest of the image. To do that right click on the adjustment layer Curves and simply choose the option Create Clipping Mask.
Step 4 - Adding Ruin on the Left
Download photo of the ruin (Ruin #2) listed in the beginning of the tutorial and drag it into your photo manipulation. Place it on the top of all layers and name it LEFT RUIN. Cut out the unwanted background.
There are couple steps which need to be done to blend the building properly. Let's start with colors. Make sure the layer LEFT RUIN is active (just click on it in the Layers palette). And then go to Image > Adjustments > Match Color... . Set the dialogue window as on the following picture and press OK.

After this step your photo manipulation should look like the one on the following image.

Step 5 - Blending the Ruin
In this step you'll add two more adjustments to create the ruin bluer and less saturated. Let's start with making it bluer.
Add new adjustment layer Color Balance on the top of all layers and set it as on the following image.

Create clipping mask from this adjustment layer.To lower the saturation of LEFT RUIN add new adjustment layer Vibrance on the top of all layers and set the value Vibrance on -10. Create clipping mask from this adjustment layer too.

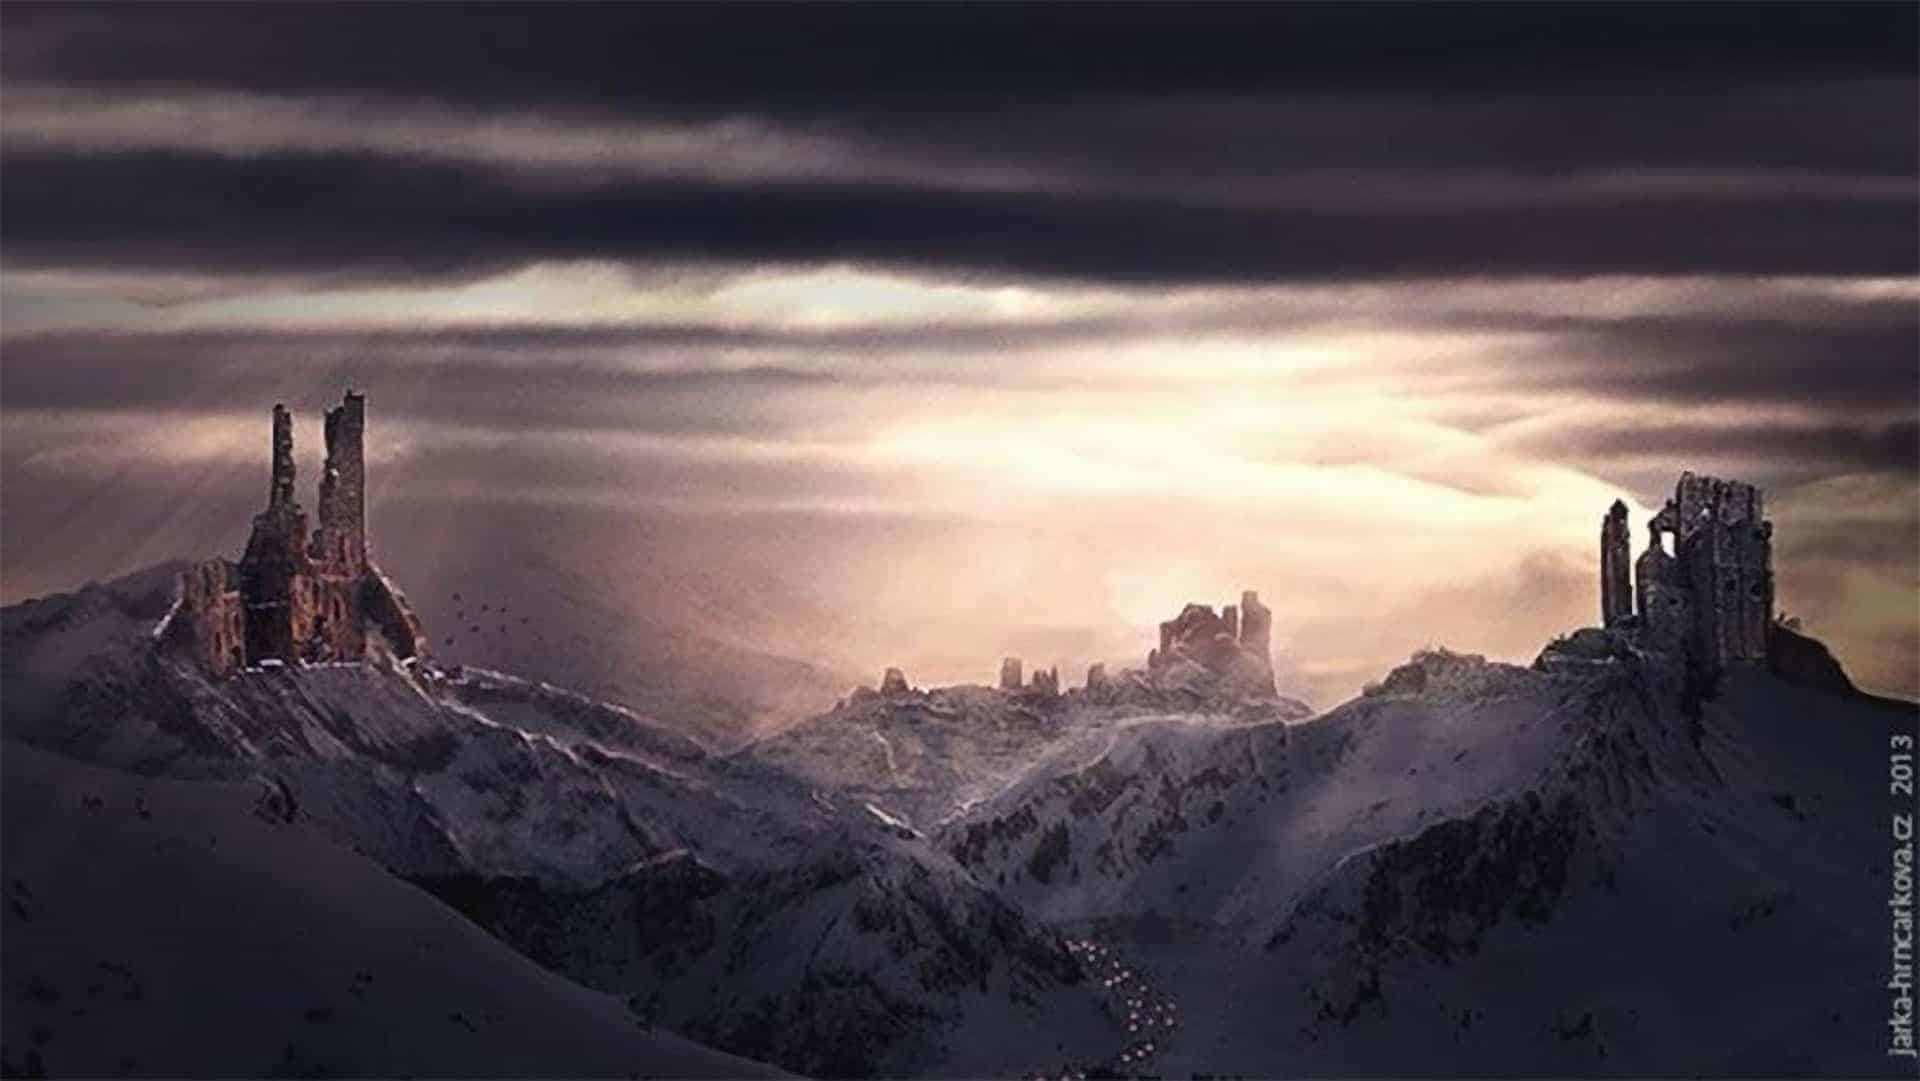
On the following photo you can compare how the ruins look before and after the adjustments.

Step 8 - Adding Tower
As you can see on the preview picture there is a tower on the left ruin. You'll add it in this step.
Download the photo of tower listed in the beginning of the tutorial and drag it into your photo manipulation. Place in on the top of all layers and name it TOWER. Press Ctrl + T and resize it on proper size. Cut out the background.
To make it more 3D looking, add new adjustment layer Curves on the top of all layers and set it as on the following image.

Create clipping mask from this adjustment layer to adjust only TOWER.
You want to make only some parts of the tower darker. Not the whole photo. To do that grab the Paint Bucket Tool (G) and fill the layer mask of this adjustment layer with black color.
10 comments on “How to Composite a Ruins Landscape”
Who else loves
?
<3 ;)
:) <3
Beautiful, creative and acutely enjoy able!
Nice illustrations, they make it really easy to scan the post for the important parts.
This was very good tutorial. Yea maybe missing a few steps. But i think its a good thing to make you think sometimes on your own.
I liked the tutorial very much. Keep it up m8.
My attempt http://1niquity.deviantart.com/art/Snowland-457464418
awesome picccccccc
I like the image, but the tutorial is missing a LOT of steps.
Its a very nice tutorial and a picture..but for the left ruin it was way too few the info you gave about it... cause you copy the one side of the ruin and put it and left side of it ,plus you copy the short wall it had and put it on the right side of it...without those it didnt looked realistic ..
tutorial was sort of hard to follow. I mean, when transforming the "left ruin" layer, did you change the perspective? not very descriptive... Good picture though
NICEEEEEE PICCCCCC......