


Make your artwork look like they're from an alternate universe. These Cyberpunk presets work with Photoshop (via the Camera Raw filter) and Lightroom. Download all 788 presets for 90% off.
Final Results
That's all, dear friends! I hope you are happy with the result. Do not be afraid to experiment and try something new. Look at my final result and send your results!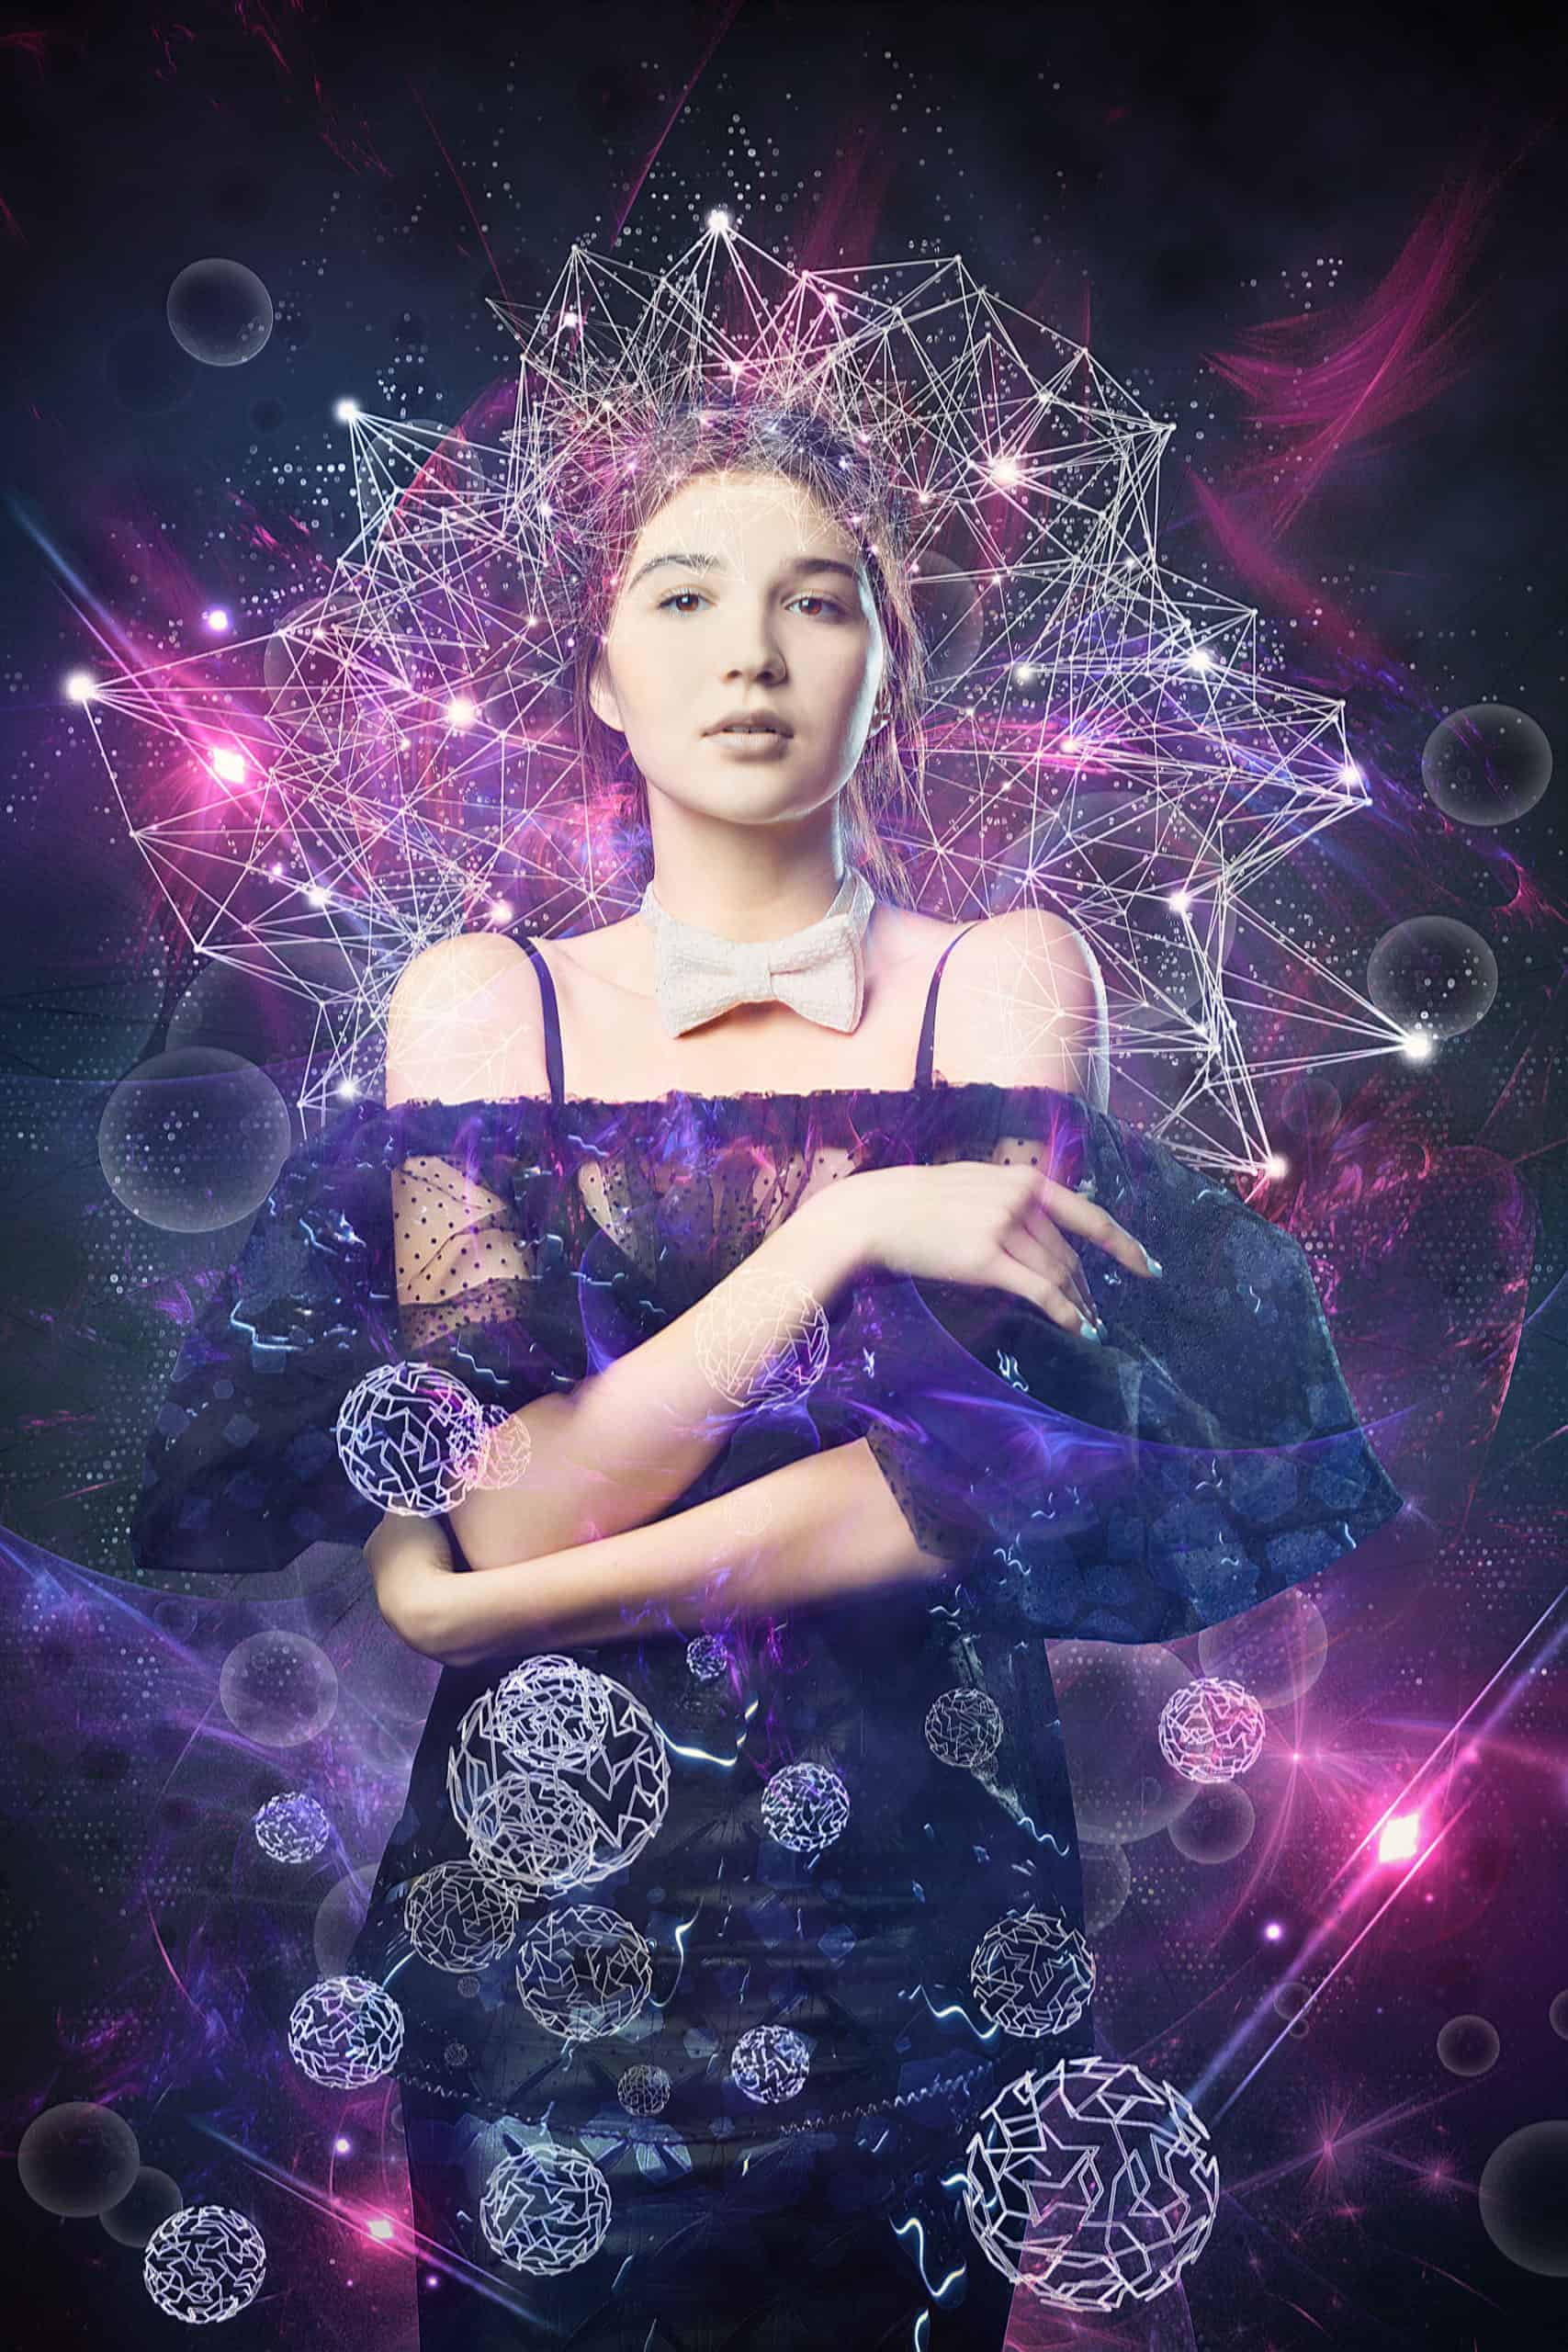
Download the PSD
Star.zip| 600 MBTutorial by Maria Semelevich.

20 comments on “Create a 3D Abstract Photo Manipulation Style in Photoshop”
Cool cool
I always liked adding a wicked background to photos that are generally too busy.
kudos! I love your work, I’m new at this, your tutorial is very clear, I followed your guide and I made it,I hope you can make more tutorial like this, thank you very much.
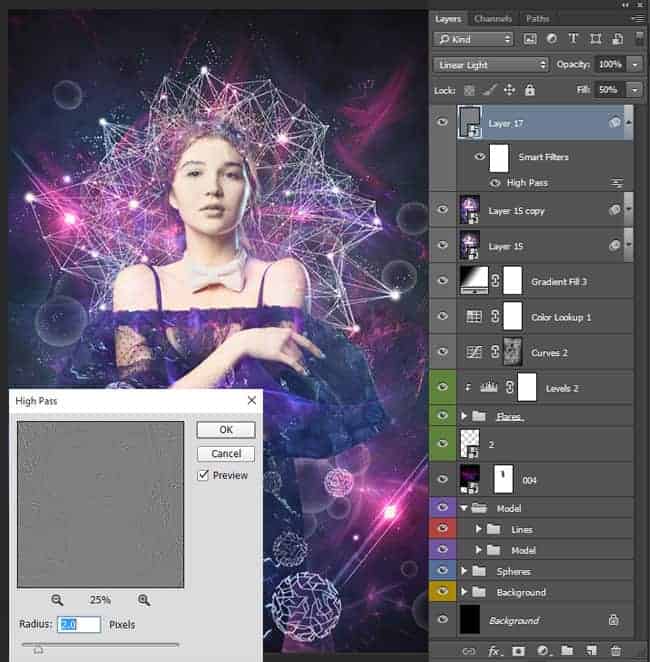
I'm at Step 44 and am stuck on this part: "Remember, we create a merged copy? Use it again (Cmd/Ctrl + Opt/Alt + Shift + E) and move this layer to top of layer stack."
First, I don't remember creating a merged copy (that doesn't mean I didn't; I just don't remember), and, secondly, I don't know which layers you're referring to that should be included in the merged copy, so, if you could please provide some clarification, I'd be very grateful.
Thanks,
Ray
Hi Ray,
Thank you very much for your letter!
"Copy Merged Makes a merged copy of all the visible layers in the selected area"
https://helpx.adobe.com/pdf/photoshop_reference.pdf
This function is needed to obtain a copy of your work on a separate layer. You can merge all layers if you want, and then make a copy. But it will be wasted and you will not be able to go back to the layers. You must use the version of the image to which you want to apply effect (all layers in the Layers panel or the layers that you consider necessary use in your artwork). You just need a layer of your result on a separate layer, to apply effects. All the same as in Step 29. Or you can use the method that you prefer. Personally, I like to use this method because it is fast. I used all of the layers that have been in my work at this stage. You can see my layers sequence in the previous step (Step 43).
Kind Regards,
Maria.
Thank you very much, Maria. I really appreciate your help.
Your tutorials are very easy to follow and I appreciate that very much. I am just getting started and sometimes I am not even sure what photoshop can really do for me.
Thank you for your comment! I am very glad that you liked my tutorial :). I deliberately tried to make my tutorials are accessible to people with various Photoshop knowledge. I believe that you will succeed! From my experience, the best option is a constant practice and personal experience to help you achieve good results!
Good luck and new creative achievements to you!
Maria.
I'm enjoying this tutorial, but it would be even better if the reasoning behind what we're doing was explained, e.g. Step 23 Replace layer mask from “Curves” model layer to Gradient Fill layer by holding Opt/Alt and drag and drop layer mask to gradient layer mask. I understand the basic concept behind layer masks, but I don't understand why we're copying a mask from one layer to another and the effect that has.
If you could supply an explanation, that would be most appreciated.
Thanks
Thank you for your comment! I'm glad you liked my tutorial :)
It is necessary to not doing the same action each time. Because otherwise, you need to create a selection of model and add a layer mask to the desired layer. So just a faster and more optimized work on photo manipulation.
I would like to say that we need a layer mask on which the model (white color) is separated from the background (black) and remove some areas on it to to hide the effect of the adjustment layer, where it is not necessary.
I hope I answered your question. If you still have questions do not hesitate to ask and I'm happy to answer you :)
Maria.
I'm sorry, but I don't understand what we're supposed to be doing in Step 21. You say "Use the average skin tones near the area being edited." I have no idea what that means. I'm fairly new to Photoshop, so it could be my lack of experience, but if you could clarify this step and how exactly we're supposed to go about it, that would be great.
Thanks in advance.
I think the author meant to select the average skin tone color with the Eyedropper tool. You can set the "Sample Size" setting to 101x101 pixels in the options bar (below the menus after you have the Eyedropper tool selected).
Thanks for the response.
Can you fix screenshots at Steps 22 and 44?
The screenshots seem to be showing fine on my end
i would lover to learn how do you have any video i can watch?
kudos
superior!
Hello, wrong link on the Atom Stock Pack
http://mariasemelevich.deviantart.com/art/Atom-Stock-Pack-550943280 - right
Thanks! Link fixed