

Turn any photo into a dot grid artwork with these Photoshop actions. You'll get great results with dots that change size. They get larger in brighter areas and smaller in darker areas. Free download available.
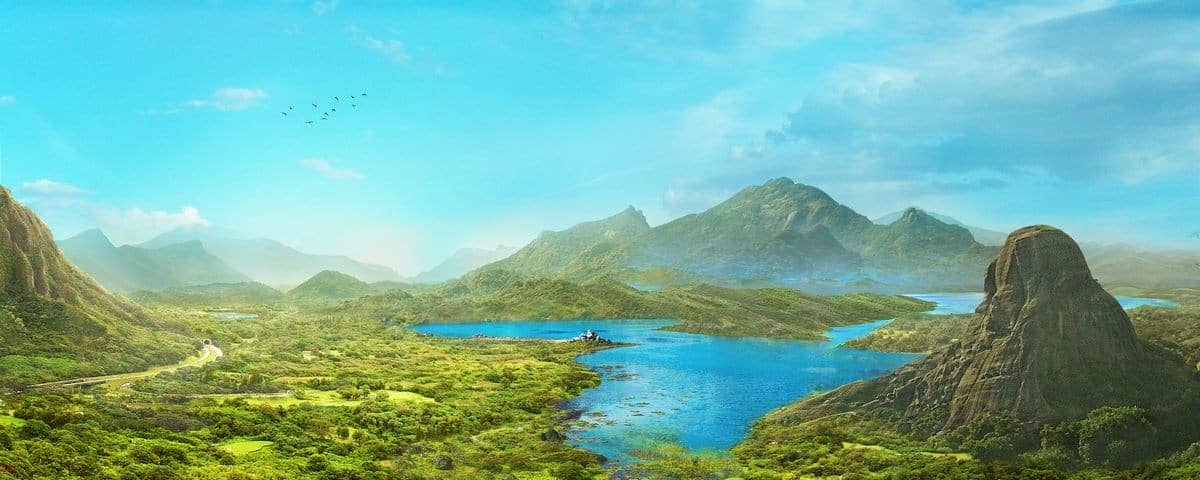
In this tutorial, I'll show you how to create a landscape photo manipulation with blue water and sky. First, we'll build the base scene using a sky and several landscape images. After that, we'll add the mountains and other landscape images and blend them together using adjustment layers, masking and brushes. Later, we'll import the birds and paint the light and mist. We'll use two adjustment layers to enhance the final effect.
Preview of The Final Result
Tutorial Resources
Step 1
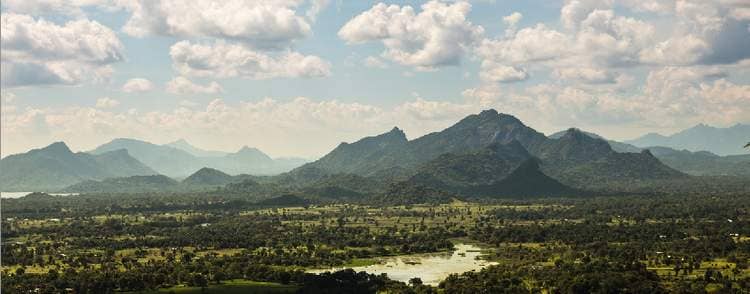
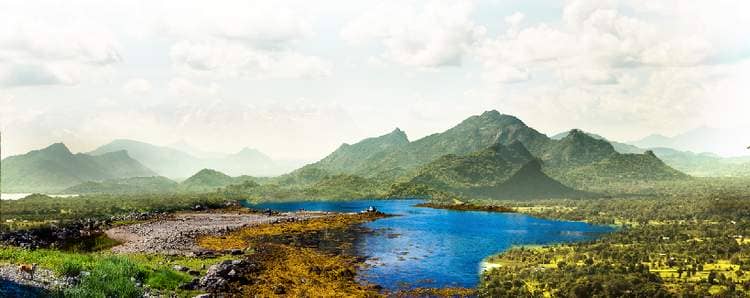
Create a new2500x1000 pxdocument in Photoshop and fill it with white. Open the landscape 2 image and drag it into the white canvas using the Move Tool (V). Convert it to a Smart Object.
Step 2
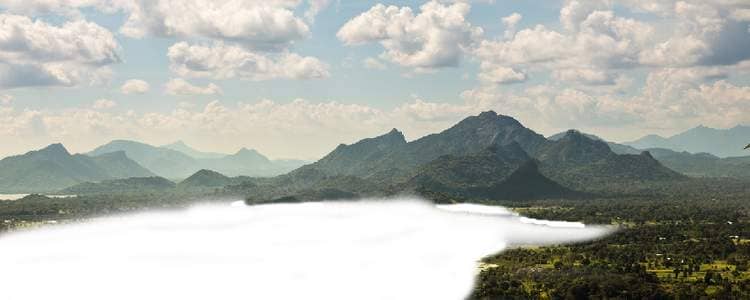
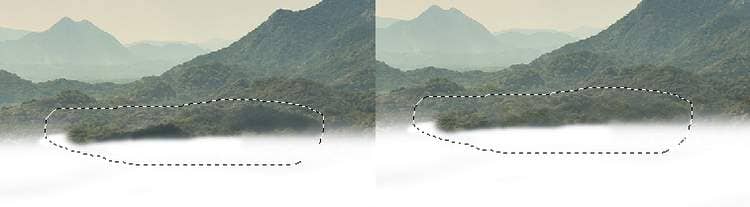
Click the second icon at the bottom of theLayers panel to add a mask to this layer. On the layer mask, activate the Brush Tool (B)and select a soft round one with black color. Use this brush to erase the left of the midground and foreground .
Step 3
Hit Ctrl+Shift+Nto make a new layer and set it as Clipping Mask. Activate the Clone Tool (S)to remove the shadow of some details in the middle as shown below.
Step 4
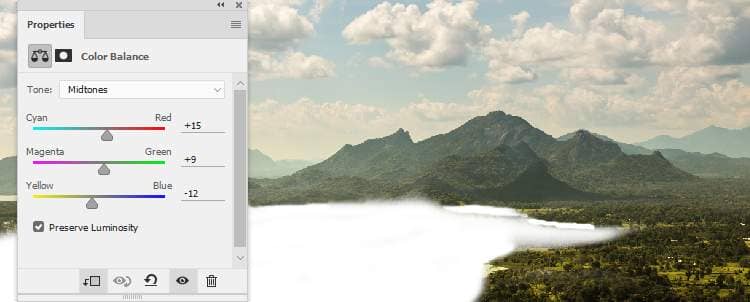
Go to Layers > New Adjustment Layer > Color Balance(set as Clipping Mask) and alter the Midtonessettings:
Step 5
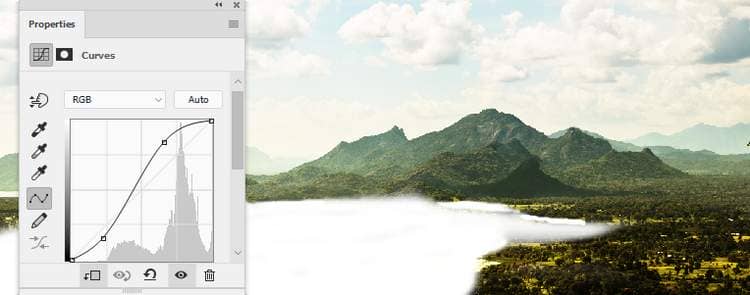
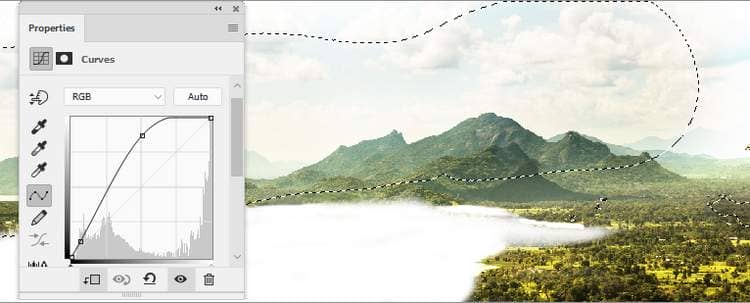
Make a Curvesadjustment layer and increase the contrast. On this layer mask, use a soft round brush to erase the top of the mountains on the left, middle and on the right bottom.
Step 6
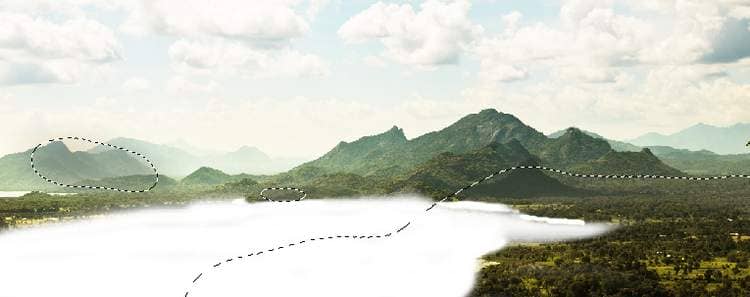
Add another Curvesadjustment layer and increase the lightness. On the layer mask, use a soft black brush to remove the effect on the top middle of the scene.
Step 7
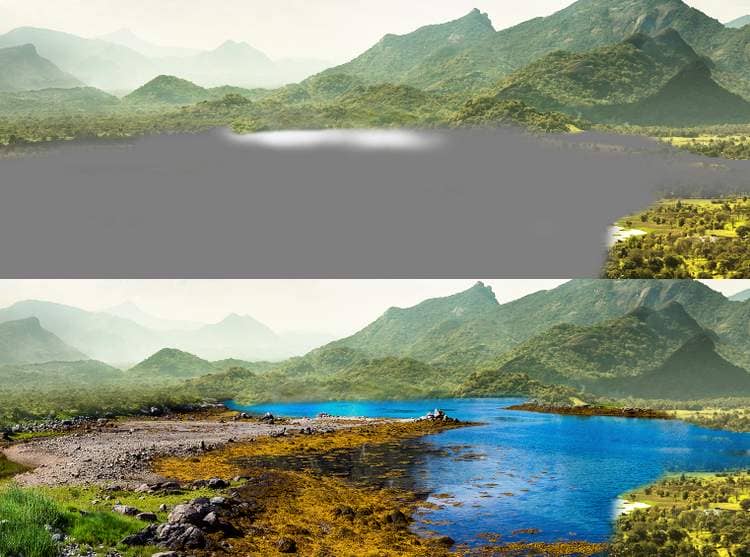
Drag the landscape 1 image into our main document and set this layer below the landscape 2 one. Convert this layer to a Smart Object.
Step 8
Make a new layer, change the mode to Overlay 100%and fill with 50%gray:

Activate the Dodgeand Burn Tool (O)with Midtones Range, Exposureabout 20% to brighten a part of the lakeside.
Step 9
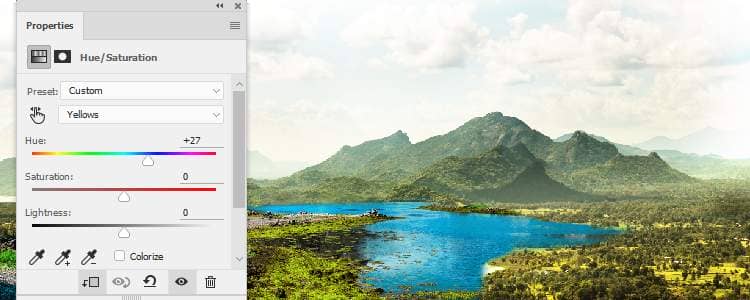
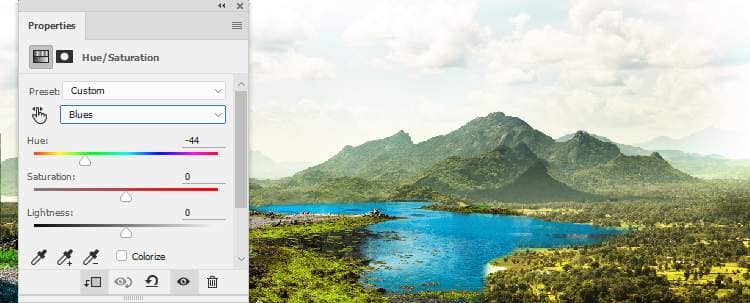
Create a Hue/Saturation adjustment layer (set as Clipping Mask) and change the Yellowsand Bluesvalues:
Step 10
Make a Color Balance adjustment layer and alter the Midtones settings:
12 comments on “Create a Stormy Fantasy Scene of a Fairy in Photoshop”
Zip files on this website are never password protected. Your computer probably has a virus.
Do you have Vedic in you tube.
Great tutorial loved thnks
I'm unable to access the crow picture... :(
очень красиво и не сложно!!!!!!!!!! спасибо.
thanks for lesson.I got a lot of fun doing this lesson I want to show you my pic http://j-p-g.net/if/2015/09/13/0829976001442163363.jpg
Excellent top notch work was very impresesd.
It is a very nice tutorial - just a shame, that I am not able to open the zip file. It tells me that I have the wrong pasword
Excuse me its not working for me
Now anything becomes a tutorial on this site.
This is sad :(.
Dank voor de mooie les
just wow