Make skin look perfect in one-click with these AI-powered Photoshop actions.
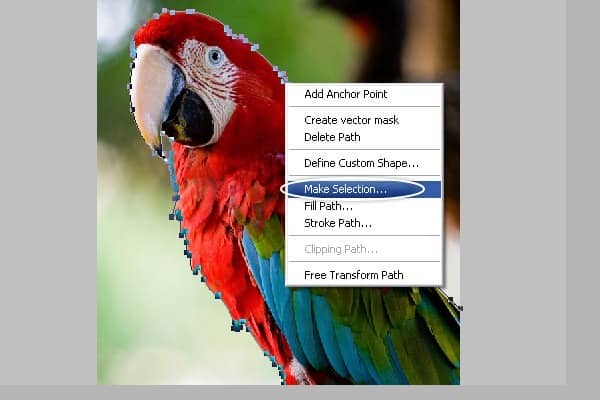
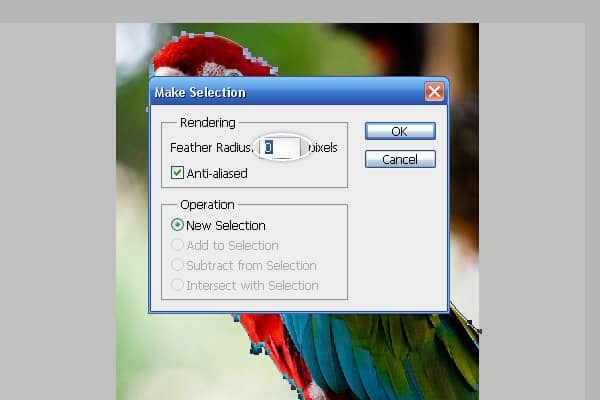
Step 14
Select Refine Edge by following the Settings Select > Refine Edge and type in the following value Radius: 9.2px | Smooth: 10 | Shift Edge: +25%.
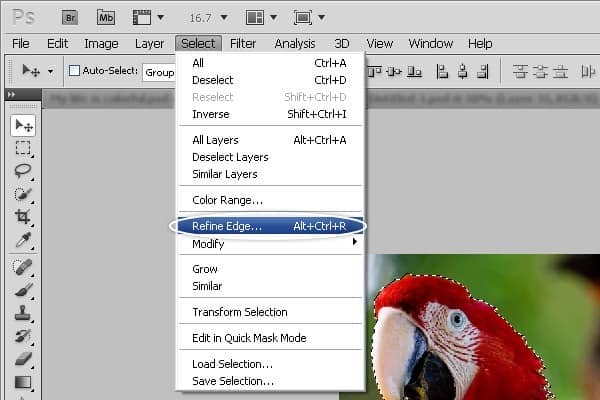
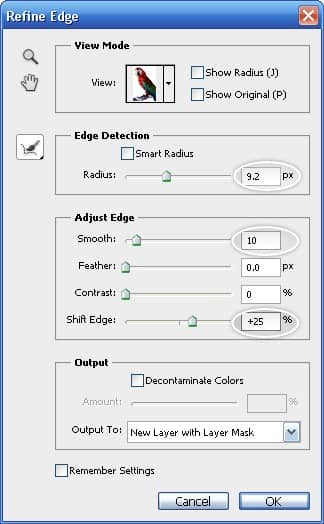
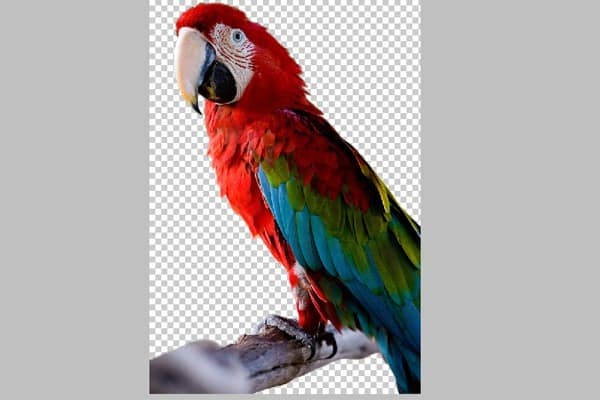
Step 15
Copy picture and paste it into Project, duplicate 3 copy of the parrot and hide 2 layers, Remove the color from the first layer with CTRL+SHIFT+U or just by following the Settings Image > Adjustments > Desaturate.
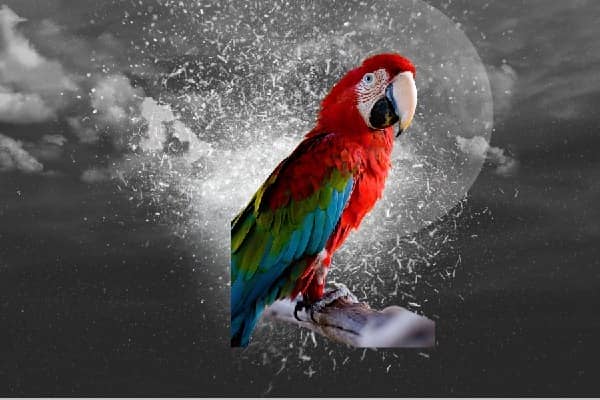
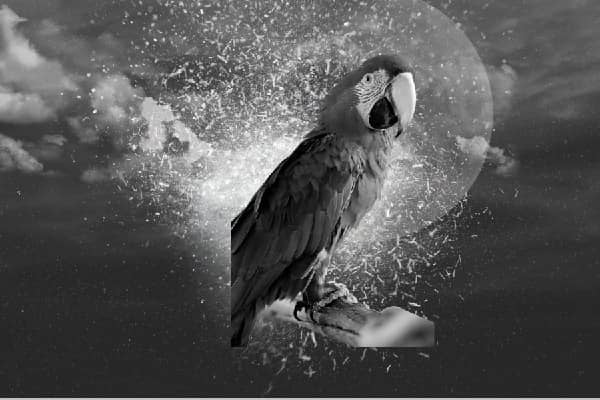
Step 16
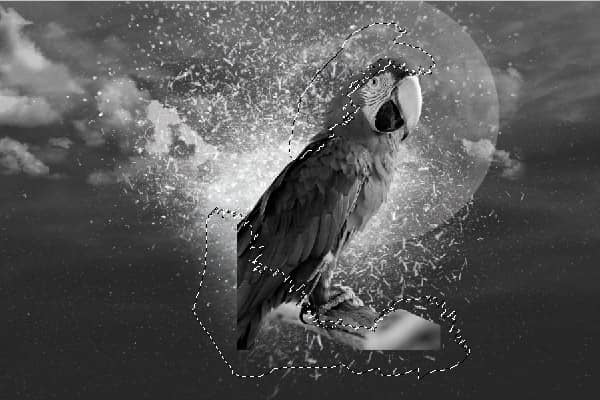
Select Lasso Tool by pressing on "L" and let's remove some parts from layer as you see in the image below.
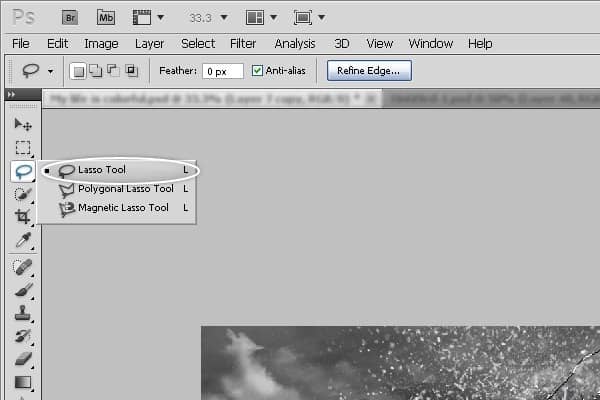
Step 17
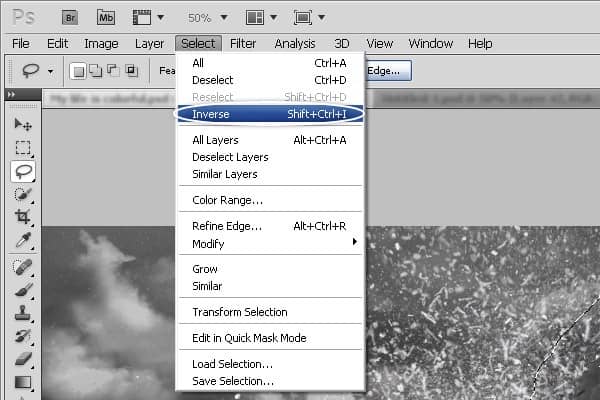
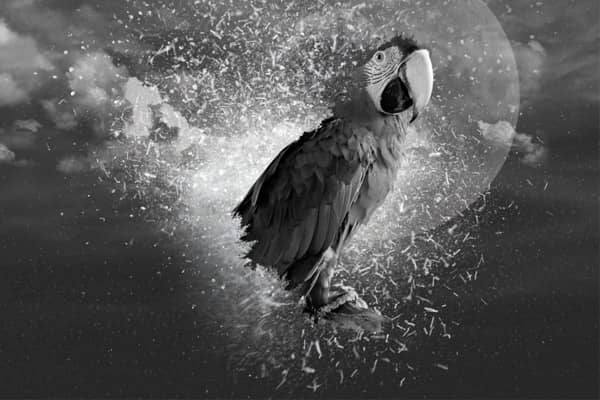
Inverse Layer by Following the settings Select > Inverse or Shift+Ctrl+I after this add new mask to layer
Step 18
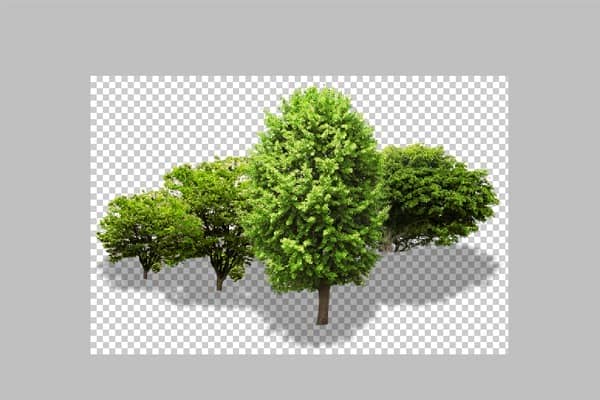
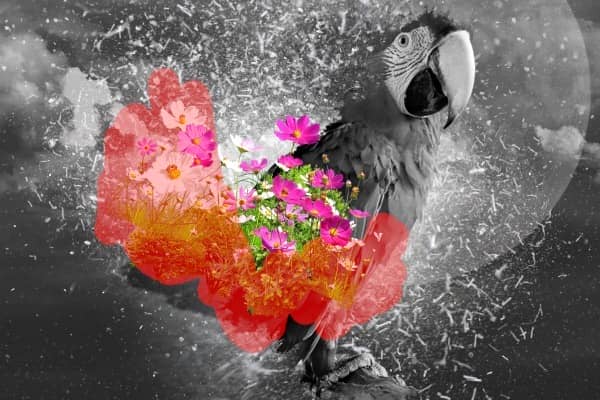
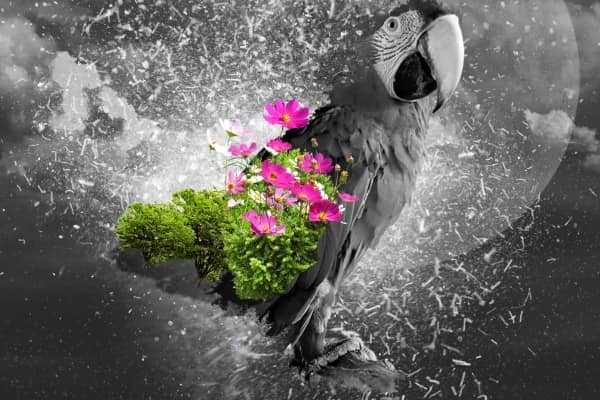
Like I said before the parrot lives in the forest, and he loves nature - trees, flowers,well let's add a tree and flowers to project by following the step.
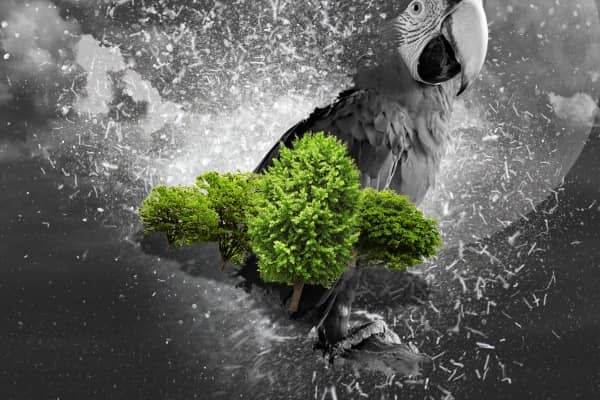
Step 19
Select Brush tool and remove the right part as you see in the image below.
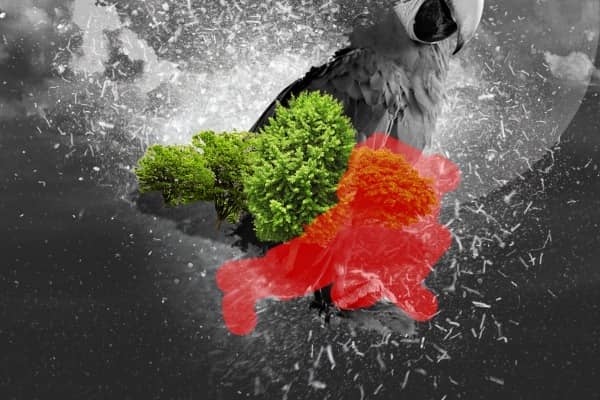
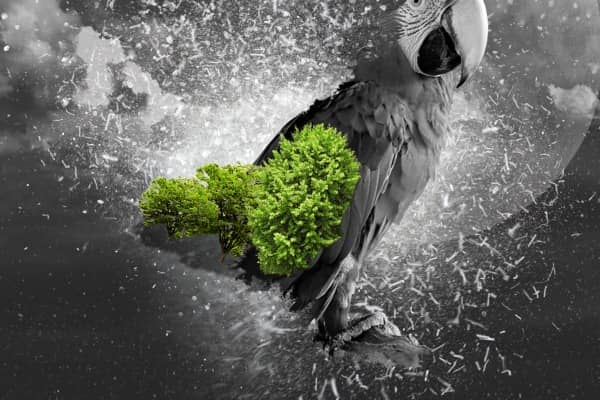
Step 20
Do the same thing as I did before in the first step.
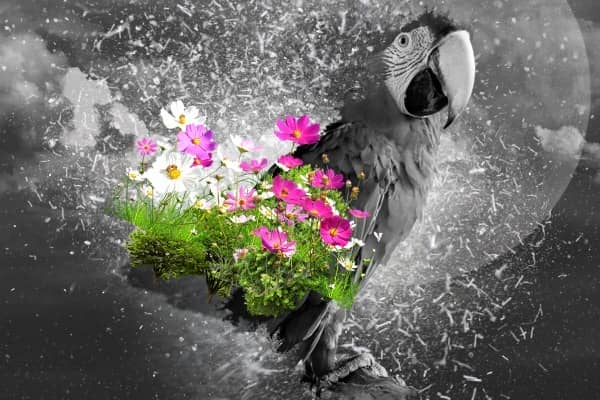
Step 31
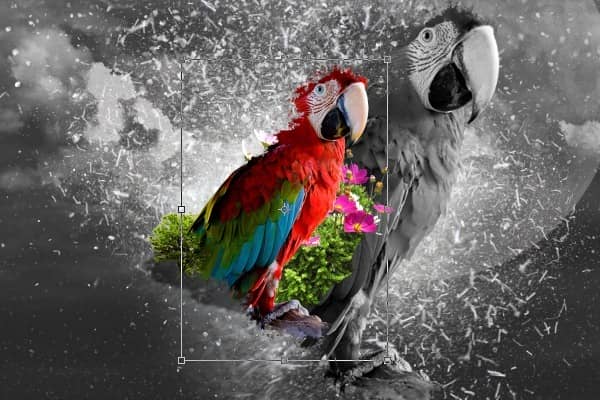
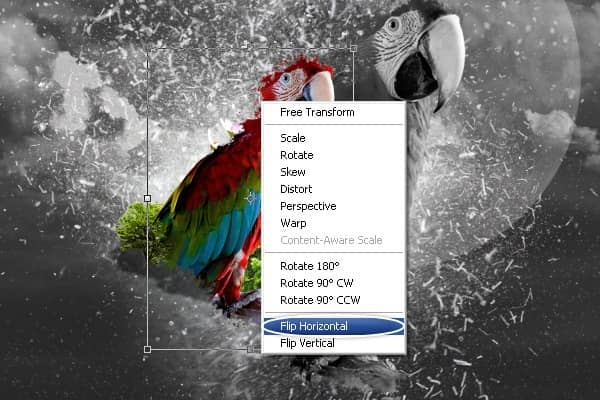
Now show copy of the parrot and flip layer to the left by following the settings Edit > Free Transform or "CTRL+T".
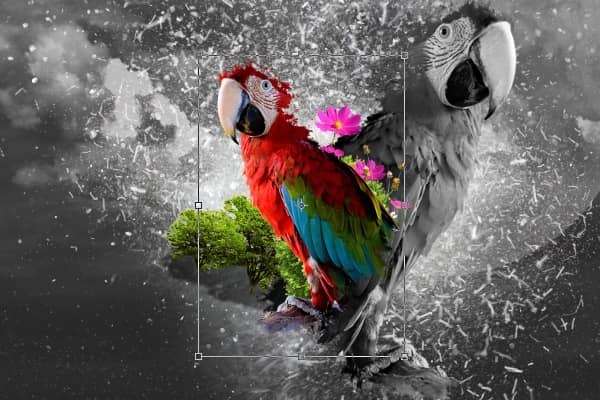
Step 32
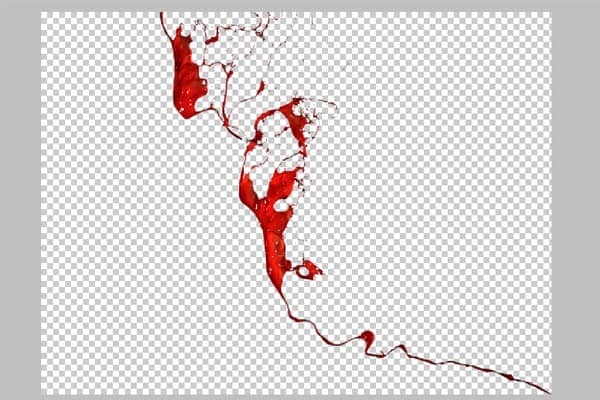
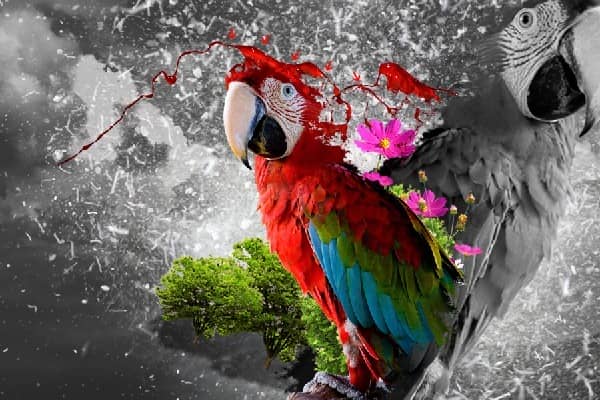
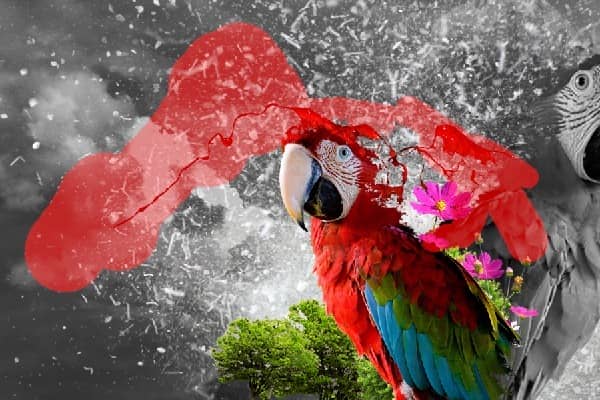
After you download Paint Throws add it to project then Select brush Tool and make sure you select Quick Mask Mode by Pressing on "Q" then start removing parts from layer by following the steps.
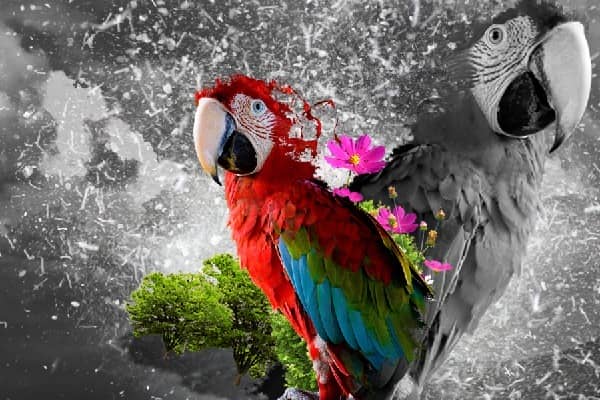
Step 33
Do the same thing as I did before in the First step.
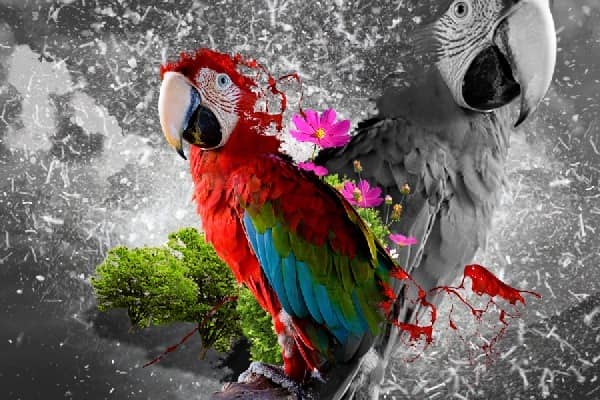
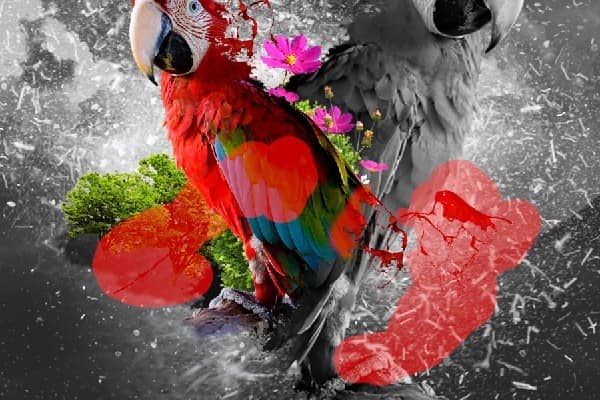
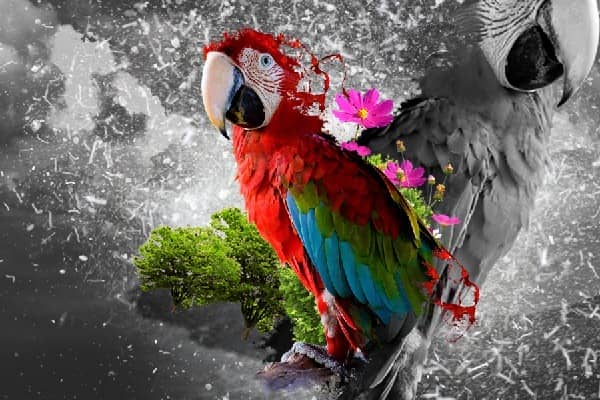
Step 34
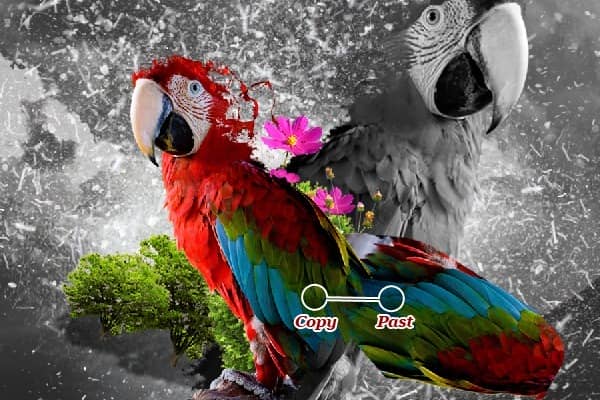
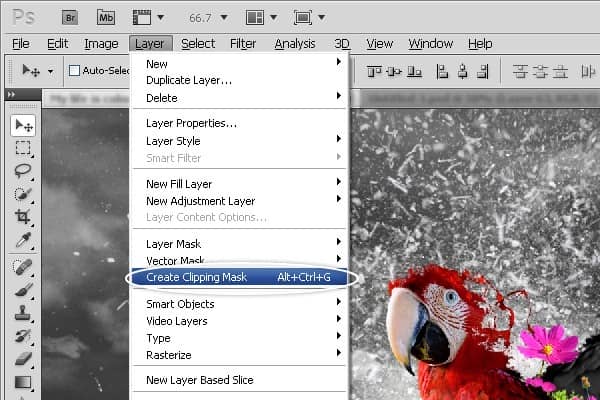
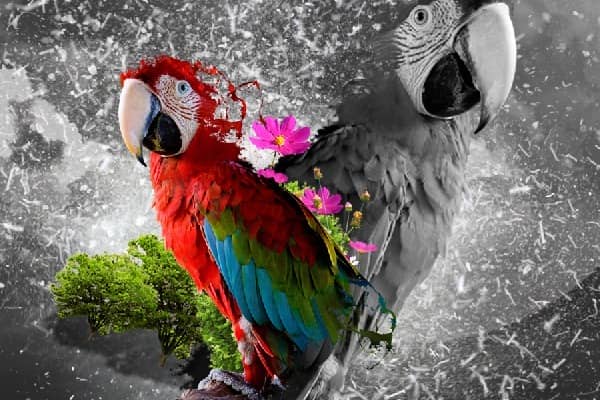
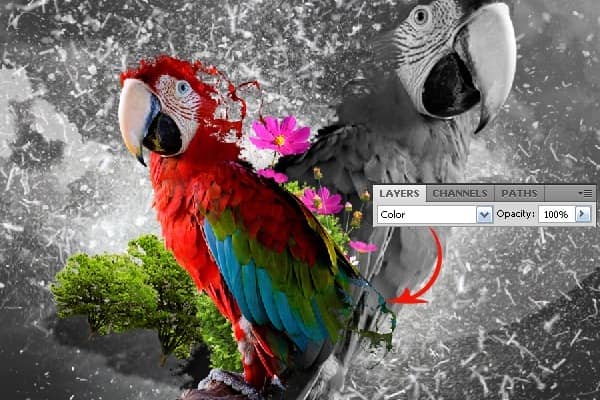
Copy a part from the parrot wing and paste it then Create Clipping Mask by following the settings Layer > Create Clipping Mask or "CTRL+ALT+G" and change mode layer to Color as you see in the image below.
Step 35
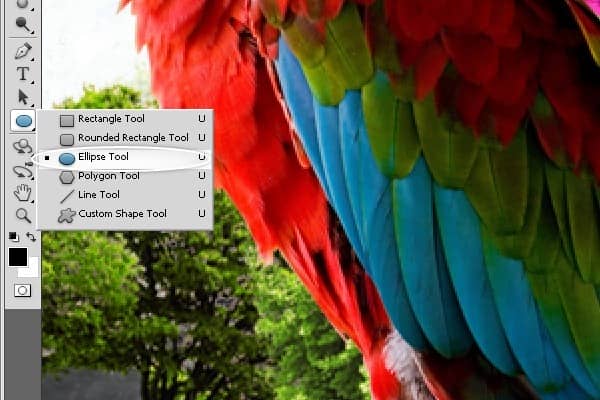
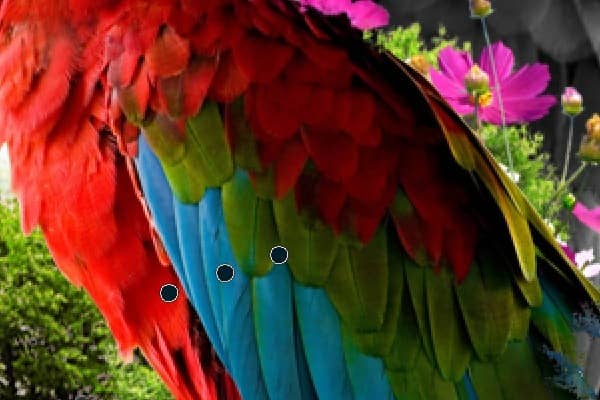
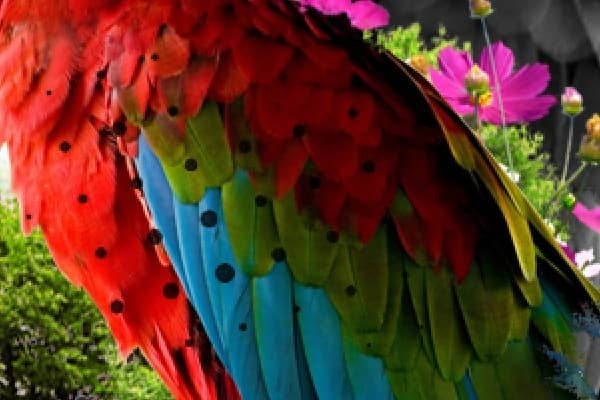
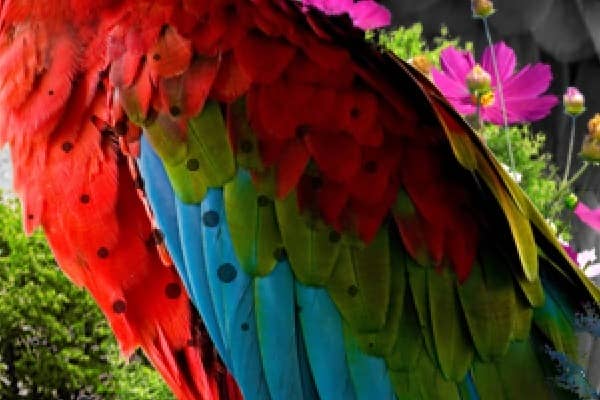
Select Ellipse Tool and start creating Circles after this change opacity layer to 77%.
Step 36
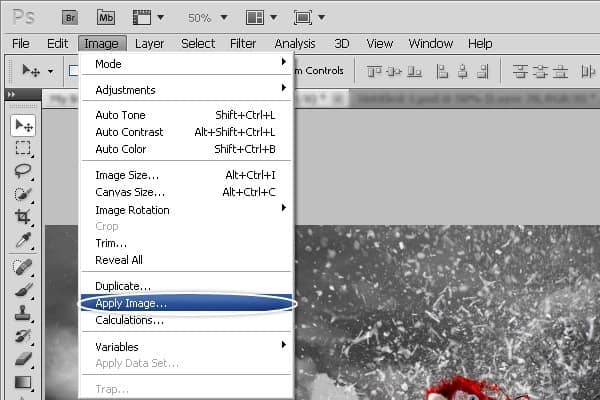
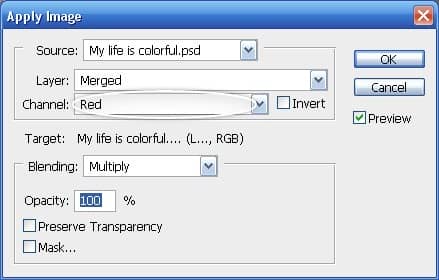
Create a new layer and apply the settings Image > Apply Image and Select Channel: Red.
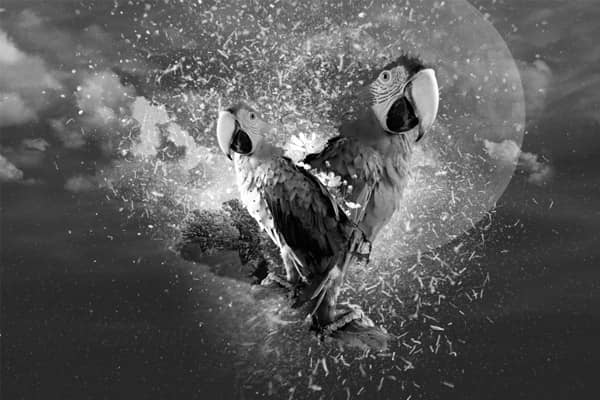
Step 37
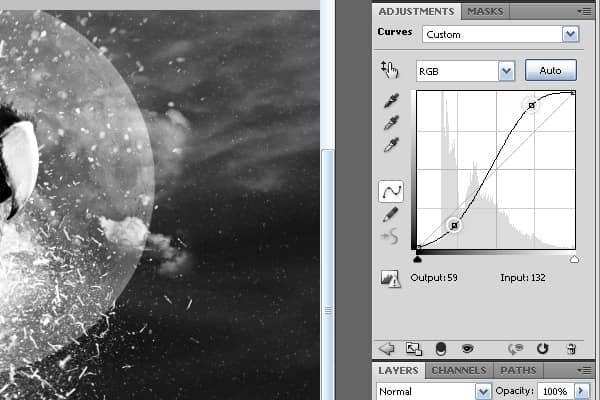
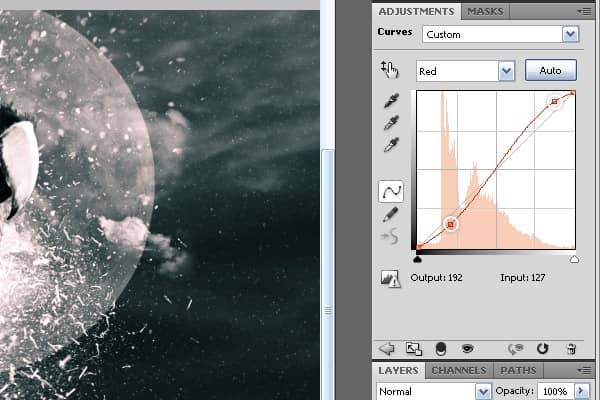
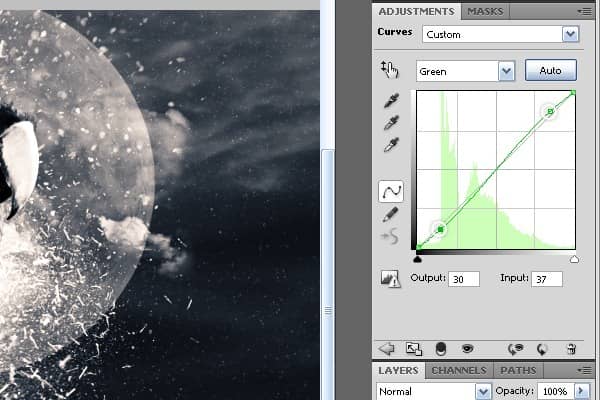
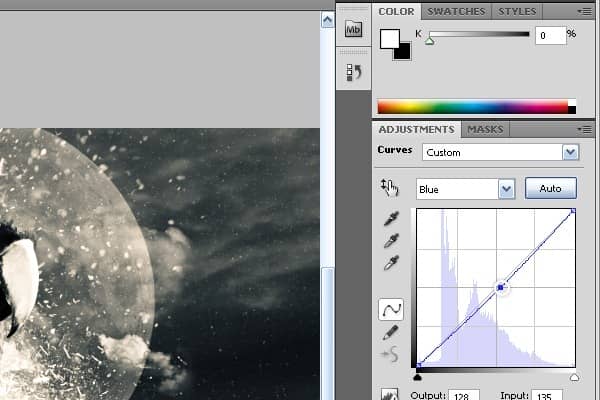
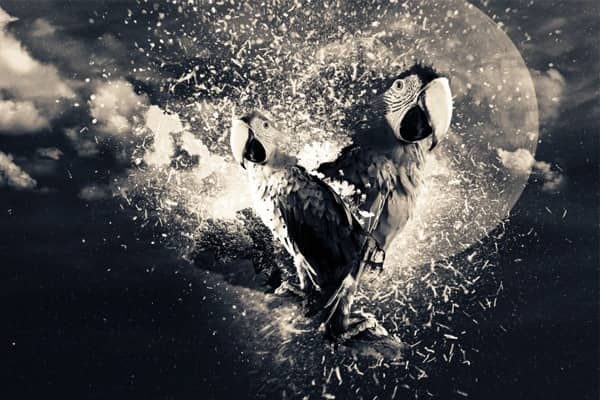
Let's Finish this by given work a beautiful view, Apply the settings Curves by following Image > Adjustments > Curves or "Ctrl+M".
Step 38
Show the third copy of parrot and change mode layer to Soft Light.
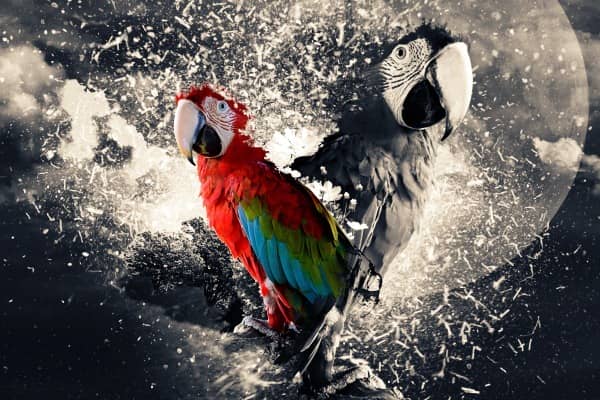
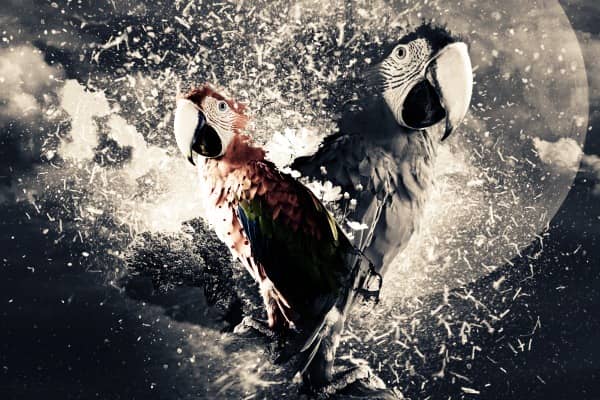
Step 39
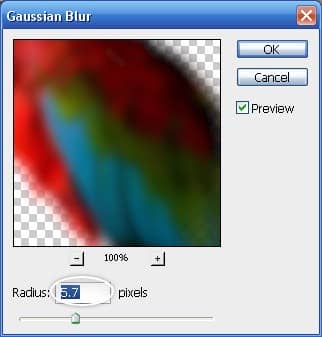
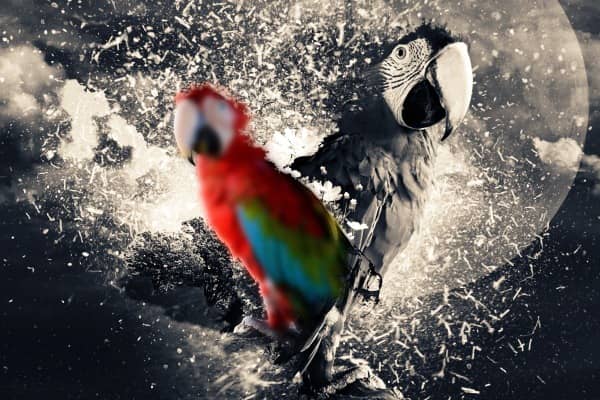
Show another copy of parrot and apply the settings Gaussian Blur by following Filter > Blur > Gaussian Blur | Radius: 5,7 Pixels.
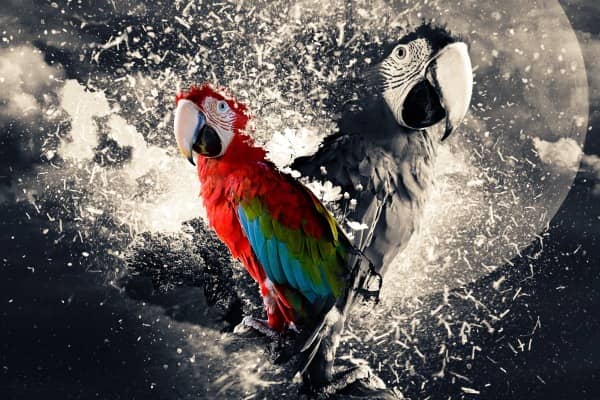
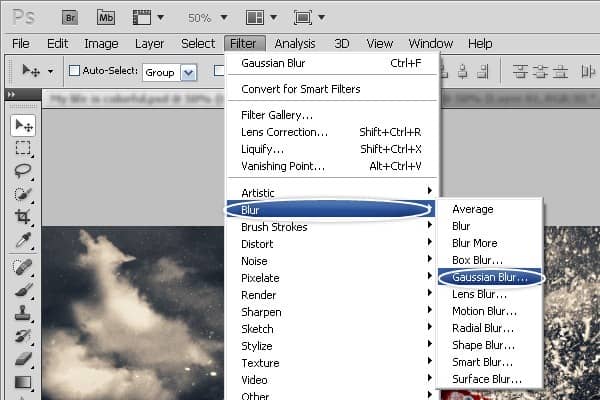
Step 40
Select the original parrot layer by pressing on the layer then go back to the smooth layer and add new mask after this change mode layer to Screen and Opacity to 20%.


One comment on “Create a Stunning Parrot Photo Manipulation in Photoshop”
Wow! This is just brilliant. Its all i needed to becoming a good designer and painter. Thanks alot am so greatful.