Luminar AI lets you turn your ideas into reality with powerful, intelligent AI. Download the photo editor and see how you can completely transform your photos in a few clicks.
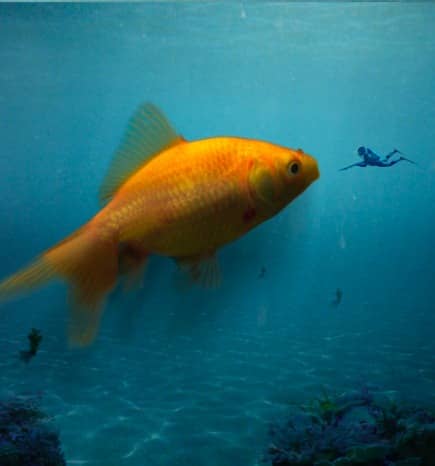
Step 43
Repeat the process from steps 28-29 to create a shadow underneath the diver.
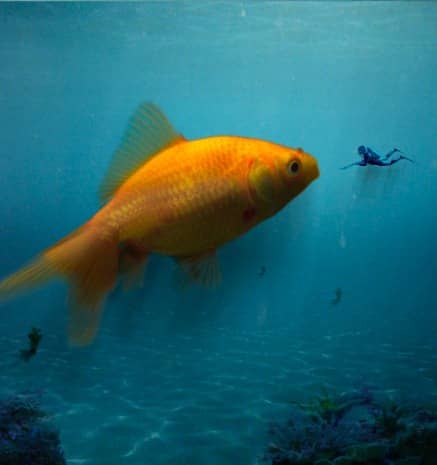
Step 44
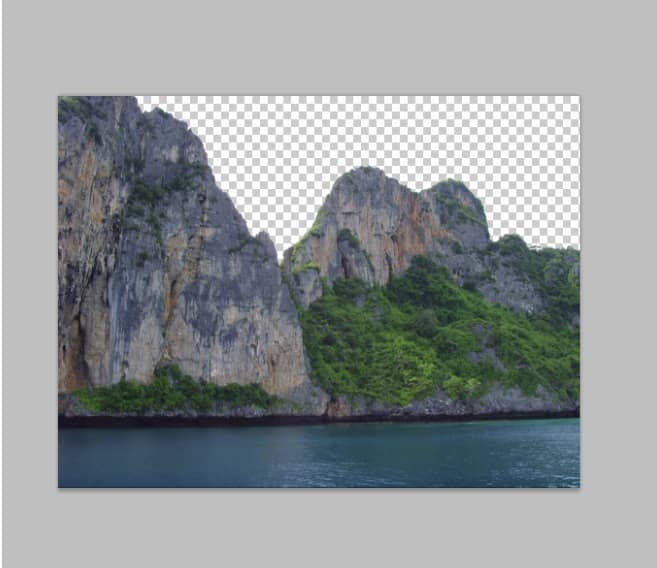
Use Winrar or 7zip to unpack the “Island Pack” somewhere on your hard drive. Open the file “SNV32362.JPG”. Make a selection of the island and the sea using the Quick Selection Tool and press Ctrl + J to make a new layer from selection. As you can see the Quick Selection tool did a pretty good job so in the next step we will place the island in our scene.
Step 45
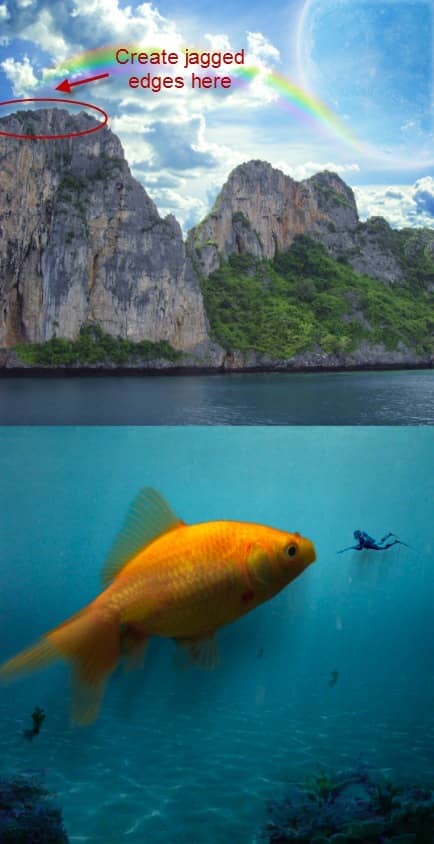
Copy and paste the Island selection into our scene then use Free Transform to position it like shown in the image below. Add a layer mask (Layer > Layer Mask > Reveal All) and with black as foreground color create some jagged edges in the upper left part of the mountain using the standard Chalk brush tool or another hard edged brush.
Step 46
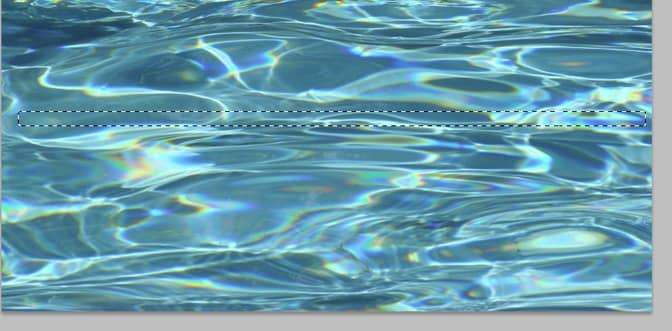
Open file “Water Caustics” and using the Rectangular Marquee Tool make a selection like shown below.
Step 47
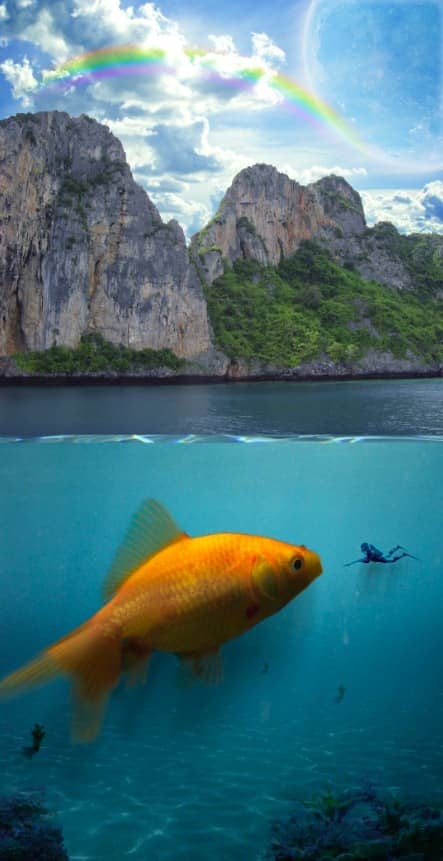
Copy and paste the selection into our document. Use the Free Transform to resize and position the selection like shown below. Apply a 5px Gaussian Blur to this layer to make it blend seamlessly with our scene.
Step 48
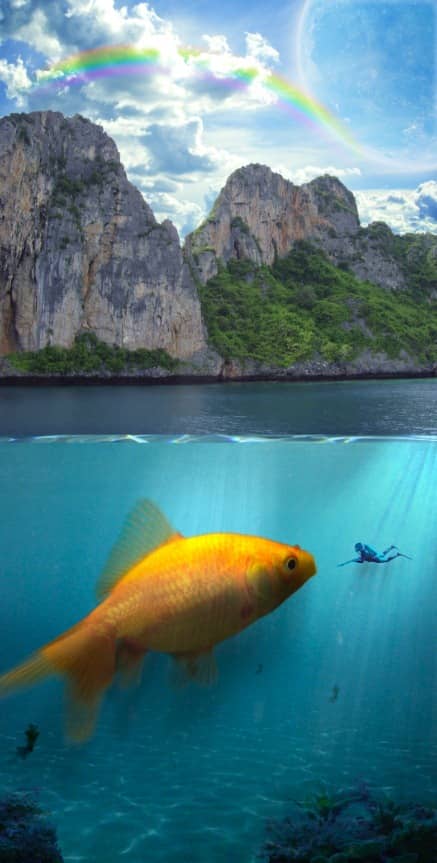
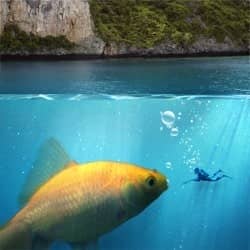
First create a new layer.Then use the Preset Manager to import the Light brushes and with a light of your choice create a light above the fish and a light above the diver. To each light add a layer mask (Layer > Layer Mask > Reveal All) and using a black round soft brush at 100% Opacity hide the unwanted parts. Try to achieve something like the scene shown below. You can change the light layers blend mode to Linear Light or Color Dodge and lower the Opacity to 60-70%.
Step 49
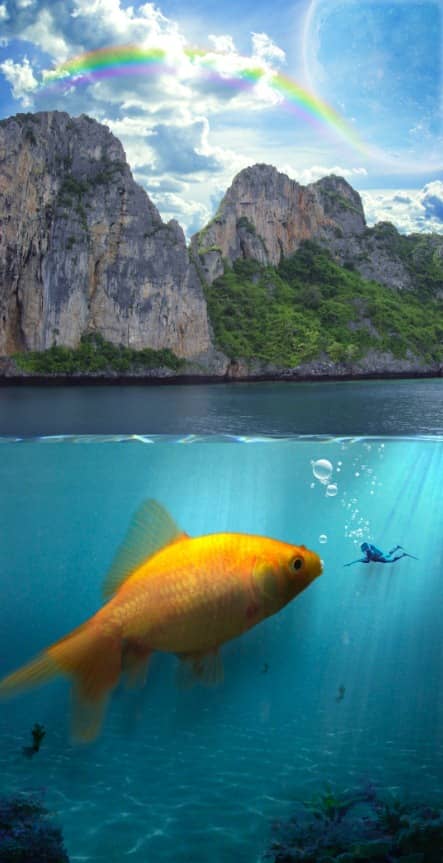
Create a new layer and import the Bubbles Brushes. With white as foreground color paint some bubbles at various sizes coming from the fish mouth and around the diver. Obviously the bubbles should be smaller above the diver and bigger above the fish.
Step 50
The element that will define the underwater scene will be debris. Notice various underwater pictures and look at the amount of debris (plankton, dirt, little white spots) floating. We will try to replicate that effect in our scene.

25 comments on “Create an Underwater Scene of a Giant Goldfish in Photoshop”
I hate you!
-Joshua Gragas
alguno de los tutoriales estan en video para mi es mejor en video gracias
I would definitely be interested in getting that set!Thanks for sharing.
This is really fantastic. The unlimited access makes it even better
Fantastic idea. I especially like the water surface.
Either I'm blind and don't see what happened to the "ripples" layers after Step 25 or there are steps missing. There's no way they go from the jagged-edged difference render to smooth realistic ripples by just blending the edge in with a brush. Clearly there is more manipulation needed to make that layer looks like it does in Step 26.
What's the point of having the already-completed project available for download? I can't access DeviantArt and would love it if the zip file just contained the images and brushes so that I can actually DO the project. Thanks
hi
Tutorial is great. It helps me so much. Thanks
You are awesome.
Thank you so much.
nice work guys........ its awesome
Hi
I reached the point where i should get a nice ripply light on the bottom of the sea .. i did everything just the way it was illustrated but all i get is this ..
http://i1124.photobucket.com/albums/l567/abdelrahman11/abdelrahmans%20album%202/194081.jpg
what should i do ?
Don't you See the next pages
I like It. Good Job. Thanx
You are awesome.
Thank you so much.
The best tutorials!
Sir need can you send pictures in zip file? My email is .
What is it>>???
TRYING to learn the basics, here bro.
The eye was not hidden. I know to check that much.
An explanation WHY something works is how a lot of people learn, not just me. I wasn't complaining or blaming, just wishing there was more to it.
OK I'm ****ing sorry about that bro
I wish you could say WHY certain things are done (so I can understand when I might need to use them in the future) and so I can understand what the outcome is supposed to look like.
For instance... I don't understand why we need a layer mask in Step 18 and why we are painting in white over the top of it...
Since it doesn't seem to want to let me do it as stated (I get an error, "Could not use the brush tool because the target layer is hidden"), I have no idea what the outcome is supposed to be and can't figure out how to get to the next step without just skipping Step 18.
your fault for not knowing the basics. Dont blame the tutorial bro. You can't paint because your layer is hidden. Click on the EYE icon. Layer mask is like a mask to show\hide what is visible on the layer.
This is so beautiful but please tell me, do I really have to pay for those images? :(
no you dont because sxc is a free site
wow...an amazing photoshop tutorial about create a rainbow.