


Make your artwork look like they're from an alternate universe. These Cyberpunk presets work with Photoshop (via the Camera Raw filter) and Lightroom. Download all 788 presets for 90% off.
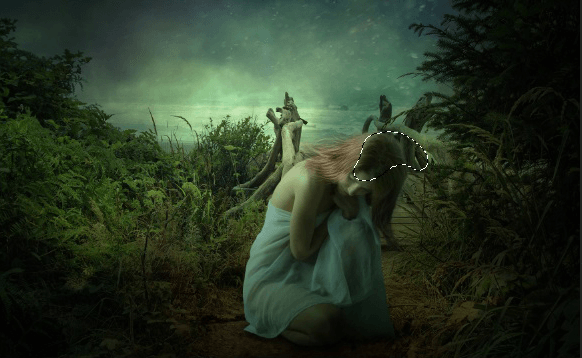
Add layer mask to hair 2 and hide the selected part in the image by adding layer mask to hair 2 then paint with soft round black brush.
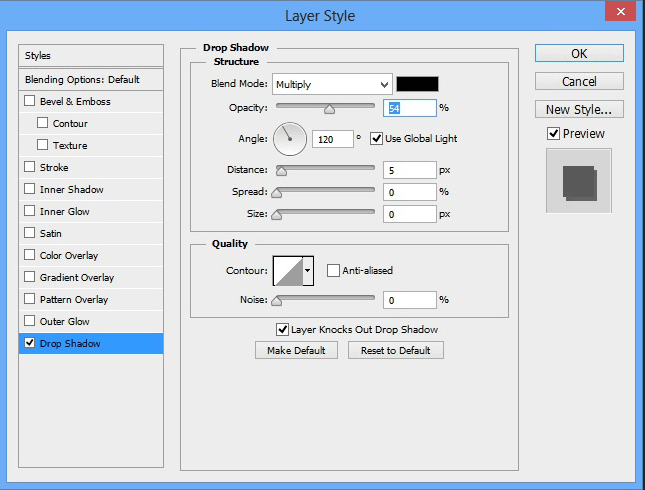
Step 25
Now,right click on the hair 2 layer and choose blending options.Then apply a drop shadow effect and set the setting as shown in the image.
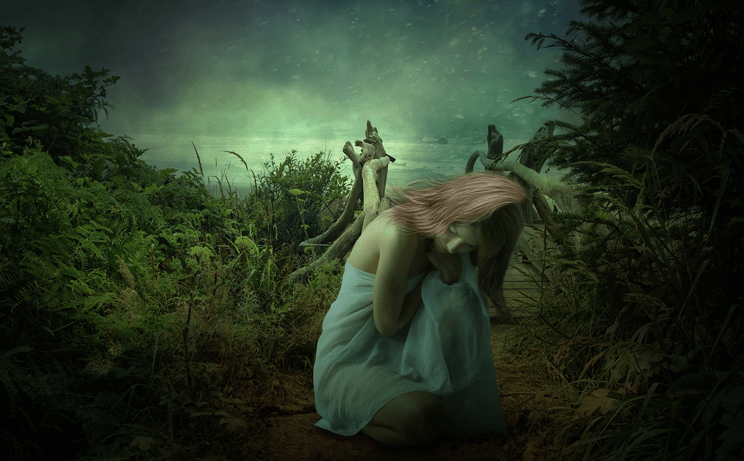
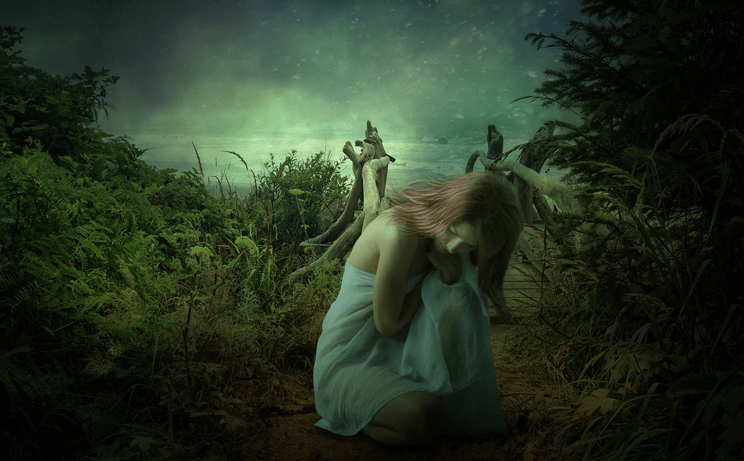
Here are the results.
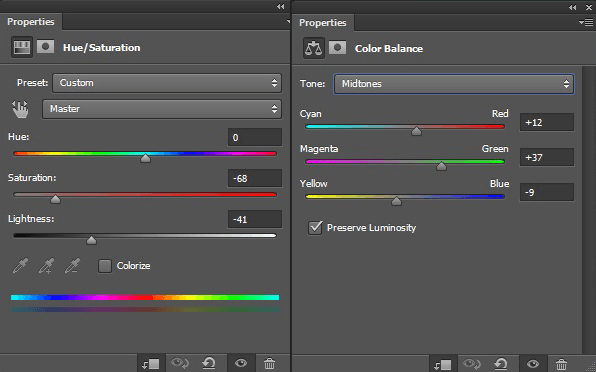
Step 26
Add Hue/Saturation and Color Balance adjustments layers to hair 2 then clip it to hair 2. Set the setting as shown in the image below.
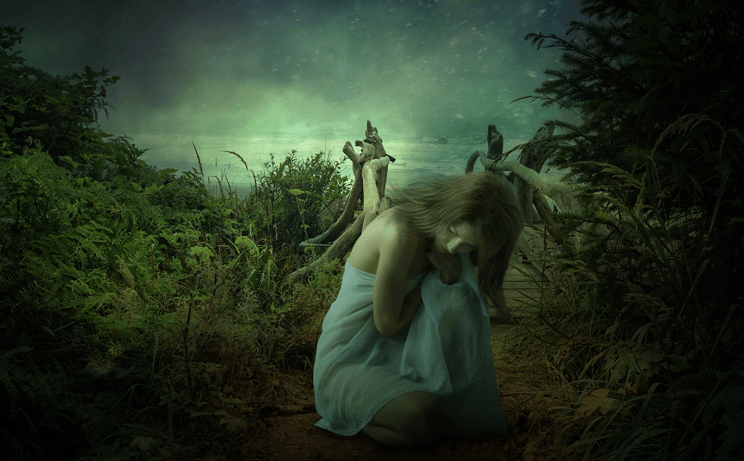
Here are the results.Now group all the hair 2 layer and name that group Hair 2.
Step 27
To create more thickness for the hair use burn tool and then duplicate the hair group 2 times.
Step 28
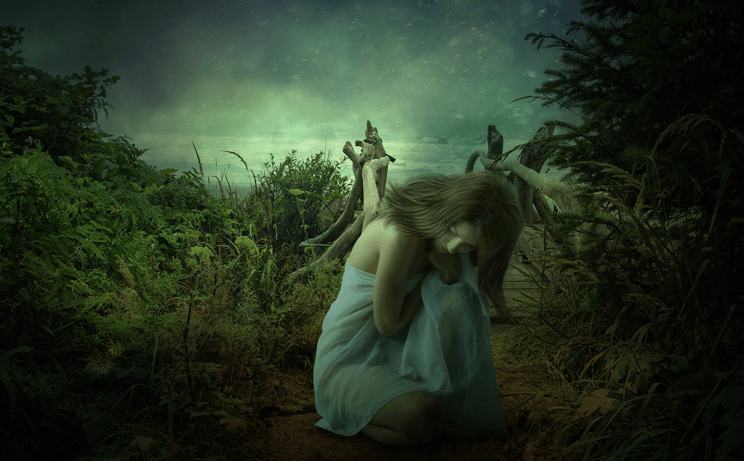
After duplicating the hair 2 group two times, add layer mask to both the duplicated groups.Pick the soft round black brush and paint on the layer mask of duplicated hair 2 groups as shown in the image.

Step 29
Now add wings to the model.
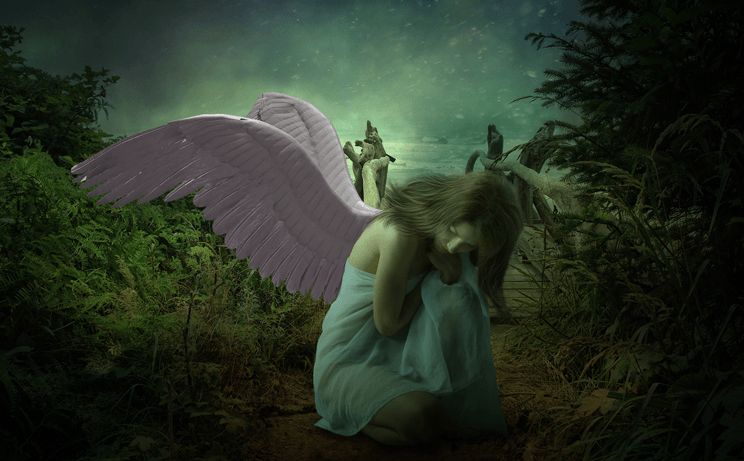
Step 30
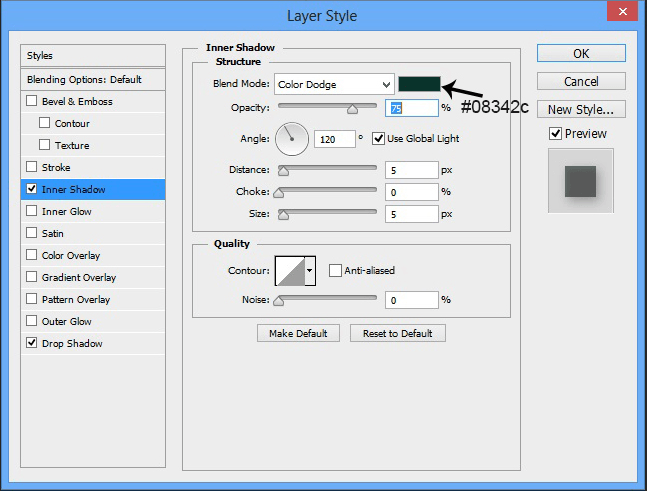
Right click on the wing layer and choose blending options.Apply Inner Shadow effect.
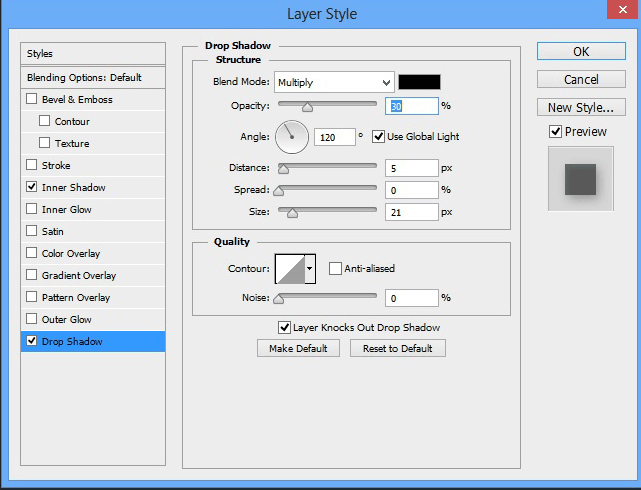
Drop Shadow settings.
Results should be similar to this.

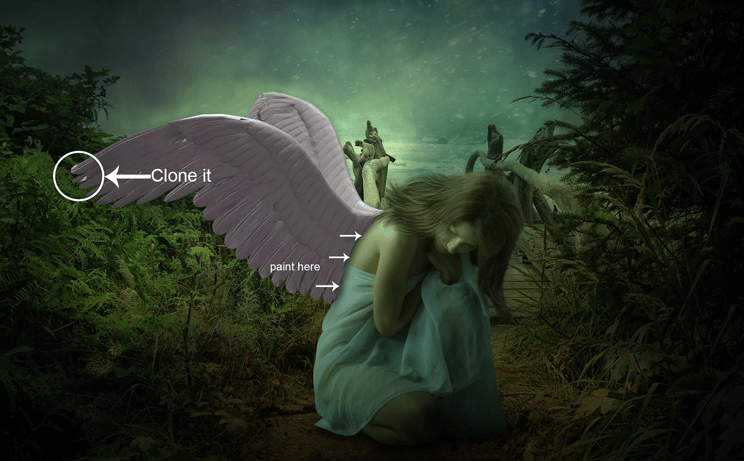
Step 31
Create a new layer above the wing layer,clip it to wing and Activate the Cone Stamp Tool (S) on keyboard then clone the part of the wing indicated by the circle.Again Create a new layer below the wing layer and grab the soft round black brush tool with the opacity and flow 30%.Paint the shadows indicated by arrows.You can also apply the Guassian blur filter or reduce the opacity of layer if you painted it too much.
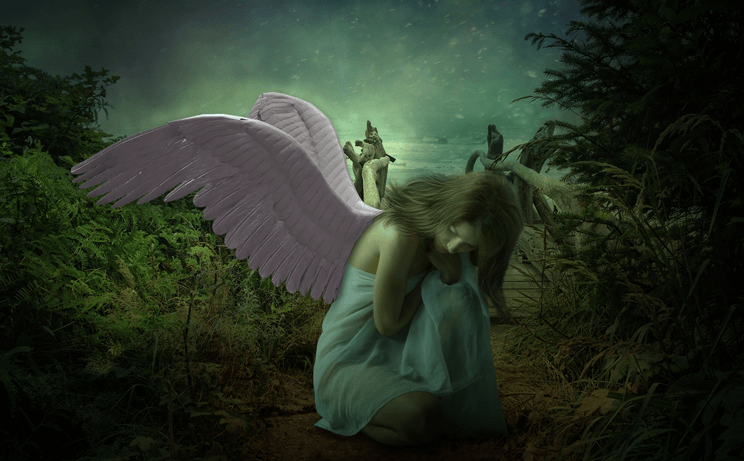
Here are the results.
Step 32
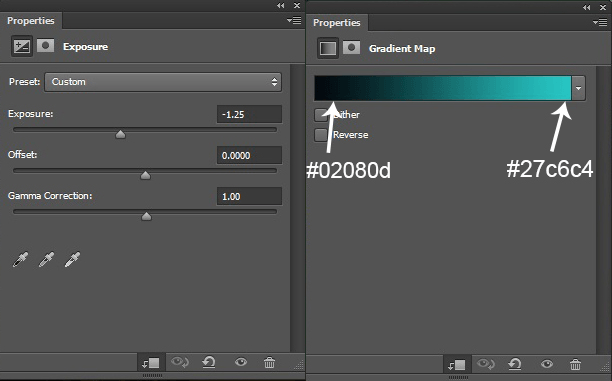
Now add a Exposure and Gradient Map Adjustment layer to the wing then clip it to wing.Set the blend mode of Gradient Map Adjustment layer to color dodge and reduce the opacity to 89%.Set the setting of these adjustments layer as shown in the image below.
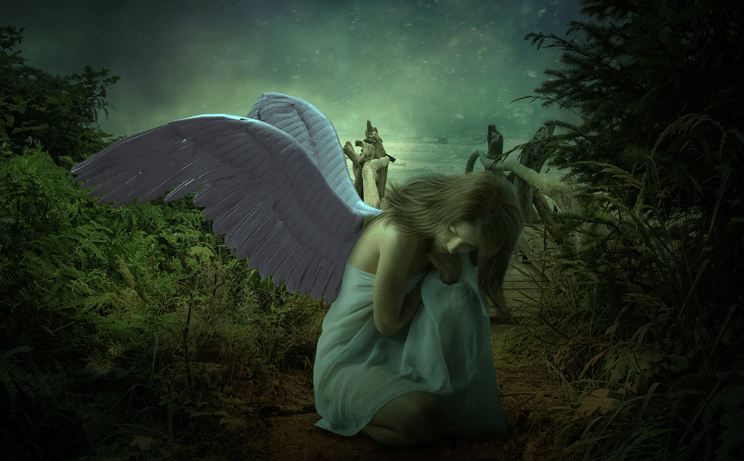
The results should be similar to this.
Step 33
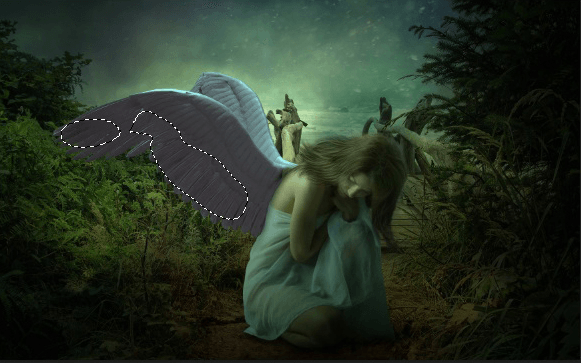
Paint on the layer mask of the gradient map adjustment layer with a soft round black brush as shown in the image below to hide effect of the Gradient Map adjustment layer.
Step 34
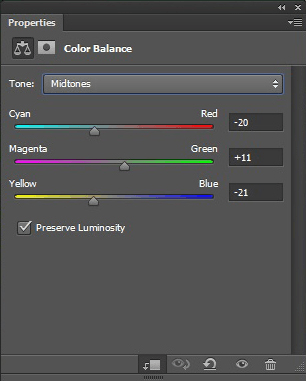
Add a color balance adjustment layer to the wings and clip it to wing.
Solid Color adjustment layer settings and clip it to wing.Then set the blend mode of this layer to soft light and reduce the opacity to 17%.
13 comments on “How to Create a Beautiful and Emotional Angel Photo Manipulation in Photoshop”
very nice thank you for sharing your photoshop tutorial
I was excited to start this tutorial but "Wing by – Wolverine" stock image is missing
Fixed!
The wings stock photo is no longer available.
Nice tuts! Thank you for sharing!
Awesome
Cool tutorial, it's especially a good review on adjustment layers.
nice
Nice Work
Great tutorial!
Enjoyed thatl
Nice
nice work!