Download Lightroom presets and LUTs, absolutely free. Use the presets to add creativity and style to your photos.
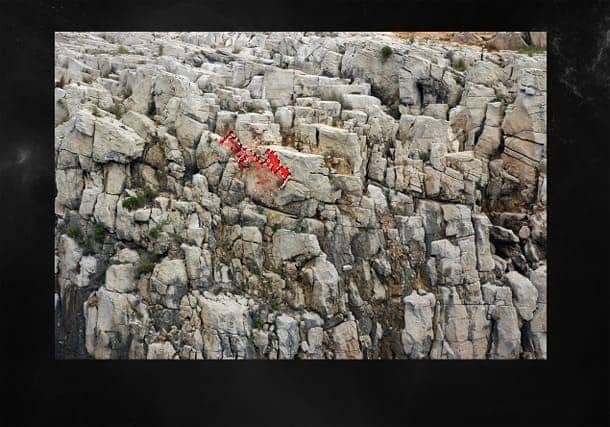
Now go back to our canvas and make a new layer and name it "rocks" and hit (Ctrl+v) and paste the copied part of RockJagged0016 image.
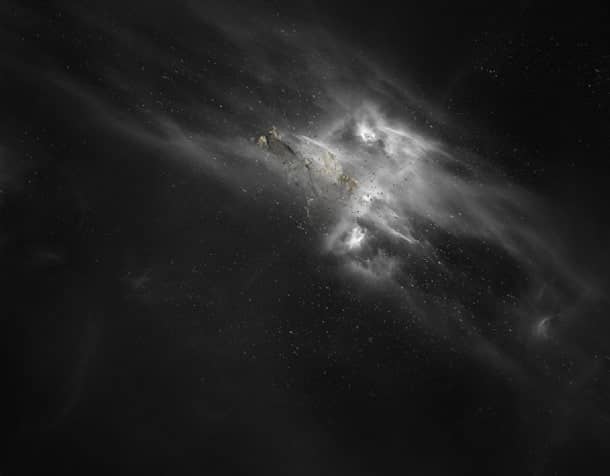
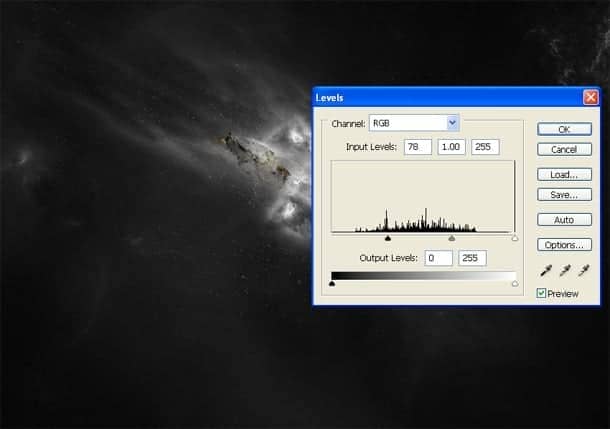
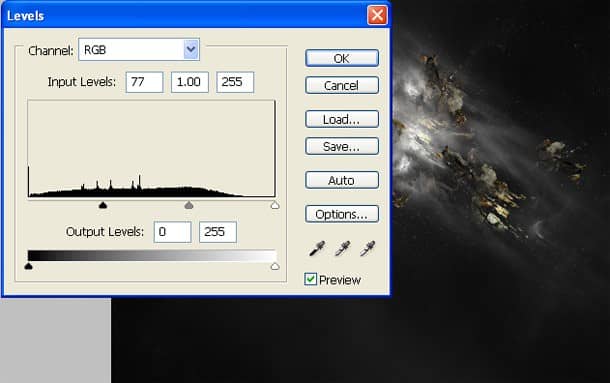
Now hit (Ctrl+l) to open Levels adjustment layer .
When the Levels box opens, input the following:
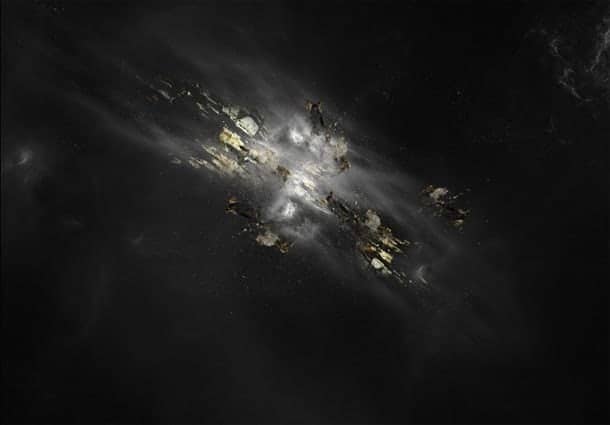
Follow the same process and add more rocks to our canvas.Remember every layer should be seprate.
Step 5
Now for this time select a bigger space brush and copy a larger part of the rock image and paste it to our canvas.
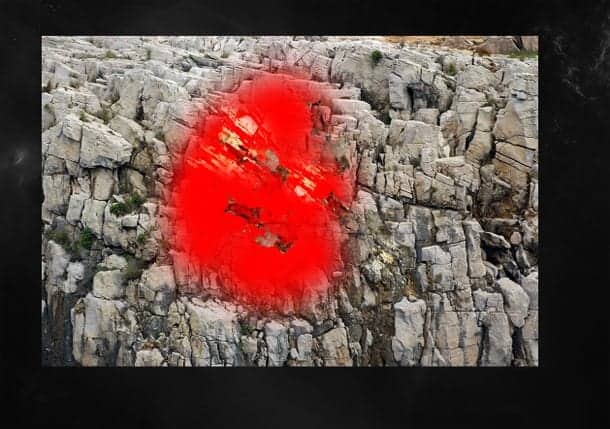
Again use levels adjustment layer.
The result should be similar to this:
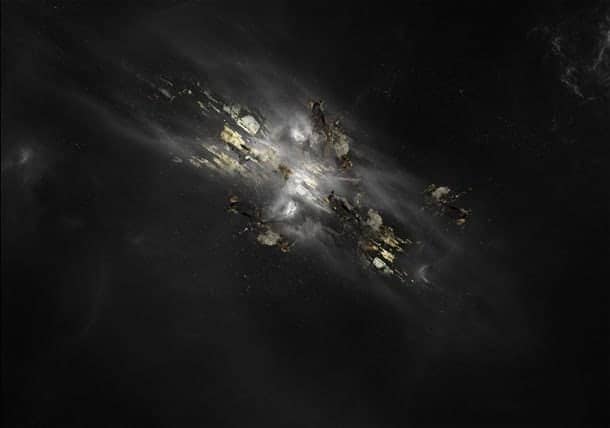
Now select all the rock layer and hit (Ctrl+e) and merge.
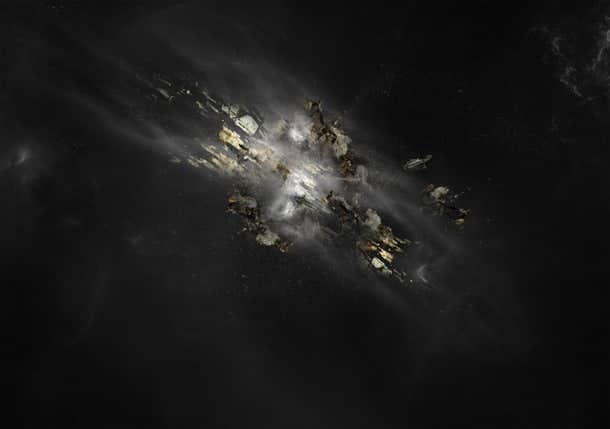
Step 6
Now use Curves adjustment layer.See as below:
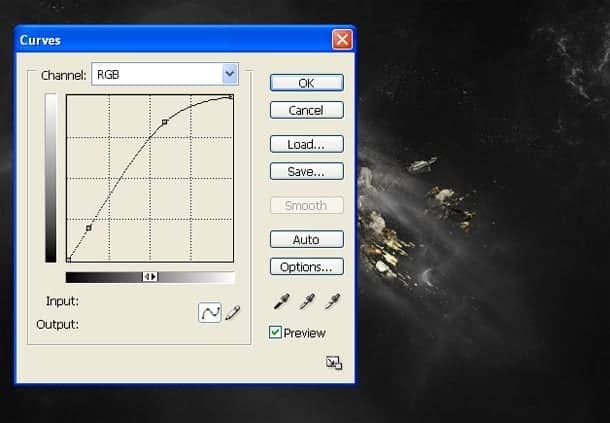
Click on the mask of Curves adjustment layer.
Now activate Brush tool (B) with these settings :
Brush size: 400px
Hardness: 0%
Opacity: 40%
Flow: 100%
Color: #000000
Now paint over the highlighted area.
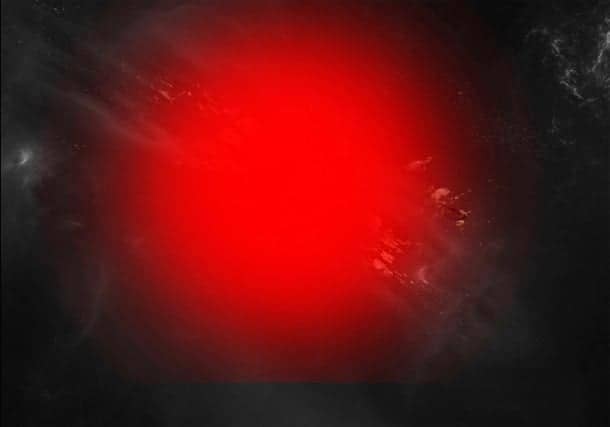
The result should be similar to this:
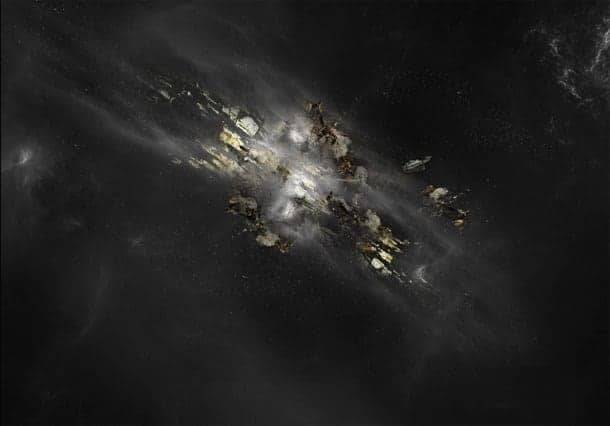
Step 7
Now open the Nightclub dancer stock and removie it from the background with the help of pen tool.
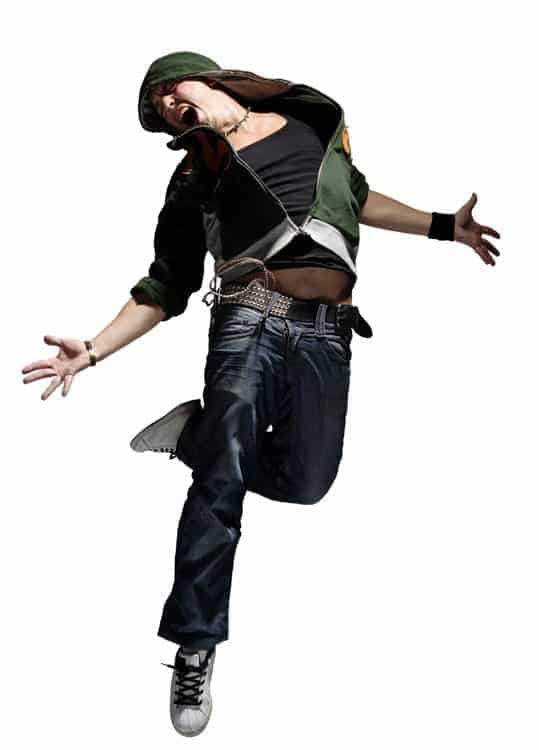
Step 8
Now open the wolf stock.
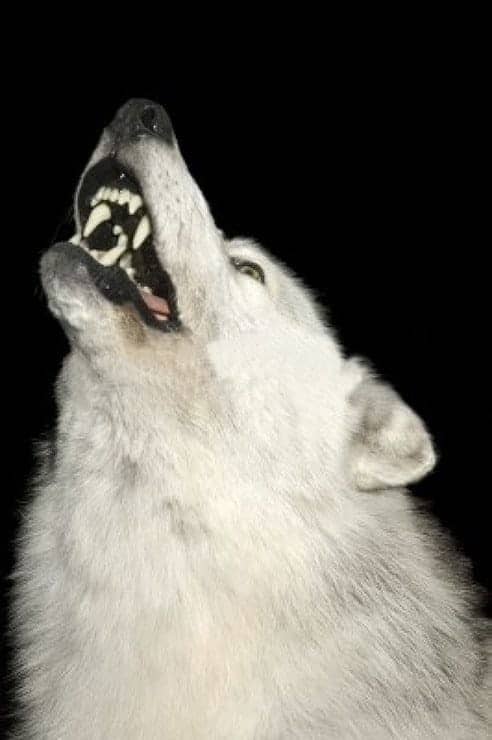
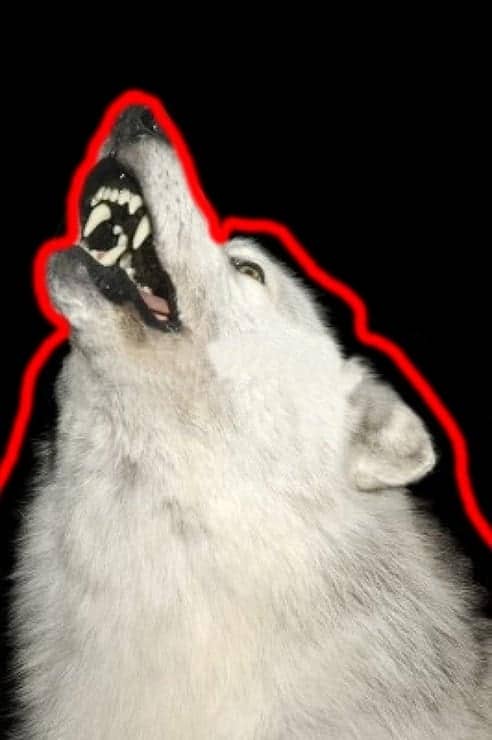
Now activate pen tool (p) and make a random selection around the wolf and make a duplicate of it.
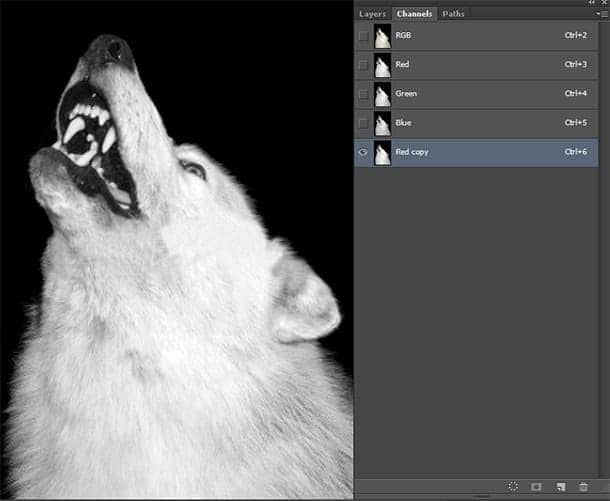
Now go to the channels palette and make a copy of red layer.
Now activate Brush tool (B) with these settings :
Brush size: 400px
Hardness: 0%
Opacity: 40%
Flow: 100%
Color: #ffffff
Now paint over the highlighted area (The red copy layer should be selected).
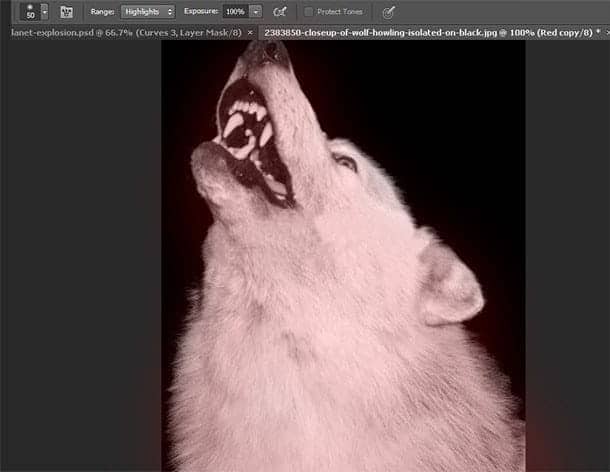
The result should be similar to this:
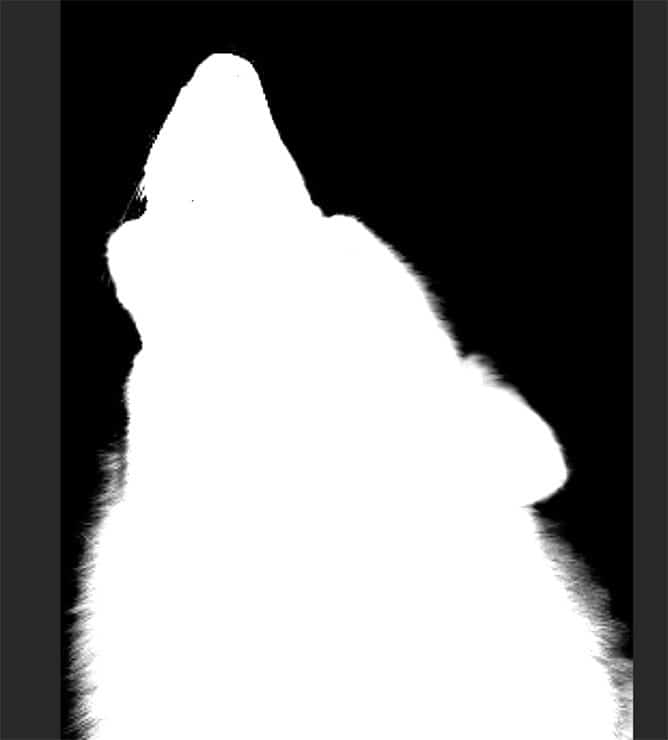
Now press ctrl and click on the copied red layer to make our wolf selected.
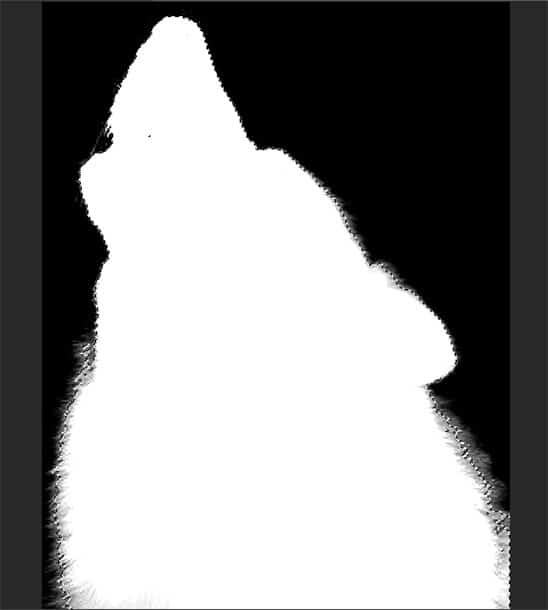
Now go back to the wolf copy layer and hit (ctrl+j) to make a duplicate of it.
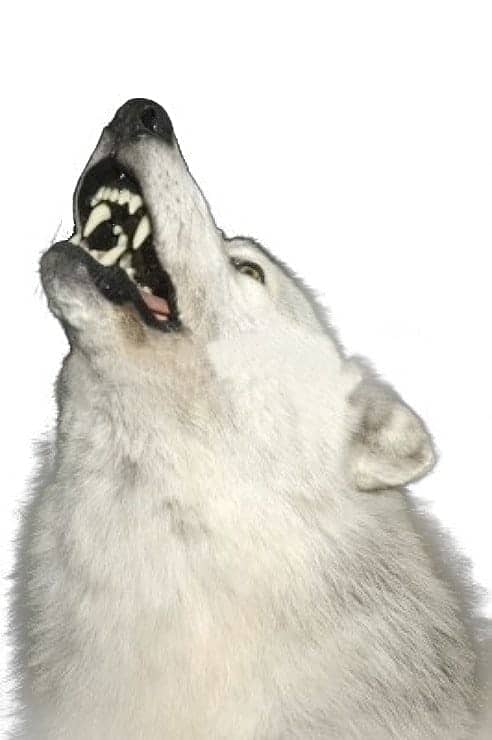
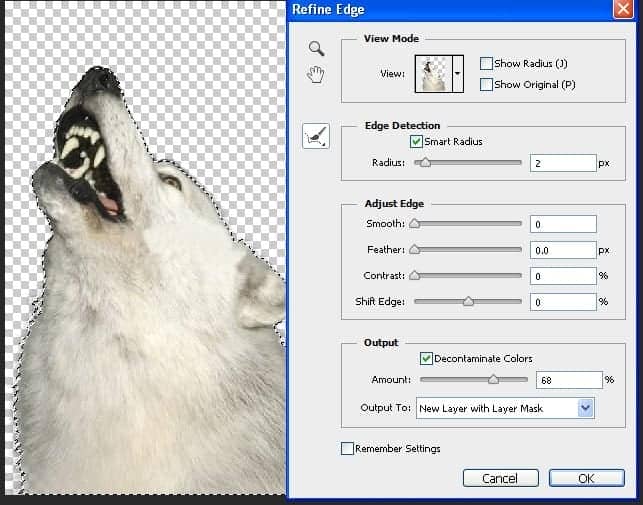
Now again select out duplicated wolf layer and open Refine Edge tool.
When the Refine Edge box opens, input the following:
Step 9
Now drag the extracted wolf layer to our dancer window.
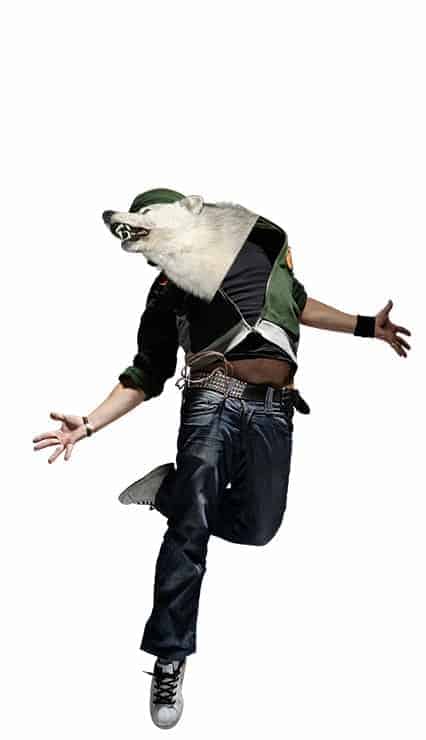
Now add vector mask from the bottom of layers palette .
Now activate Brush tool (B) with these settings :
Brush size: 400px
Hardness: 0%
Opacity: 40%
Flow: 100%
Color: #000000
Now paint over the highlighted area.
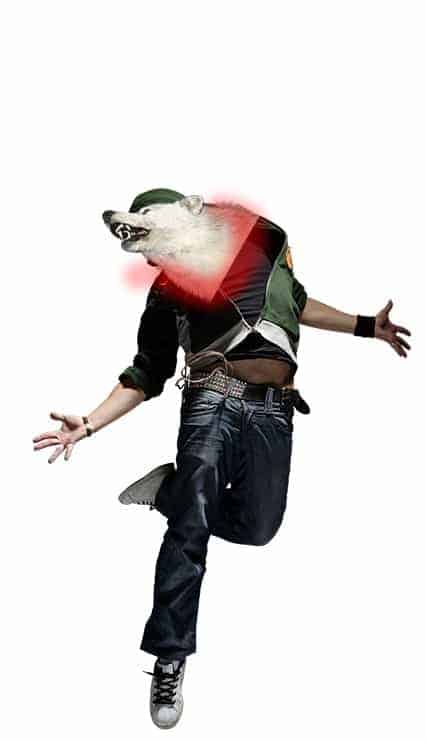
Now select the lancer layer.
Now add vector mask from the bottom of layers palette .
Now activate Brush tool (B) with these settings :


3 comments on “Create a Dynamic Night Club Poster in Photoshop”
wow.. Fantastic steps.. I really like it. keep up :-)
Wonderful tutorial..Thanks for sharing
Thank you for the feature :)