
Make skin look perfect in one-click with these AI-powered Photoshop actions.
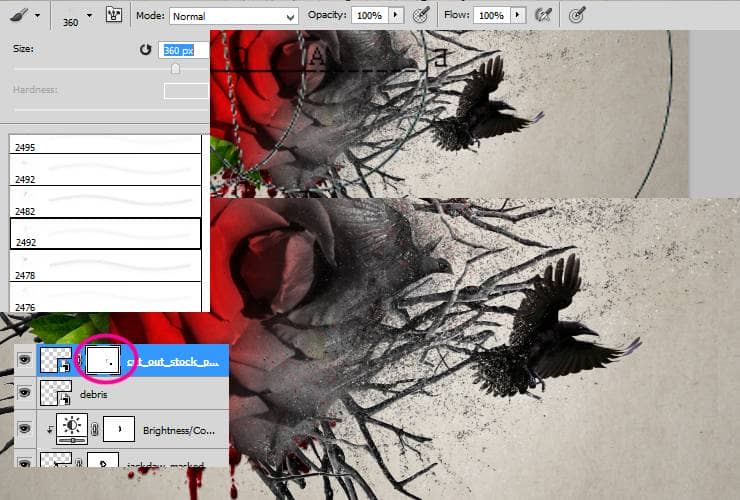
Add clipping Adjustment layer (shortcut or Layer > New Adjustment layer..., then RMB > Create clipping mask) with Hue/Saturation.

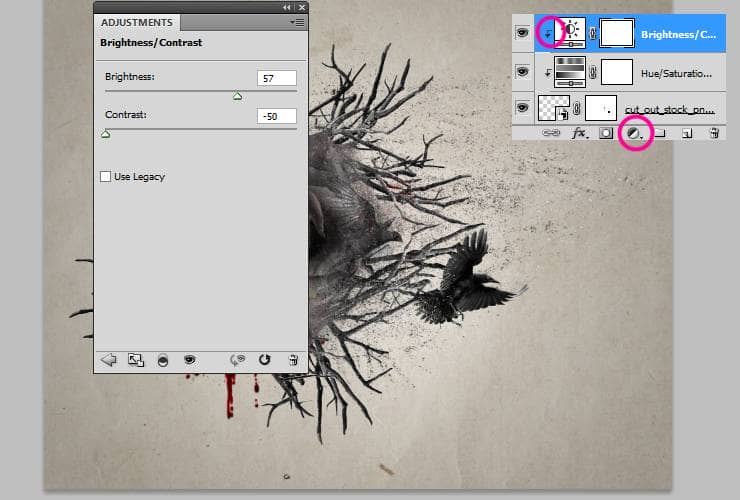
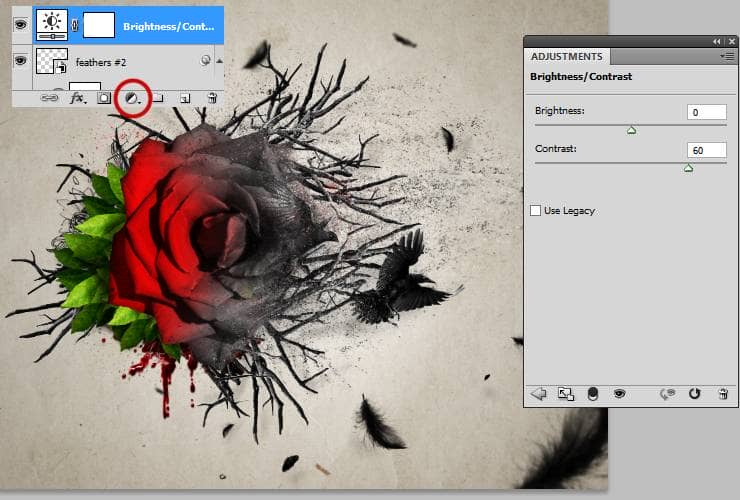
Next, add clipping Adjustment layer (shortcut or Layer > New Adjustment layer..., then RMB > Create clipping mask) with Brightness/Contrast.
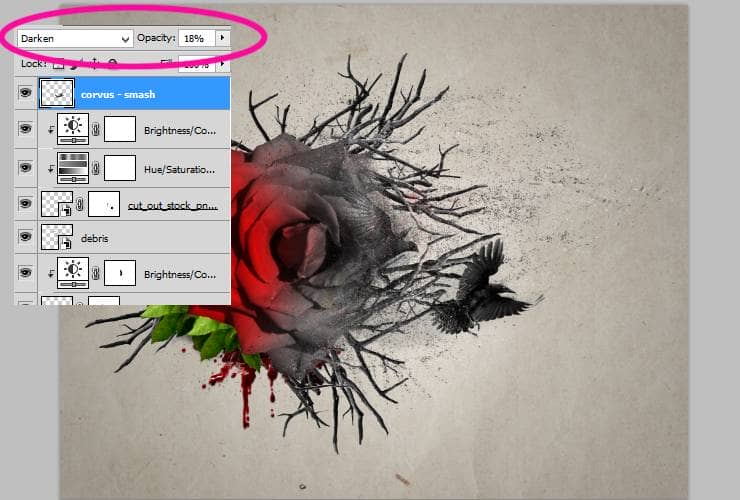
Now create New, blank layer. Choose soft 30px brush. Set gray color and draw some strokes from bird.
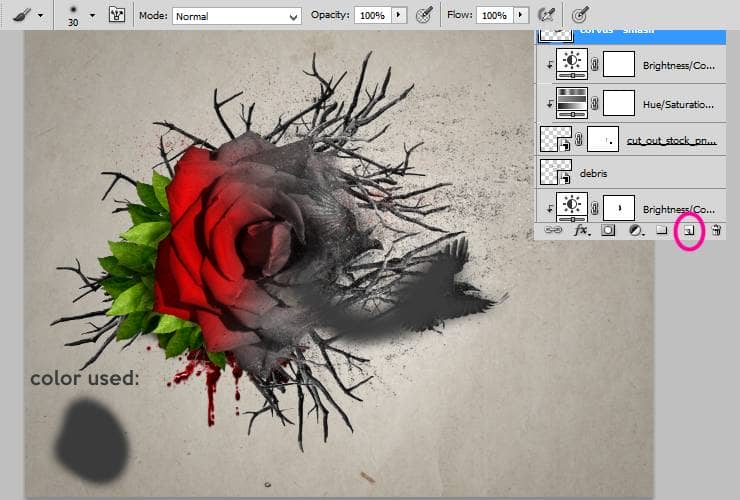
Decrease opacity of created layer to around 20% and change blending mode to Darken. It would be looks like real "smash" :).
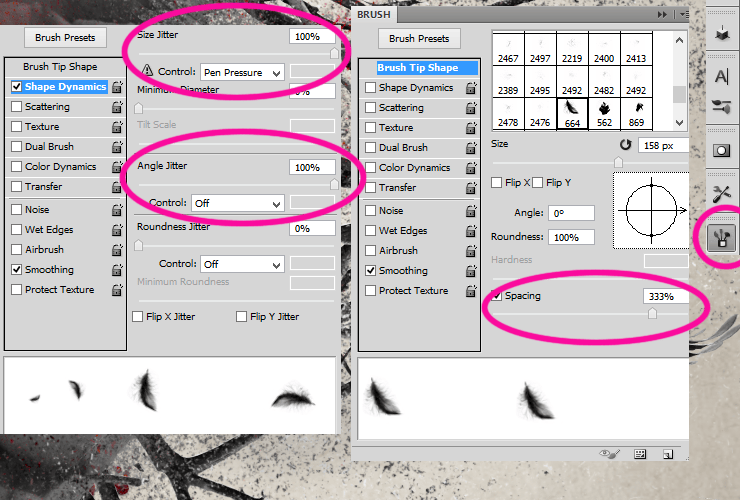
Step 31
Click on brush tool and load "Feathers" brushes. Adjust brush settings as is shown. Set size and angle Jitter. Then, set spacing between brush strokes.
Step 32
Add new layer (ctrl + Shift + N, or Layer > New... > Layer). With created brush settings, draw some feathers (choose black brush). Follow golden ratio guides.

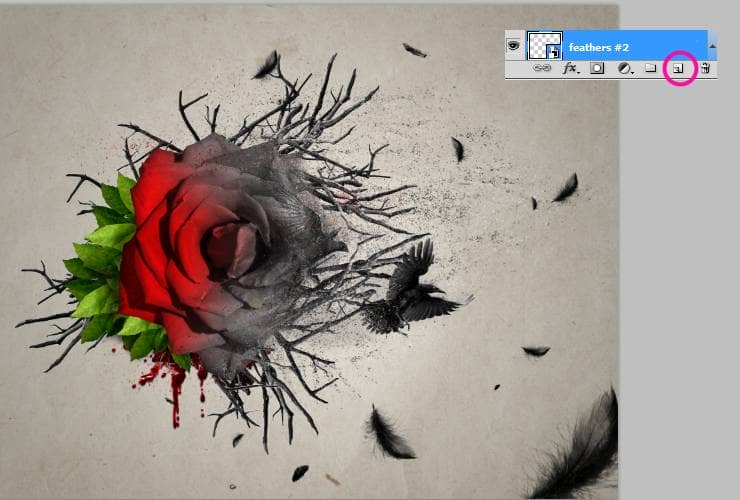
Step 33
Again add new layer. Use the same brush settings. Draw some feathers randomly.
Step 34
For making a depth of field, use on this layer Gaussian Blur. go to Filter > Blur > Gaussian blur and set it as is shown.
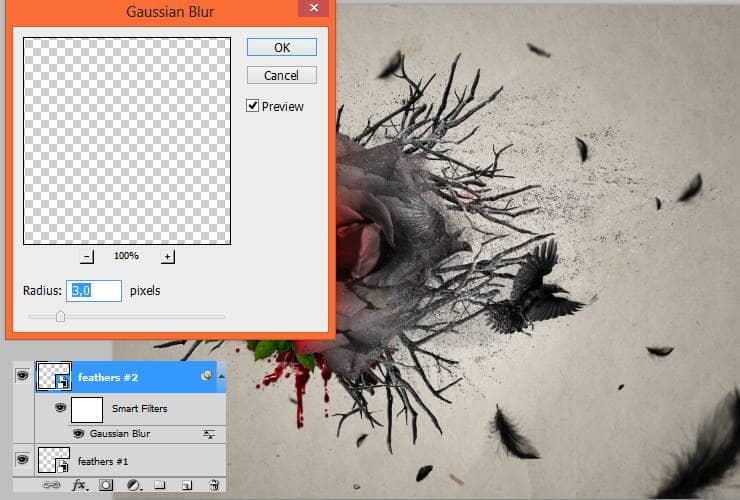
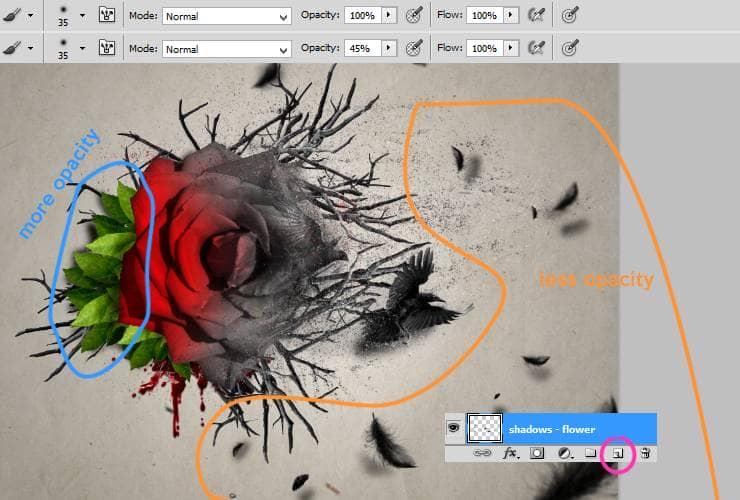
Step 35
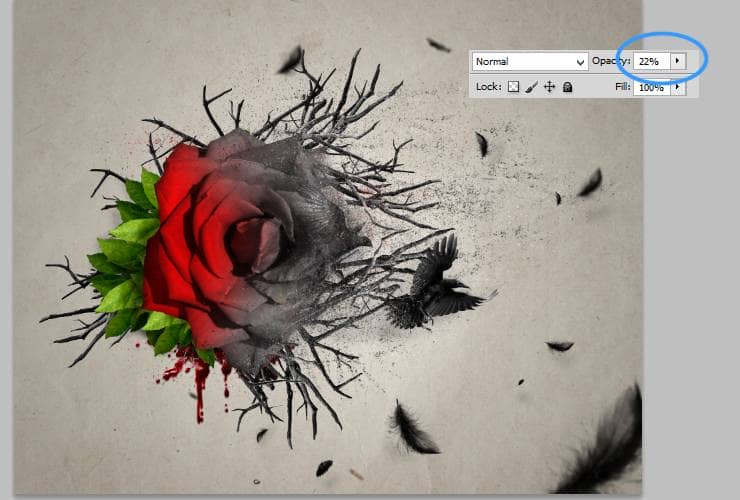
Now you can go below blood splash layer (yes, so far!). Add new layer. Use soft round brush and make shadow below flower, bird and feathers. Keep changing opacities - less below feathers, more below rose and crow.
Light source isn't strong, so decrease opacity of created layer to 22%.
Step 36
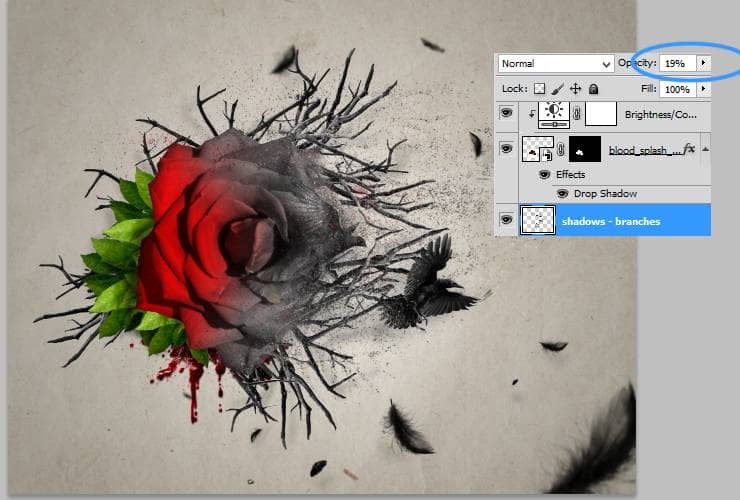
Again add new layer, below "Blood splash" stock. With the same brush settings, draw shadows below branches.
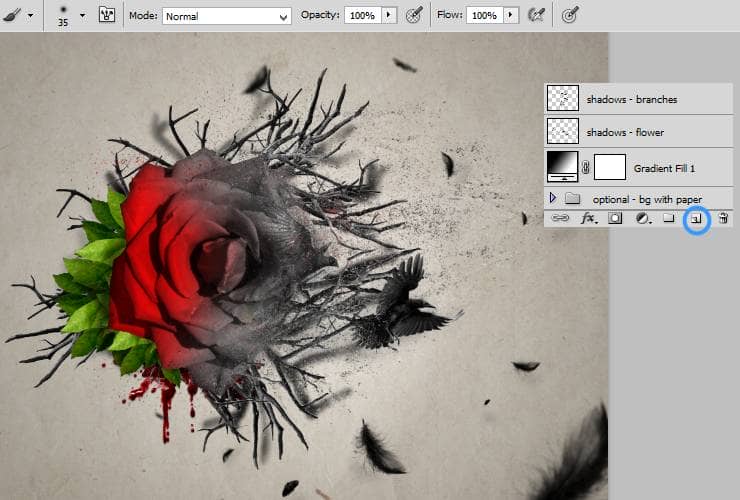
Decrease its opacity to around 20%.
Step 37
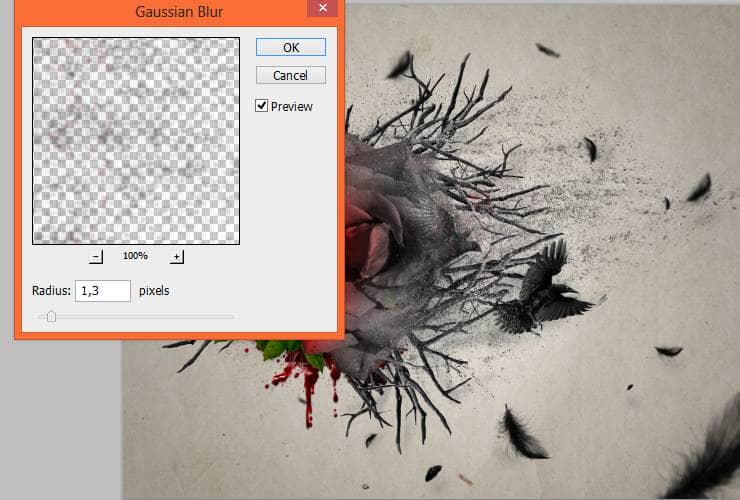
Now duplicate "debris" layer (drag and drop to "New layer" symbol). Then, drag it below layers with shadows and gradient fill
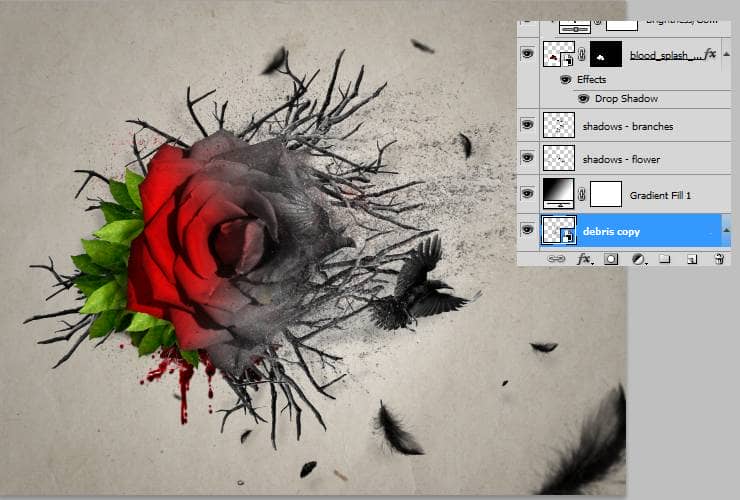
Then, go to top menu and choose Filter > Blur > Gaussian blur. Cool! You've created simple shadow! :).
Step 38
If you don't want "drawn" ornaments below rose, just skip next steps. Don't go above all layers! Place "fbs" stock to your file. Change blending mode to Multiply.
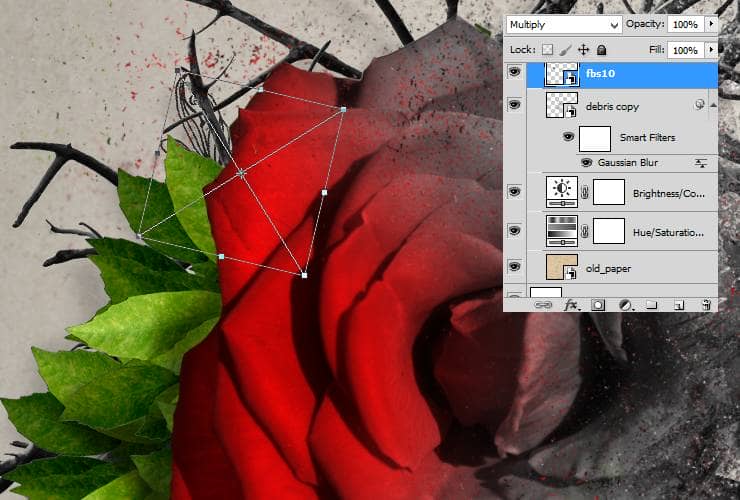
Duplicate it several times. Remember, that you can use other hand-drawn ornaments form pack (or from the other sources). I used fbs10 and fbs04.
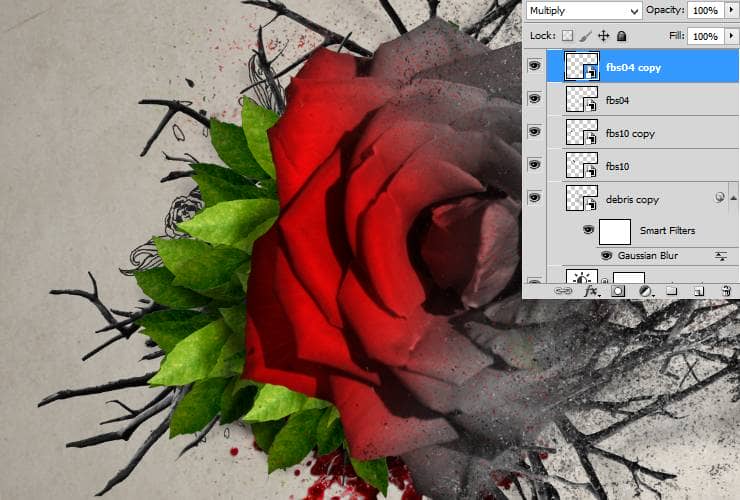
Step 39
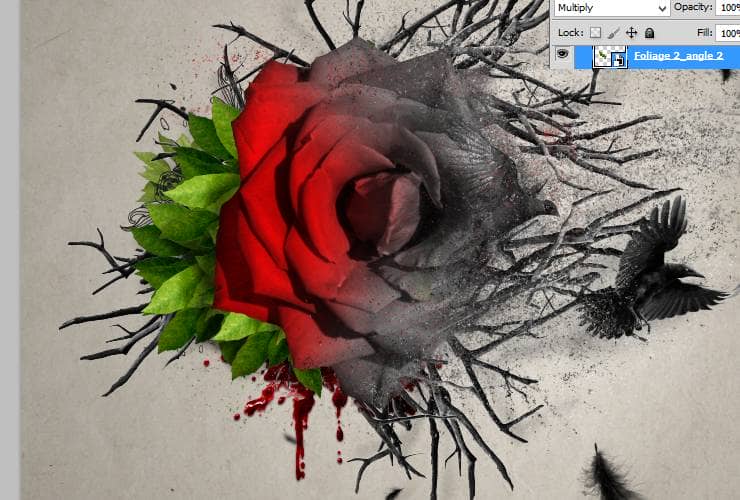
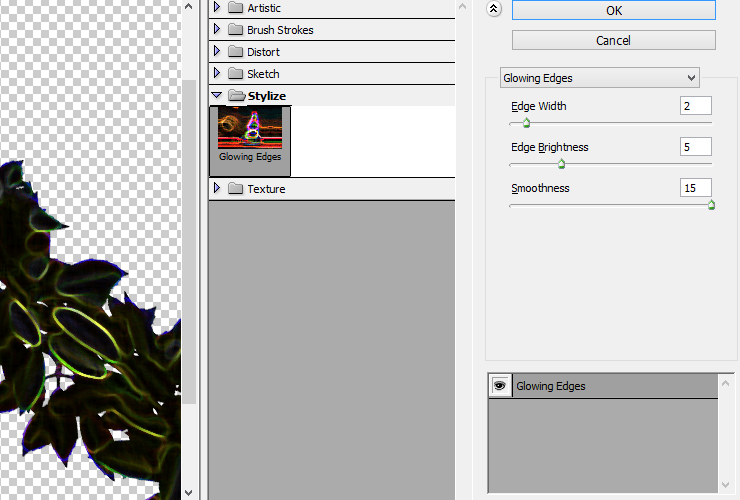
If you don't want to use hand-drawn resources, use normal photos with isolated background. Place your stock (I used one of foliage pack) and change blending mode to Multiply.
Then, go to top menu. Choose Filter > Filter gallery... Pick Glowing edges.
Add clipping Adjustment layer with Brightness/Contrast (shortcut or Layer > New Adjustment layer..., then RMB > Create clipping mask).
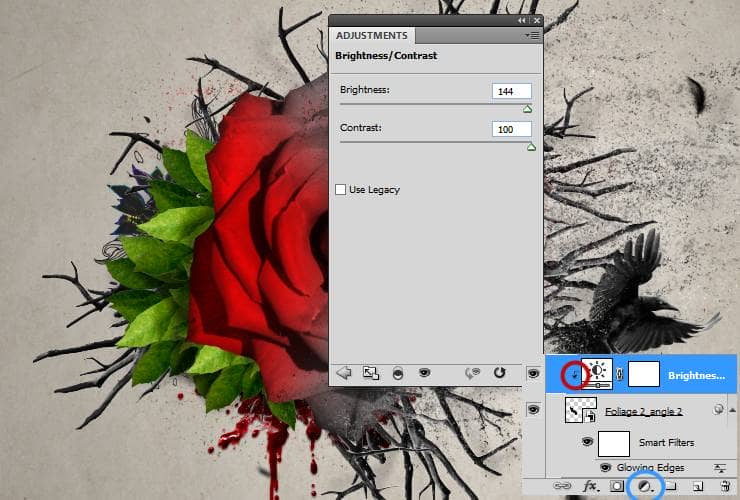
Now, Hue/Saturation (shortcut or Layer > New Adjustment layer..., then RMB > Create clipping mask).
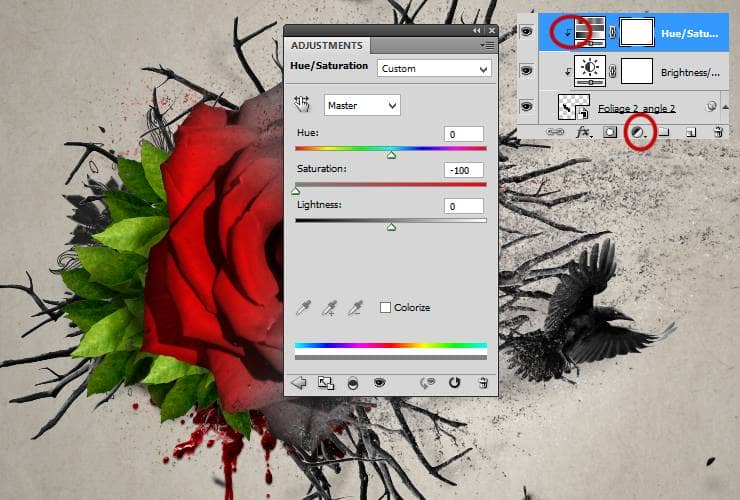
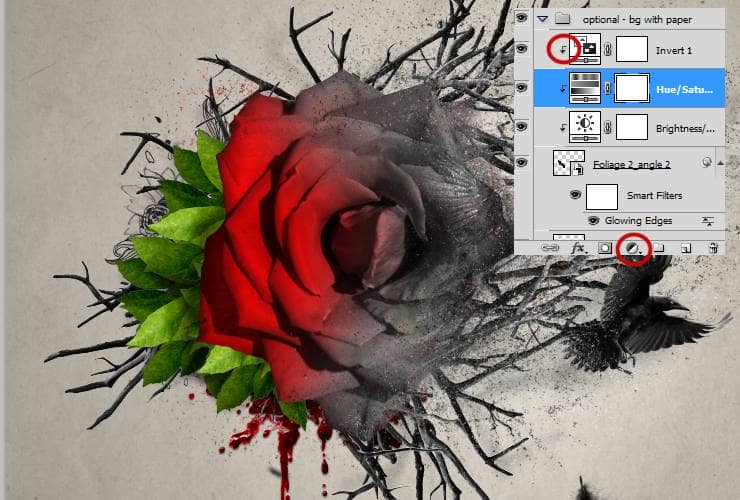
Let's Invert it! (shortcut or Layer > New Adjustment layer..., then RMB > Create clipping mask). And it's ready - hand-drawn foliage.
Step 40
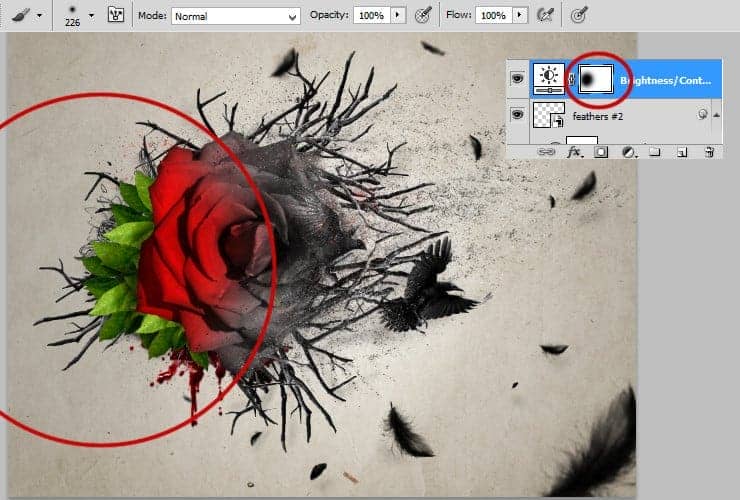
You are really close to finish! :) Go to the top of layers. Add adjustment layer with Brightness/Contrast (shortcut or Layer > New Adjustment layer...).
I really don't like this contrast level on colorful parts of picture. Fix it. Click on white canvas of Adjustment layer. Pick big, black, soft brush to erase colorful parts.
Step 41
Now you can add some "dramatical" colors. Add Color/Balance layer (shortcut or Layer > New Adjustment layer...).
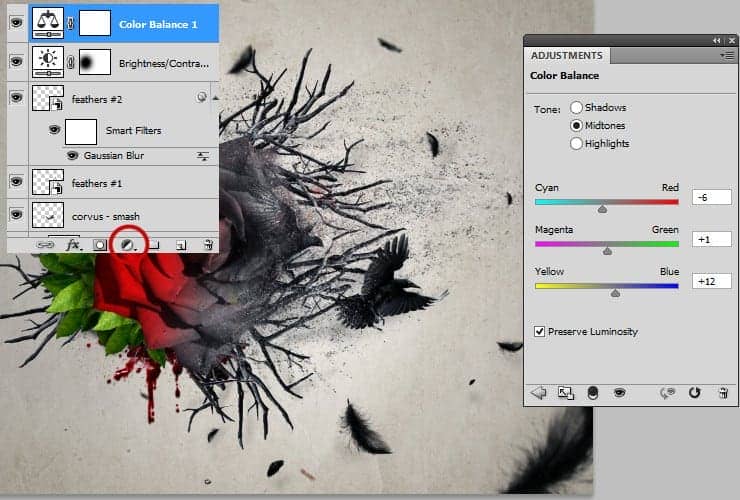
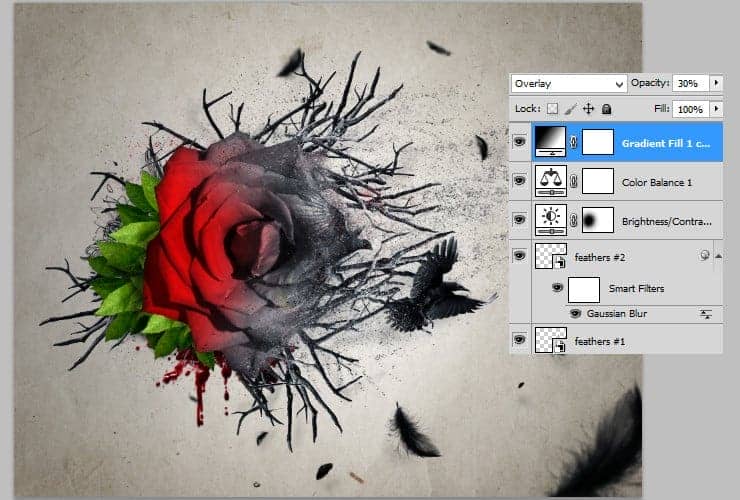
Step 42
Add Gradient fill adjustment. Set radial gradient, for making more vintage look.
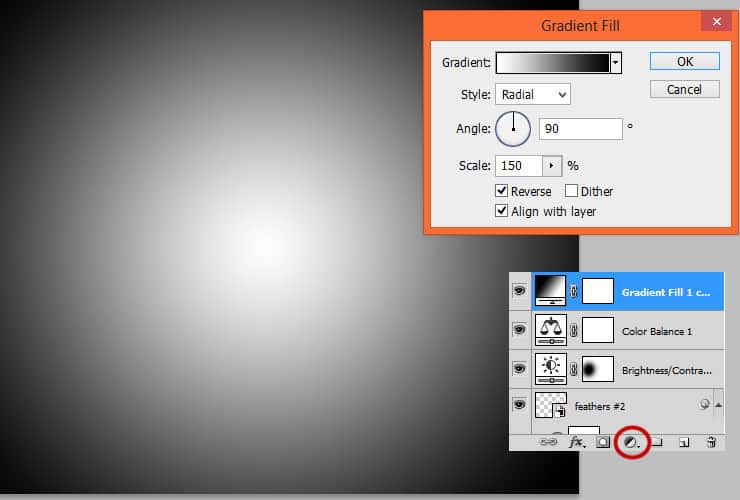
Decrease opacity to 30%, and change blending mode to Overlay.
Step 43
At the end, add Adjustment layer with Brightness/Contrast (shortcut or Layer > New Adjustment layer...). Set levels of darker colors.
12 comments on “Create an Emotional Abstract Photo Manipulation of a Rose”
I got lost at the golden ratio. What do you mean by transform it at the focal point of 1.68?
Very Informative and Lovely Tutorial! I always love the way you have narrated is awesome. I will follow you to make something like this. Thank you so much.
Lovely
No follow up on Tutorials is so frustrating. It really is to bad, great design, but half the effort to help I have noticed..Step 5 worked beautifully for me, but when I tried to do the rose..total frustration. I must be having a real slow day or maybe 2..
I got lost at step 6... I can't copy...
I got lost at step 5, what is RMB? Can someone please show me in details of step 5?
Right mouse button.
I got lost at step 5, can someone please show me?
is there any next step?
yes
This is really beautiful! You have quite an eye for creativity, and I'm grateful for this tutorial you have shared with us.
Sorry, could not find a link to blood