

Download Lightroom presets and LUTs, absolutely free. Use the presets to add creativity and style to your photos.

Step 58
Make the outline. Add new layer (Layer > New > Layer..., Shift + ctrl + N or shortcut). Use 1px soft round brush and draw outline of hole with light color.
Step 59
It's good time to make outlines of whole composition. Add new layer (Layer > New > Layer..., Shift + ctrl + N or shortcut). Use 1px soft round brush and draw outlines. Pay attention to details! And remember about light source. Strokes should be bolder, where is more light.
Step 60
For making particles around, you should load some particles/debris brushes. Use brush tool.
Step 61
If you loaded brushes, add new layer (Layer > New > Layer..., Shift + ctrl + N or shortcut). Pick Clone Stamp Tool. Check Sample: Current & below. Use loaded brushes for making particles. Click with holding "alt" for make source of clone. Pro tip! Use mix of brushes for making clones - it provides you more dynamic look.
Step 62
Duplicate created layer (drag and drop on "New layer" symbol). Then, drag it below layer with monk. Transform it as you want! :) You can also add some clones.

Step 63
Add Brightness/Contrast adjustment layer. Layer > New Adjustment layer > Brightness/Contrast or use marked shortcut.
Step 64
Optional - You can add one more layer with particles around monk - see step 61.
Step 65
Bigger brush size for clone stamp tool will give for your image some deep.
Step 66
Add new layer with particles (Layer > New > Layer..., Shift + ctrl + N or shortcut). Pick Clone Stamp Tool. Check Sample: Current & below. Use loaded brushes for making particles. Click with holding "alt" for make source of clone. Then go to Filter > Blur > Gaussian blur. Then, go to Filter > Blur > Motion Blur.

Step 67
You can simply add as much particles and layers with blurred particles as you want, but... do not overdo it! :)
Step 68
Repeat it also on the left side of picture. Add new layer > Use clone stamp tool > Blur it - use Gaussian blur and Motion blur, then - if you want, add some adjustments.
Step 69
Let's make it beauty. Add some adjustments. Add Levels adjustment layer. Layer > New Adjustment layer > Levels or use marked shortcut.


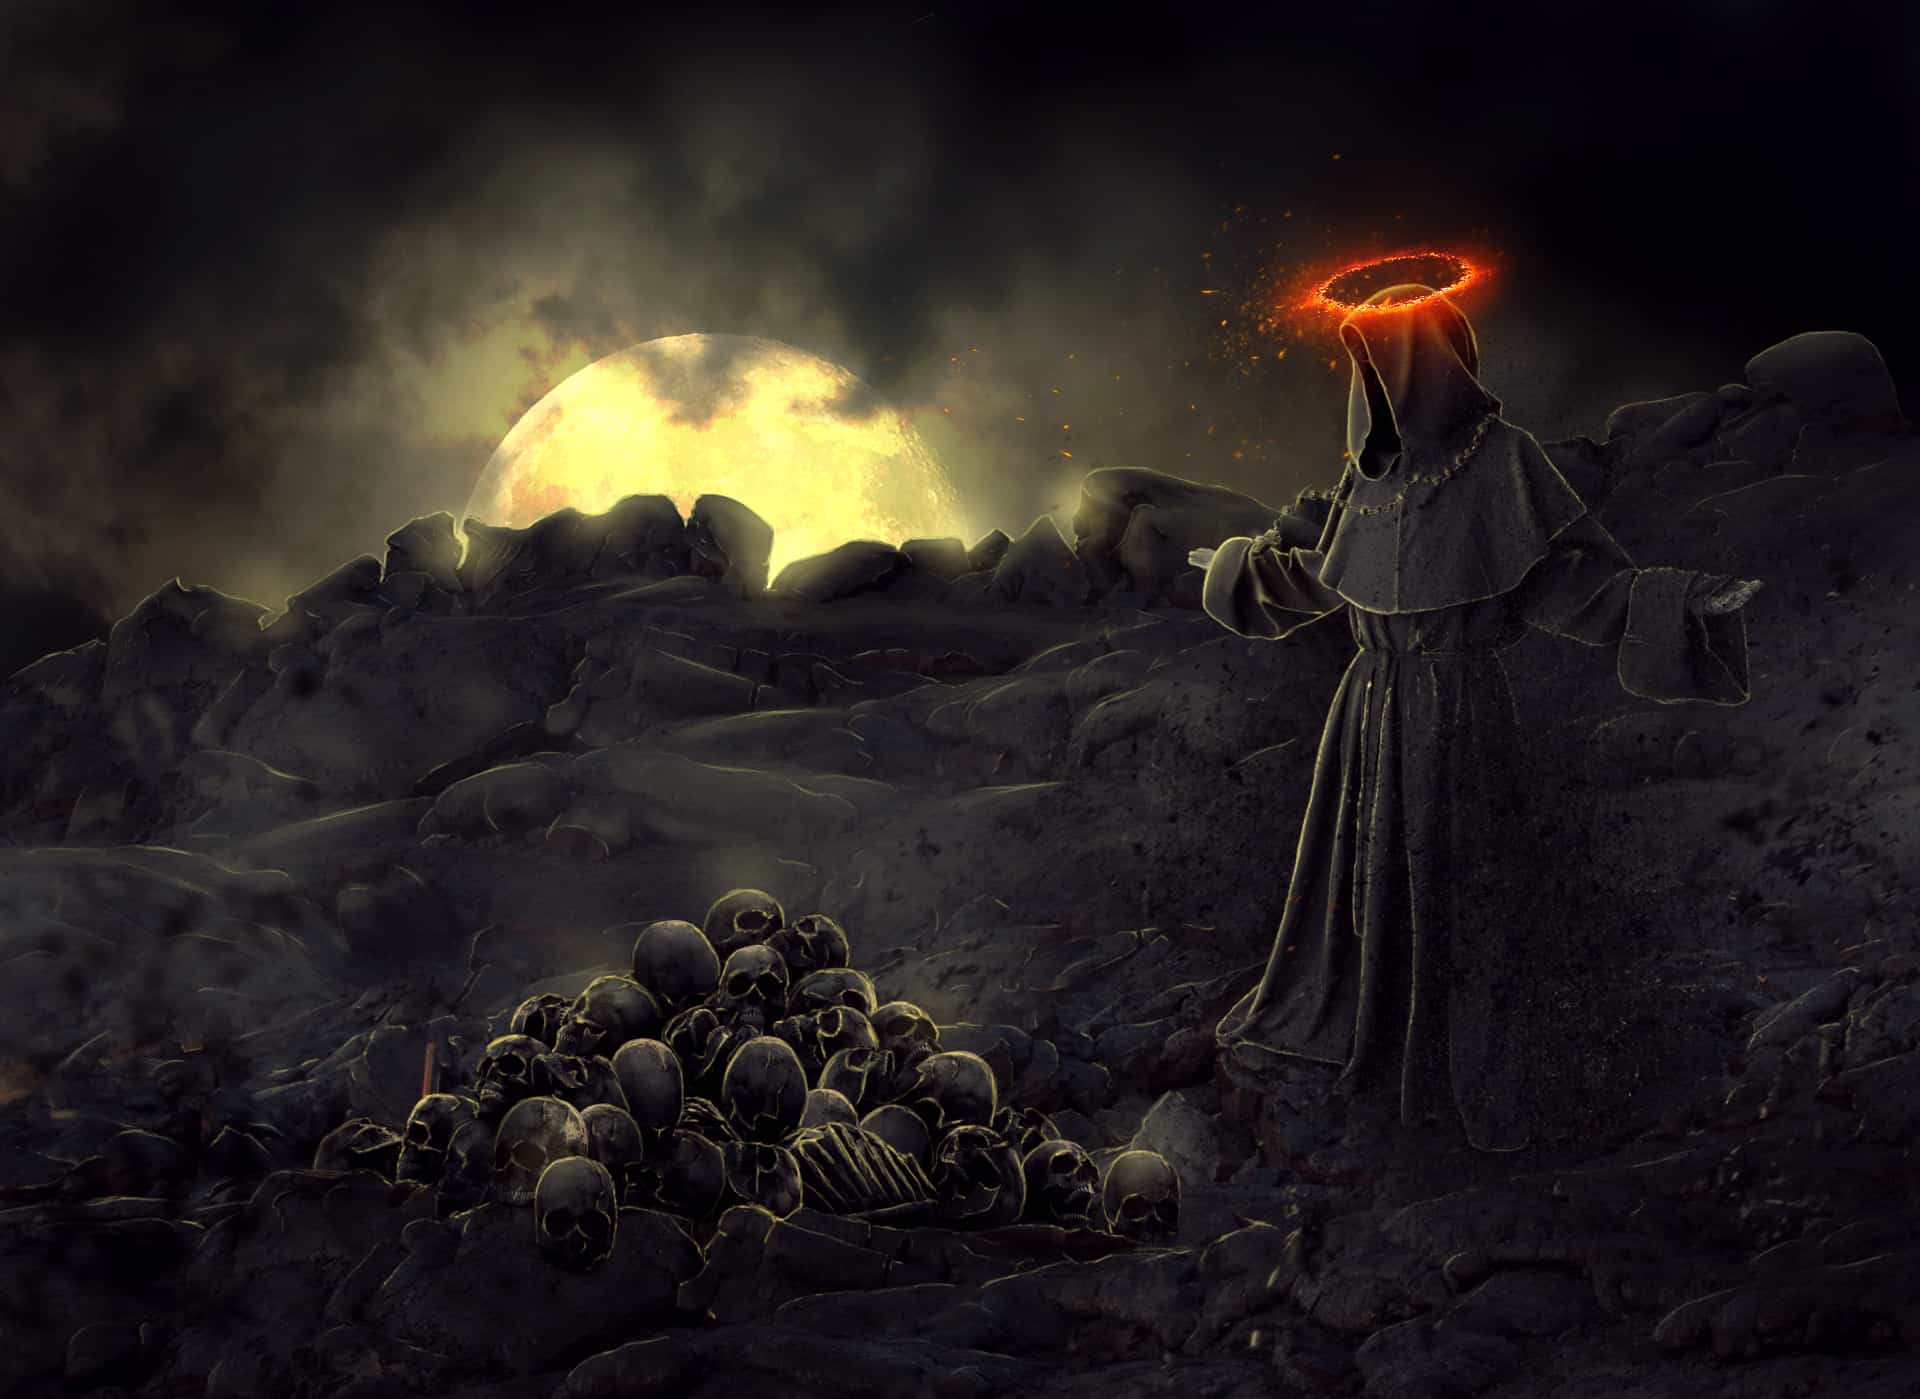
Step 70
It's time to make nice halo effect. Place "food 012" stock and transform it as is shown. If you are using free transform, you can hold ctrl to change pins perspective. Change blending mode of this layer to Screen.


6 comments on “Create a Fantastic Photo Manipulation of a Dark Monk”
what the
This is great! ❤
really nice!!<3
really nice!!<3
would be really great if you could link ALL the different type of stocks, there's no halo ''food 012'' and the lavastone is the wrong image!!
en español