

Download Lightroom presets and LUTs, absolutely free. Use the presets to add creativity and style to your photos.
Step 14
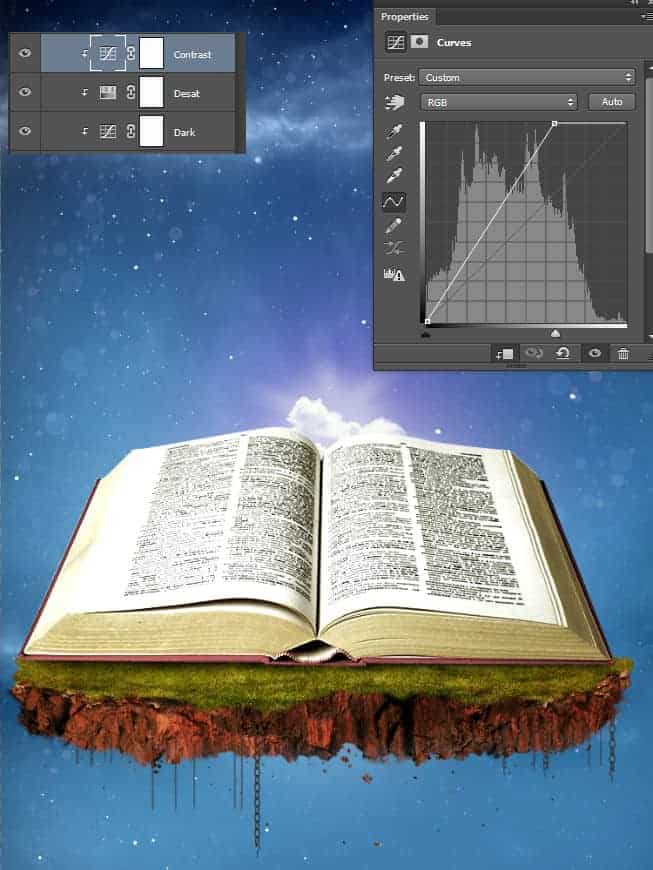
Create another Curves Adjustment Layer and clip it to the book layer. Use the settings shown below to lighten the book and further increase the contrast.
Step 15
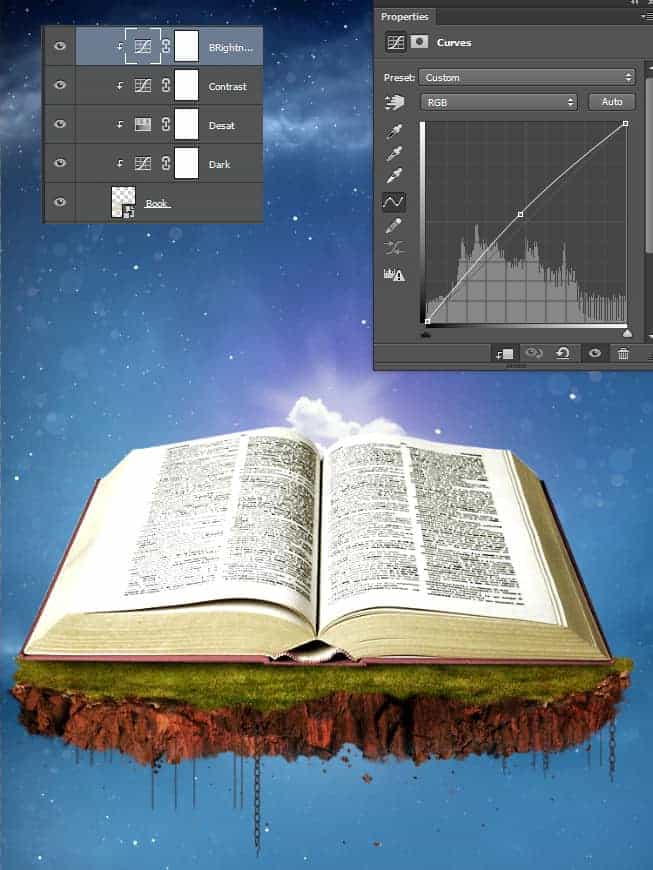
Create another Curves Adjustment Layer and drag the curve upwards a bit in order to further lighten the book. As you can see I am using a multitude of curves layer instead of a single one and the reason behind this is that I like to have flexibility when it comes to effects. If I would decide in the future that I don’t like a single effect applied to the book I could delete the corresponding clipped adjustment layer.
Step 16
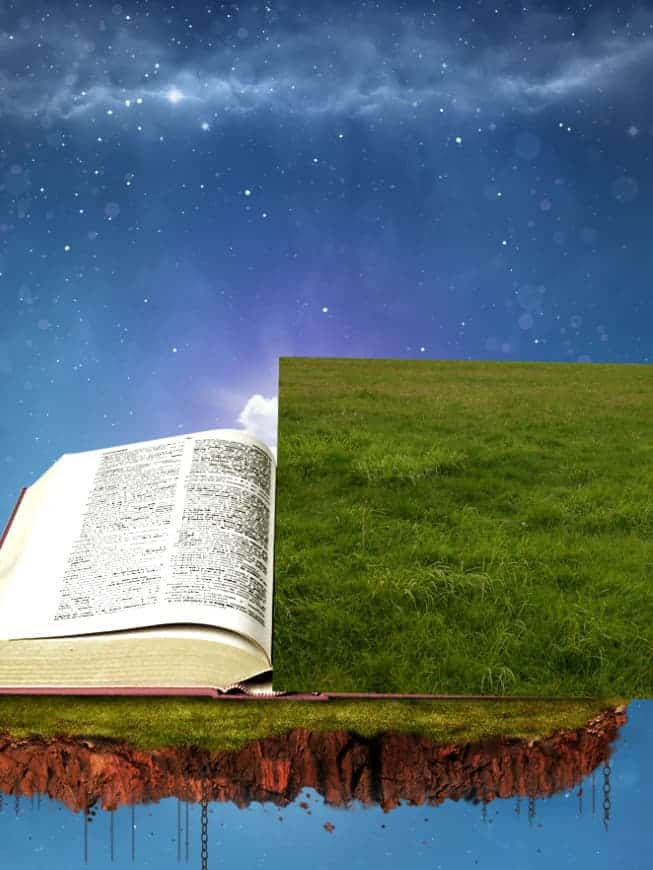
Open the image “Grass” and using the Rectangular Marquee Tool select the grass. Copy/paste in our scene and convert the grass layer into a smart object. Position and resize the grass (use the Free Transform to do that – Ctrl + T) over the right page of the book.
Step 17
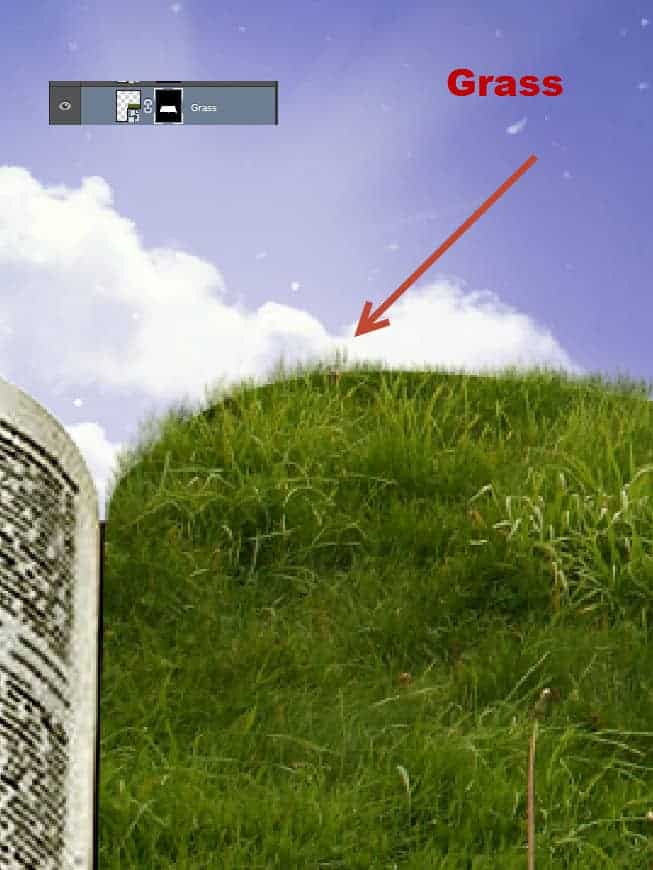
Use the pen tool to create a path around the upper pages of the book. Press Ctrl + Enter to convert the path into a selection. Add a layer mask to the grass layer (Layer > Layer Mask > Hide All) and press D to set the colors to default – you will notice that the grass disappears. Click once on the layer mask to make it active and press Alt + Backspace to fill the selection with white and thus revealing the grass only through the upper pages of the book.

Step 18
Press Ctrl + D to deselect everything and select one of the grass brushes you imported. Click on the grass layer mask to make it active and paint with white near the edges of the pages. This will remove the hard lines of our layer mask and give the impression that the grass is sprouting from the page.
Step 19
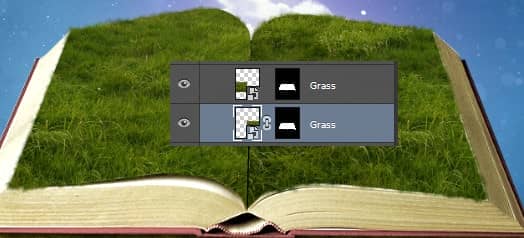
Repeat steps 16 to 18 for the left page of the book.
Step 20
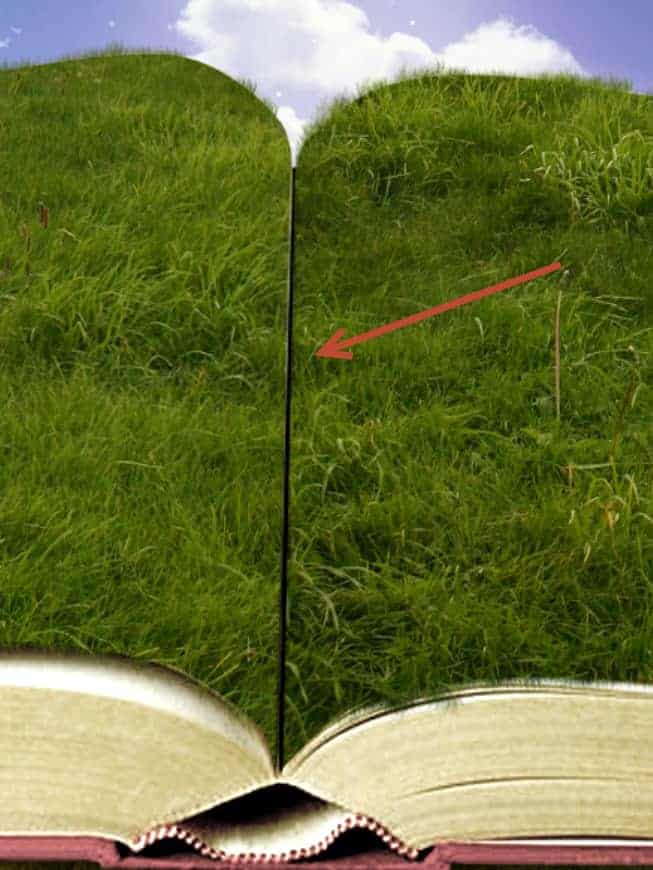
Create a new layer (or a couple) and paint some black vertical lines exactly in the middle of the book with the standard round soft brush. Lower the opacity of the layer(s) to 60-70% and change the blending mode to Multiply.
Step 21
Let’s add some shading and volume to our book. Create a new layer ad change the blending mode to Overlay. Select the standard soft round brush and lower the opacity to 10%. Paint with white and black over the areas indicated below (painting with white will make that region bump up and painting with black will make that region bump down).
10 comments on “How to Create a Fantasy Book Scene in Photoshop”
stop
Beautiful
very nice excellent
excellent tutorial..very clear explanation...u r genius
That's Amazing Dude Very Very Nice !
Beautiful
Mr cordes U slayer :)!$
excelente tutorial. :)
Woooow...awesome work ???
Wow