

Luminar AI lets you turn your ideas into reality with powerful, intelligent AI. Download the photo editor and see how you can completely transform your photos in a few clicks.
Step 30
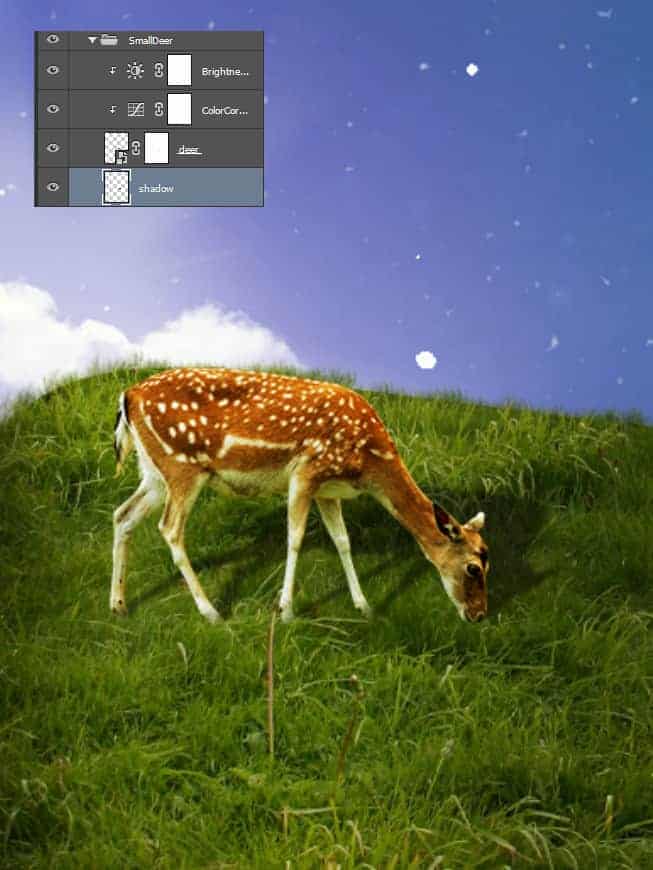
Now let’s add a bigger deer (or elk, not really sure what it is). Open the file “Deer” and copy/paste the deer into our scene. Place it as shown below and use the trick from step 23 to blend the deer’s hooves with the grass. Paint some shadow on a layer set to Multiply and place the layer below the deer layer.

Step 31
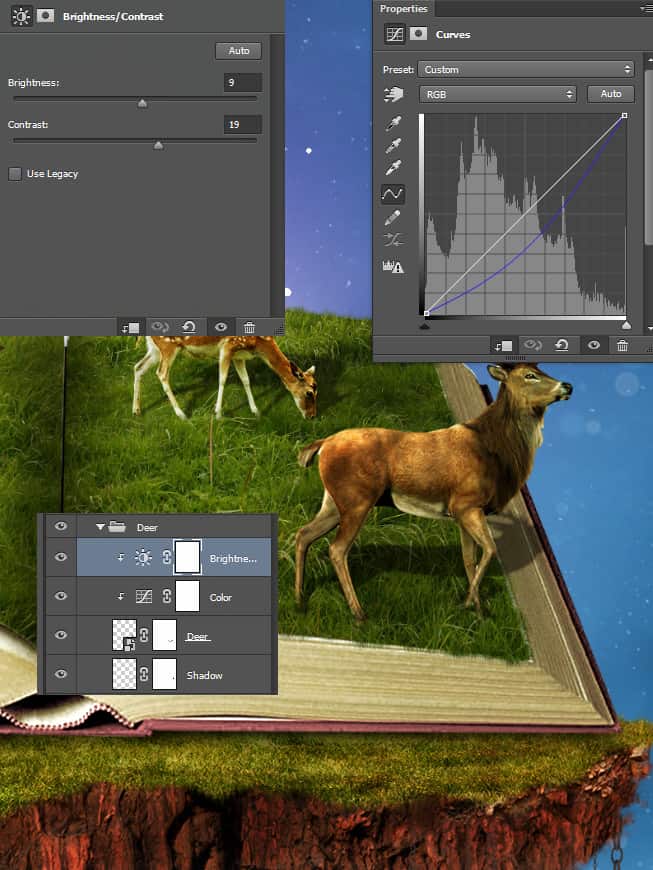
Create a Curves Adjustment Layer and a Brightness/Contrast Adjustment Layer and clip them to the deer layer. Use the settings shown below to both color correct the deer and increase the color intensity.
Step 32
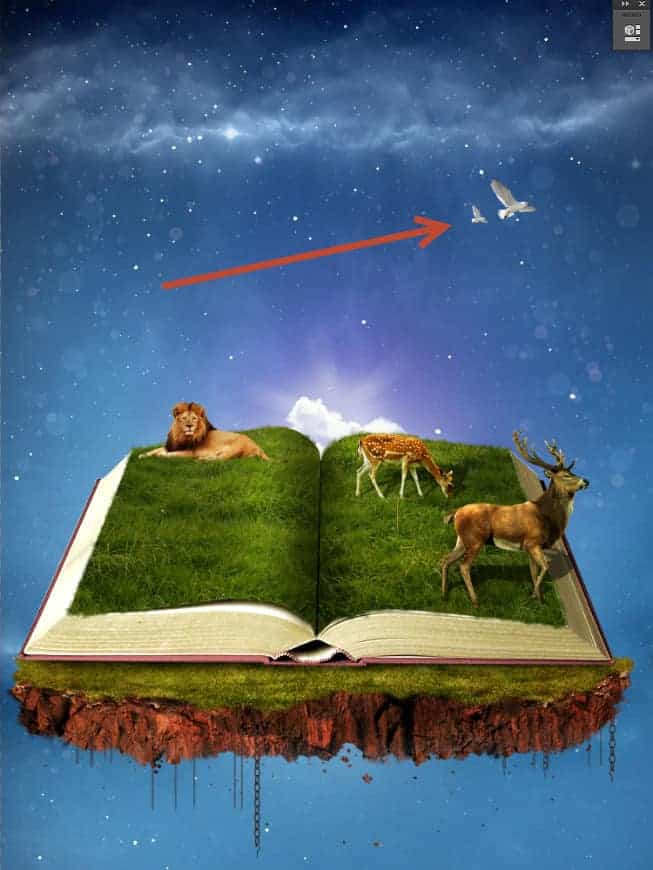
Open the file “Birds”. Copy/paste the birds in our document and place them above the book. Don’t forget to convert the layer to a smart object.
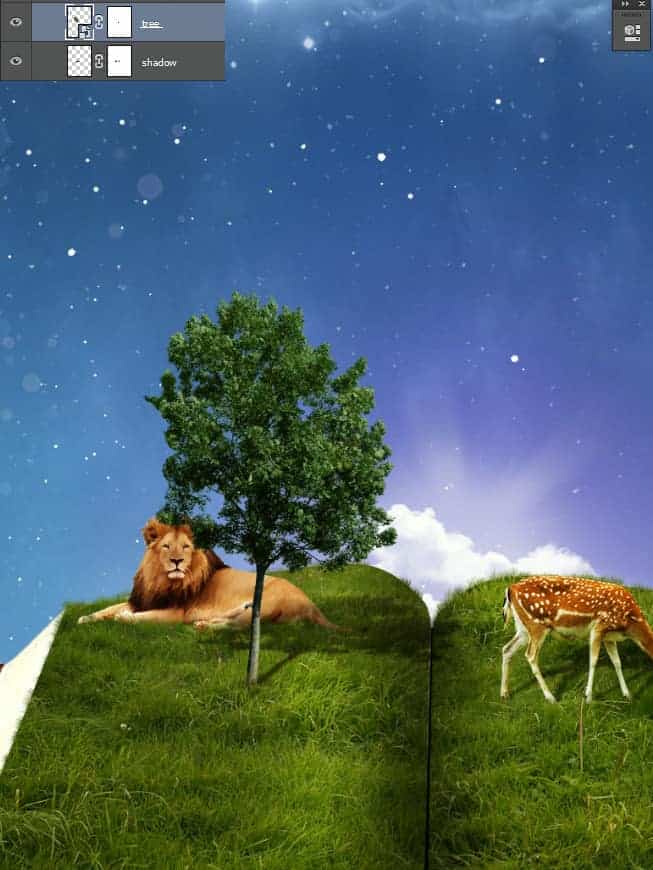
Step 33
Open the file “Tree” and perform a copy/paste into our scene. Place the tree in front of the lion and use the trick from step 23 to blend the tree with the grass. Paint a shadow on a new layer placed below the tree layer.
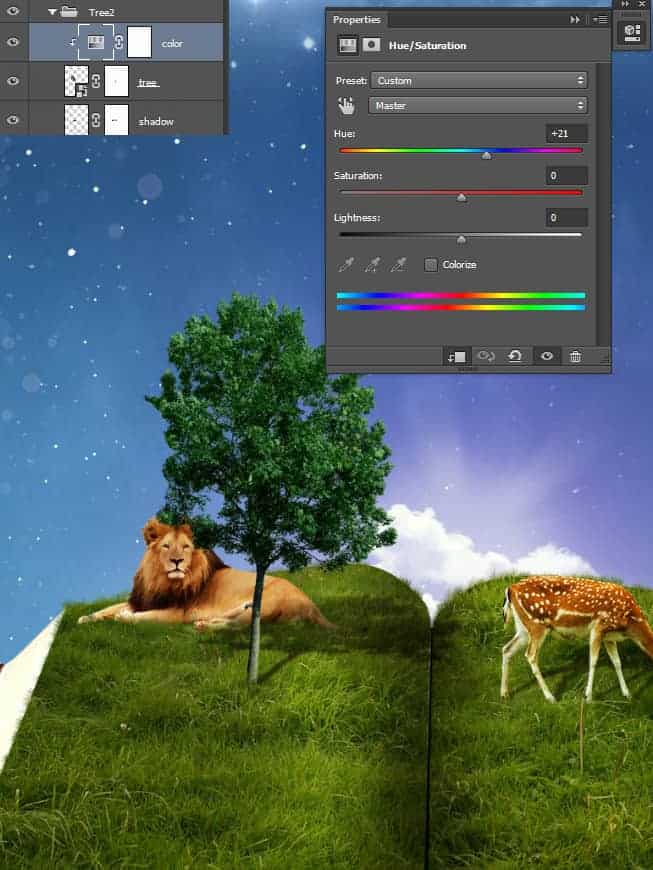
Step 34
Create a Hue/Saturation Adjustment Layer and clip it to the tree layer. Change the hue slider to +21 to make the hue of the tree greener.
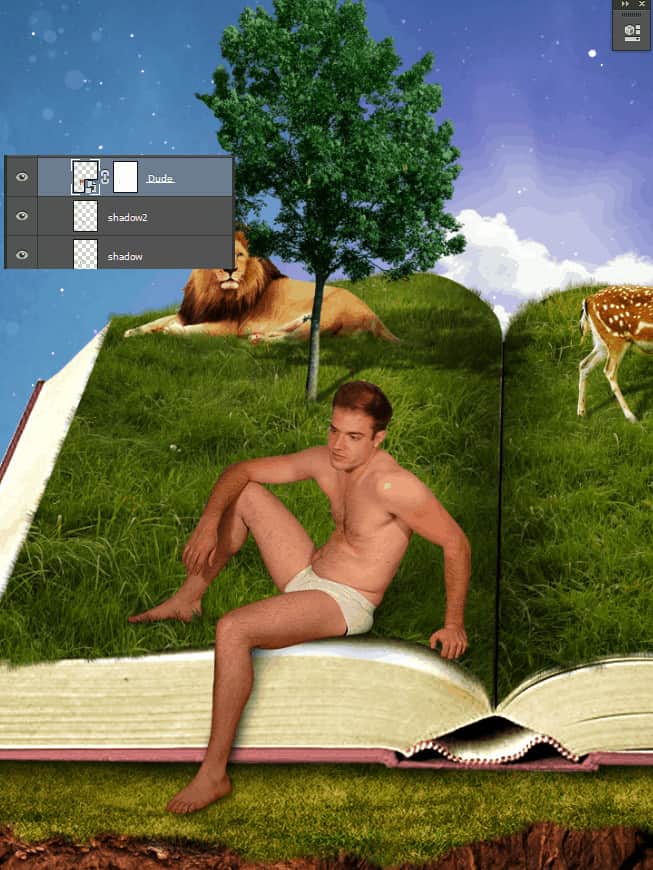
Step 35
Open the file “Dude” and use the Pen Tool to make a selection of the guy. Copy paste in our scene and place the guy at the edge of the book. Paint some shadow on a new layer below the guy layer.
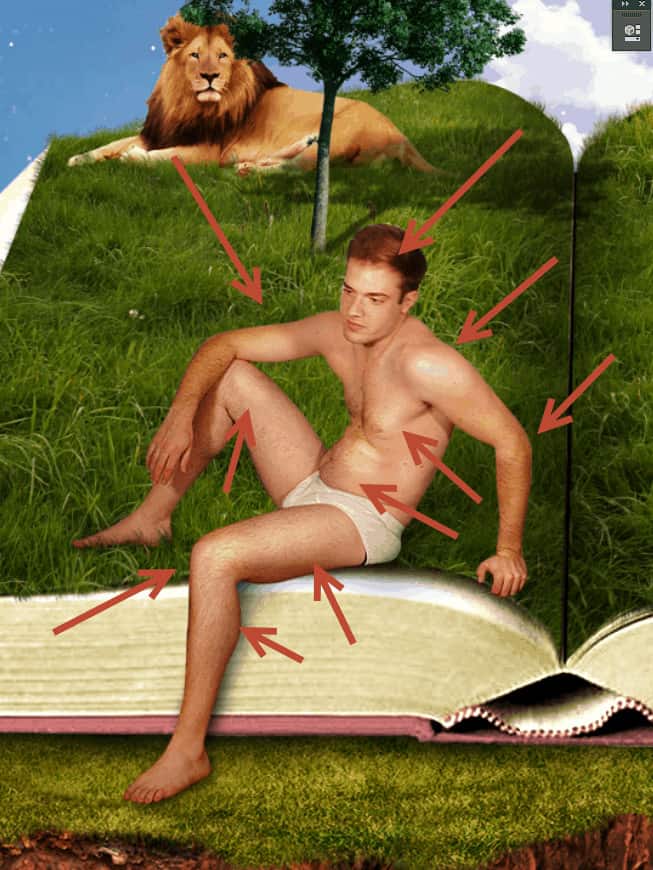
Step 36
Create a new layer and change the blending mode to Overlay. Clip this layer to the guy layer and select the standard round soft brush. Lower the opacity to 20% and paint subtly some bright spots on the areas indicated below to give our guy a little volume.
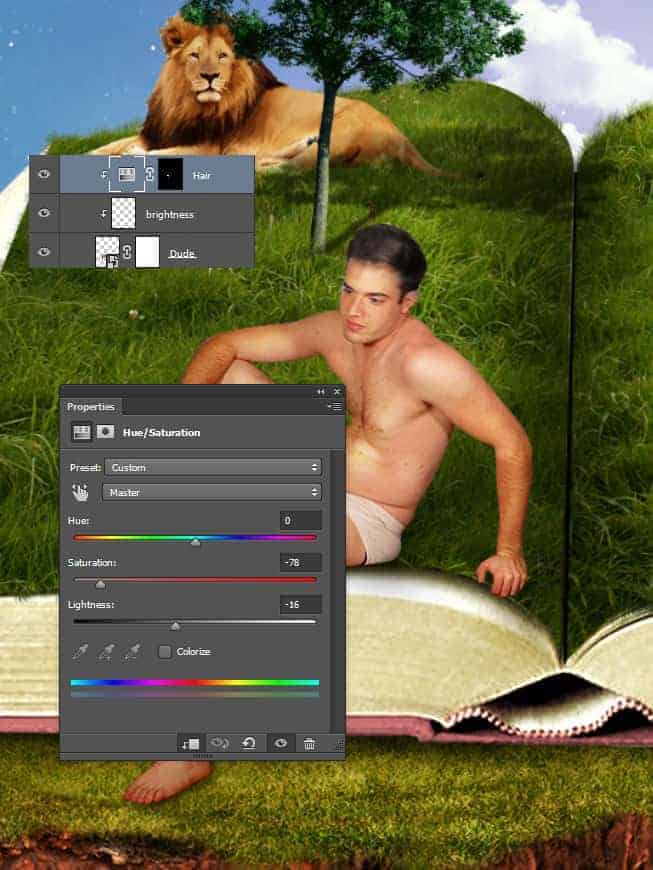
Step 37
The red hair is a little bit distracting so I think it would be a good idea to change it to black. Create a new Hue/Saturation Adjustment Layer, clip it to the guy layer and fill the layer mask with black (Click on the layer mask, press D and press Ctrl + Backspace). Lower the saturation to -78 and with a round soft brush paint over the guy’s hair to reveal the effect there.
Step 38
This is supposed to be a biblical scene of sorts and the guy sitting on the book should be an Adam of sorts. Let’s create some vines and place them on the guy’s crotch to emulate the famous leaf covering Adam’s manhood. Open the file “Vines” and copy/paste in our scene. Place the vines as shown below and add a layer mask to hide the unwanted leaves.
10 comments on “How to Create a Fantasy Book Scene in Photoshop”
stop
Beautiful
very nice excellent
excellent tutorial..very clear explanation...u r genius
That's Amazing Dude Very Very Nice !
Beautiful
Mr cordes U slayer :)!$
excelente tutorial. :)
Woooow...awesome work ???
Wow