Download Lightroom presets and LUTs, absolutely free. Use the presets to add creativity and style to your photos.
Step 13
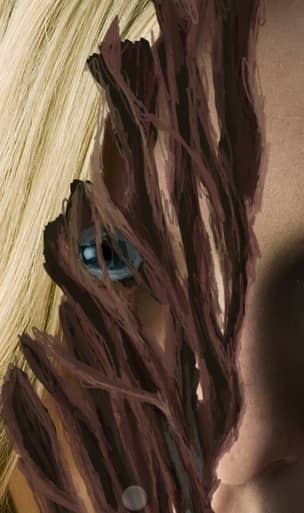
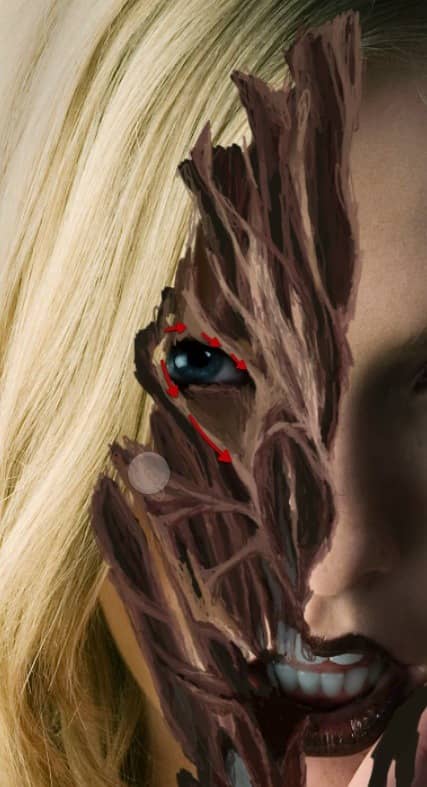
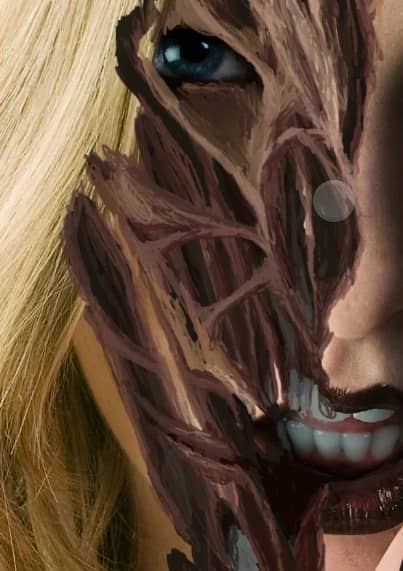
Then to suggest a limit to the depth of the skin and flesh we need to paint in some hint of bone bellow all this mess; so sample some color as shown here and paint in some bone back there as shown here.
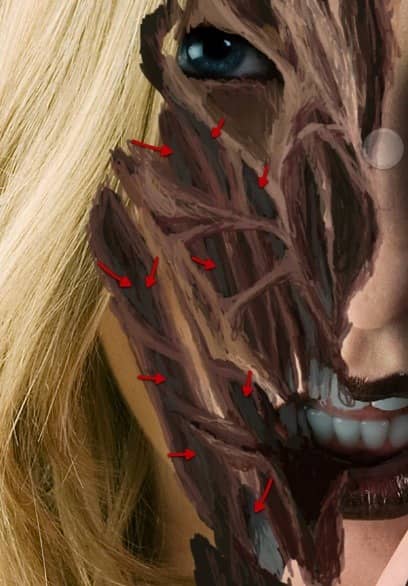
Step 14
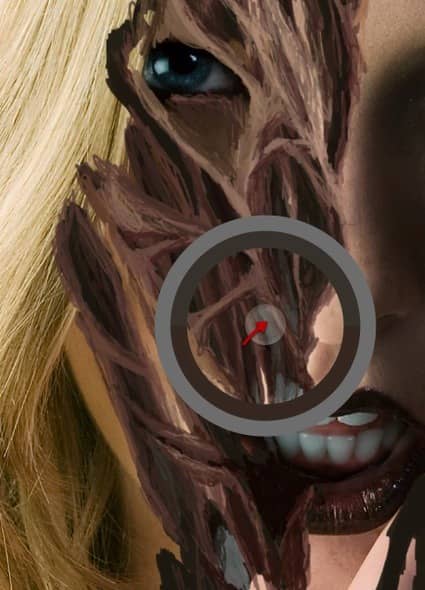
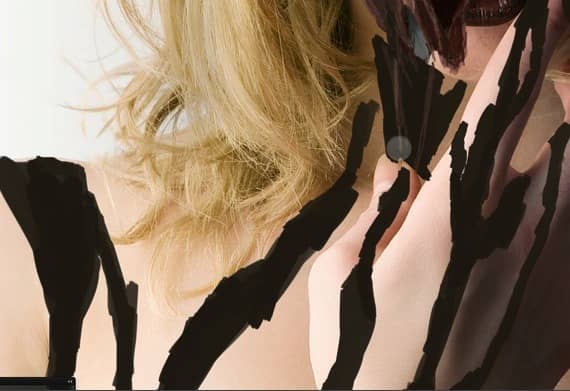
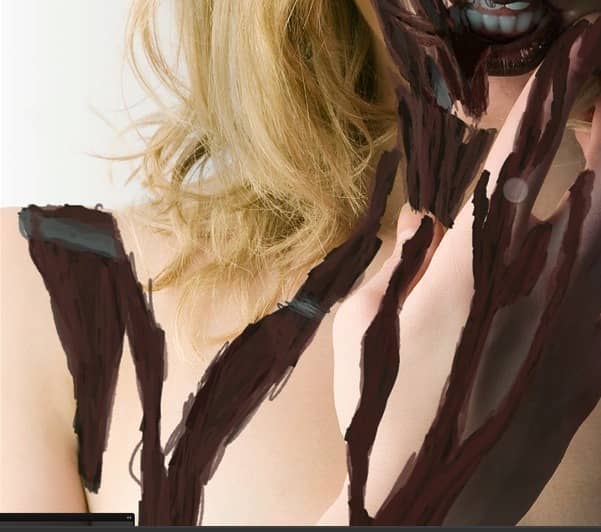
OK great! at this stage we need to cover with the same sketching for the rest on the shoulder and hand. And that is it for this stage we should have all of our plan and sketch in place.
2. Eyes
Step 1
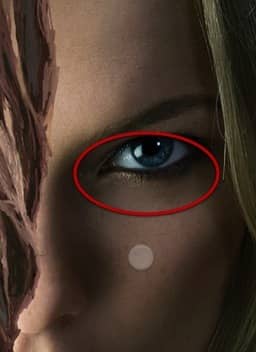
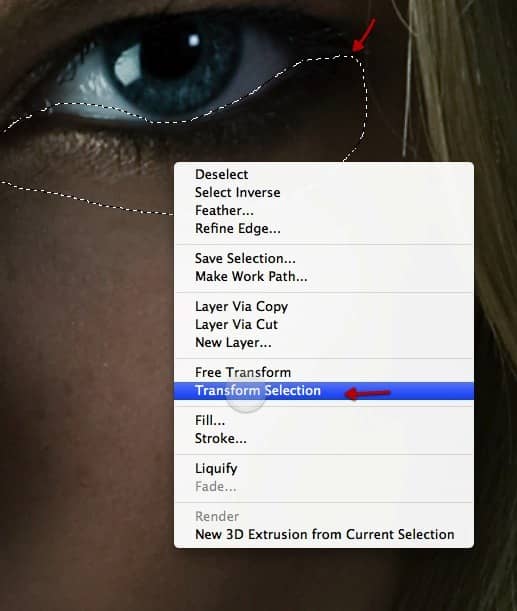
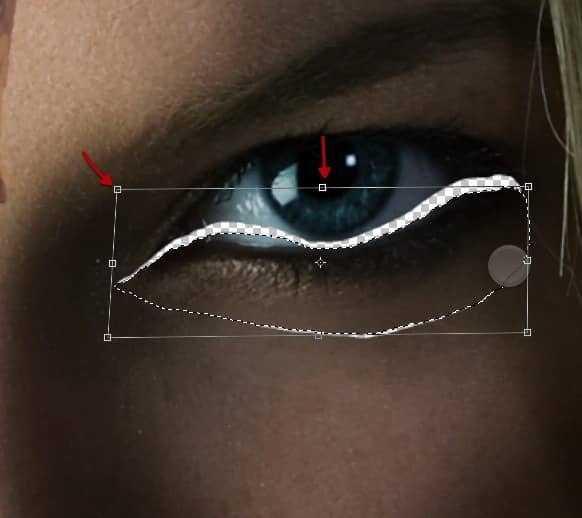
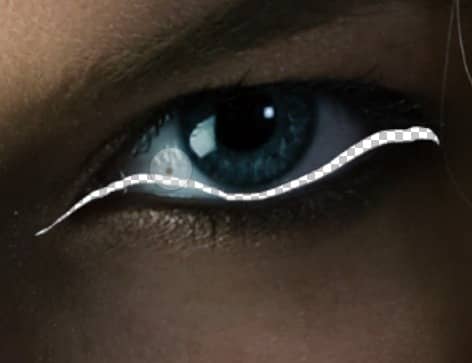
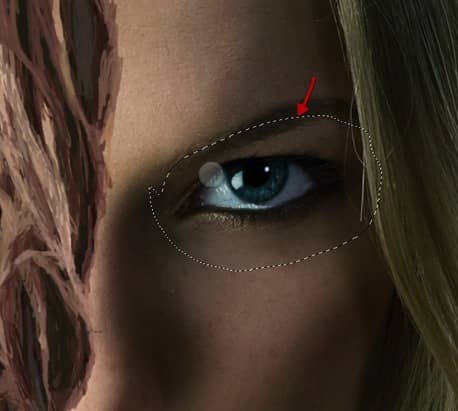
OK we will start to modify the eye on the right to make it a bit more sad; so duplicate the base image and then make a selection of the eye as shown here, then transform the selected part as shown.
Step 2
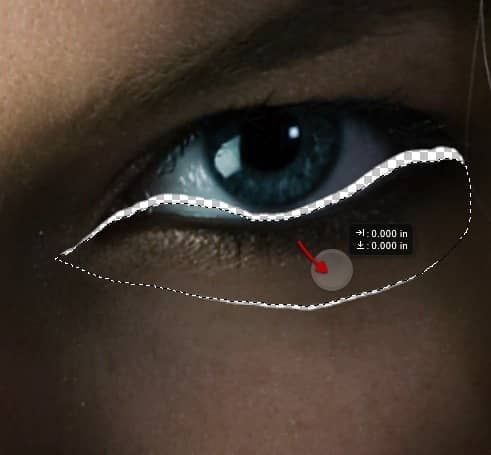
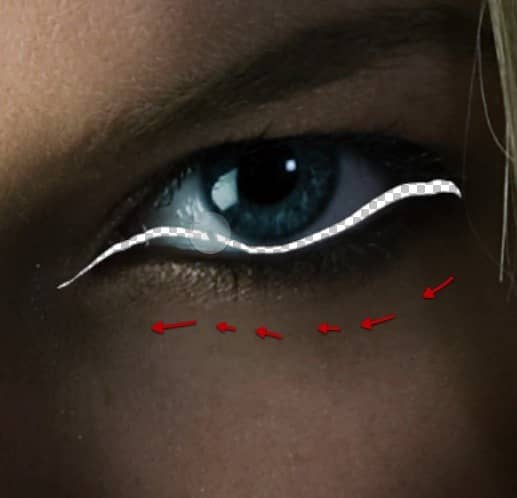
Move the selection in this position and then use the healing tool to remove the lower gap left there.

Step 3
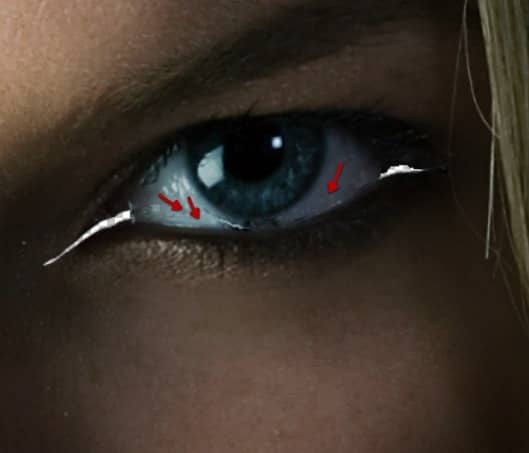
Then for the rest of what we have missing we will continue a bit with the healing tool, yet only for the white part and make sure yo don't go over the darker section of the lashes or the algorithm will plaster a black smudge there.
Step 4
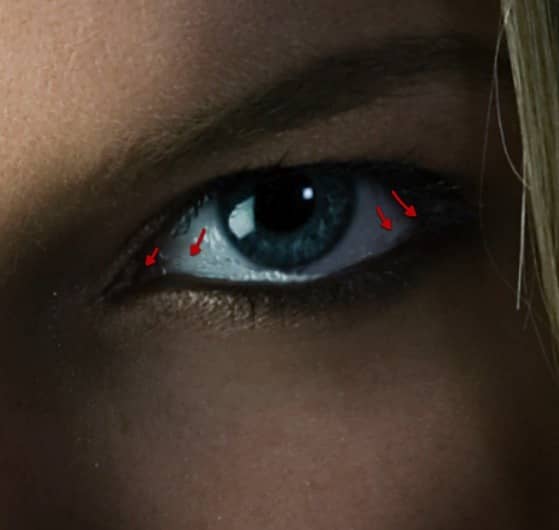
For the rest just grab the clone tool and complete the eye as shown here. I left a bit of extra white at the bottom to suggest a bit of tears.

Step 5
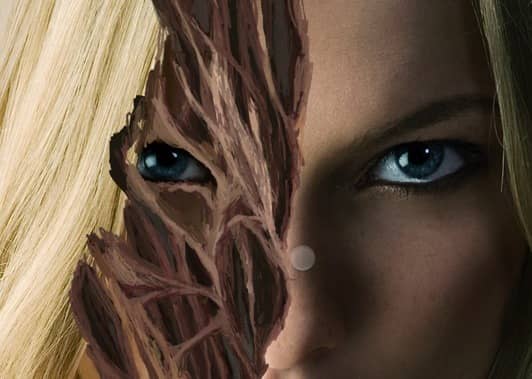
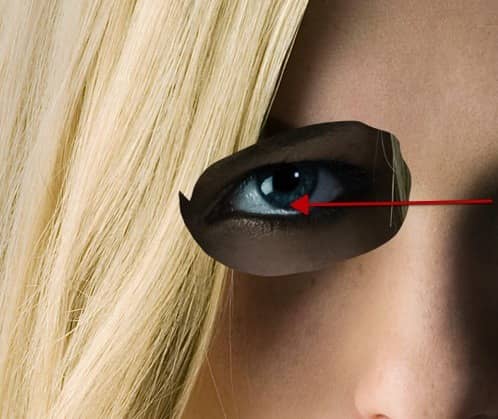
Perfect, now lets select the right eye and copy paste it on a new layer; then move it over the other eye.
Step 6
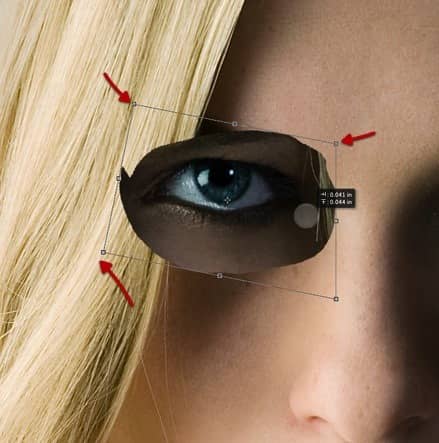
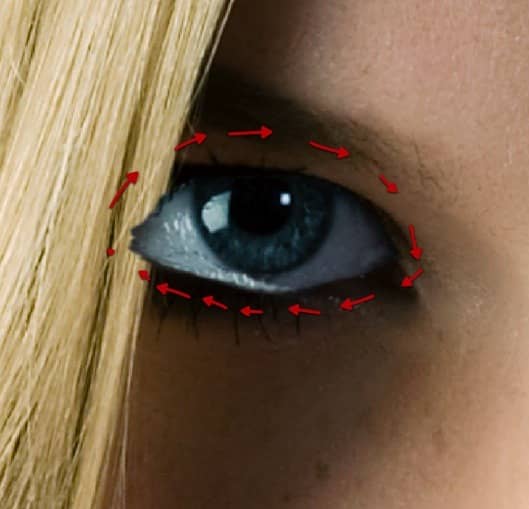
Distort it a bit as shown here and then just erase around it so we keep only the eye.

Step 7
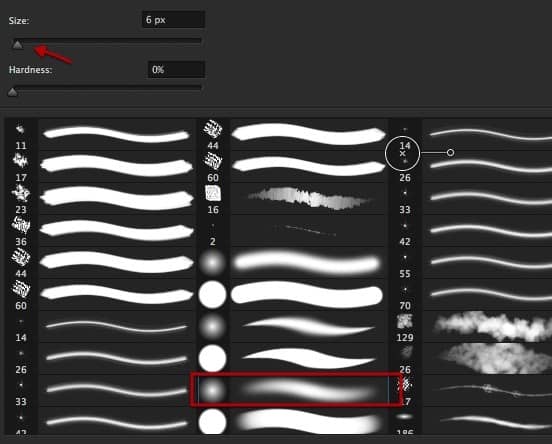
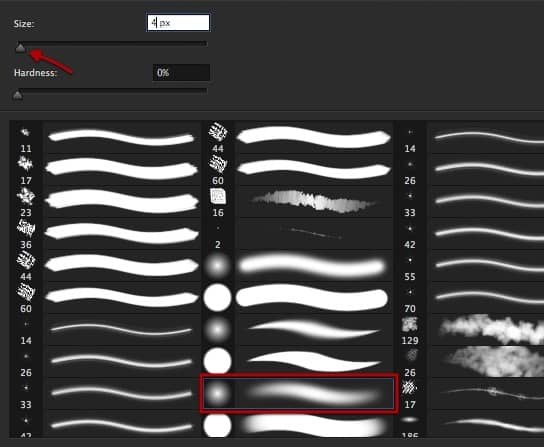
Now go back to the clone tool and select this brush tip for it, at about only 6px.

Step 8
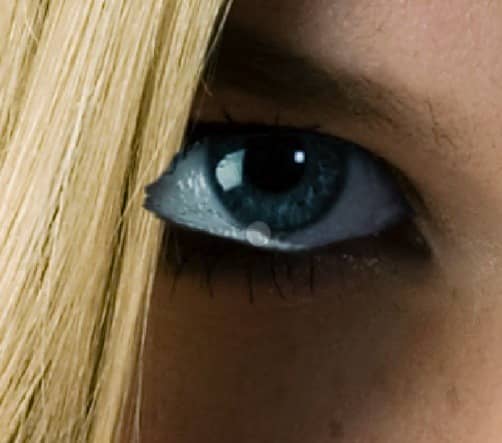
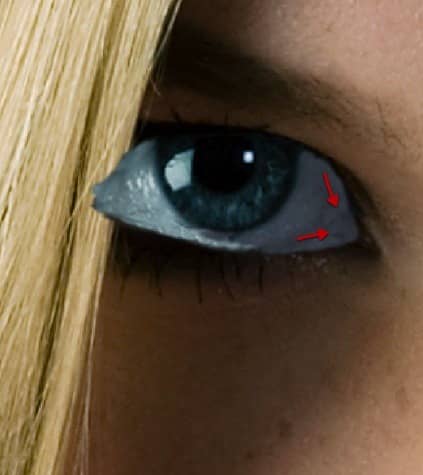
Now just clone a bit to complete the eye as shown here.
Step 9
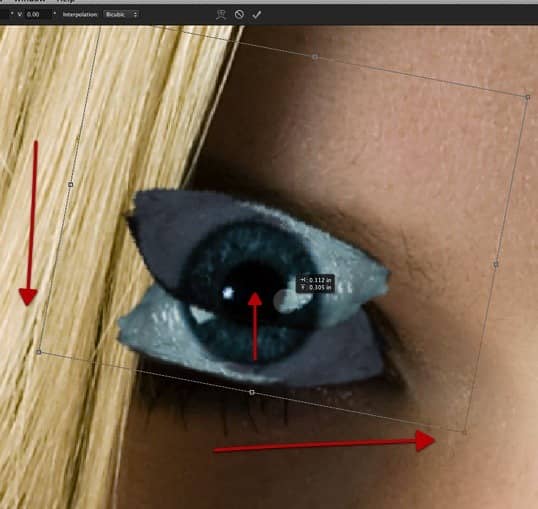
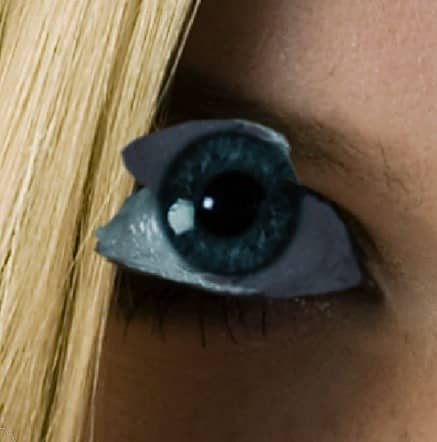
Make a duplicate of this layer, rotate it and just erase the top of so we have a complete round retina in the eye. And finally just clone a bit more to complete the White section.
Step 10
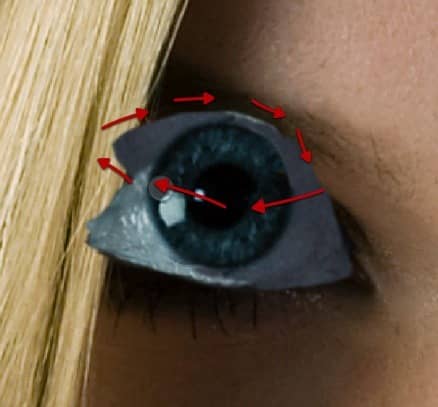
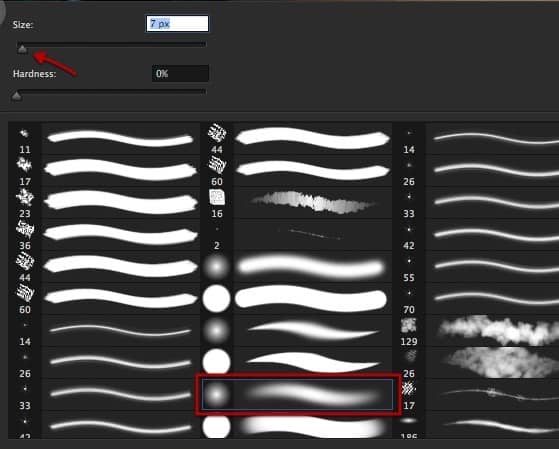
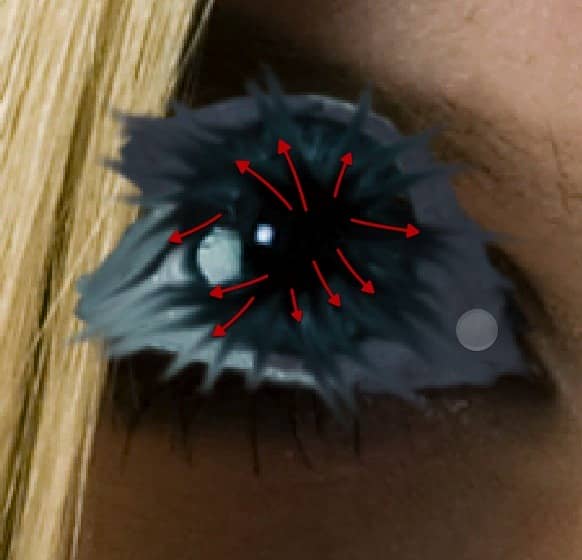
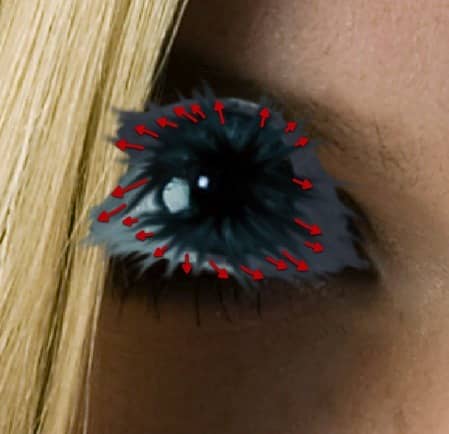
Now merge both layers together and grab the smudge tool with the tip shown here. Then just smudge out to make the infected eye.

Step 11
Now reduce the brush size at about 4px and smudge a bit more detail in there.
Step 12
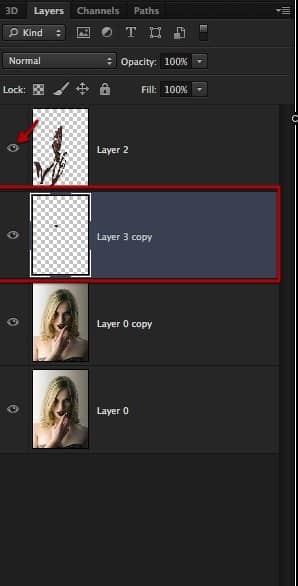
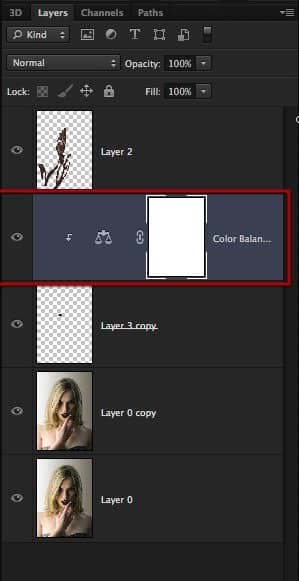
We can now re enable the painted layer and then make a color balance layer for the eye adjusted as shown.
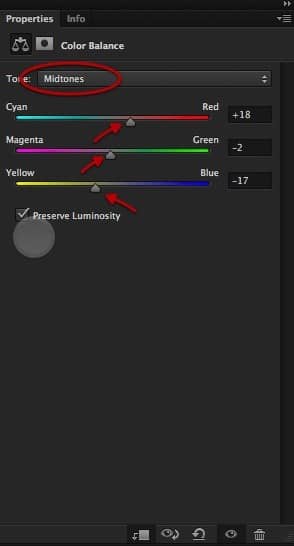
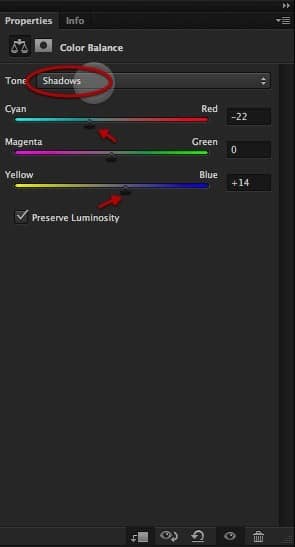
Step 13
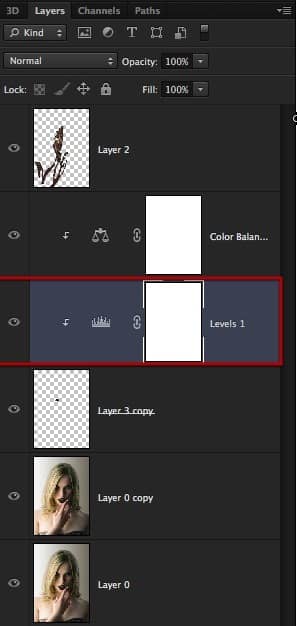
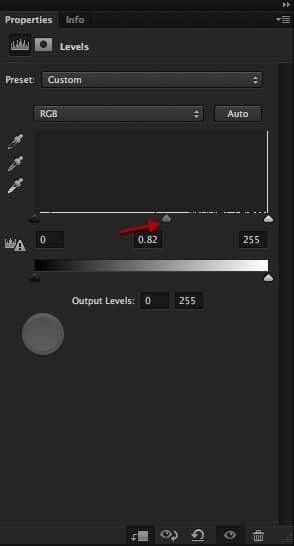
Then create a levels layer and set it up as shown here.
Step 14
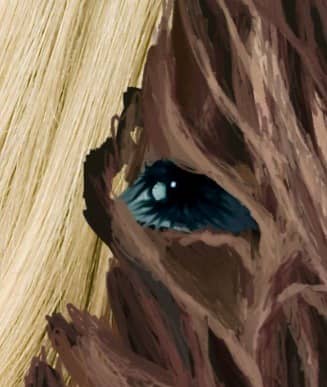
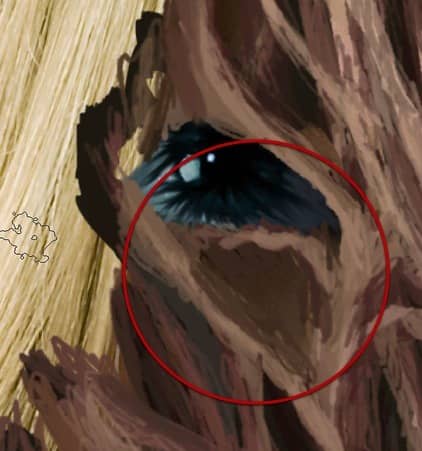
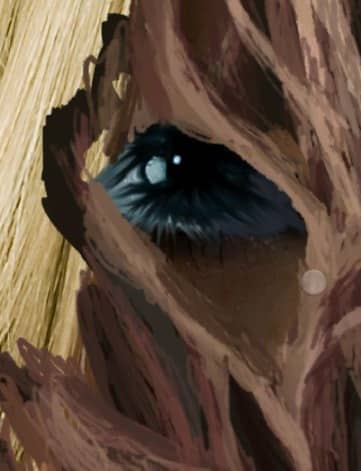
Lets erase the section shown here.
Step 15
Sample some color and paint in some pieces of flesh going from the eye lid down.


18 comments on “Create a Horrific Flesh Eating Movie Poster in Photoshop CS6”
how can i get adobe photoshop
Great, thanks for all the helpful info!
wow,its a nice work.Thanks for sharing such informative post its help me to know deeply Photoshop work step by step.
v nice
amazing work ever !
Cool! I will try this one. Thank you for sharing this tutorial on how to photo manipulate.
i burst out laughing here:
https://www.photoshoptutorials.ws/images/stories/Pathogen_C070/ScreenFlow169.jpg
Its a good work I'll try to make this effect with my own gets..
I cannot download the brush, anyway anyone could tell me how to set it, so it fades on both sides...
Also the other brush.
Preferebly with sreemshots....
Thank you.
Looks easy but it is really hard. Need to start all over again.
it looks like it should have a hat
indeed
Cool beans
Nice tutorial but I feel that after step 17 it looks overdone. Also the zombied area of face could be more dark and reddish that would look more natural. By the way extremely well written tutorial.
I'm really liking the tutorials here! But did you really have to use a stock photo of frogs humping each other?
They are just sitting on top of each other... I want to believe!!
good
This is amazing! Premium quality tutorial here but the videos should be sped up. You're not kidding when you say it's 10 hours!