
Luminar AI lets you turn your ideas into reality with powerful, intelligent AI. Download the photo editor and see how you can completely transform your photos in a few clicks.


Step 8
At this point I want to make entire background darker. For this I will use Curves (Layer > New Adjustment Layer > Curves).


Step 9
The dancer is still too dark so I will use Shadow/Highlights tool (Image > Adjustments > Shadow/Highlights) to make him brighter. As you remember Dancer layer is a Smart Object right now, so you will be able change lights and shadows if it will be necessary.


Step 10
In this step, I will work on the lower part of the image, I will make it darken. Add new layer (Layer > New > Layer or Shift+Ctrl+N). Set the layers blending mode Linear Light and opacity 100%. Now use Gradient Tool (G). Use a transparent gradient on the bottom part of the image (Gradient color # 998f8a).


Step 11 - Adding bricks
In this step, I'll add another ground picture. Also, I will add few floating bricks (BRICKS / MAIN_BRICK.psd)


Step 12 - Darkening image (continuation)
In this step, I will add a few adjustment layers which will help make the image look really dark. The first layer will be a Selective Color adjustment layer (Layer > New Adjustment Layer > Selective Color). Set the layers blending mode to Normal and opacity to 100%.


Step 13 - Adding roots
I decided to add more roots. The added roots are in folders ROOTS_02 and ROOTS.
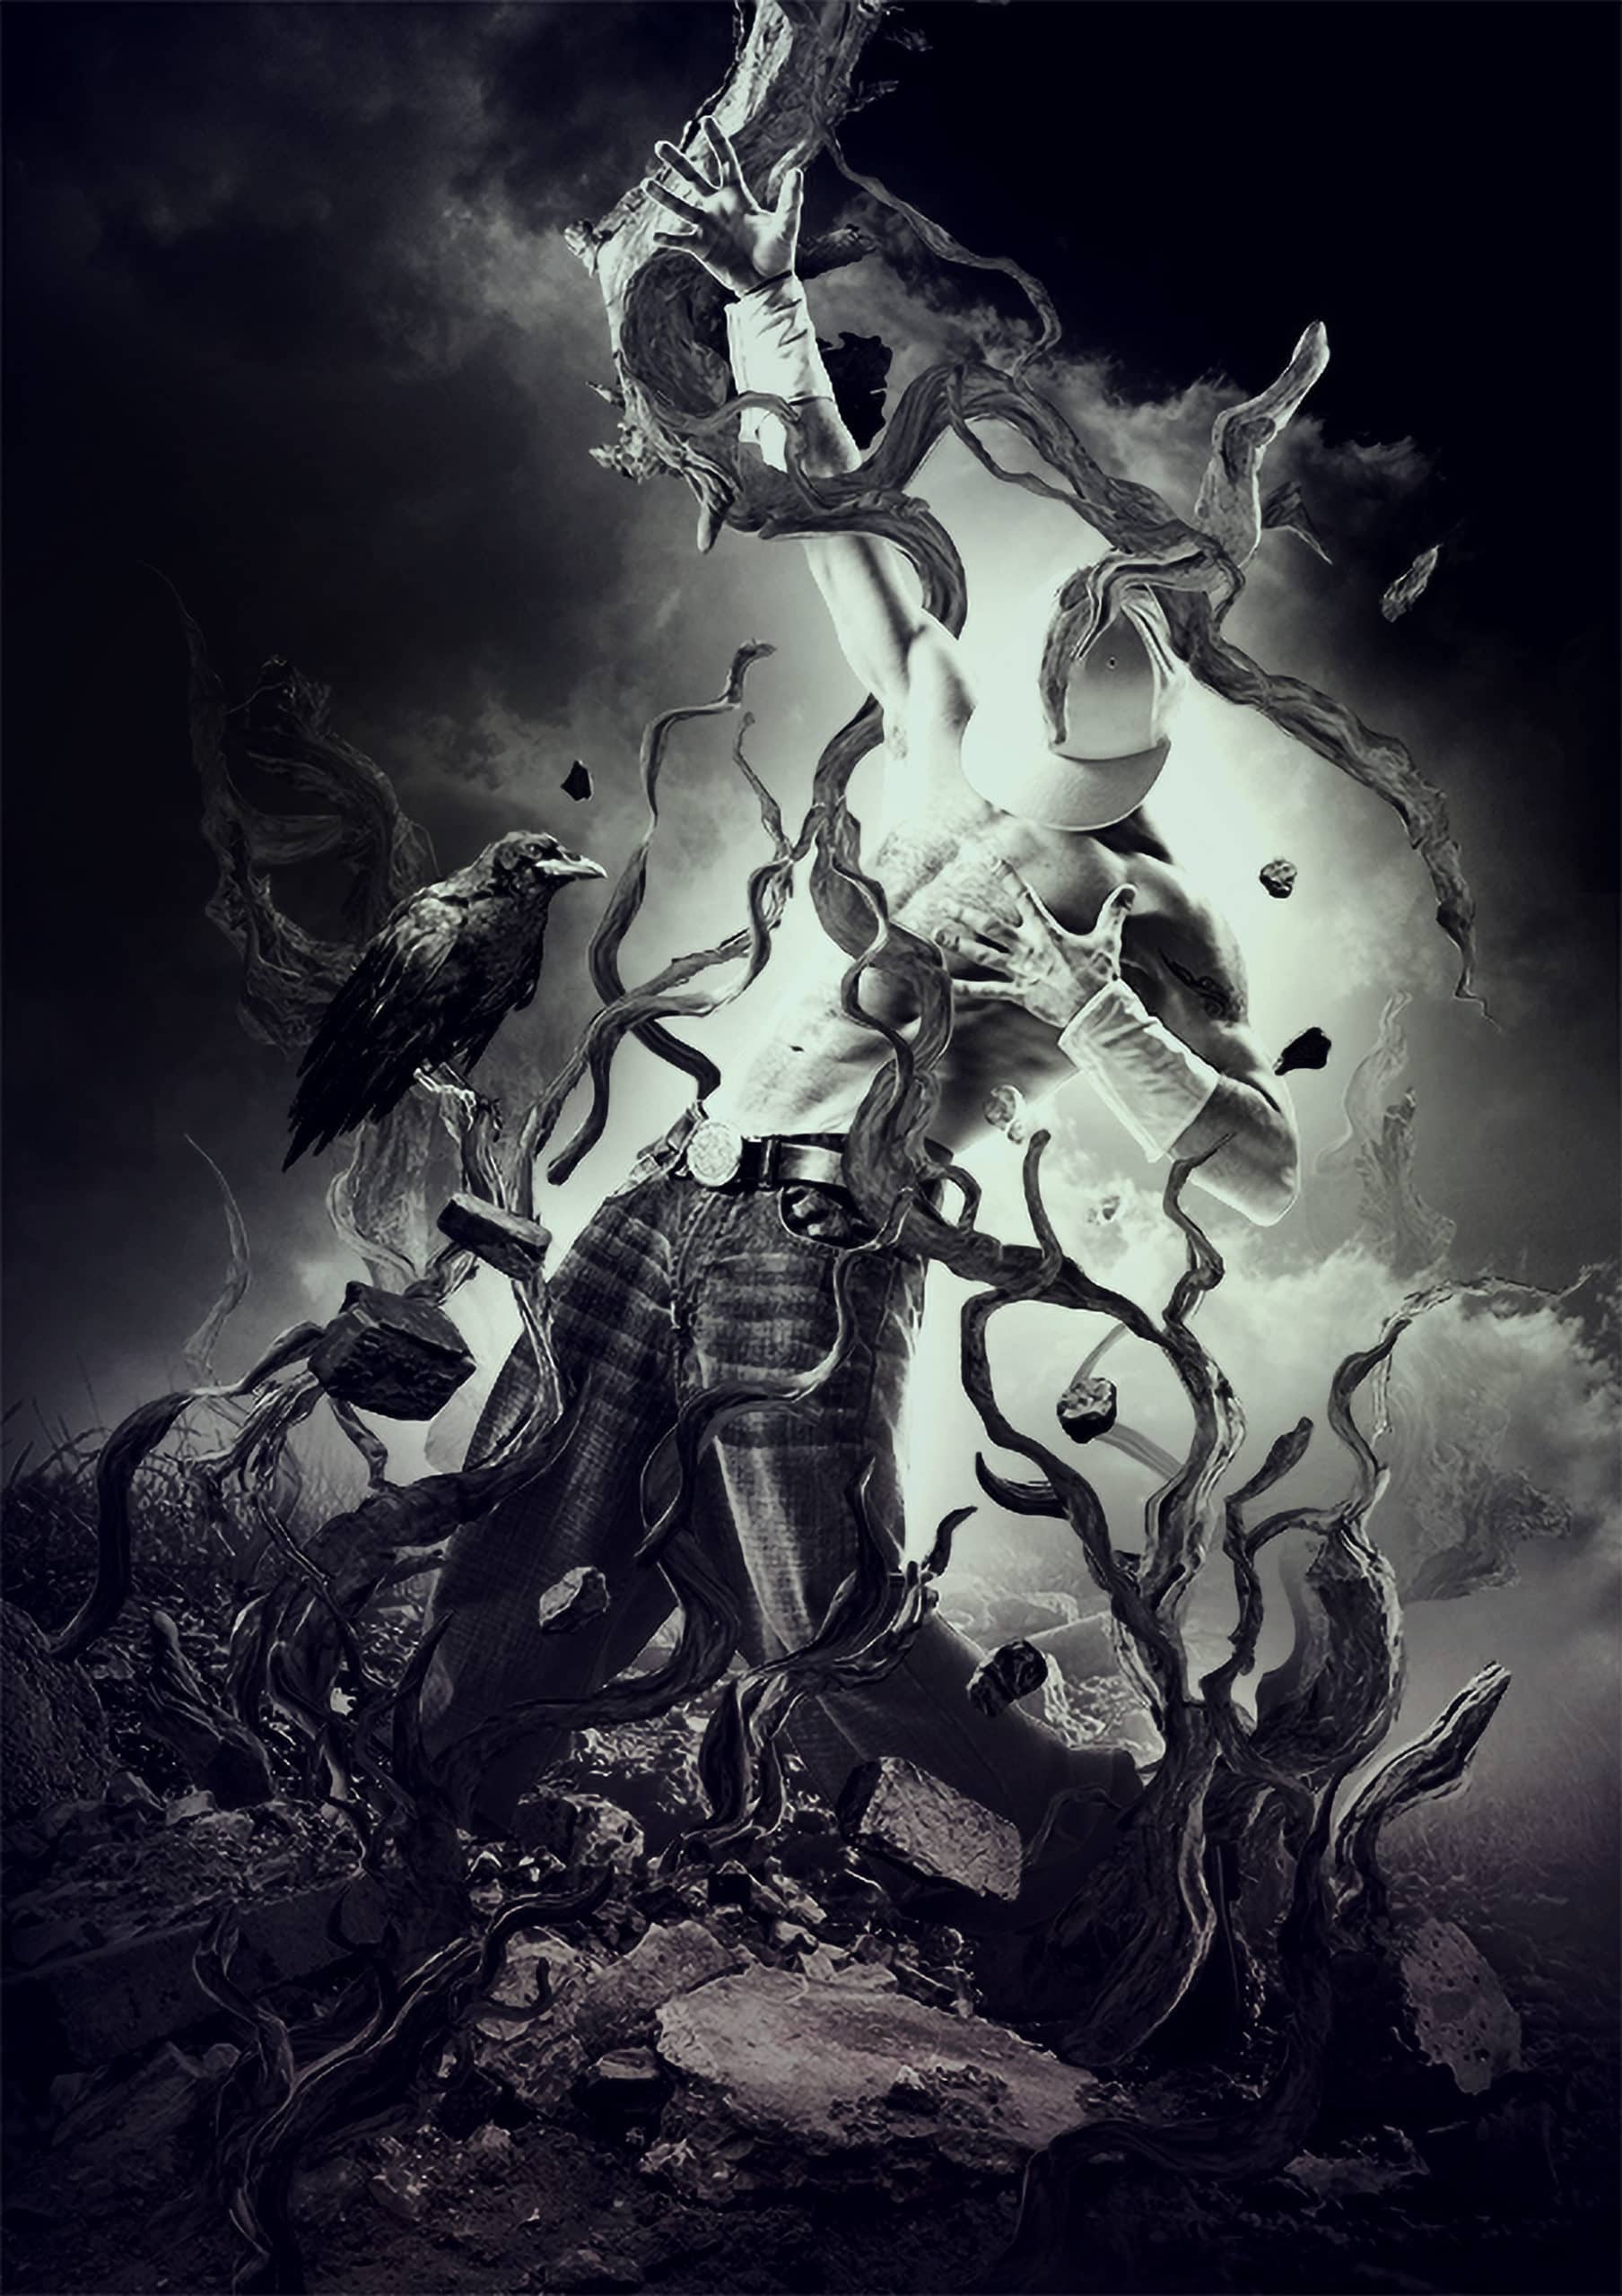
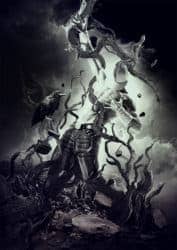
26 comments on “Create This Incredible Surreal Photo Manipulation of a Dancer in Photoshop”
Thanks for tutorial, it is very useful for beginners like us.
Where do we get the bricks, ground, clouds etc.?
It's in the "Tutorial Resources" zip file (BRICKS / MAIN_BRICK.psd)
Nice! Although it lacks information :'(
Really great fantastic work thanks for share it .
These look fantastic! Thanks for bringing them together – what a great collection
You lost me! :( I apply the color & gradient maps just like you said but no color comes through!
Why would you use a shutterstock copyrighted image that has to purchased? We cant use this dancers image at a deent size/resolution without purchasing it. Makes this tutorial kind of a fail :(
hmmm, Shutterstock hay? ..........no thanks! i'll pass.
NICE! Adrenaline is coursing through my veins right now. Can't wait to try this out at home.
All my eyes go to is that black shape on the right side of his right arm other then that this is a sweet tutorial thank you for sharing your mad skills
awesome....... but have doubts... if you could provide a video tutorial it would be worth watching and learning....... :)
Great editing
I like this post
Undoubtedly the tutorials you in handling fotografais are the best of the website would love to if I baber podeira copies some tutorials to put on my website sintando the source
Panie Darku super robota. Jedyne 'ale' to latajace korzenie , cegly itp. Ogolnie bardzo fajnie i "czysto" wytlumaczone kroki. Jesli to mozliwe, w przyszlosci c hetnie skorzystam z Pana wiedzy. prosze o kontakt. pozdrawiam
:D......Thank You!.......I love photoshop & design.
The overall picture looks good and you obviously spent much effort on it, thank you :). But some highlights and shadows of dancer, parts of ground, roots, and flying bricks are wrong :).
I always have a problem with it :) Thank you!
This looks good but is so badly explained. You have steps that are lacking info and steps with unnecessary info. You don't need to tell us to "change the blending mode to normal and opacity to 100%" because that's done by default. Some instructions don't even say anything... It just says what image and blending mode but goes into no detail what was done. Good picture but sorry the tut is bad
Please tell me which part you do not understand, then I will fix it for you.
I think you are being too picky. Obviously this is not intended for beginners.
But I agree with you on the excessive info. You don't need to tell people to set opacity to 100% when it's already 100% by default. It's annoying to read.
And kudos to the author for offering to fix steps. Most people would get angry but you stayed cool
I'll keep that in mind! :)
Very nice job! Thanks.
Fantastic work!!!
Thank you!