
Download Lightroom presets and LUTs, absolutely free. Use the presets to add creativity and style to your photos.
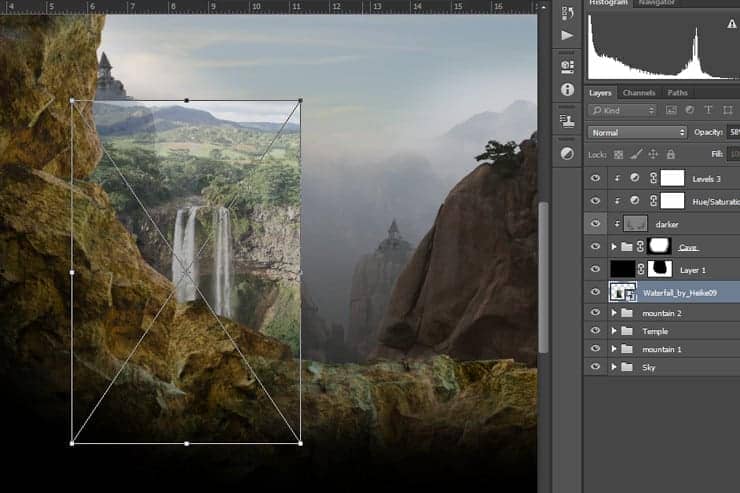
Step 41
Pick soft round brush and mask it like as shown image below. and set the opacity layer into 58%.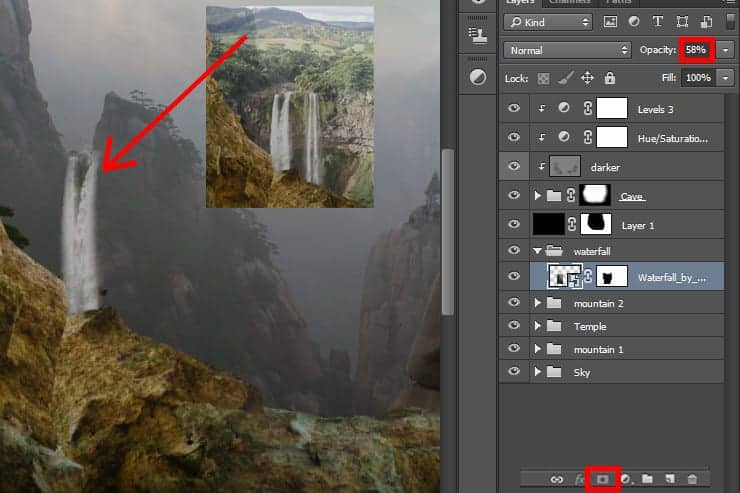
Step 42
Add the photos "climber" to document. Place it above all of layer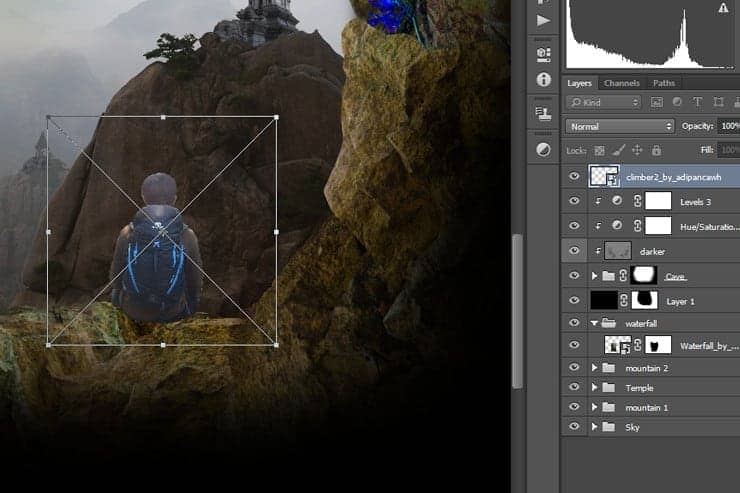
Step 43
Create a new Levels adjustment layer (Layer > New Adjustment Layer > Levels), set the parameters like as shown image below and Create Clipping Mask.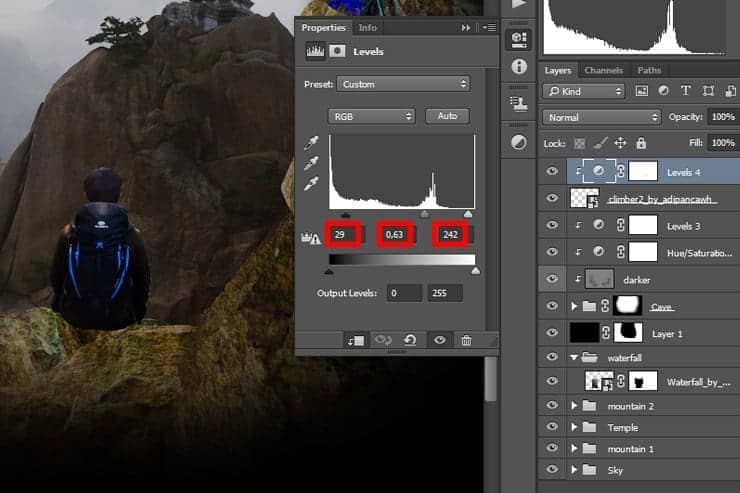
Step 44
Now we make a shadow. Duplicate the climber layer and Use the Free Transform tool (Ctrl/Cmd+T or Edit > Free Transform) to resize the layer and put like shown in the image below. (change the position with right click - choose Distrot)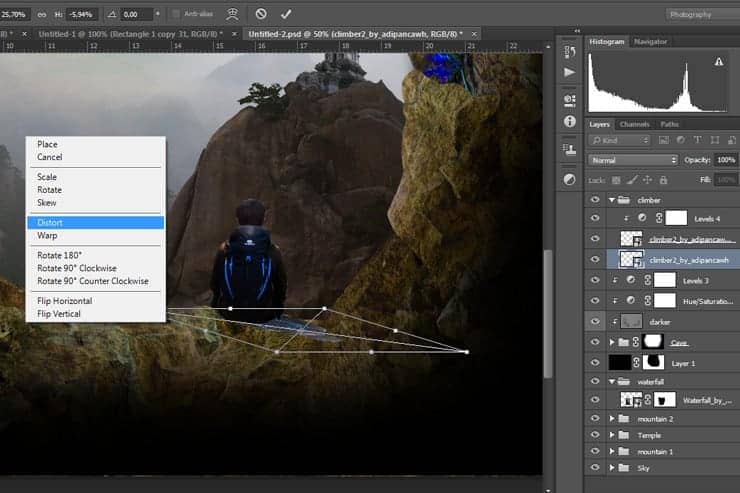
Step 45
Double Click shadow layer and add color overlay with black color like as shown image below.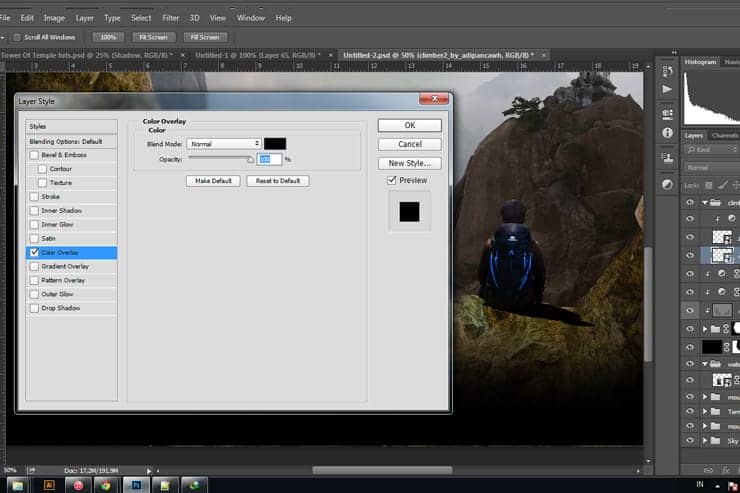
Step 46
Then Go to Filter > Blur > Gaussian Blur, change the radius into 3 pixels.
Step 47
And change the opacity layer into 50% to make a litle look like transparant.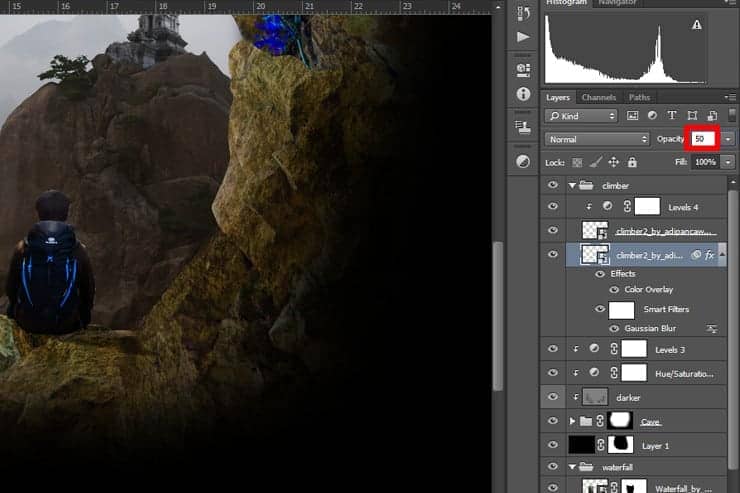
Step 48
Add the photos "Ivy". Go to File > Place and select the photos.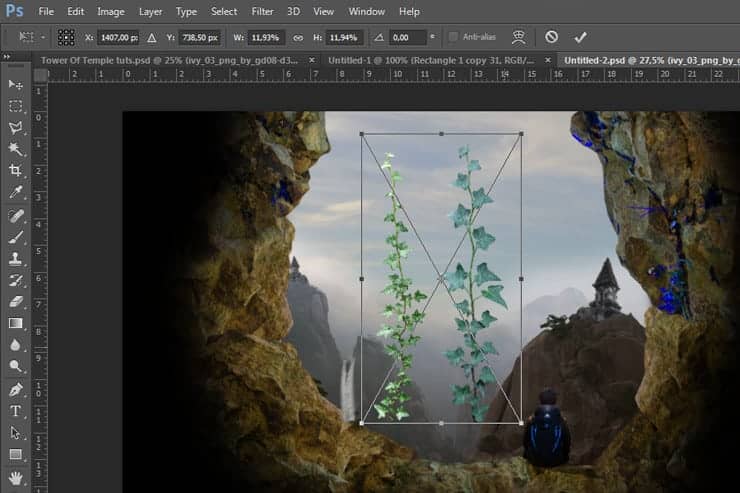
Step 49
Go to Edit > Puppet Warp.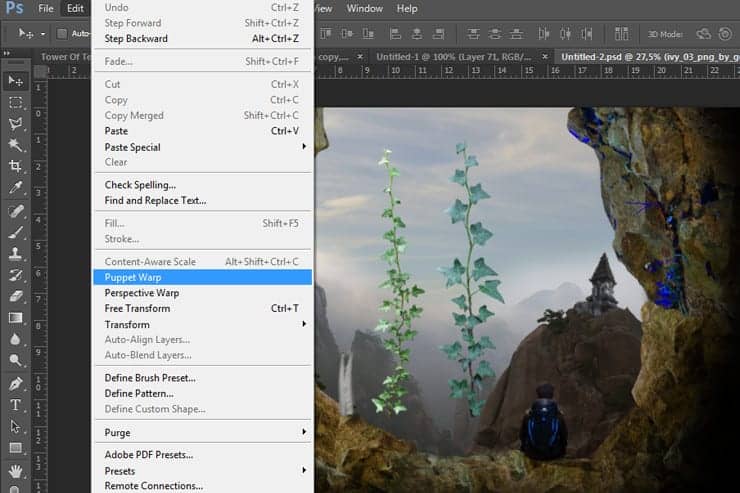
Step 50
You will see like as shown image below.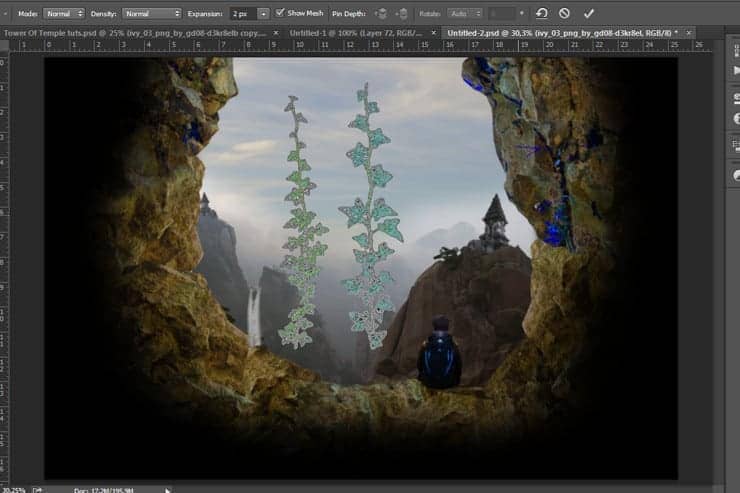
Step 51
This will open the tool and allow us to manipulate and warp the object. Placing points systematically around the image, will create bending/warping points. Place them on your object in the best arrangement to create joints to bend as shown below.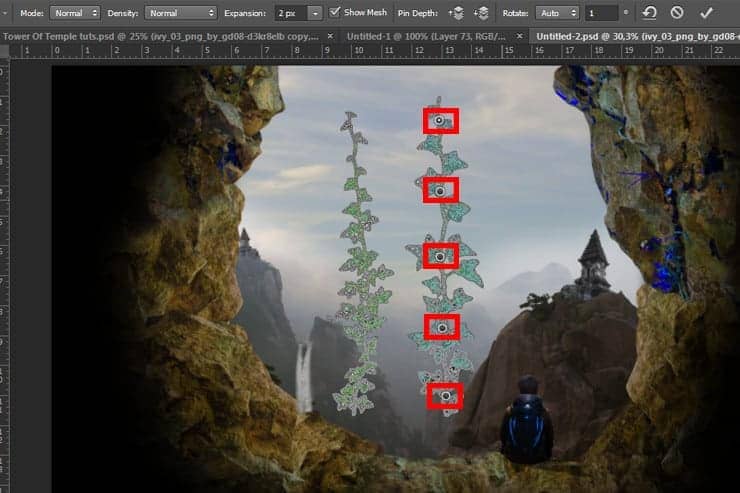
Step 52
Dragging or rotating these points (Alt + Click and move over point) will warp the object in the desired direction. Using this we can drag the stem of the flower/leafs to come from the side, while still allowing the flower/leafs to stay upright.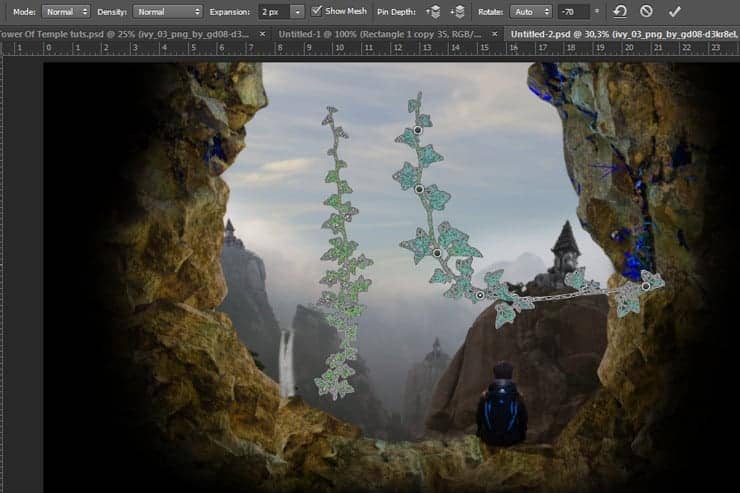
Step 53
Dragging or rotating these points (Alt + Click and move over point) like as shown image below.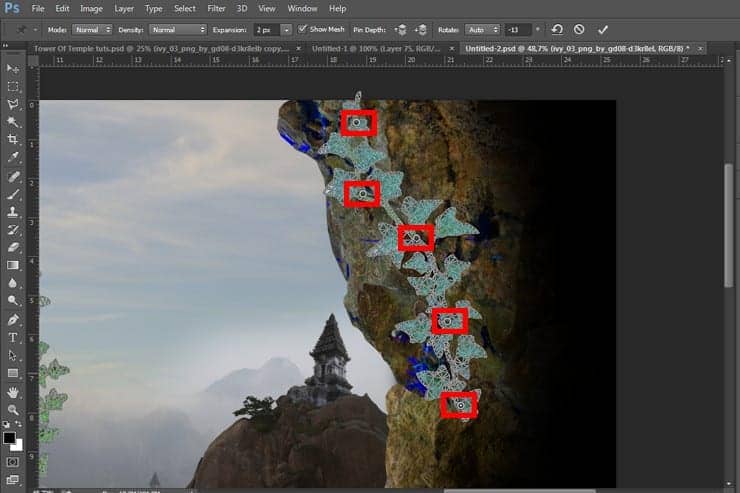
Step 54
Pick soft round brush and mask the left ivy like as shown image below.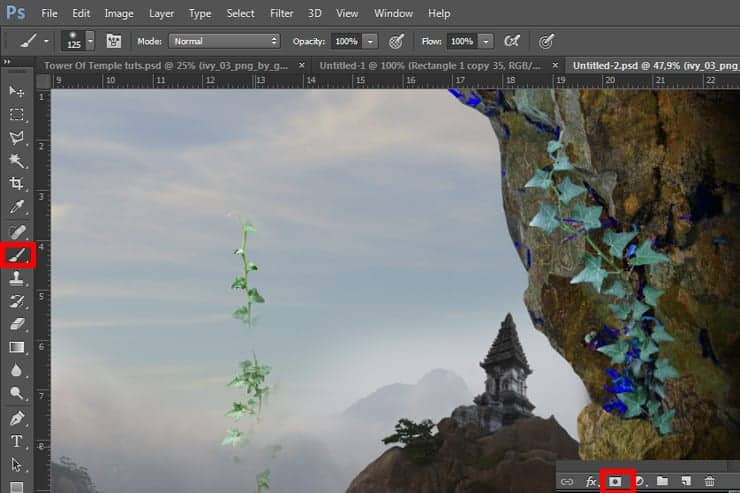
Step 55
Duplicate the ivy layer, move and rotate like as shown image below. (Left Ivy)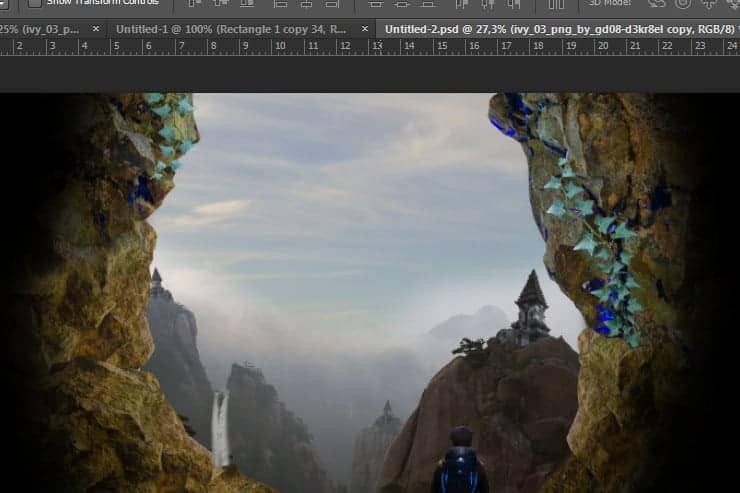
Step 56
Add the photos "bridge" to document.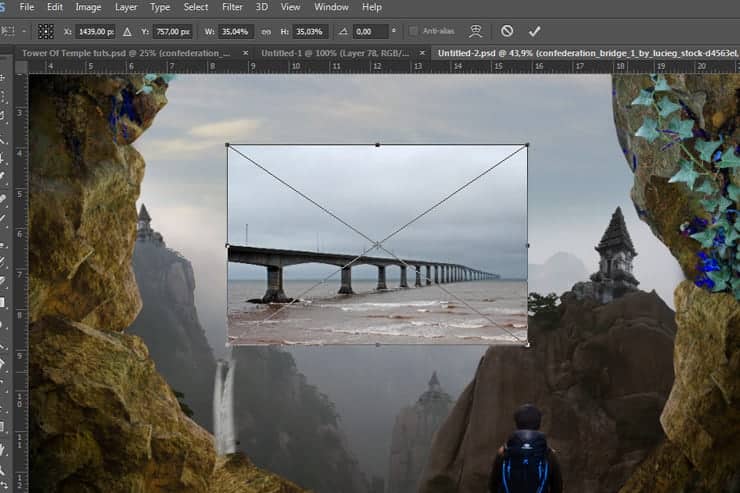
Step 57
Pick soft round brush and mask it like as shown image below.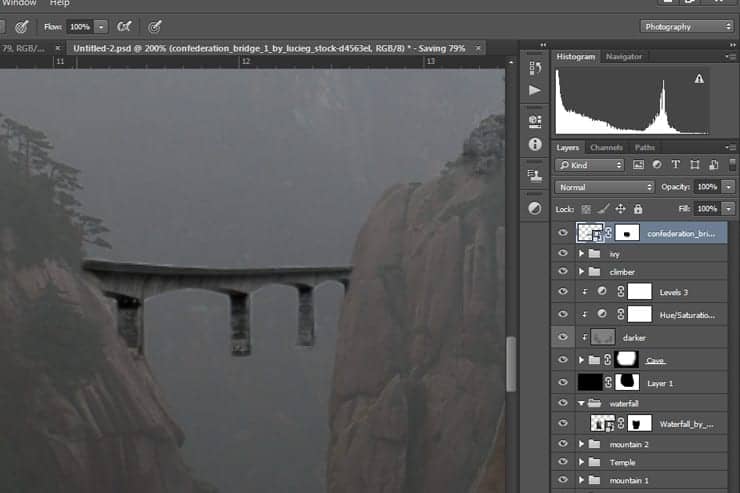
Step 58
Duplicate the bridge layer, move and mask it like as shown image below.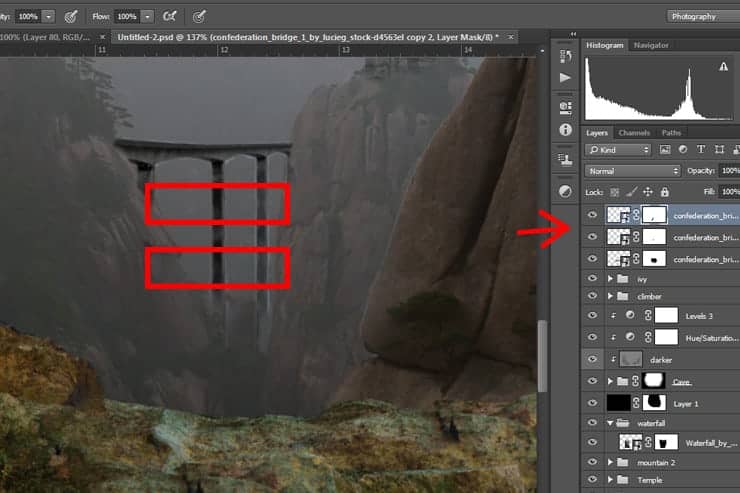
Step 59
place the all bridge layers in the new group. and give the group name with "bridge". Change the opacity group into 50%.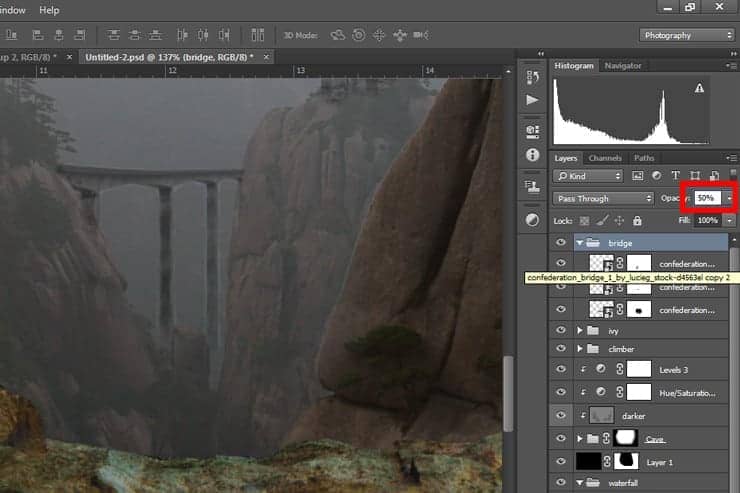
Step 60
Add the photos "Hawk" to document.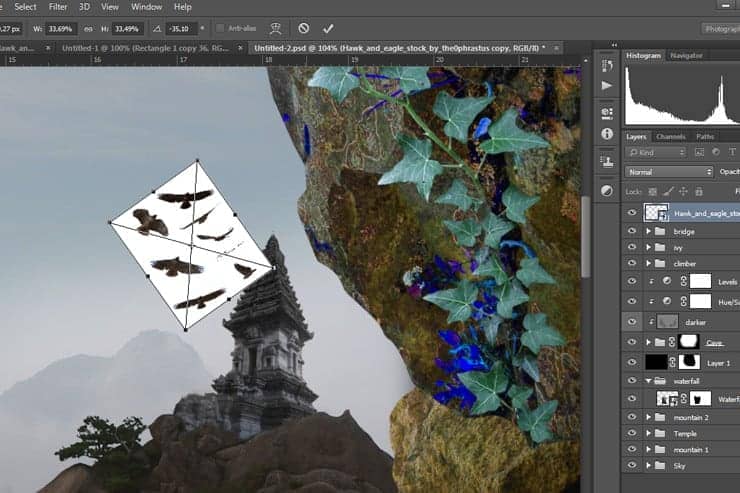
Step 61
Pick soft round brush and mask it like as shown image below. Then change the opacity group into 60%.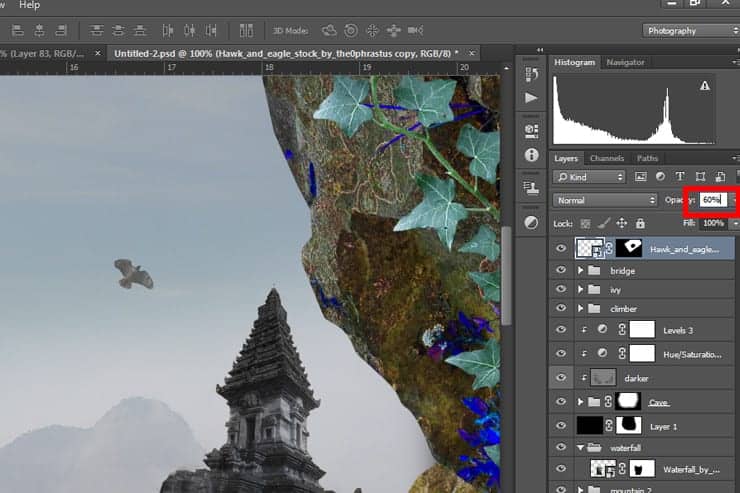
Step 62
Duplicate the hawk layer, move and transform it like as shown image below. Then change the opacity group into 40%.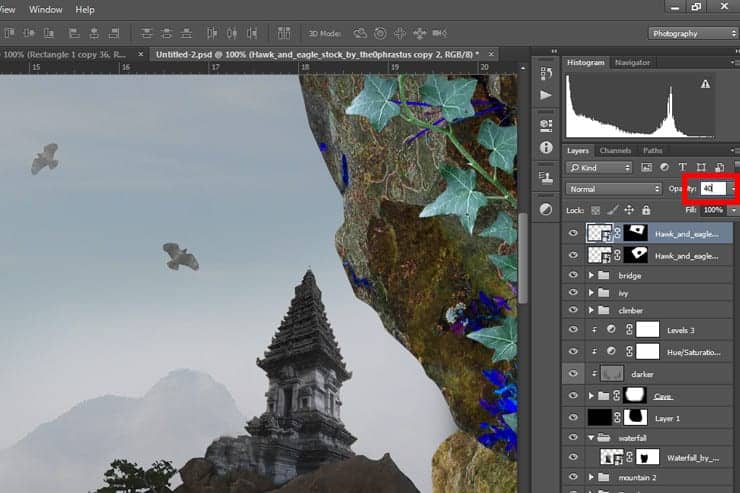
Step 63
Now it's time for make a final adjustment and the last retocuh to make all element look like realistic. started with Create a new Black & white adjustment layer (Layer > New Adjustment Layer > Black & white), set the parameters like as shown image below and Create Clipping Mask. Then change the opacity layer into 27%.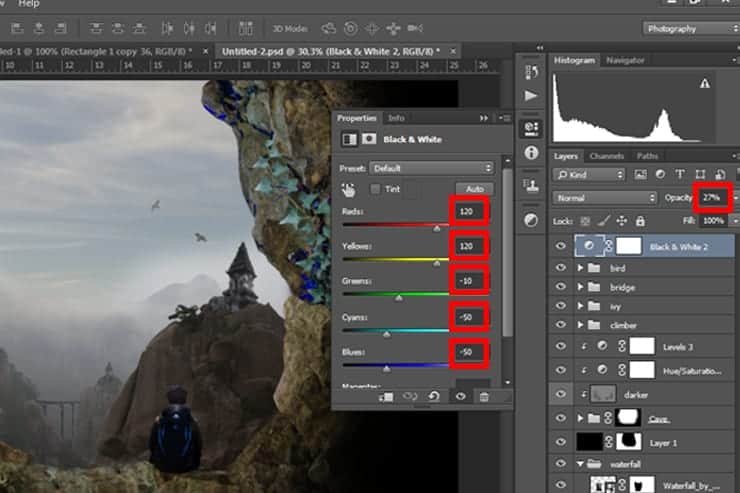
Step 64
Create new layer and give the layer with orange color (#d8b623), you can use any way to create this. you can add adjustment or just press the short key Cmd /Ctrl + backspace (make sure your foreground color is #d8b623)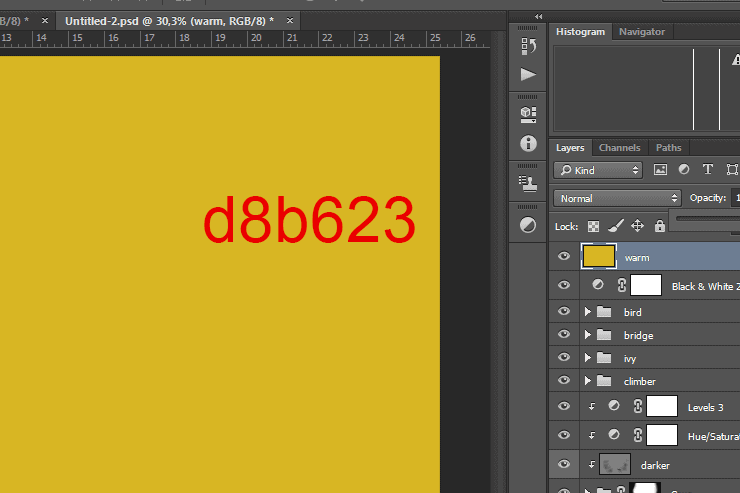
Step 65
Change the mode layer into Soft light and set opcity layer into 35%.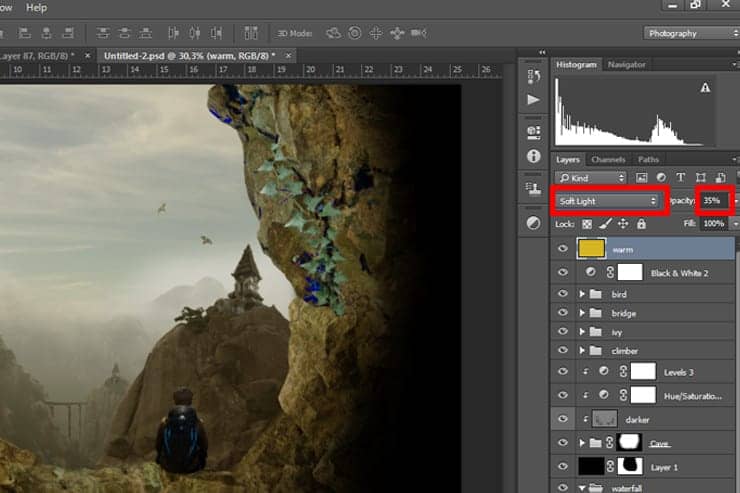
5 comments on “Create an Otherworldly Scene of a Climber in a Cave in Photoshop”
hey! I followed this tutorial thoroughly and I made it exactly like yours and it definitely helped me a lot to improve my PS work and to gain experience. I always wanted to make something like professionals as I'm beginner so keep posting such amazing works but I've also a complain as well there are lots of steps you didn't necessarily mentioned in this tutorial and so that I had to find in the screenshots to make it look correct:))
Thanks for this. Mine turned out with slightly different tones to it, just for personal taste really. But I really appreciate the tutorial - I learned a lot, especially the Puppet tool, which I never knew about!
Gunna save me SO much time! haha.
amazing! an imaginary place... that only photoshop can create... hahaha... awesome!
some 0f images was gone can you please upload them again
Amazing work man!!!