
Make your artwork look like they're from an alternate universe. These Cyberpunk presets work with Photoshop (via the Camera Raw filter) and Lightroom. Download all 788 presets for 90% off.
Step 23
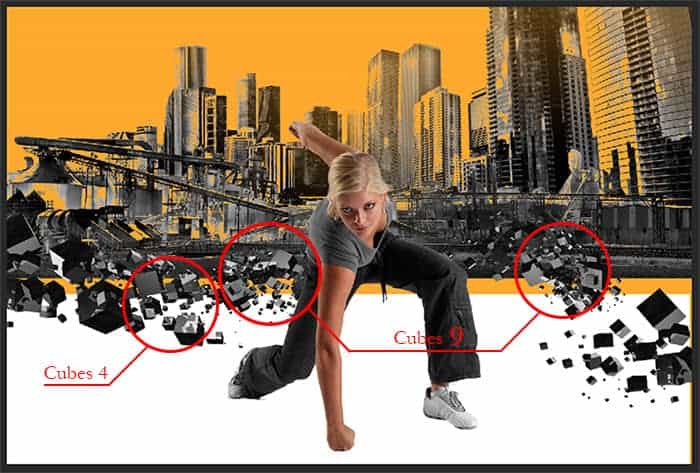
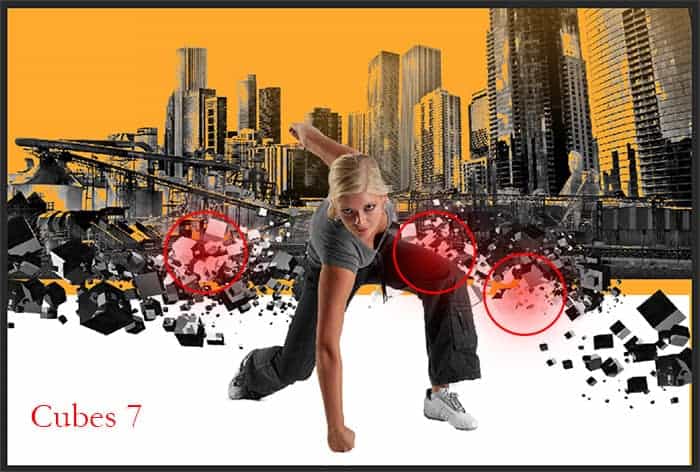
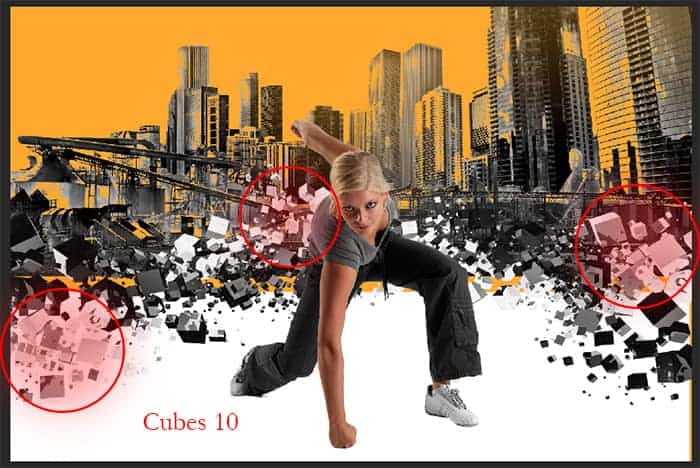
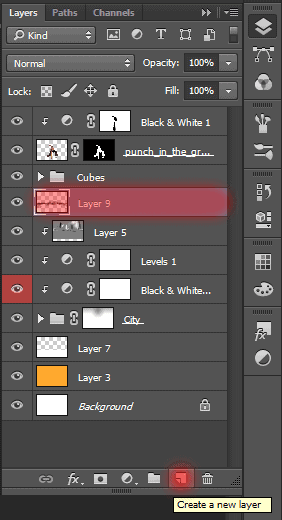
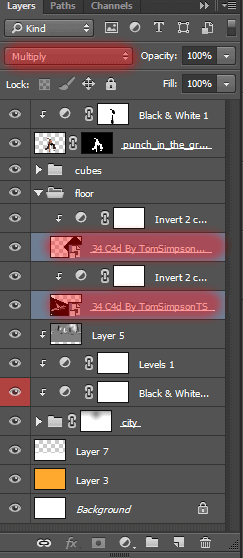
Merge all layers with cubes in the one group (select layers and press Cmd /Ctrl+ G or Layer > Group Layers... ). Now time for the white cubes. This time I used the cubes 7 and 10. You can duplicate any "cubes 7", and then change the size, but rather will have to add cubes 10 (File > Place (Place Embedded...)). First, duplicate (Cmd /Ctrl+ J) "cubes 7" 3 times. And combine them into one group. The group must be located on the Layers panel as shown in Figure.
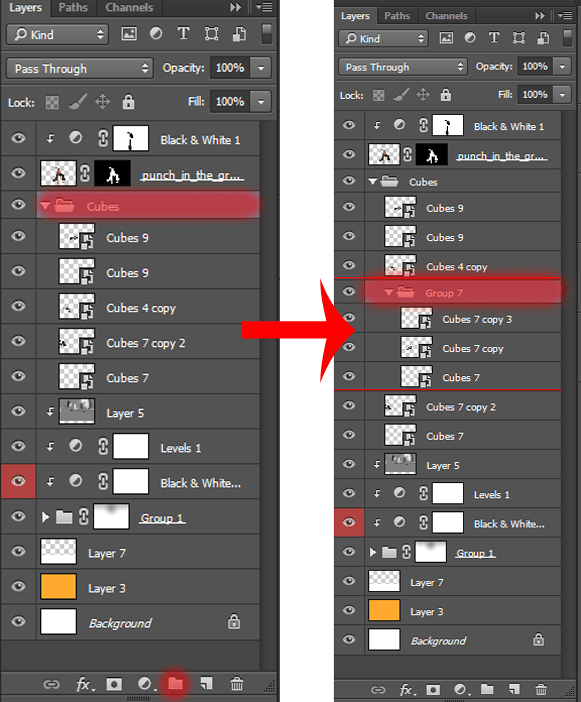
At once make them white add adjustment layer "Invert" (Layer > New Adjustment Layer > Invert...). This adjustment layer must be applied only to a group with duplication cubes, not to the whole document! Now you can begin to change their size and location. Try to do as I have shown. Location of white cubes in a group does not matter much, but very important to position the layers with black cubes.
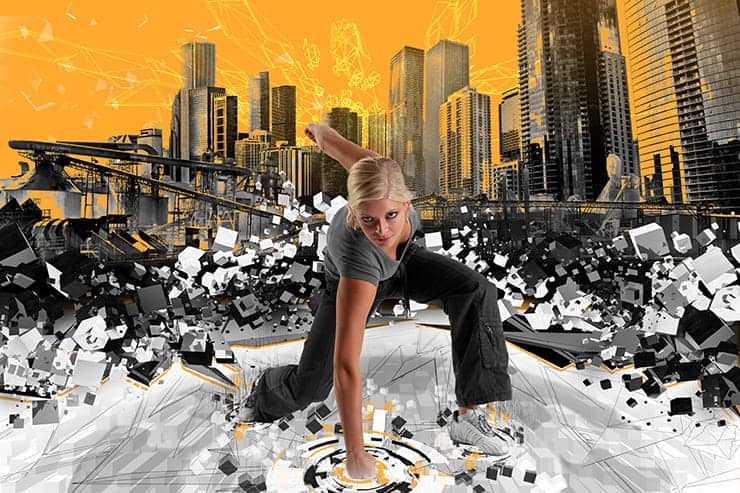
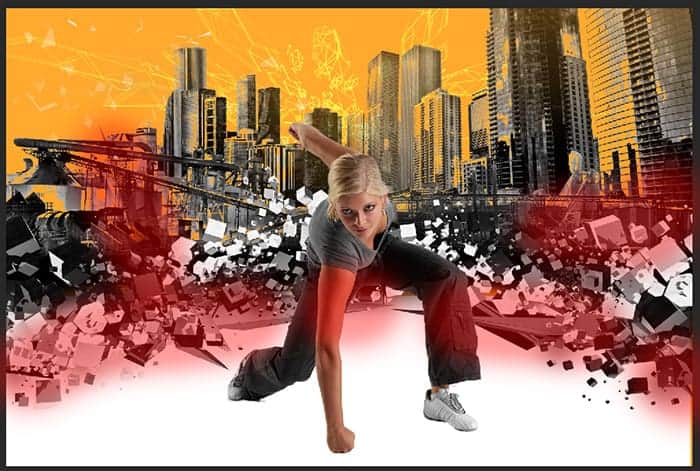
This is my result.

Step 24
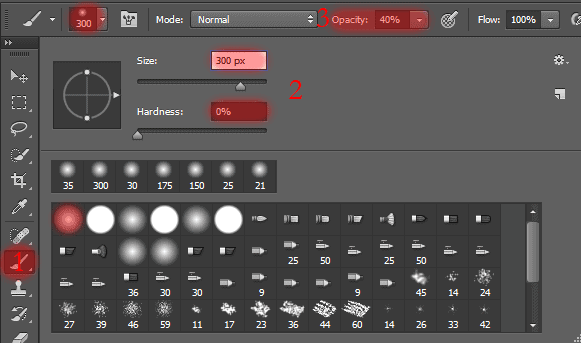
Now you need to paint background, to building not shown through behind the cubes. To do this, create a new layer (Cmd /Ctrl+ Shift + N or use icon on Layers panel). Place this layer below group with cubes. Select a Brush tool (B) (Size: 300px, Opacity: 100% - 50%, Hardness: 0%). Use Black color.
Paint the background and a bit under the cubes (you can hide group with cubes on a time by clicking the eye icon next).
Step 25
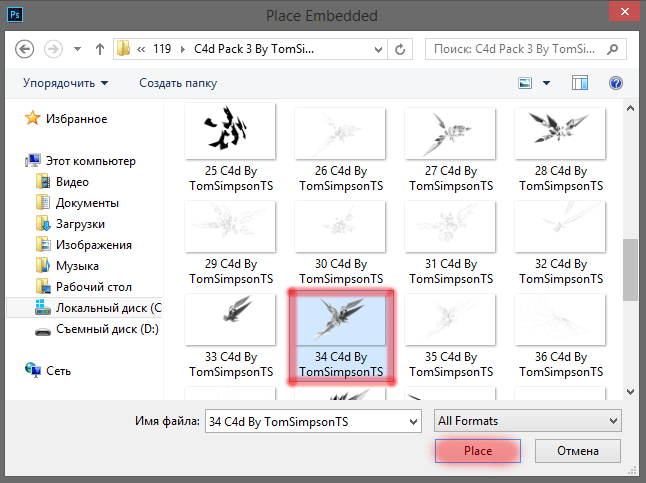
I wanted to create the effect of depth and cracks on a white floor, so I added image "34 C4d By TomSimpsonTS" from "C4d Pack 3 By TomSimpsonTS". Now we will change it a bit that it was suitable for our art. To begin, duplicate it once (Cmd /Ctrl+ J).
Select both layers and change the blending mode for them to "Multiply". Add to each layer adjustment layer "Invert" (Layer > New Adjustment Layer > Invert...). Now they have become dark, and the background is gone.
Step 26
You can begin to transform (Ctrl/Cmd+ T). Reduce the size and rotate so that they are along the lines of white and floor were directed roughly to the center. Transform each layer separately. Place these two abstractions as shown in the figure. They have just a little peek out from under the cubes.
Add a layer mask to this group and use a Brush Tool (B) to remove of the abstraction that are imposed on the city, anything above cubes.

Step 27
Begin to create a floor. We draw it yourself. Create a new layer (Cmd /Ctrl+ Shift + N). Fill it white color (D then Cmd/Ctrl + Del).
Take a Gradient Tool (G), set the type of gradient: "Foreground to Transparent" and Radial form, Opacity: 50%. Set Foreground color to Black (X) and draw a spot from the center to the left edge of the document.
Step 28
And now you will learn how to make the effect of extrusion of cubes :) First, convert layer for Smart Filters (Filter > Convert for Smart Filters) and apply filter "Extrude" (Filter > Stylize > Extrude...). Make settings like shown in the image below. Be sure to check the box on "Mask Incomplete Blocks".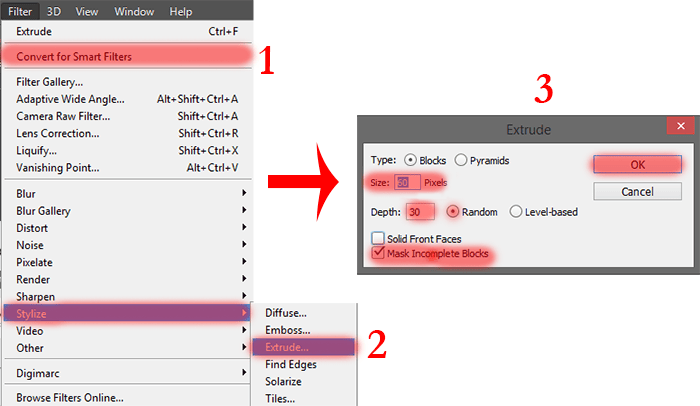
Move texture (use Move Tool (V)) so that its center was slightly lower (as the floor seems much volumetric). Add a layer mask to this layer. Use a Brush tool (B) to remove texture from the sky, city and under abstractions. Do not make a sharp transition of the texture. Little to hide it from the edges to create one effect transparent and dynamic floor.
15 comments on “Create an Illusory World with Abstract Composition in Photoshop”
you have done greatly well. welldone
please accept my request
u didnt finish the tutorial, i would be happy if u finsh up the tutorial
soo many broken images, can u fix it, thanks for making this tutorial bytheway
Hello! Thanks for your concern. It is already fixed now.
many images are broken. can you fix it.
Thanks for the awareness. It's now fixed.
BUT GIRL IMAGE IS NOT PREFECT U HAVE GIVE REFLECTION OR DROP SHADOW
Thank you very much for your comment, but you can see at least one light source here? I have not. This digital world. This picture does not assumes the presence of light, but if you want you can add it to your liking.
I can't get the sneaker to be part of the selection for Step 6 when using the 'Quick Selection" tool, it always cuts a big piece off :I
This is an interesting tutorial though it would be great if i could get it done :)
Never mind if got this :<
Hi Michael! This happens if you use a large "Spacing" value. On the Tools settings, next to the Tools mode, there is an icon with the size and kind of brush. Click on it and reduce "Spacing" value to 1%. As an alternative method, you can use a Pen Tool (P), make path and selection from it (right click > Make Selection > Feather Radius - 0px) and add a layer mask (icon on bottom of Layer panel or go to Layer > Layer Mask > Reveal Selection) to the layer to remove background. If you have any more questions, feel free to write me and I will answer to you.
super
As far as technology, how is it that you can use CS6 on Windows 8? I always have graphics issues.
Hi John! It's simple, I use Adobe Photoshop СС 2014 on Windows 8.1. If you have any questions in repeating my tutorial, be sure to write to me and I will help you. I tried to write a tutorial available for CS and CC versions.
There is no other artists for the tutorials?
Jenny Le, Santosh Rao tutorials like theirs could be great for the site.