

Make skin look perfect in one-click with these AI-powered Photoshop actions.
Step 57
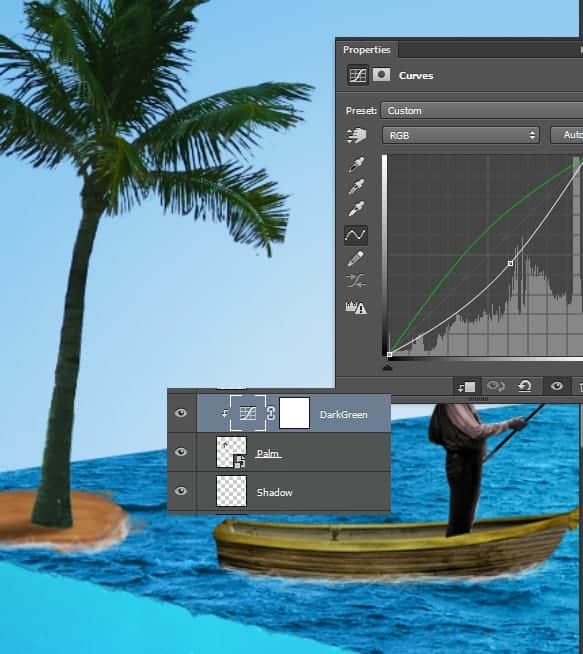
Open the file “Palm”. Select all and copy/paste in our scene. Place the palm on the island and paint some shadow on an underneath layer. Clip a Curves Adjustment Layer to the palm in order to make it look greener.
Step 58
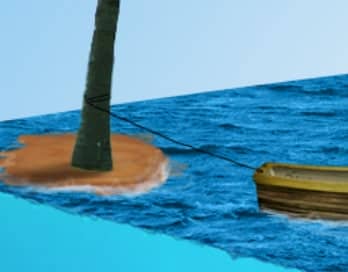
Create a new layer and paint some rope connecting the boat to the palm with the standard black chalk brush.
Step 59
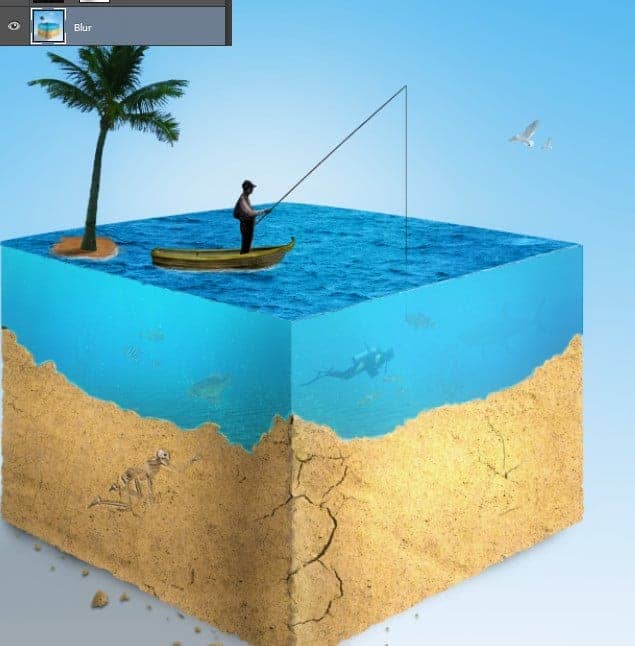
Press Ctrl + Shift + Alt + E to make a new layer from all the visible layers and apply a 20px Gaussian Blur (Filter > Blur > Gaussian Blur). Change the blending mode of the layer to Soft Light and lower the Opacity to 39%. This will slightly increase the contrast and give our scene a dreamy look.
Step 60
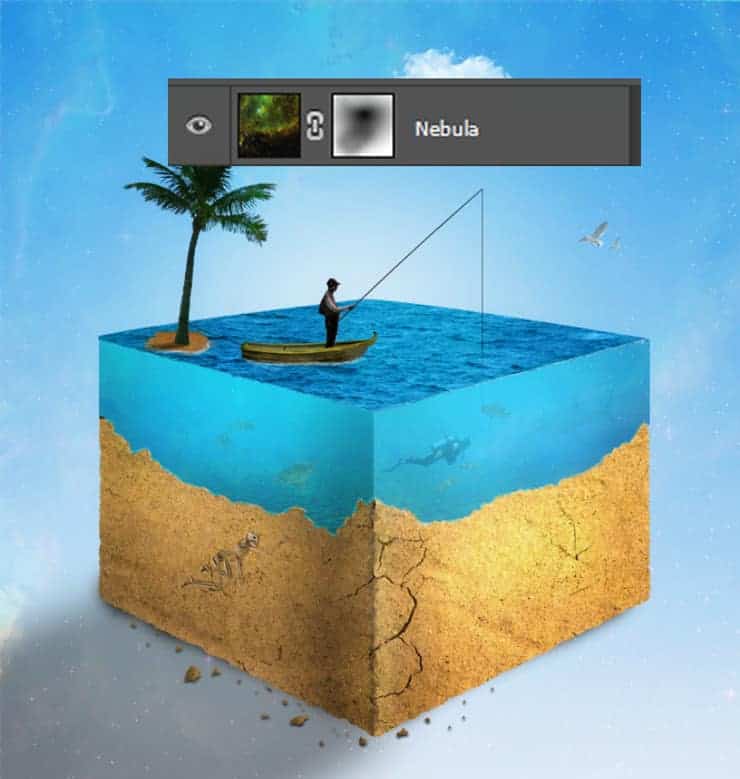
Open the file “Nebula”. Select all and copy paste in our scene. Change the blending mode of the nebula to Soft Light and lower the Opacity to 39%. Add a layer mask and hide some of the middle nebula effect.
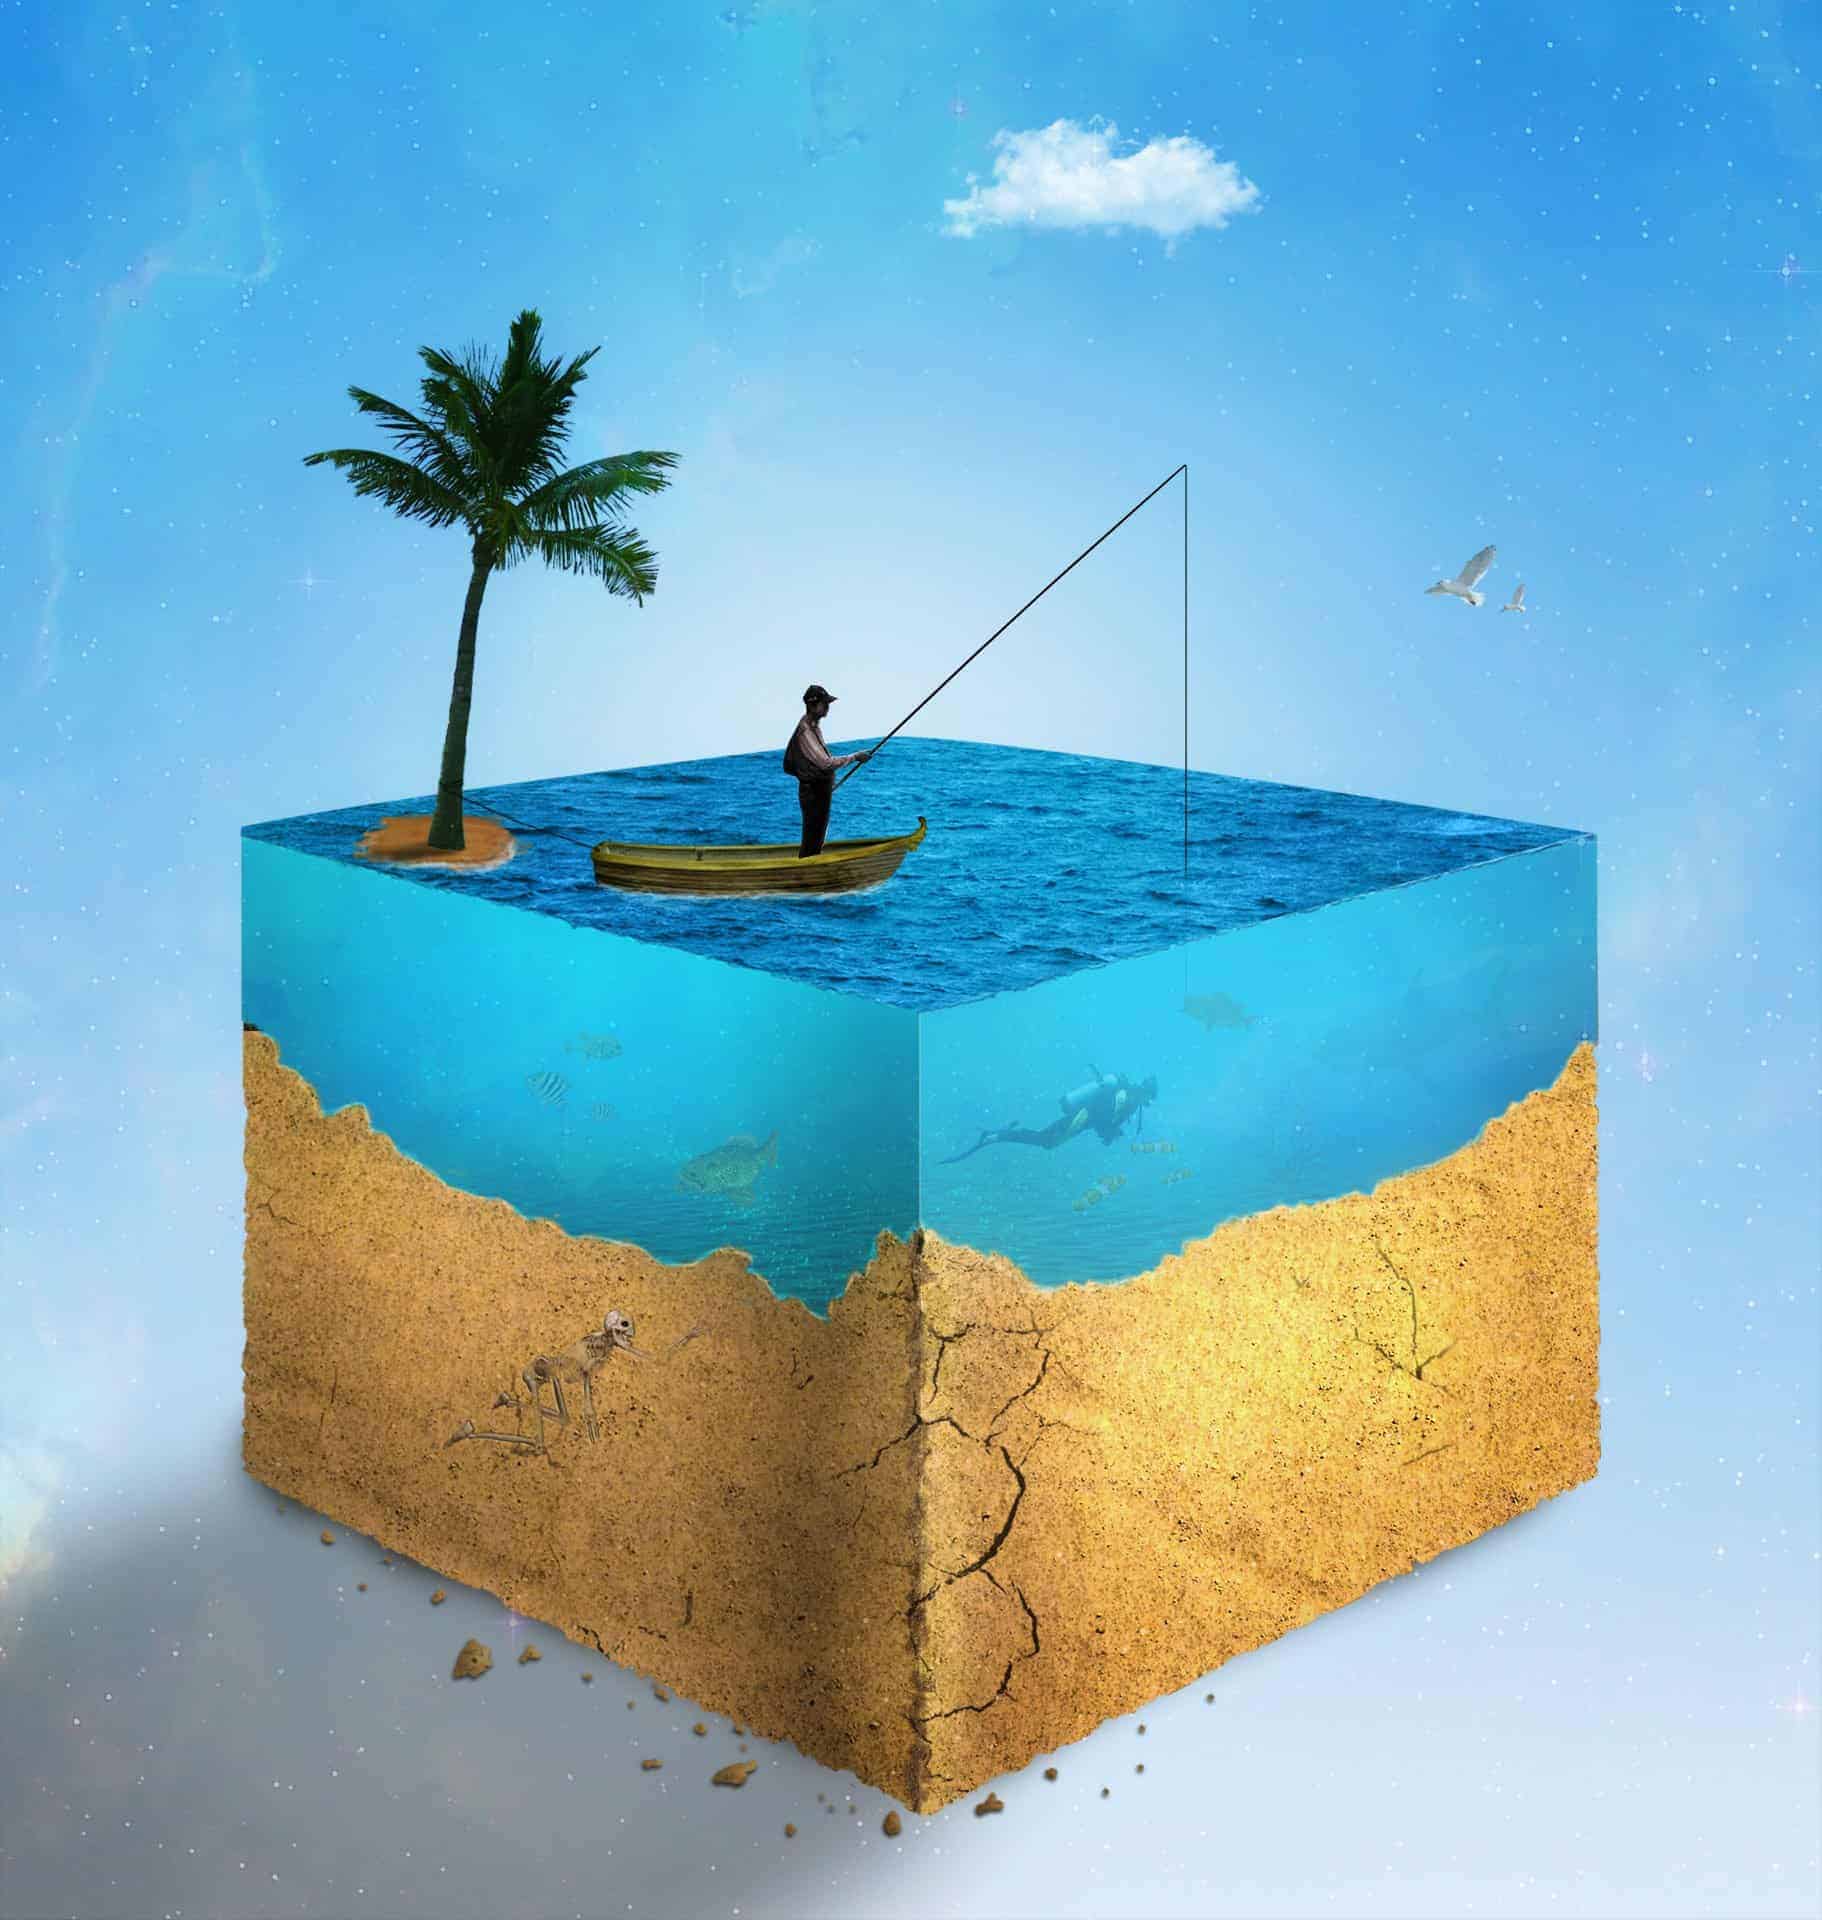
Final Results

Download the PSD
Tutorial by Johan Sandu

Thank you for following this tutorial! I hope you learned some useful Photoshop tips and tricks and had fun. You can find me on deviantart here.
- Johan Sandu
15 comments on “How to Create a Realistic Water Cube in Photoshop”
thanks
wow
hi
Well - a floating island... -.-
so fantastic (Y)
cool with good aesthetic.
Amazing tutorial!
Hi
Sorry correct link is here: https://www.photoshoptutorials.ws/photoshop-tutorials/photo-manipulation/create-realistic-water-cube-photoshop/
thank you...works perfect now :)
Do have video?
hi dear
I have the same problem
I got the same error...
i can't open up this tut...says it has to many redirects or there is a problem with the server...any other people having the same issue?