
Luminar AI lets you turn your ideas into reality with powerful, intelligent AI. Download the photo editor and see how you can completely transform your photos in a few clicks.
Step 23
Continue to add more branches to the cave using different parts of the stock, transform, warp it...if needed. I used 12 layers and here is my result:

Some branches are hard to see as they're dark but we'll brighten them to make them more visible.
Step 24
Make group for these branches as done with the cave. I named this group "branches 1" and I applied Hue/Saturation for them:


Step 25
Use Curves to brighten the branches:

On Curves layer mask use brush to reduce the lightness on some branches below:


Step 26
Open branches 2 stock. Take a part from the trunk and locate it on the top of the cave, set this layer above the cave group. I used Warp Tool to bend it a little:


Go to Edit-Puppet Warp to tweak this branch more:

Step 27
Add layer mask to blend this branch with the cave a bit:

Step 28
Duplicate this layer five times and arrange them around the cave. Double click the Puppet Warp filter of each layer to edit their curve. Here is my result:

Step 29
Group these layers and name it "branches 2". Use a Curves layer within this group to darken these branches:

Apply erasing job on Curves layer mask:


Step 30
Add a Hue/Saturation layer for the branches 2:


Step 31
Open grass stock. I took grass part and put it above the cave after tweaking it a little with Warp Tool:


Apply Puppet Warp to create a hill from the grass part:

I named this layer "hill".
Step 32
Add layer mask to this one and use brush with hardness about 10-15% to remove hard edges and create a soft, smooth look for the hill:

Step 33
Make a new layer under the hill one. Use soft black brush with opacity about 70% to paint under the hill to make shadow for it on the cave:

Step 34
To fix some parts on the hill I used Clone Tool on a new layer with Clipping Mask:


After cloning I found them a bit blurred. To correct it, go to Filter-Sharpen-Unsharp Mask and fill the following values:


Step 35
Use Curves to darken the hill:

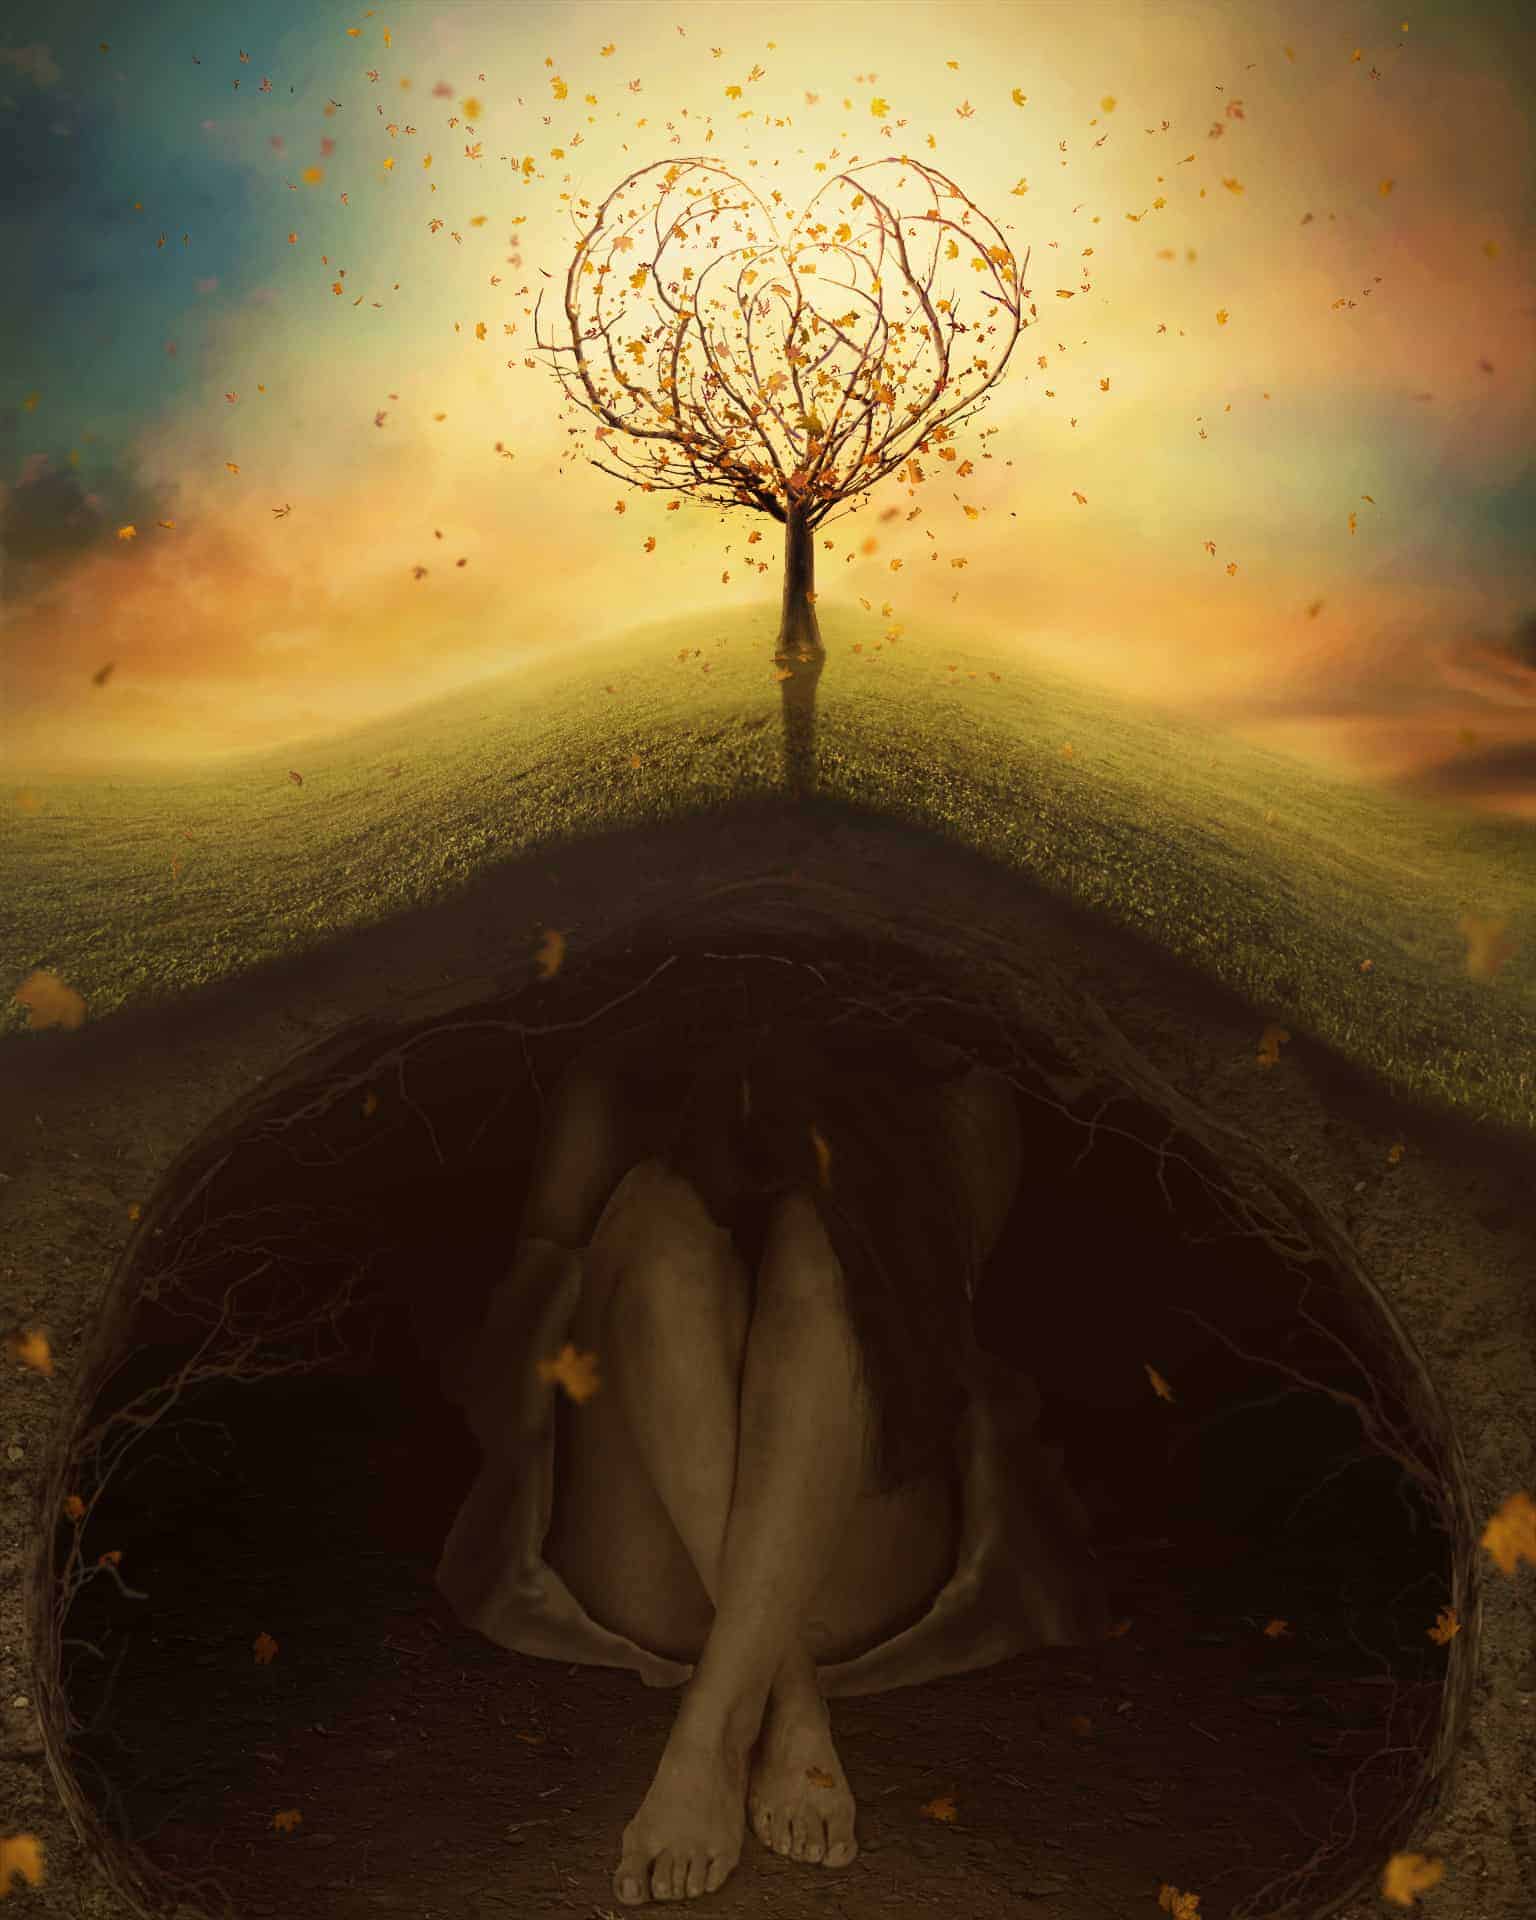
As you see on the final result preview, the main light comes from top center . So on Curves layer mask I erased the higher part of the hill that's nearer the sky (to keep it brighter) and keep the lower part darker (don't erase or just erase with lower brush opacity ).
28 comments on “Create a Surreal, Emotional Underground Scene Photo Manipulation”
Thanks for that...
Unfortunately, the resources are no longer available. There's a double edge to free stock photos; they're free, but they tend to disappear. It is still possible to follow the tutorial using alternative photos. You can download the PSD and find the stock photos there as well.
Most of the resources won't download, any tips or can anyone send me a zip file with then in.
[email protected]
TIA
Most of the resources won't download, any tips
gooooooooooooooooooooooooooooooooooooooooooooooooooooooooooooooooooooooooooooooooooooooooooooodddddddddddddddddd
Great tutorial, All are path instruction for a model very teachable. Thanks for sharing great experience.
Great! all Photoshop tutorials are unique. Thanks for sharing your good effective knowledge.
Hi, I think the link for the "Branches 1" is not working. Could you give me the alternative link instead? Thank You
Sorry about that - the author has removed his/her image. Try using another branch stock here: https://www.deviantart.com/resources/popular-all-time/?q=branches
awesome tutorial.. make easy to learn, thanks
Thanks for the tutorial.. easy to learn
The download link of this tutorial is death! :(
Please re uploaded PSD file because when i click on download showing 404 error, this is best work for me i want check how did you do this
i can't download the .PSD file
renew link please,,
amazing!! great to see the amazing work of great experienced art directors!!
Thanks Amazing designs, best of luck in your design career!
Amazing tutorial! I've learned a lot!!! And I like it better to read tut's so video is not necessary.
This is a pro job.
I'm a fan of photoshop and I see that you give real professional lessons.
I admire your work
You are a genius Jenny
verrynic sof
You are a genius Jenny
I a beginner in photoshop, I know only make the cut: (
Seeing such advanced tutorials I wonder how people are to learn all that
tutorial very detailed and well explained.
I congratulate you for your work, good job
nice tutorial thanks
Beautiful!! ^_^
Is there any easy way to learn photoshop by videos.. its good but little bit confusing../
Great tutorial,thank you ^^
I will follow this tutorial to see the results.
I am looking for a long time this kind of lesson