

Make your artwork look like they're from an alternate universe. These Cyberpunk presets work with Photoshop (via the Camera Raw filter) and Lightroom. Download all 788 presets for 90% off.

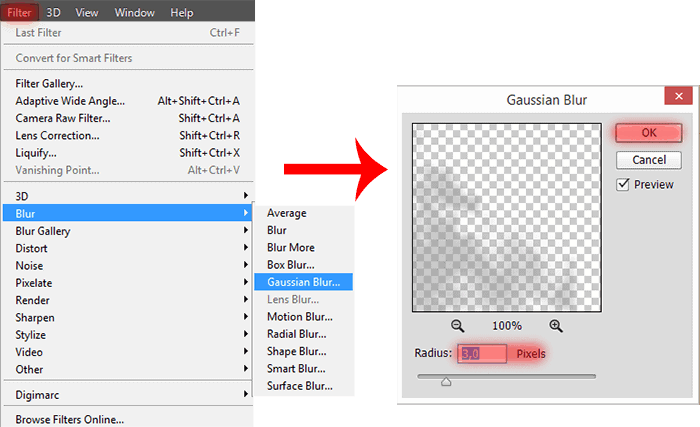
To spots did not look so sharp, I blurred it. Add to this layer filter "Gaussian Blur" (Filter > Blur > Gaussian Blur...). In the window that appears set Radius: 3px. If you are not sure in a result of the used of filters, then I suggest you to convert layer for Smart Filters before applying the filter (Filter > Convert for Smart filters). So you will be able to remove the filter, clean it in needed places or change Blending mode. In this step, I will do so, but you do it is not necessary. You can just add a filter.
Step 15
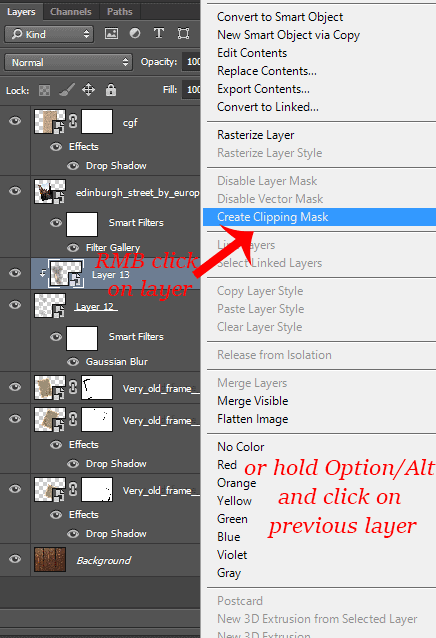
The next step I changed the color of spots. You can just make a spot at once color, but it will spoil the beautiful of picture. Create a New layer (Cmd/Ctrl + Shift + N or use new layer icon on Layer panel) over previous layer. Make this layer as Clipping mask (Option/Alt+ Cmd/Ctrl + G).
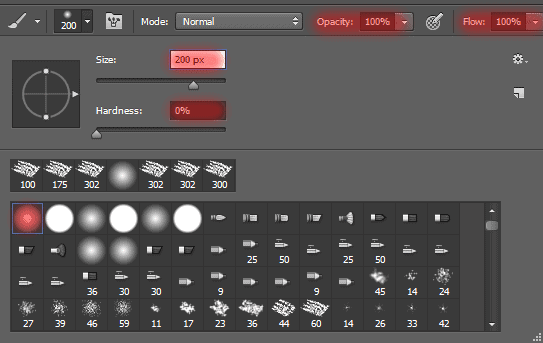
At this time we need a soft brush (Size: 200px, Opacity: 100%, Hardness: 0%) and Eyedropper Tool (I). So, to paint spots select a color swatch in the dark areas of the image, used Eyedropper Tool (I). To quickly use Eyedropper Tool (I), hold Option/Alt (only when you use Brush Tool (B)). You should have about similar to my result.

Step 16
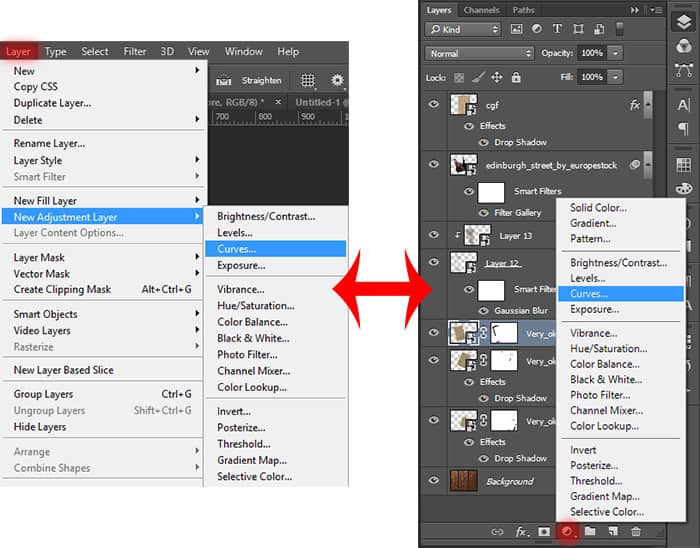
Now make a darker and enhance the color of frame. Add an adjustment layer "Curves". Go to Layer > New Adjustment Layer > Curves... or use adjustment layer icon on Layer panel and in list, select "Curves...".
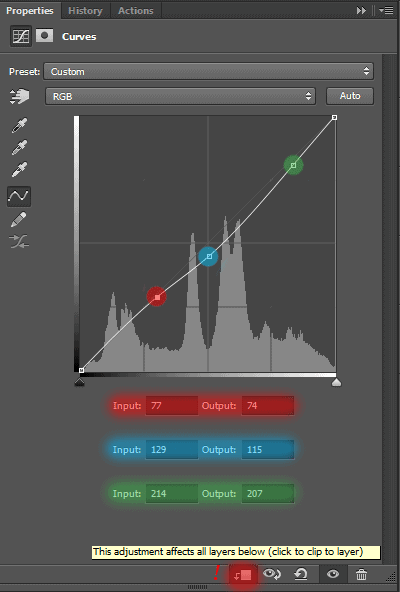
Set the settings to each point, like shown in the image below. Remember, this layer must be as Clipping mask to layer with left frame.
Here is my result. Look closely at the arrangement of the layers and the view of the old photo. You should also be.

Step 17
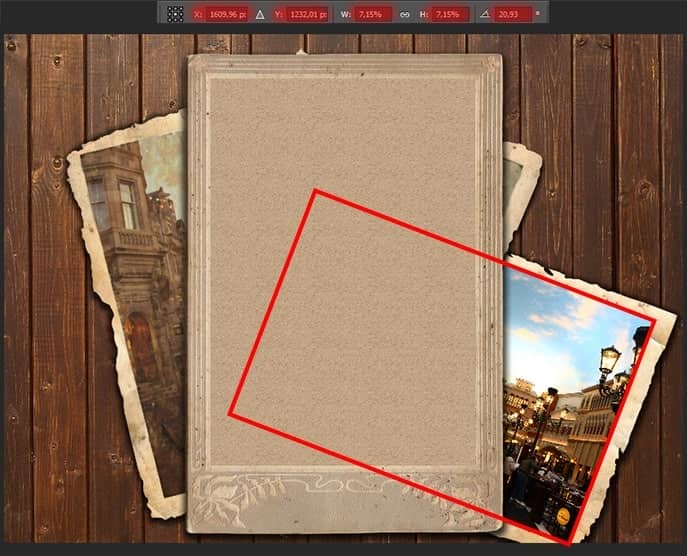
From the first frame we finished. Now proceed to the second. Basically all will be almost the same, but there are a few changes. To the right frame, Place image "Town_square_by_CAStock" (File > Place (Place Embedded)). Rotate and resize (Ctrl/Cmd+ T or Edit > Free Transform) this image, like shown in the image below.
Change a Blending Mode to "Soft Light". Add a filter "Grain" to this image (Filter > Filter Gallery... > folder "Texture" > "Grain"). You can do it simple and duplicate this filter from the previous image (Step 12). Hold Option/Alt grab and drag filter icon (two small circles to the right of the layer thumbnail) and move them to the desired layer.
10 comments on “Create a Vintage and Romantic Scene of Old Memories in Photoshop”
PSD erroneo. No corresponde
Nice tutorial!
pin rosr stock, it is no
Thank for this nice tutorial
can you fix a picture with scratches. i have a hard copy and it has scratches
Nice Tutorial...
Thanks!
pretty :)
Some screenshots are missing on the second page.
Fixed... thanks for letting us know :)
in step two the imagine which ı place is missing when ı write this rates. how can ı solve it
is the rates wrong?