
Turn any photo into a dot grid artwork with these Photoshop actions. You'll get great results with dots that change size. They get larger in brighter areas and smaller in darker areas. Free download available.
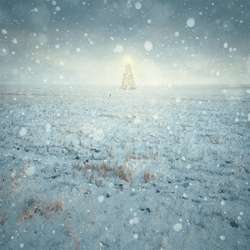
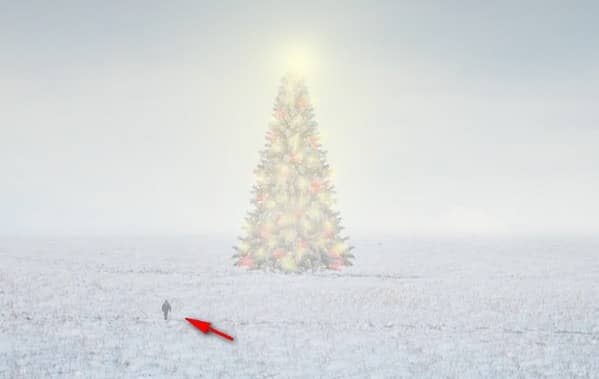
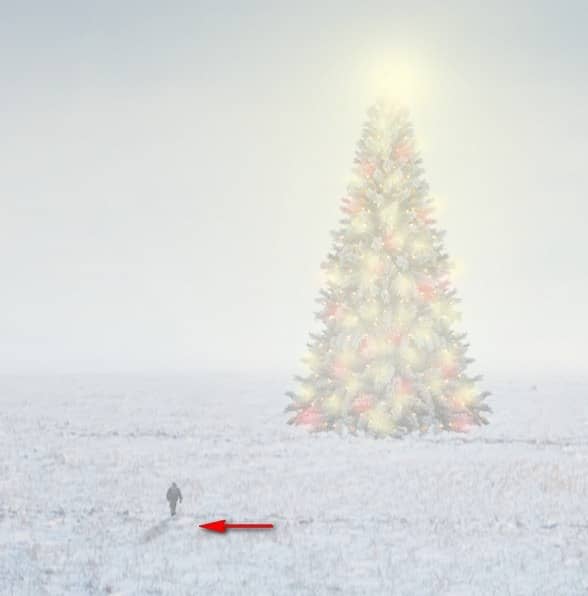
The result:
Step 31
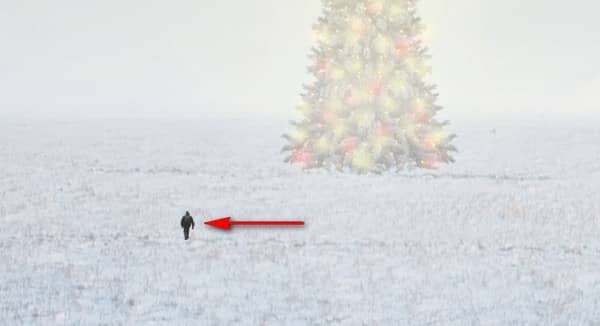
Next, we will reduce the "man's" Opacity to make it blend well with the images. Reduce it to the following: 40%
The result:
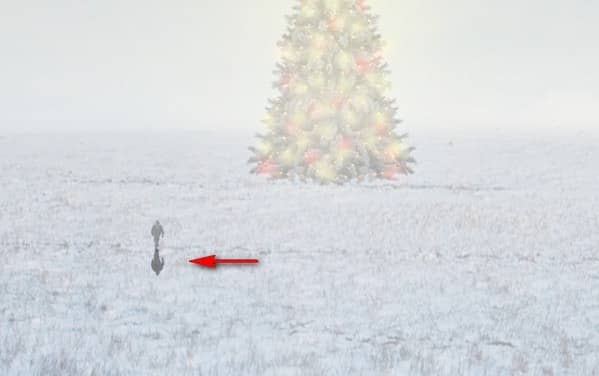
Step 32
Now, let's create the man's shadow. Let's start by duplicating the "man" by pressing Ctrl/Cmd + J. Once duplicated, click on the duplicated layer and then activate the Transform tool (Ctrl/Cmd + T) and then right click on the canvas to activate the contextual menu; on the contextual menu click on Flip Vertical.
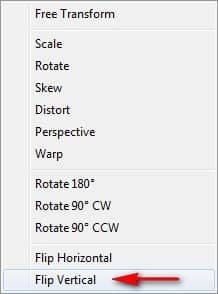
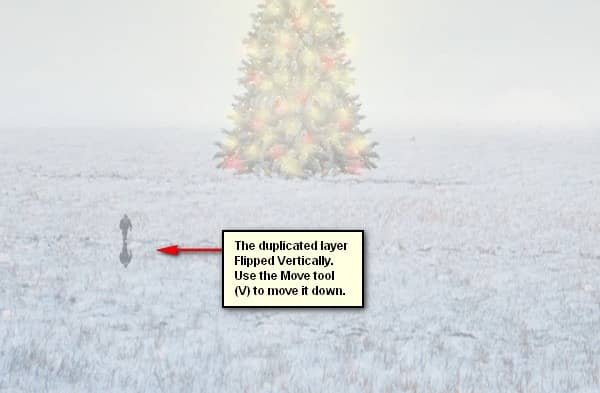
Now, the duplicated layer should be flipped vertical.
Step 33
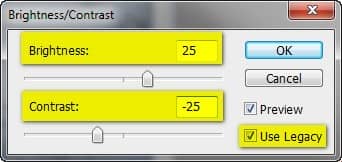
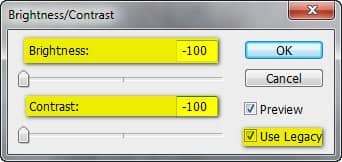
Next, we will turn the duplicated layer into a real shadow. To do that, select the duplicated "man" layer and then go to Image > Adjustments > Brightness/Contrast and then input the following:
- Brightness: -100
- Contrast: -100
- Use Legacy: Check
The result:
Step 34
Next, let's blur the shadow a little. To do that, select the duplicated "man" layer and then go to Filter > Blur > Gaussian Blur. Set the Radius to 2 pixels then click OK.
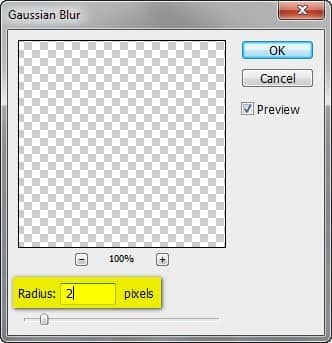
The result:
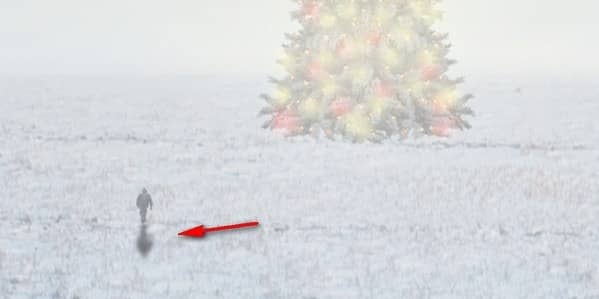
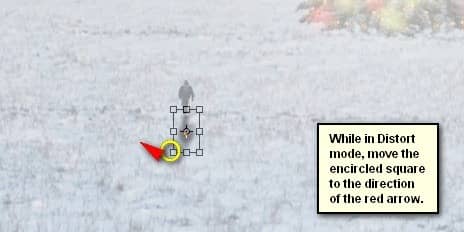
Step 35
Next, let's adjust the shadow's shape according to the light from the Christmas tree. Activate the Transform tool (Ctrl/Cmd + T) and then right click on the canvas to open the contextual menu, on the menu, click on Distort.
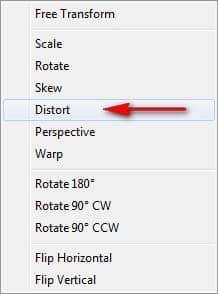
Now, let's distort the shadow.

The result:
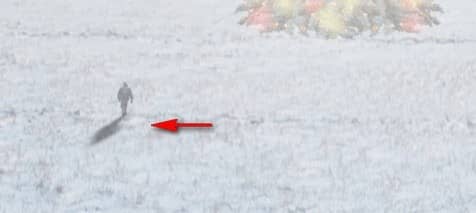
Step 36
Next, change the layer opacity of the duplicated man's layer to 15%
The result:
Step 37
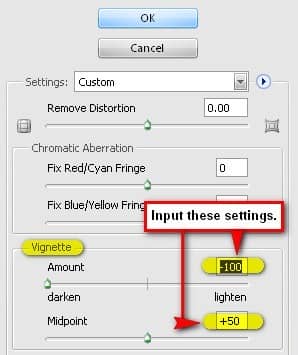
Now, that we're done, select all the layers from Step 5 and 6 and then group the layers (Ctrl/Cmd + G). Name the group to "Man". In this step, we will learn how to create a vignette which will help enhance the focus on our subject. To start, go to the Menu bar and click on File > New and use the same settings we used to create our canvas. (Refer to Step 1). Take note, the background contents should be: WHITE. Once it has been created, go to Filter > Distort > Lens Correction. Find the tab Vignette and use these settings:
- Vignette amount: -100
- Midpoint: +50
Step 38
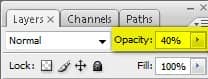
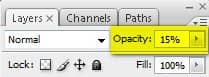
Now that that's done drag the vignette to our canvas using the Move tool (V) and put it on top of all the layers that we've created, and then set the following:
- Blending mode: Multiply
- Opacity to 40%
To set the blending mode, simply click on the drop-down menu beside the word "Normal" on the top part of the Layer window. The Opacity is located just beside that drop-down menu as well. See image below:
11 comments on “How to Create a Breathtaking Christmas Artwork in Photoshop”
i agree that they are almost the same i think the overlay is a little darker than soft light
Intgihss like this liven things up around here.
Awesome resources.Huge collection.Great job.Very useful post.Thanks for sharing.
That's a shrewd answer to a tricky qutiosen
i cant download the snow feild????
What a great tutorial!!
Thank you so much
nice concept and tutorial thank you !
very Nice Tutorial
Thank you so much
You forgot to write about darkening sky in Step 9. Just about layer creating.
At step 8, "Change the Blending mode of "sky 2" to Soft Light" but you changed it to Overlay..
Well, which one is it sir?
Soft light is about the same as overlay. Overlay is more contrast and saturation.