
Luminar AI lets you turn your ideas into reality with powerful, intelligent AI. Download the photo editor and see how you can completely transform your photos in a few clicks.
The unblended Vignette will look like this:

Once the blending mode is set to "Multiply" it would look like this:
Step 39
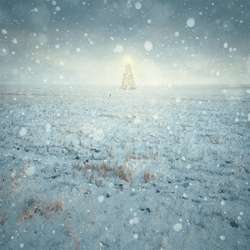
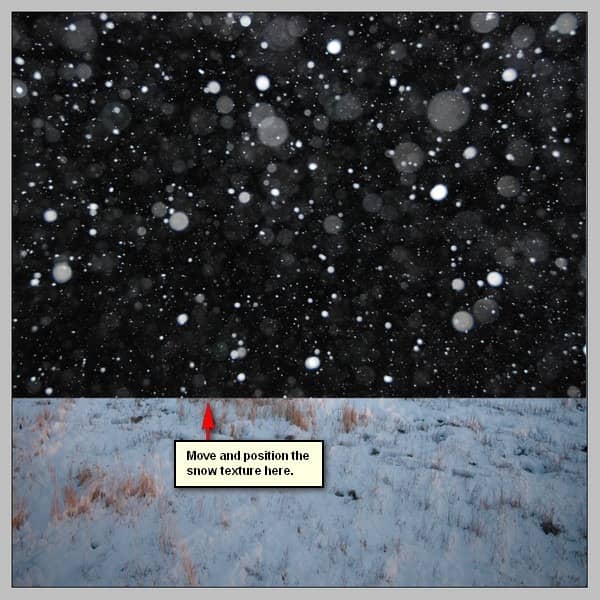
To enhance the Christmas feel, let's add some snow textures. Let's start, by opening the stock image - "snowing texture" by wchild. Once it is open, activate the Move tool (V) and drag it to our canvas. Position it on our canvas as shown below:
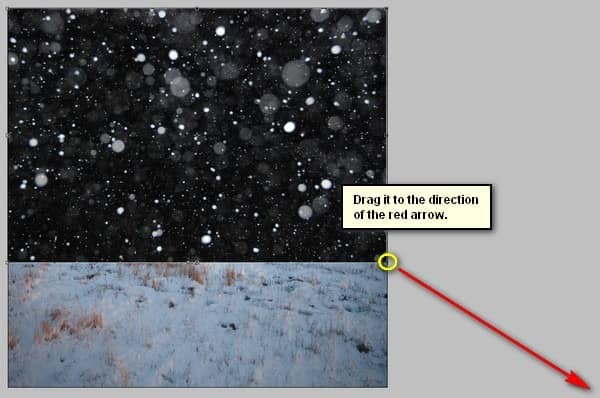
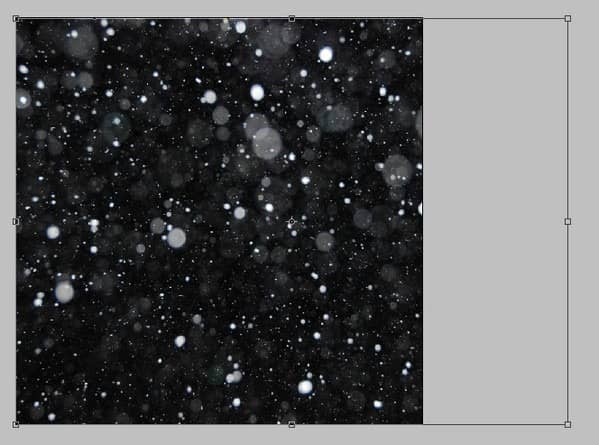
Next, activate the Transform tool (Ctrl/Cmd + T) and resize the texture as shown below:
The result:
Step 40
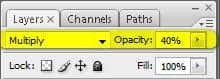
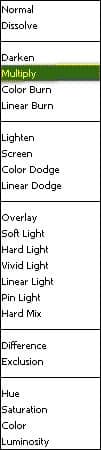
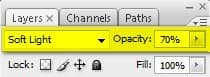
Now, to make it blend with our image, just change the Blending mode and Opacity to the following:
- Blending mode: Soft Light
- Opacity: 70%
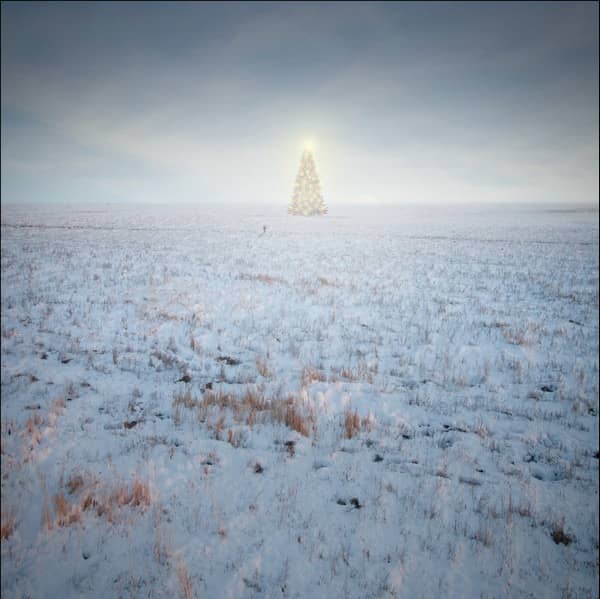
The result:
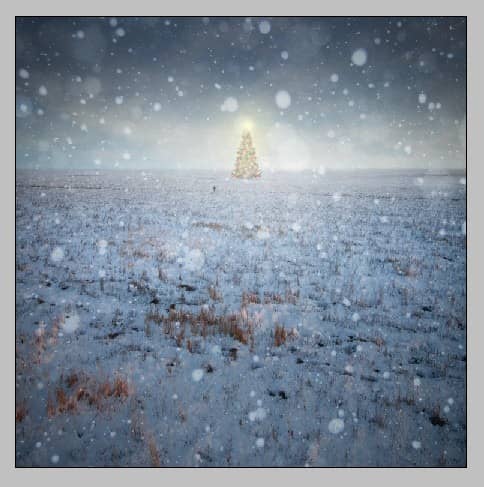
Step 41
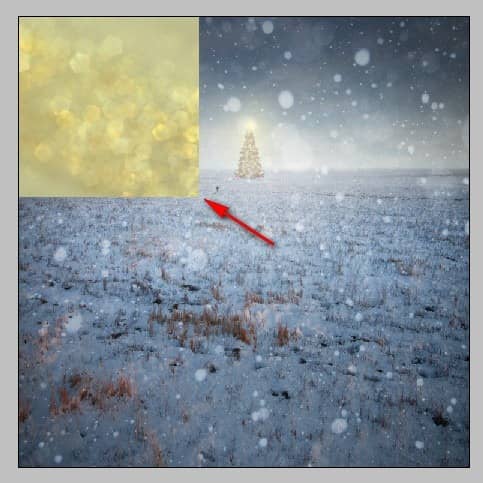
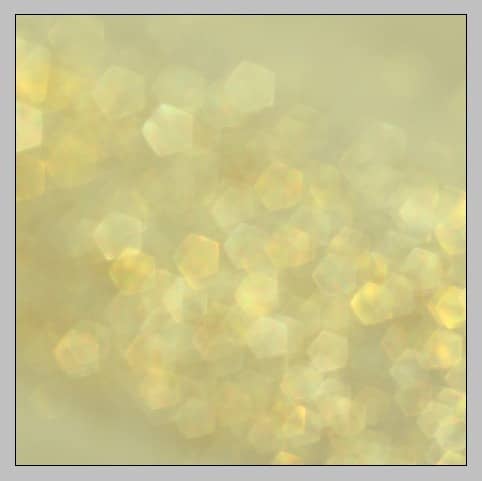
Next, let's add the second texture - open the Glitter Bokeh Texture Pack zip file by regularjane and then unzip the files, once unzipped, choose "glitter bokeh1_8". Activate the Move tool (V) and drag the image to our canvas. Position it as shown below:
Next, activate the Transform tool (Ctrl/Cmd + T) and resize it as shown below:
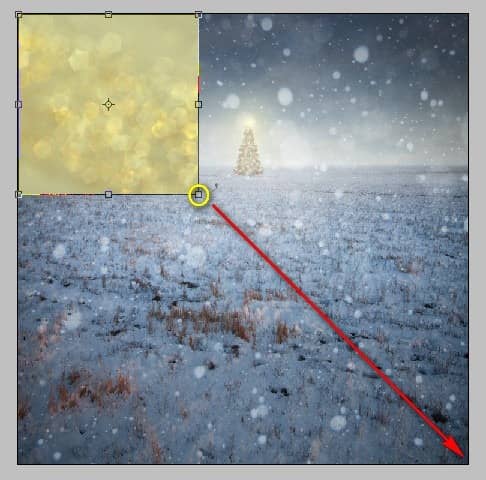
The result:
Step 42
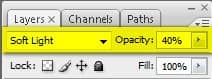
Now, to make it blend with our image, just change the Blending mode and Opacity to the following:
- Blending mode: Soft Light
- Opacity: 40%
The result:

Now, select all these textures and then group them (Ctrl/Cmd + G). Name the group to "snow textures".
Step 43
Let us now enhance color of our image. Start off by creating a Solid Color adjustment layer from the Create New Fill/Adjustment layer button on the Layer window.
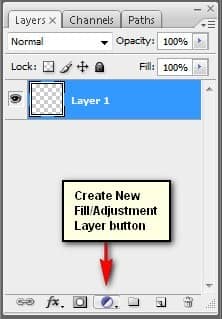
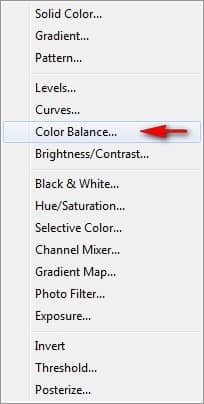
Once the contextual menu opens, click on Solid Color:
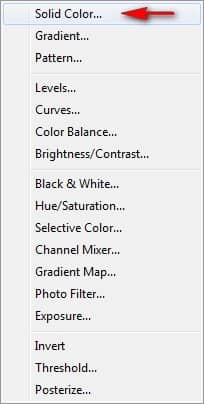
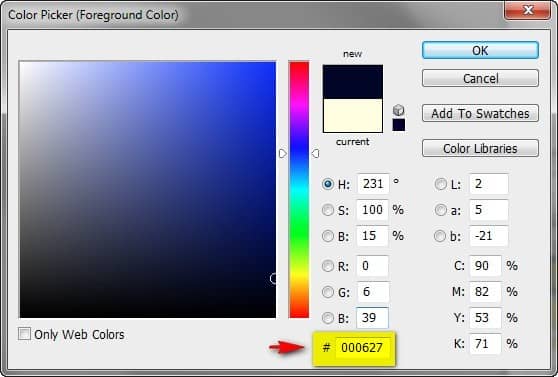
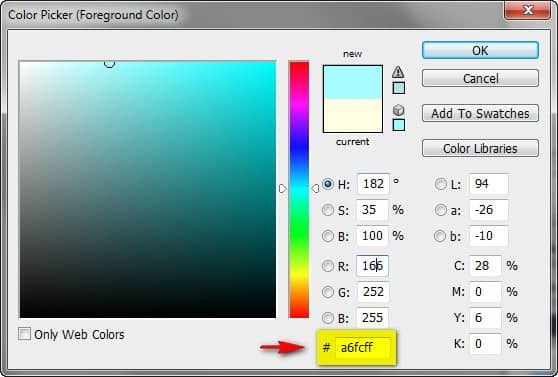
Now, clicking on the Solid Color option will open the Color Picker box. Set the color to #000627.
Step 44
Make sure to put this Solid Color layer above the "Textures" group. Once done, change the Blending mode and Opacity of this Solid Color layer to the following:
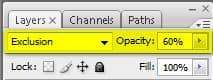
- Blending mode: Exclusion
- Opacity: 60%
Step 45
Next, let's create a Color Balance adjustment layer from the "Create New Fill/Adjustment layer button".
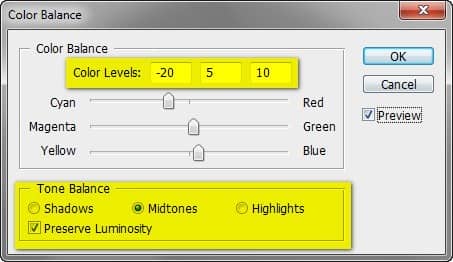
When it opens, input the following:
- Color Levels: -20, +5, 10
- Tone Balance: Midtones
- Preserve Luminosity: Check
Step 46
Next, let's create another Solid Color adjustment layer from the "Create New Fill/Adjustment layer button". Once the Solid Color box opens, input the following:
Step 47
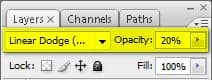
Change the Blending mode and Opacity to the following:
- Blending mode: Linear Dodge (add)
- Opacity: 20%
Step 48
Once done, we will now move to the creation of a Gradient Map layer; from the "Create New Fill/Adjustment layer button" click on Gradient Map.
11 comments on “How to Create a Breathtaking Christmas Artwork in Photoshop”
i agree that they are almost the same i think the overlay is a little darker than soft light
Intgihss like this liven things up around here.
Awesome resources.Huge collection.Great job.Very useful post.Thanks for sharing.
That's a shrewd answer to a tricky qutiosen
i cant download the snow feild????
What a great tutorial!!
Thank you so much
nice concept and tutorial thank you !
very Nice Tutorial
Thank you so much
You forgot to write about darkening sky in Step 9. Just about layer creating.
At step 8, "Change the Blending mode of "sky 2" to Soft Light" but you changed it to Overlay..
Well, which one is it sir?
Soft light is about the same as overlay. Overlay is more contrast and saturation.