

Luminar AI lets you turn your ideas into reality with powerful, intelligent AI. Download the photo editor and see how you can completely transform your photos in a few clicks.
Step 18
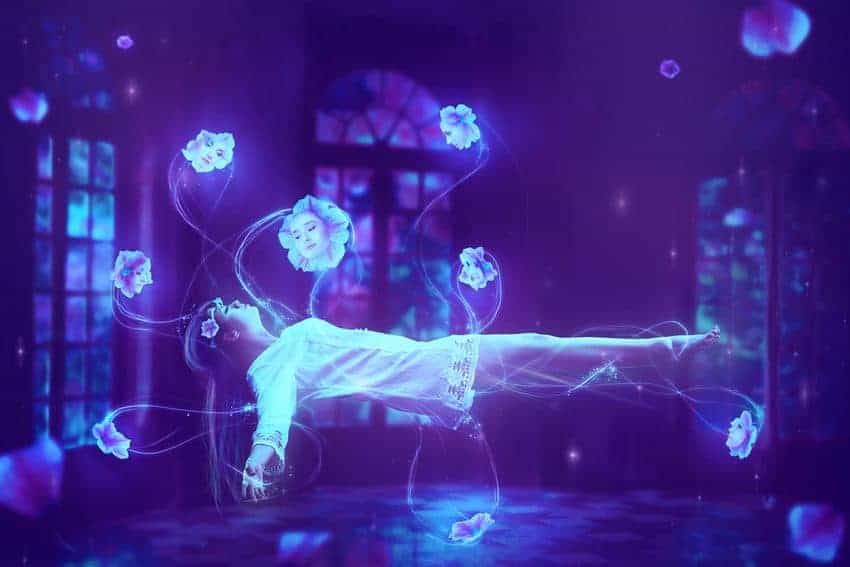
Open the flowers image and use the Quick Selection Tool (W) to take different flowers to add around the model and on her hair, making them towards the model's face. Add the biggest flower above the model and use the Free Transform Tool (Ctrl+T) to tweak the flowers form to make them appear different.

Step 19
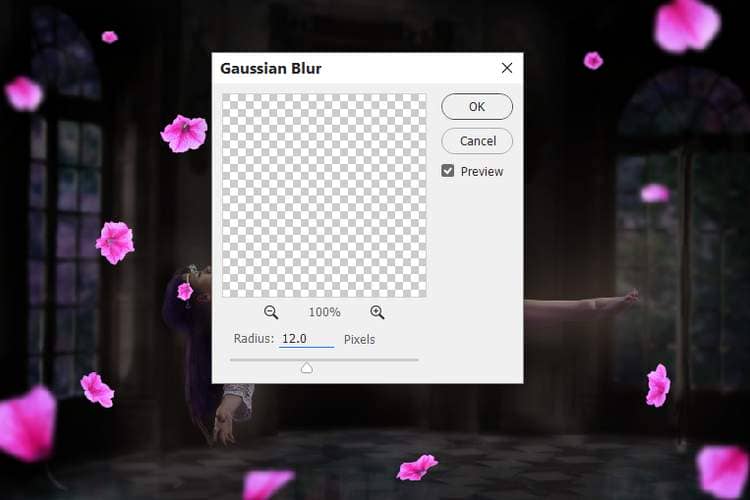
Take different petals and flowers to add around the room and use Ctrl+T to vary their size and forms. I've applied a Gaussian Blur of 4 px to each of the small flowers on the upper and a Gaussian Blur of 12 px to each of the rest flowers and petals. This step is to increase the depth for our whole scene.

Step 20
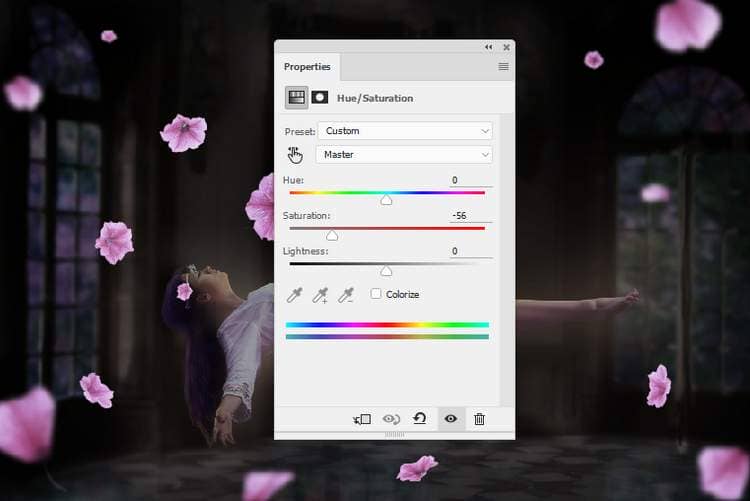
Select all of the flowers and petals and hit Ctrl+G to make a group for them. Change this group mode to Normal 100% and make a Hue/Saturation adjustment layer within this group. Decrease the Saturation values to -56.
Step 21
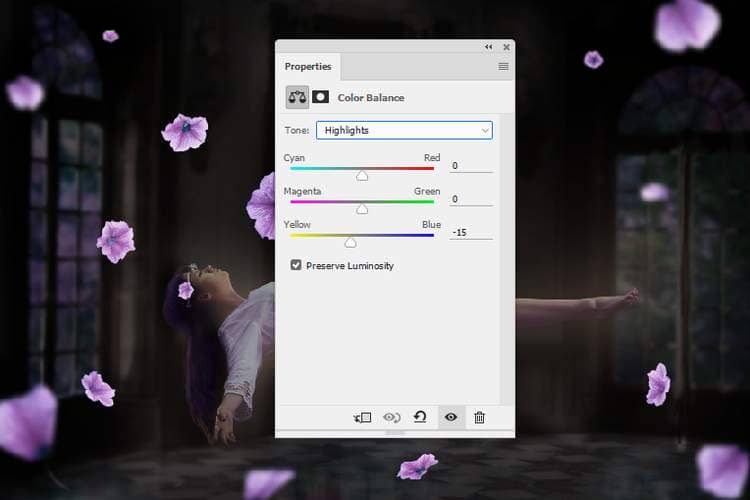
Create a Color Balance adjustment layer and change the Midtones, Shadows and Highlights settings:


Step 22
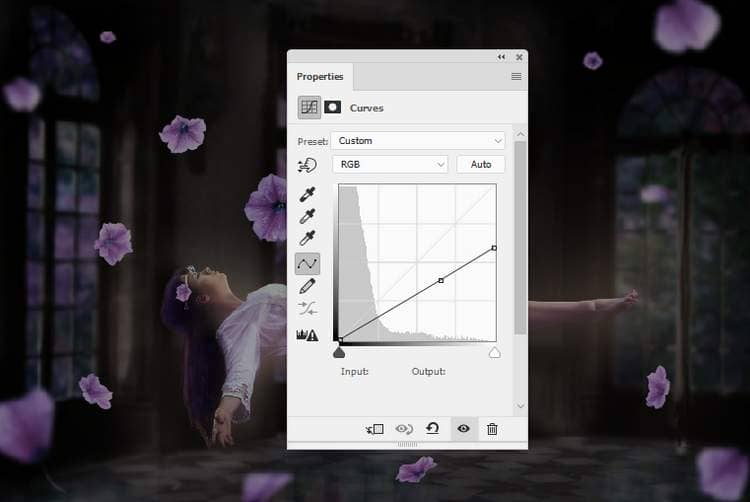
Add a Curves adjustment layer to darken the flowers and petals :
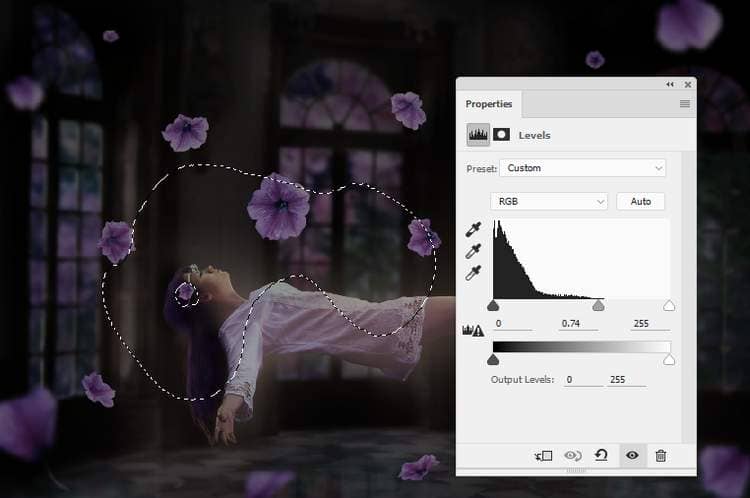
Make a Levels adjustment layer with the same purpose. On this layer mask, paint on the flowers around the model's head or any details you feel too dark.
Step 23
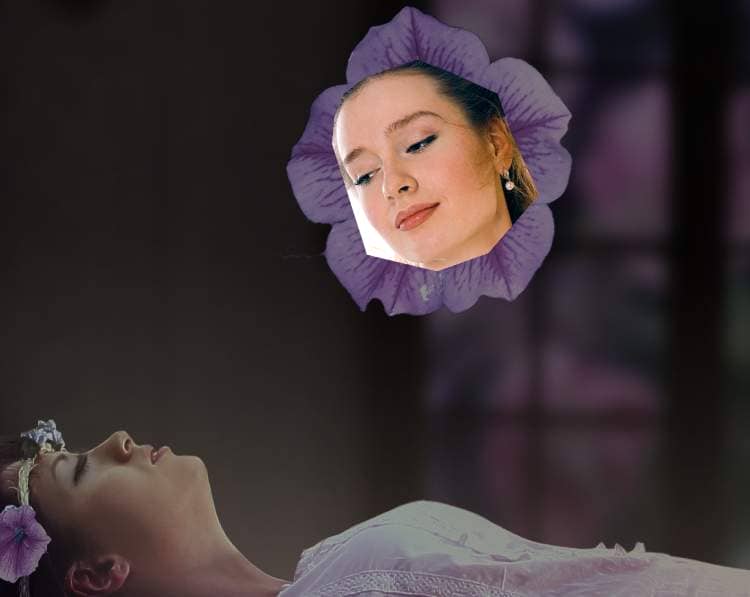
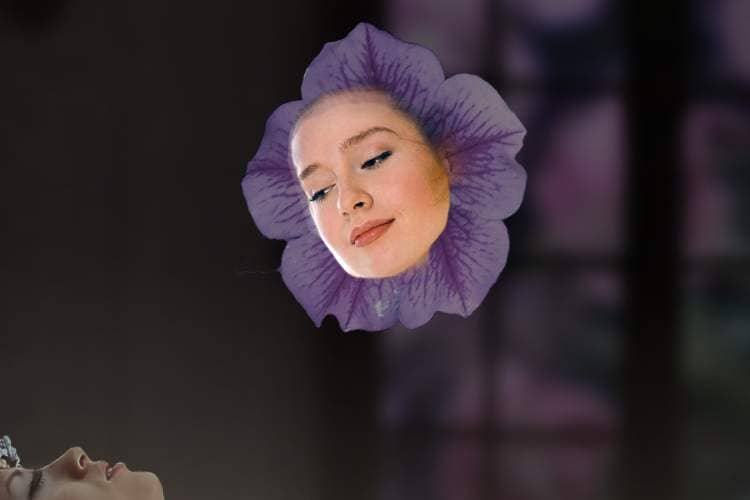
Open the face 1 image and use the Polygonal Lasso Tool (L) to select the face only to add to the biggest flower. Add a mask to this layer and use both hard and medium-soft black brush to remove the hard edge and blend the face with the flower.
Step 24
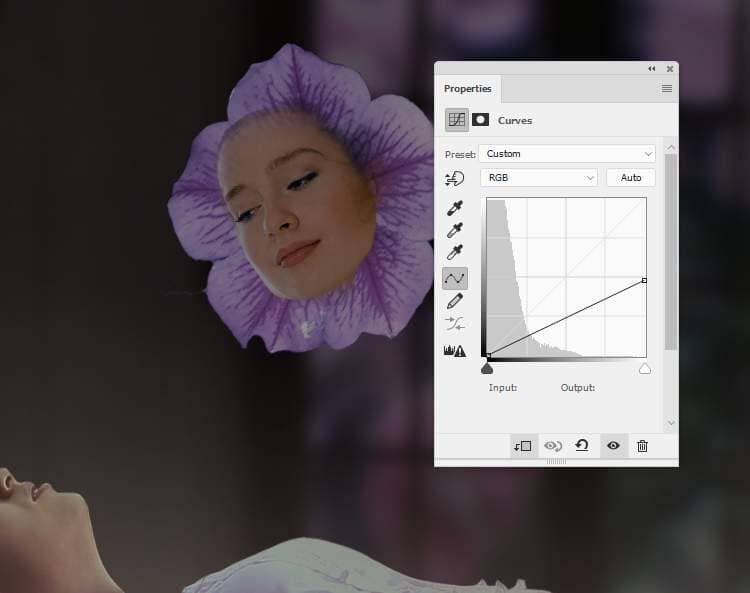
Create a Curves adjustment layer to darken the face. On this layer mask, paint on some details to define the light and shadow on the face.
Step 25
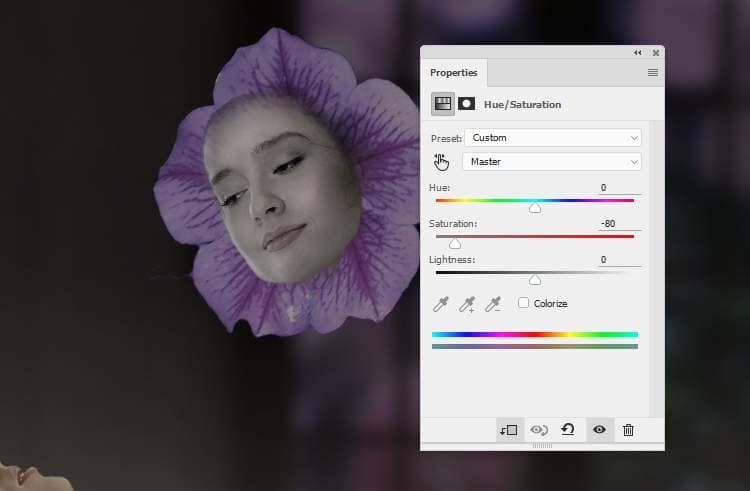
Make a Hue/Saturation adjustment layer to desaturate the face. Bring the Saturation values down to -90:
Add a Color Balance adjustment layer to give the face some vibrance:
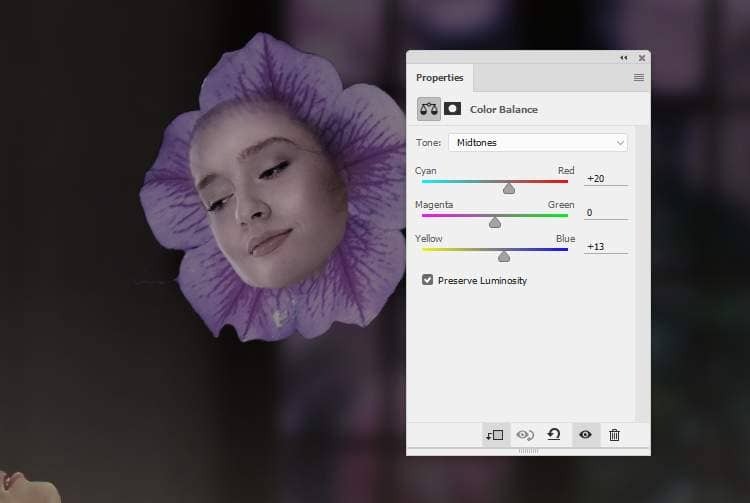
Step 26
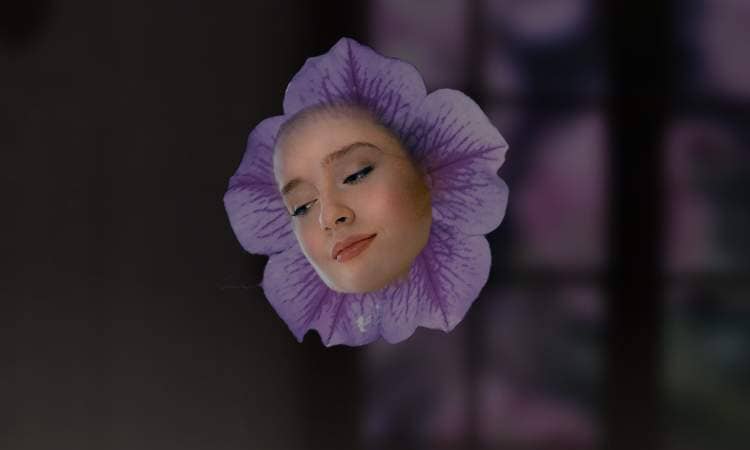
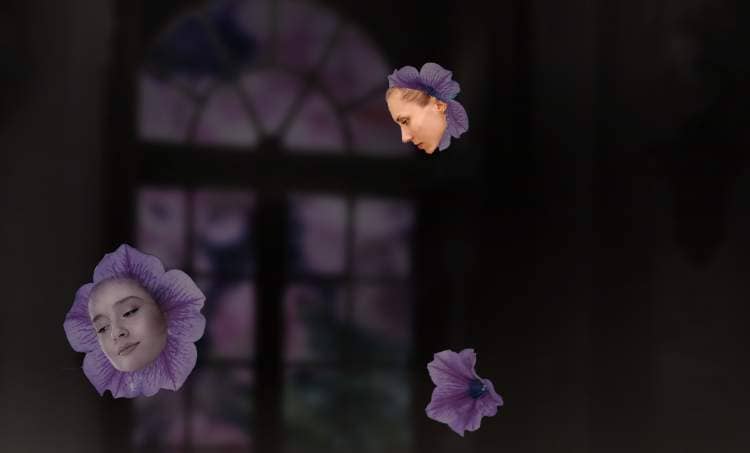
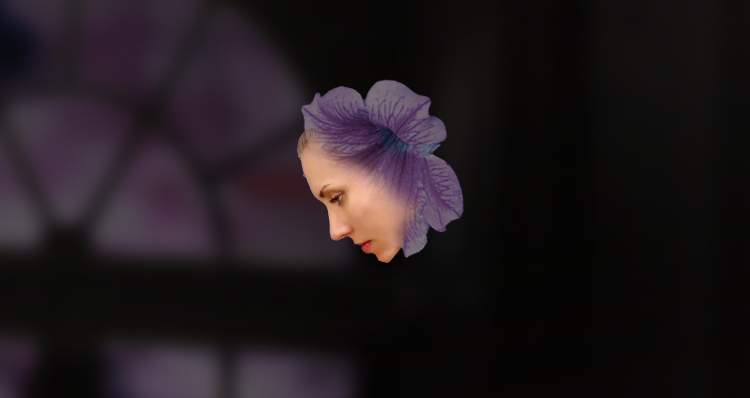
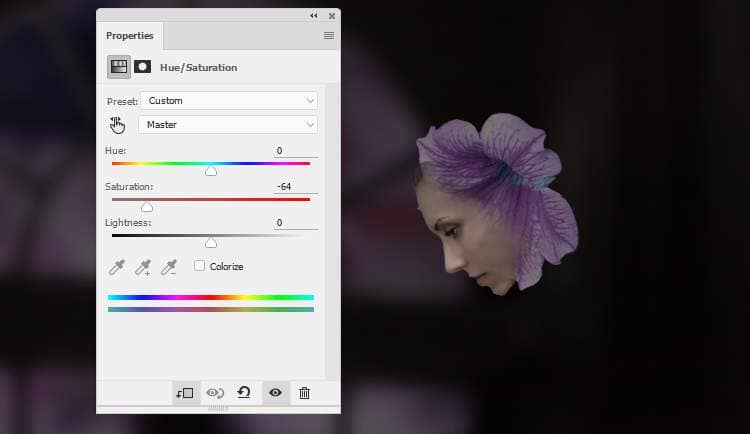
Take the face from the face 2 image and add it to the flower above the face 1. Use a layer mask to blend the face with this flower.
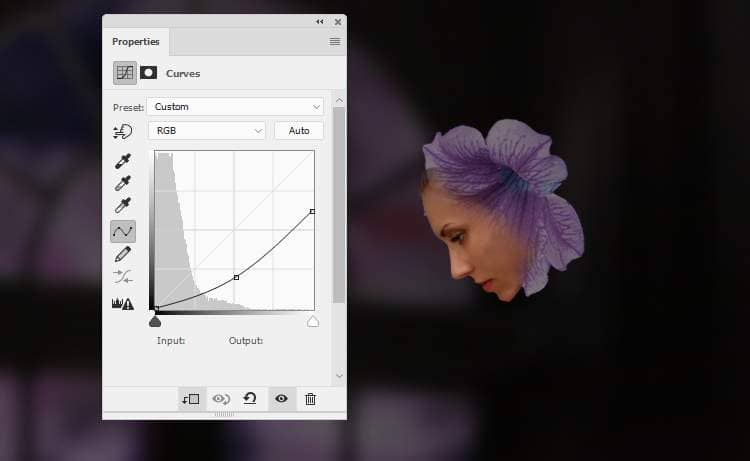
Step 27
Make a Curves adjustment layer to darken the face:
Create a Hue/Saturation adjustment layer and bring the Saturation values down to -64:
Add a Color Balance adjustment layer to change the face's color a little:
5 comments on “How to Create a Fantasy Floating Scene Photo Manipulation with Photoshop”
This looks like a great tutorial but on my Mac with Safari every image is small (approximately half the width it's supposed to be).
Sorry error on our website's end. It's fixed now :)
Thank you, Denny Tang, That was so kind to find a similar image to use for practice....:)
I love your detailed instructions, but do you have another source for the floating model where I don't have to open yet one more photo purchasing account just to practice a cool technique? It gets expensive after awhile!
Try using this image and rotating it 90 degrees:
https://www.deviantart.com/faestock/art/Seraphim-Stock-Reference-13-553424364