
Download Lightroom presets and LUTs, absolutely free. Use the presets to add creativity and style to your photos.
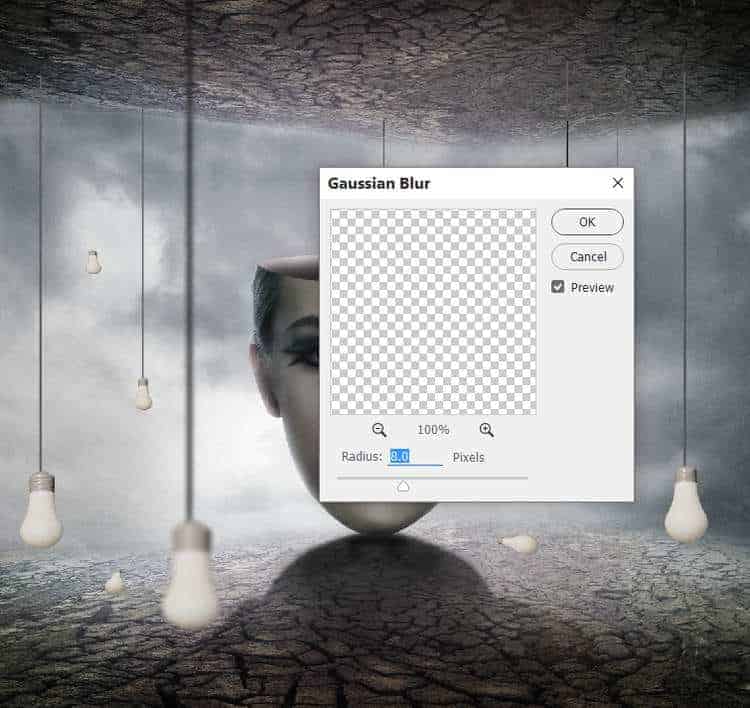
Apply a Gaussian Blur of 8 px to the biggest lamp to fit the softness of the line above.
Step 30
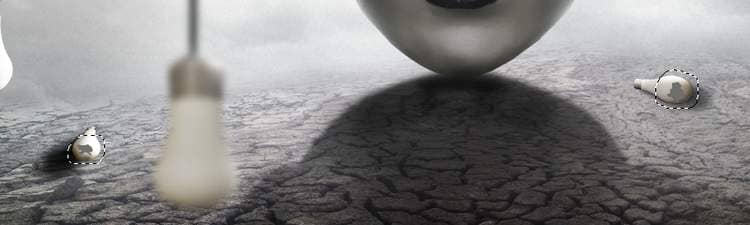
Create a new layer below the lamps. Use a soft brush with the color #0d0d0d, the opacity about 34% to paint shadow for the lamps reflected on the ground. Make them long due to the distance from the lamps to the ground.
Step 31
Use the Burn Tool on a new layer to darken a lamp on the ground.
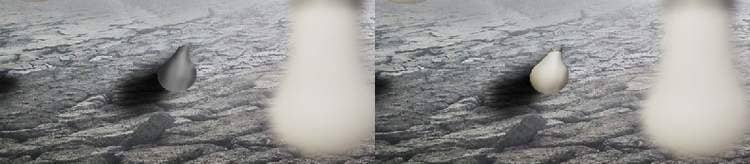
Step 32
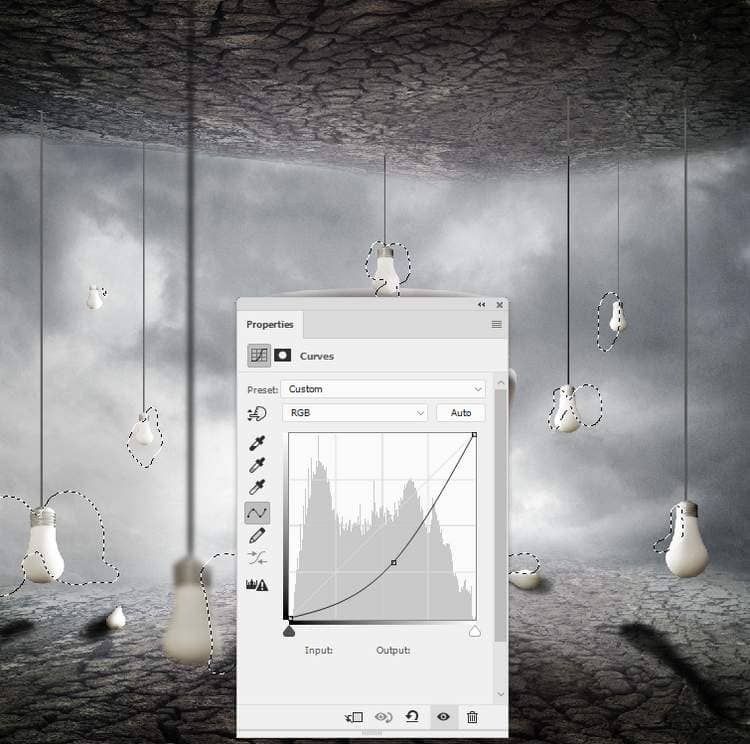
Make a group for the lamps and their shadow one. Add a Curves adjustment layer to brighten the lamps and on this layer mask, use a soft black brush to erase the hidden sides of the lamps so they won't be brightened by this adjustment layer.
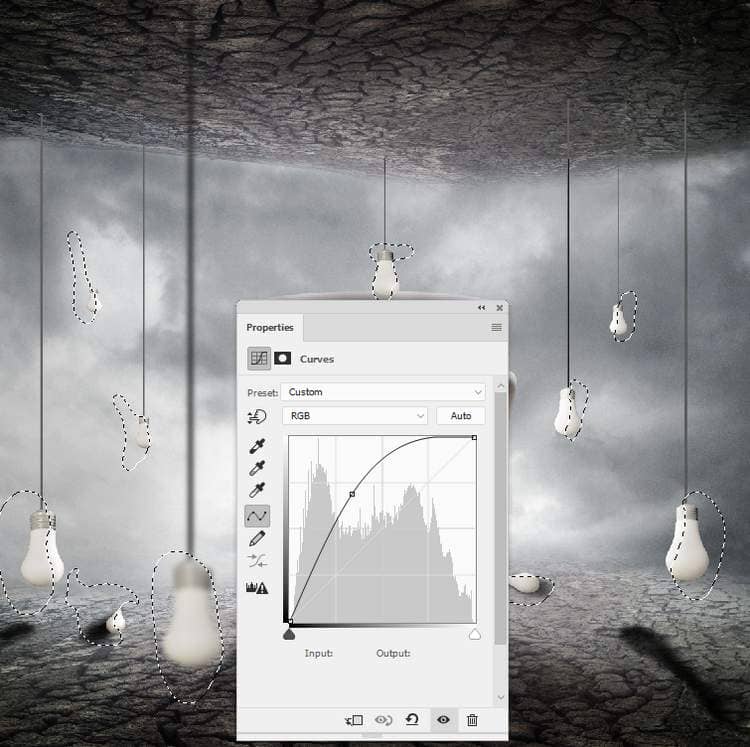
Step 33
Create a Levels adjustment layer with the same purposes. The selected areas show where to paint on the layer mask.
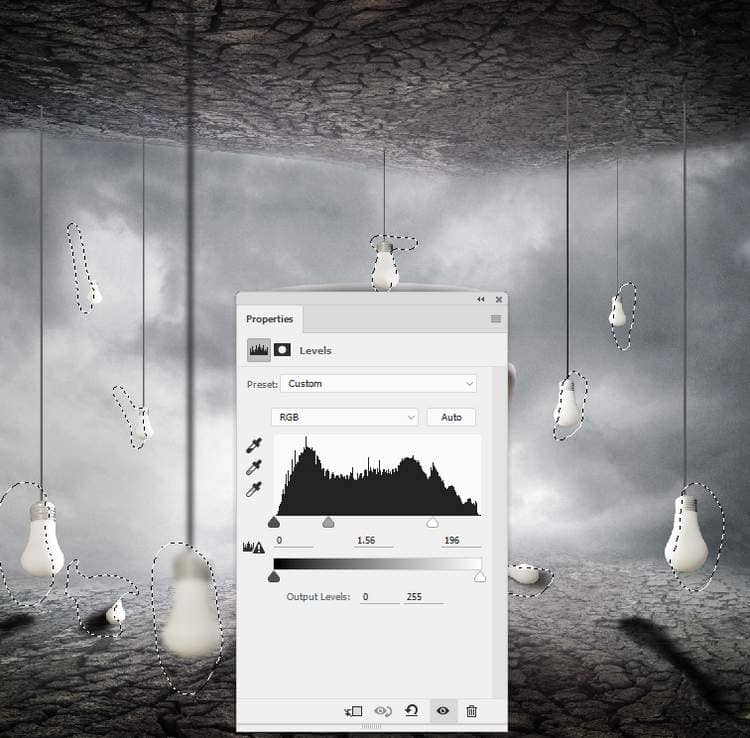
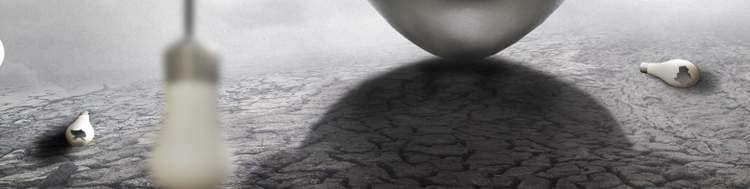
Make another Curves adjustment layer and decrease the lightness on the hidden sides of the lamps. Paint on the rest to keep its lightness.
Step 34
Make a new layers and use the Lasso Tool to draw two broken shapes on the lamps on the ground.
On each of these layers, use the Burn Tool to increase the deep inside the holes mentioned above.
Step 35
Open the broken bulb image (feel free to use your own image). Use the Quick Selection Tool (W) to select different pieces and add them around two bulbs on the ground. Use layer mask if needed to remove any unwanted details.
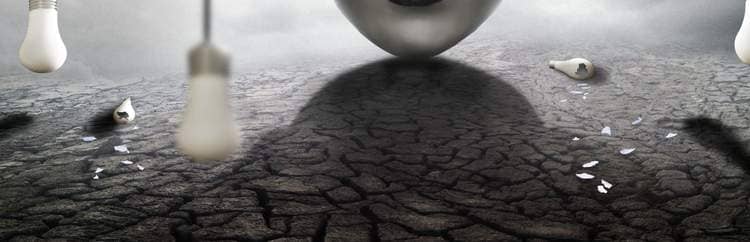
Create a new layer below the broken pieces ones and use a soft brush with the color #171617, the opacity about 20% to paint shadow for these pieces on the ground.
Step 36
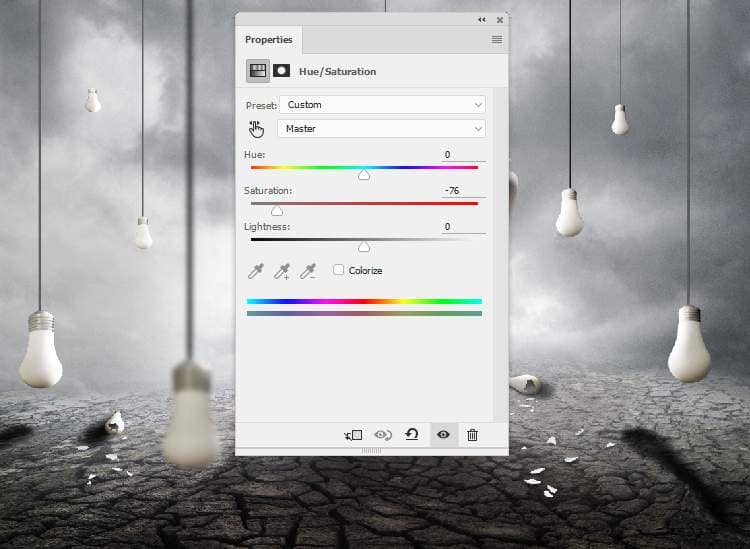
Create a group for the broken pieces and use a Hue/Saturation adjustment layer within this group. Bring the Saturation values down to -76:
Make a Curves adjustment layer to darken the pieces. On the layer mask, paint on the details you feel too dark to reveal the lightness there.
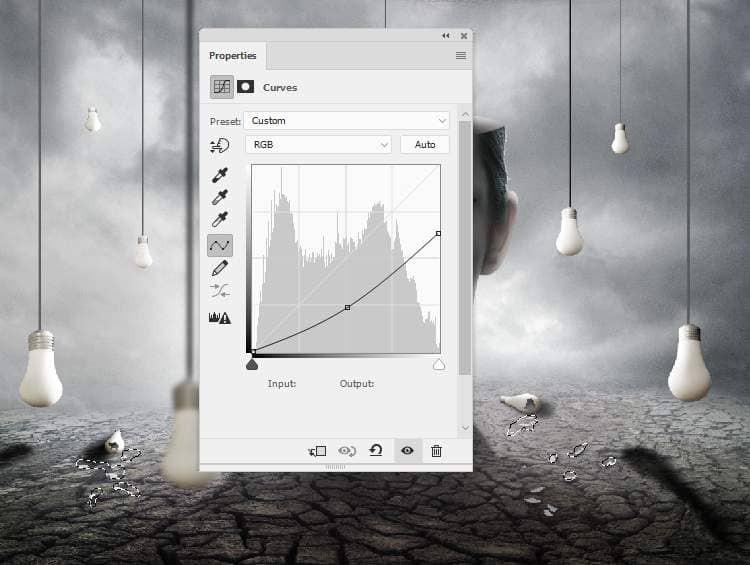
Step 37
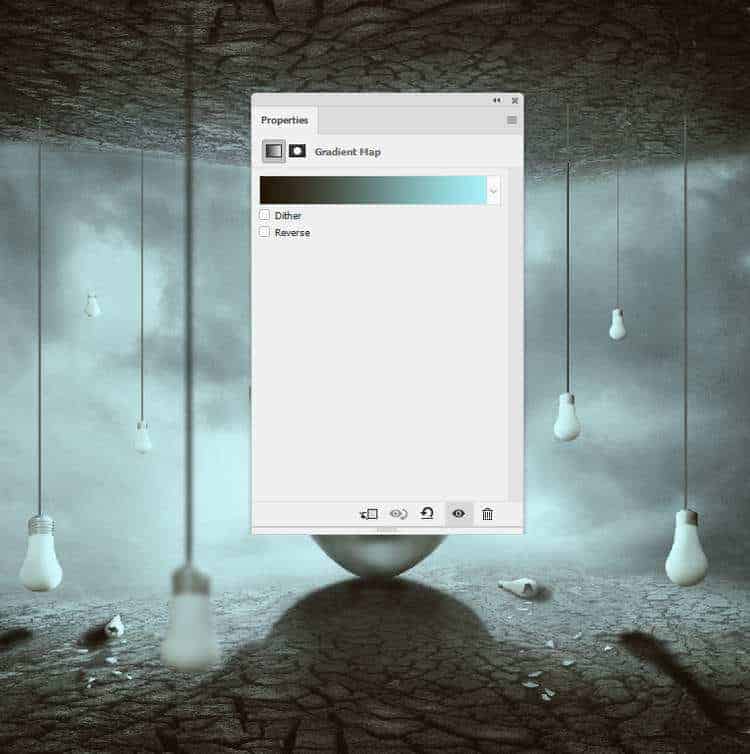
Create a Gradient Map adjustment layer on top of the layers and pick the colors #251706 and #a9f3fa. Lower the opacity of this layer to 50%.
Step 38
Make Color Balance adjustment layer and alter the Midtones settings:
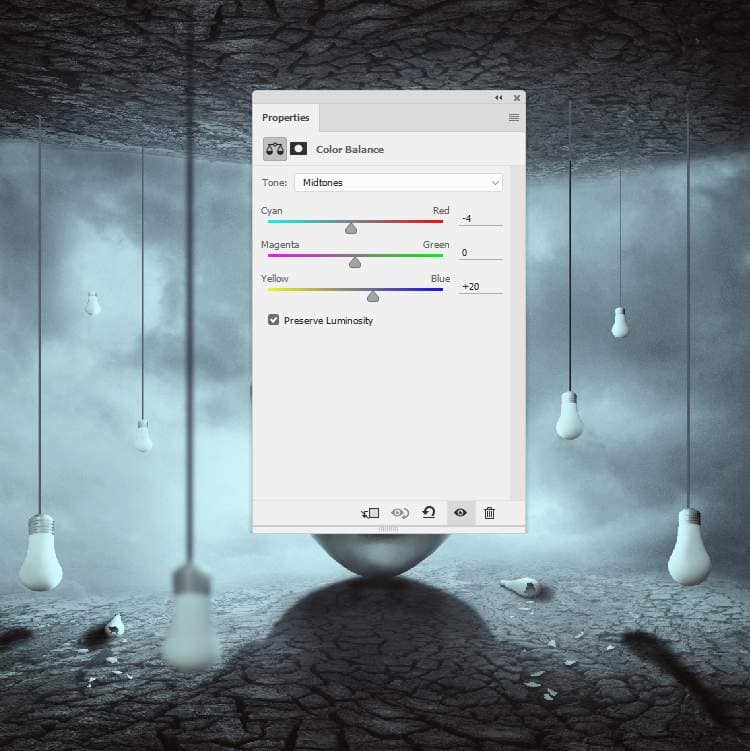
Step 39
Add a Color Fill layer and pick the color #091f2a. Lower the opacity of this layer to 40% and on the layer mask, paint on the model area to reduce the dark effect there.
5 comments on “How to Create a Surreal, Conceptual Head Photo Manipulation with Photoshop”
would be happy to see the psd file which is not listed on the tut. thanks
This is cool! Thank you!
By the way, I found a broken light bulb on DeviantArt.
https://www.deviantart.com/absurdwordpreferred/art/Broken-Light-Bulb-PNG-160293712
Thank you! I added it as a free alternative in the tutorial.
I just want to thank you so much for allowing this tuts to be available. I have been trying to get better at photo manipulation for so long but I just don't do well with video tuts, my brain just does not learn well that way. I need to be able to read the steps and then implement.
Thank you so much!
These are how I learned Photoshop. They're awsome!
Su