Make skin look perfect in one-click with these AI-powered Photoshop actions.
Step 6
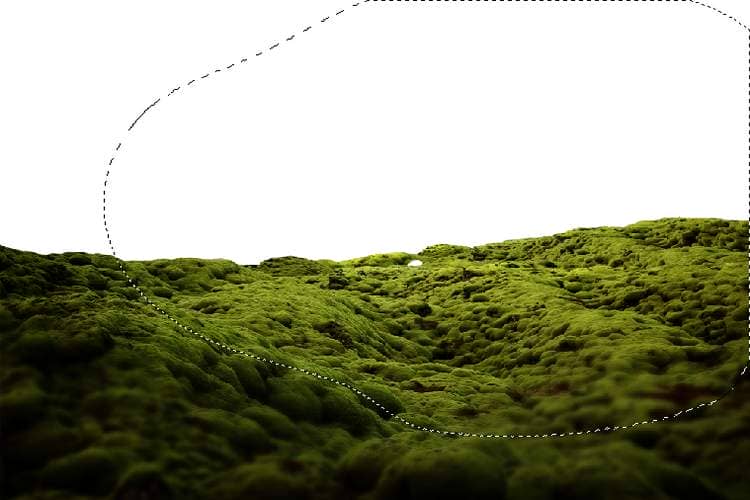
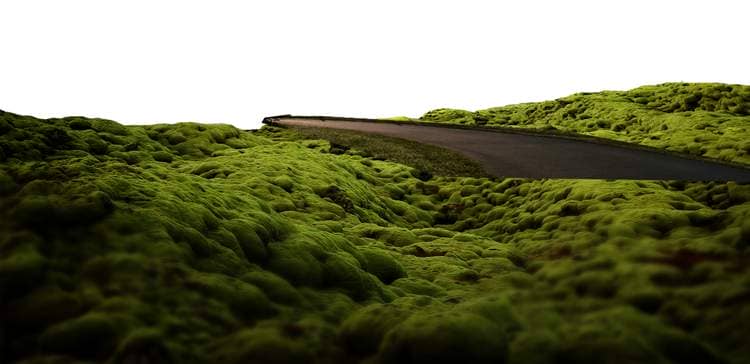
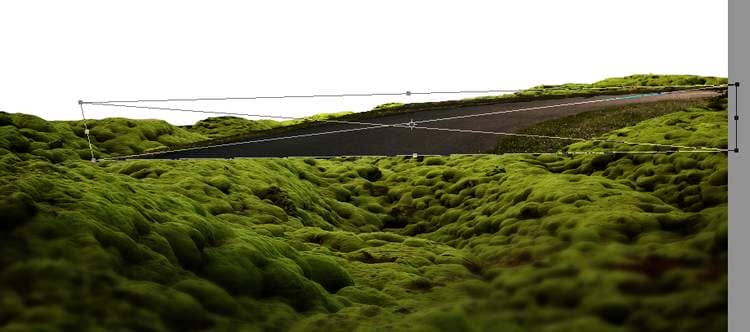
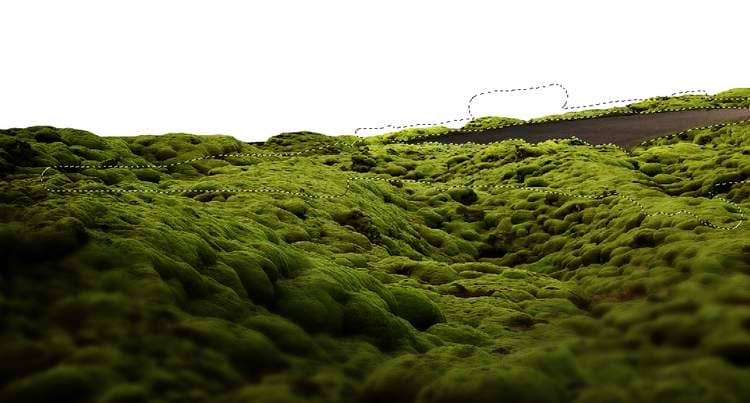
Open the road image and use the Polygonal Lasso Tool to take the road part only and place it above the ground. Flip it horizontally (Edit > Transform > Flip Horizontal) and move it to the right of the ground. Use Ctrl+T to transform the road part a bit.
Step 7
Add a mask to this layer and use a hard black brush to remove the hard part of the bottom of the road and leave the top visible on the right, also use a medium-hard brush to blend the road with the ground.
Step 8
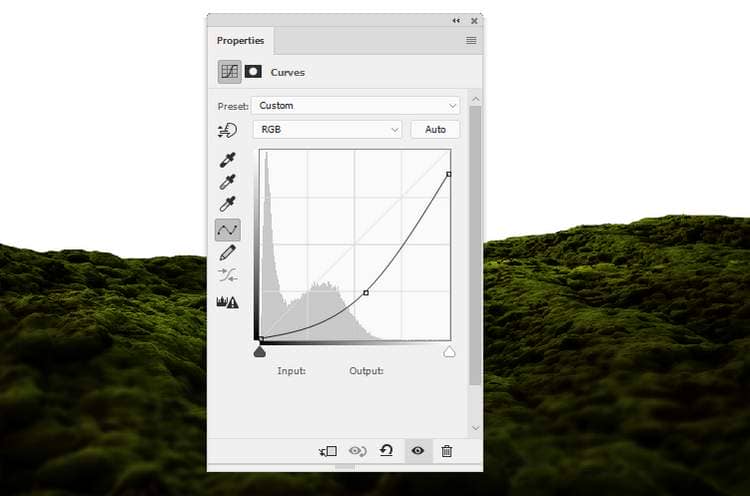
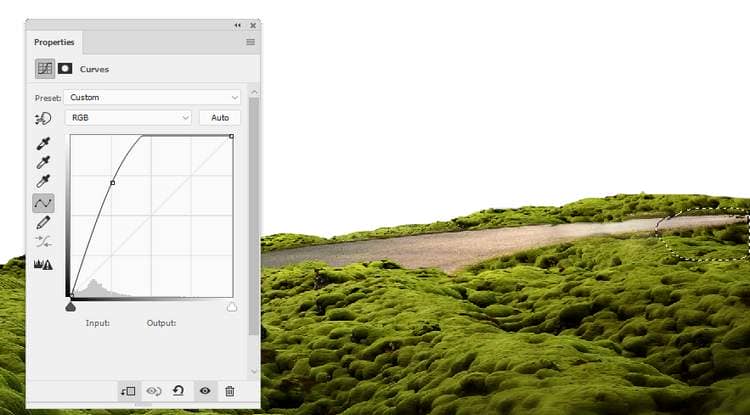
The road looks too dark compared with the background so create a Curves adjustment layer to brighten it. On the layer mask, use a soft black brush to remove the highlight on top of the road so it won't become too bright.
Step 9
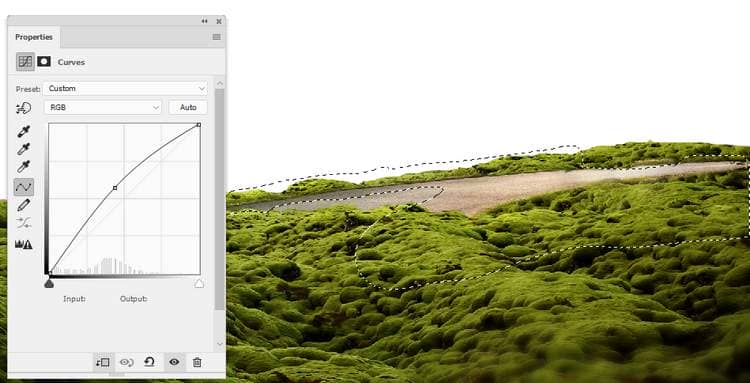
Make another Curves adjustment layer to brighten the part near the middle section of the ground a bit. On the layer mask , paint on the rest so it won't be affected by this adjustment layer.
Step 10
Open the sky image and use the Rectangular Marquee Tool (M) to select the sky part only and place it in the upper half of the canvas. Set this layer below the ground group and flip it horizontally to make its light fit the light on the ground and road. Convert this layer to a Smart Object.
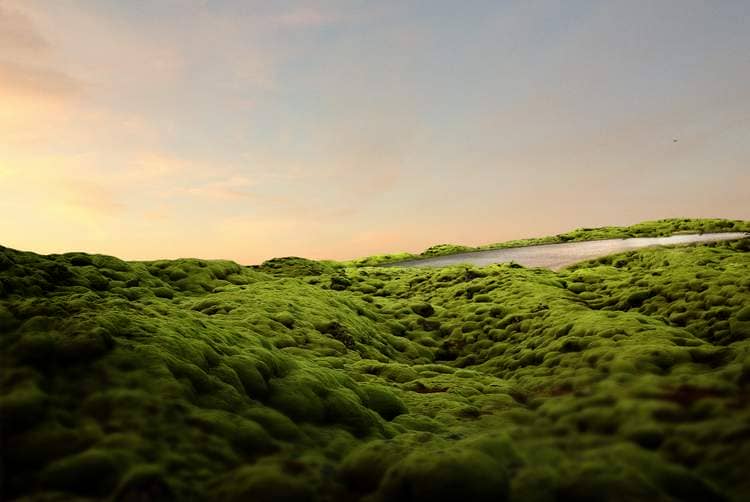
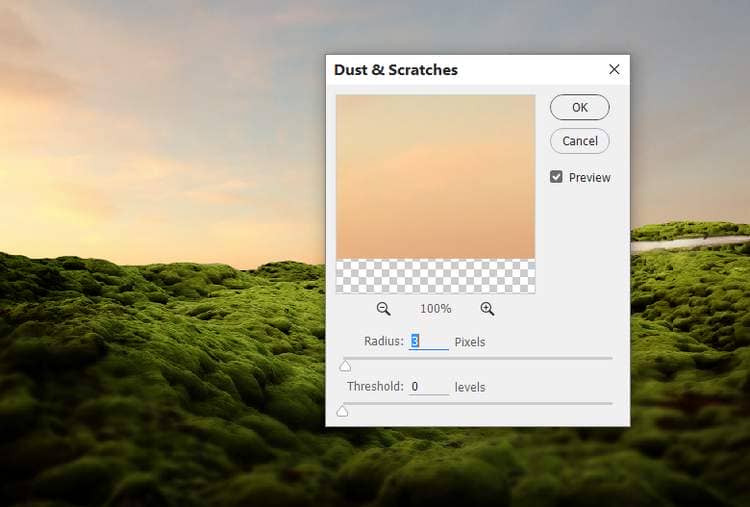
Go to Filter > Noise > Dust & Scratches and fill in the settings below. This step is to soften the sky a bit.
Step 11
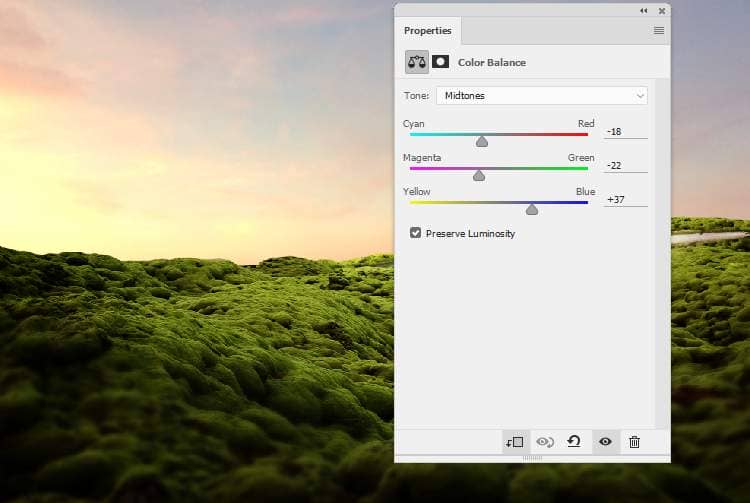
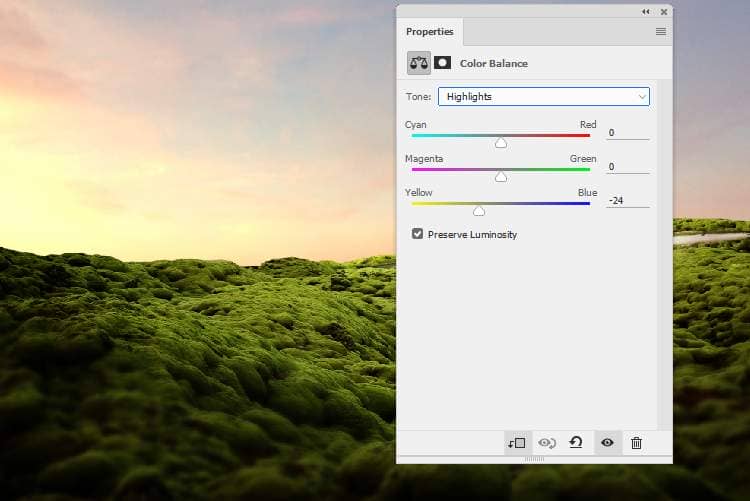
Make a Color Balance adjustment layer to brighten the sky and increase the warm yellow light . Alter the Midtones and Highlights values:
Step 12
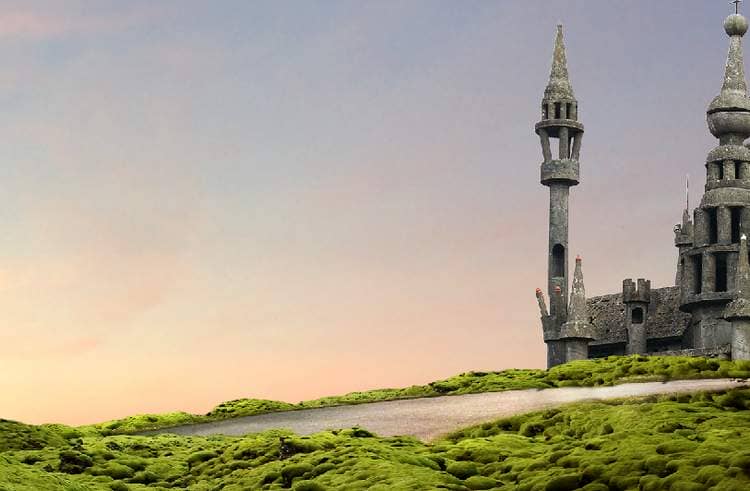
Open the castle image. As it has a transparent background so just the Move Tool to drag it into our working document and place it in the right of the canvas. Set this layer below the ground group.
Step 13
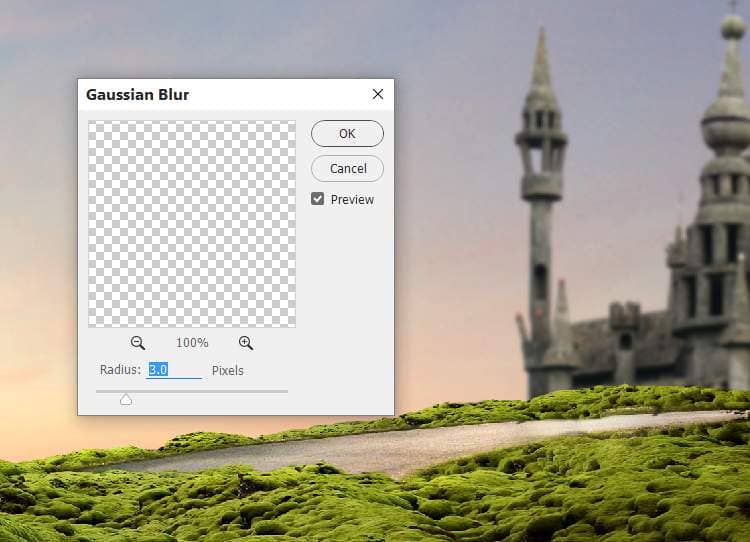
Apply a Gaussian Blur of 3 px to the castle's layer. This step is to separate the castle with the ground and help to increase the depth of the scene.
Step 14
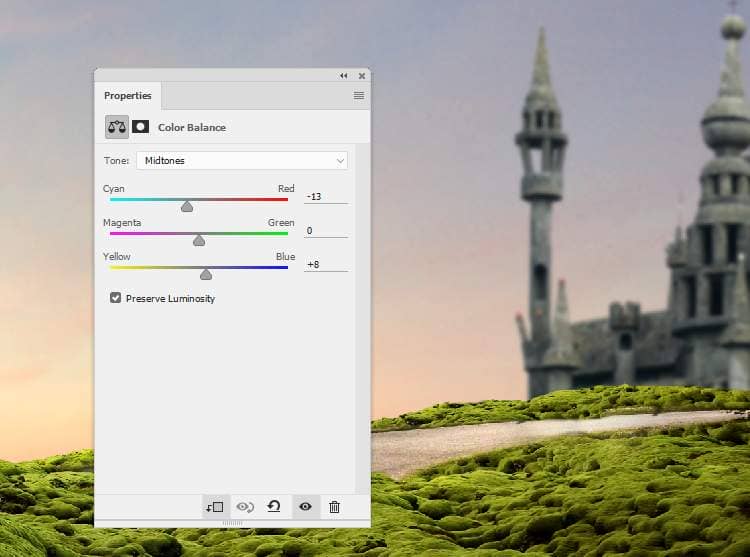
Create a Color Balance adjustment layer to change the castle's color a little.
Step 15
Make a Color Fill layer and pick the color #eecf9f. Lower the opacity of this layer to 40% to give the castle some warm dreamy effect .


6 comments on “How to Create a Wonderland Photo Manipulation with Photoshop”
OMG, this kind of work must be exposed at museum.
You're genius, a legend, excelent work.
Dear,
Always a beautiful, very clear tutorial.
Thanks for sharing.
Yves
Sorry; stuck on step 8 not 9...
Stuck on step 9; the Curves adjustment layer brightens everything, not just the road.
You need to to Layer > New