Make skin look perfect in one-click with these AI-powered Photoshop actions.

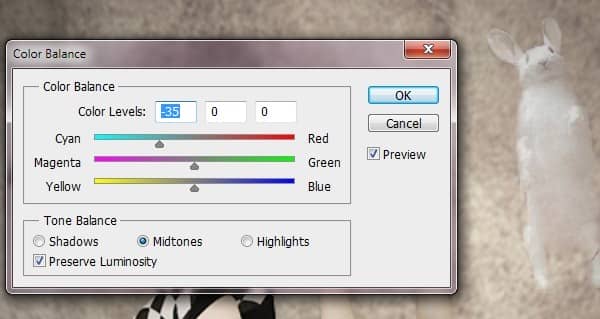
Let's balance him out a little more. Click "Image > Adjustments > Color Balance" and enter "-35" into the first Color Levels box, or slide the top slider towards Cyan until his pinkness disappears.:

Step 22
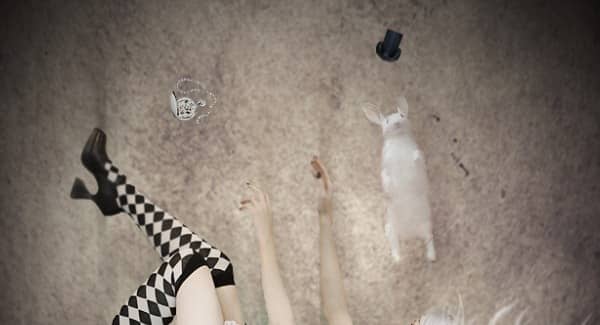
Click "File > Place" and choose the top hat photo. Scale it down to a size appropriate for the rabbit and position it above him. Right-click the corner of the image and choose "Rotate." Rotate the image slightly to the right.

Step 23
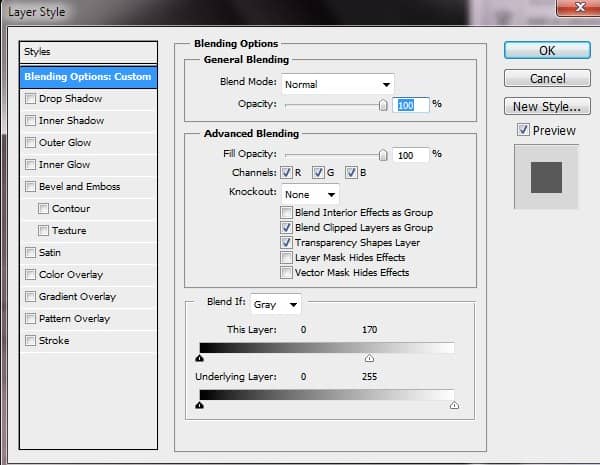
Because this image has a grayish background, we can use a quick method of removing it. Double-click the hat layer to bring up the Layer Style window. Under the "Blend if" section, drag the top slider to the left to about 170 or until most of the background disappears.

Add a mask to refine the edges and remove any background still visible.

Step 24
Place the photo of the pocket watch into your composition. Scale it down to proportion and position it off to the left. Click "Filter > Sharpen > Sharpen" to bring back a bit of detail. Use the Magic Wand to select the whitish background and click "Layer > Layer Mask > Hide Selection."

Step 25
Right-click the pocket watch layer and choose "Duplicate Layer." Drag the copy below the original. Right-click the copy and choose "Convert to Smart Object."
Click "Filter > Blur > Motion Blur" in the Photoshop menu and set the distance to "50." Change this layer's mode to "Multiply" from the drop-down in the Layer panel.
Repeat this process to create a copy of the rabbit layer and blur it. Move it a little to the right and reduce the layer Opacity to 60%.

Step 26
Open the candle PSD and select the layer containing the candle of your choice. Use the Rectangular Marquee Tool to select the candle and copy it. Return to your Alice composition and click "Edit > Paste Special > Paste in Place." Scale down your candle and place it off to the left.
Click the mask thumbnail for your gradient layer (make sure the layer is turned on.) Set the foreground to black and select a round brush. Set the size to 175 and the Opacity to 50% and click a few times over the candle flame area to brighten it up.


8 comments on “How to Create an “Alice in Wonderland” Inspired Artwork with Photoshop”
Love it
dank je wel voor deze super tutorial
AMAZING but I did it myself and it was 10x better
what an awesome tutorial!!
c_oOl n_-eX+ d_0 j_Us)+_iN_n b_iE_-Be_r
amazing tutorial thanks
AWESOME TUTORIAL!~
LOOKS WICKED!~
Thanks Vail Joy, its helpful on me!