
Download Lightroom presets and LUTs, absolutely free. Use the presets to add creativity and style to your photos.
Step 12 - Twister Effect (part 1)
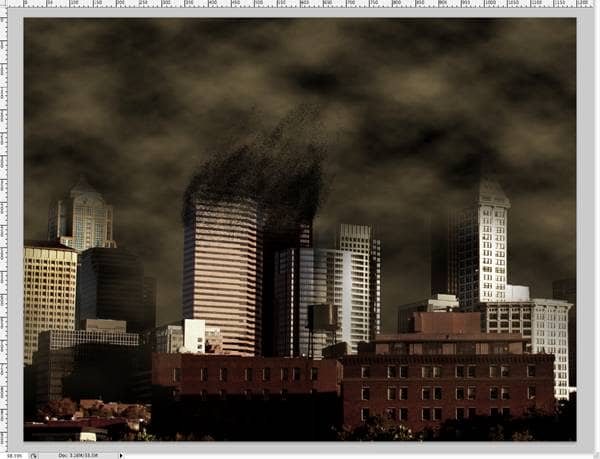
You may have been wondering when this part was going to show up, but fret not, you've made it this far, and you're here now (hopefully, ha). Okay now, exactly like we did in step 7, we are going to add clouds once again (in a new layer of course). Same colors as before will work (black and #5e5139). Once again, click control/command + T and stretch out the sides. Now you have to shape your twister, so take your eraser "e" and (using a size of 300px, hardness of 0) erase the sides of your clouds layer, so that what you are left with looks like a twister. You can also erase some of the inside of the twister so that you can see your buildings of focus more clearly (especially towards the top, where all the action with the debris is happening). When you've done all this, adjust the brightness (Image > Adjustments > Brightness/Contrast and set the brightness to -75).
Step 13 - Twister Effect (part 2)
Now we are going to break up the twister into two parts, a top half and a bottom half. To do this, select your marquee tool "m" set a feather of 100px (we want this to be blurry so that there isn't a harsh line where we've halved the twister). Now, select the bottom half with the marquee tool, and cut and paste this into a new layer (and if necessary, move it back into the position where it was before we cut and pasted it). In the layers palette, set the opacity of the bottom half to 95%. I know it isn't much, but it is just enough to let you see the buildings a bit more clearly.
Step 14 - Twister Effect (part 3)
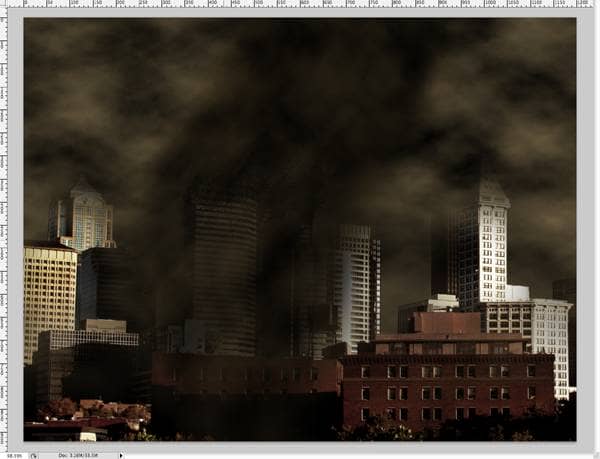
We are going to make this twister look more menacing by applying some layer styles. In the layers palette, double click the layer with the top half of the twister to add layer styles. Follow along the following pictures, and apply the layer styles.
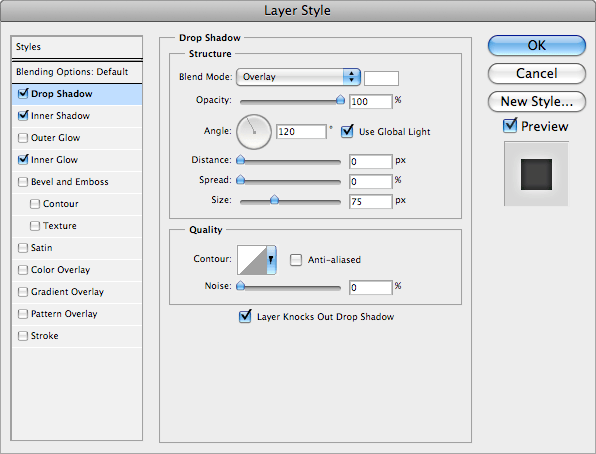
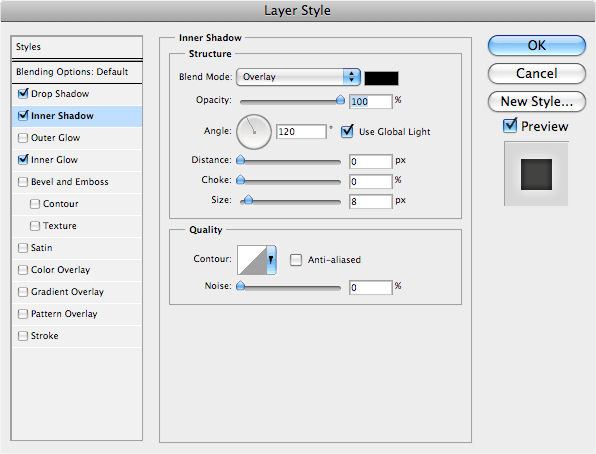

After applying these layer styles, you should arrive at something like this:

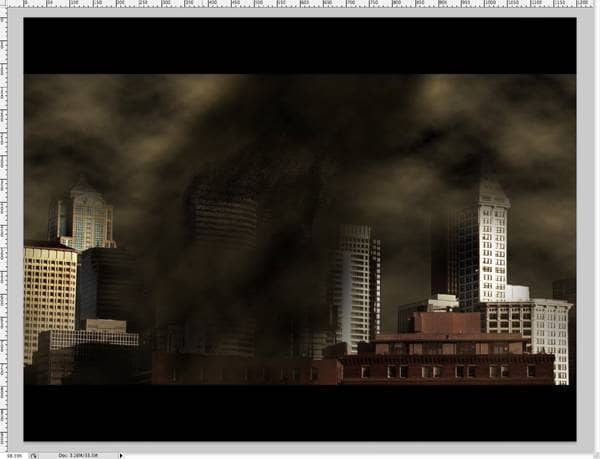
Step 15 - Letterbox Effect
This is something that I like to do to my images to give them sort of an epic/cinematic feel to them. It is extremely simple, and in my opinion, makes a great difference. To do this effect, in a new layer, you take the marquee tool (feather should be set to 0, in case it was still on 100px), and select as much as you want to eliminate on either the top or the bottom. But only do one. As soon as you do one bar, copy the layer (control/command + J) and move it to either the top or the bottom (whichever is missing the bar) until it snaps in place. Then click control/command + E to merge both bars onto one layer. The whole reason that I say to only do one bar, and then copy it is to ensure that both bars are the same size/height as one another.
One comment on “Twister in the City”
Now I can put myself flying over cities, DEVOURING ALL!
Beware, the Pterodactyl has LEARNED, thanks to this person!