Luminar AI lets you turn your ideas into reality with powerful, intelligent AI. Download the photo editor and see how you can completely transform your photos in a few clicks.
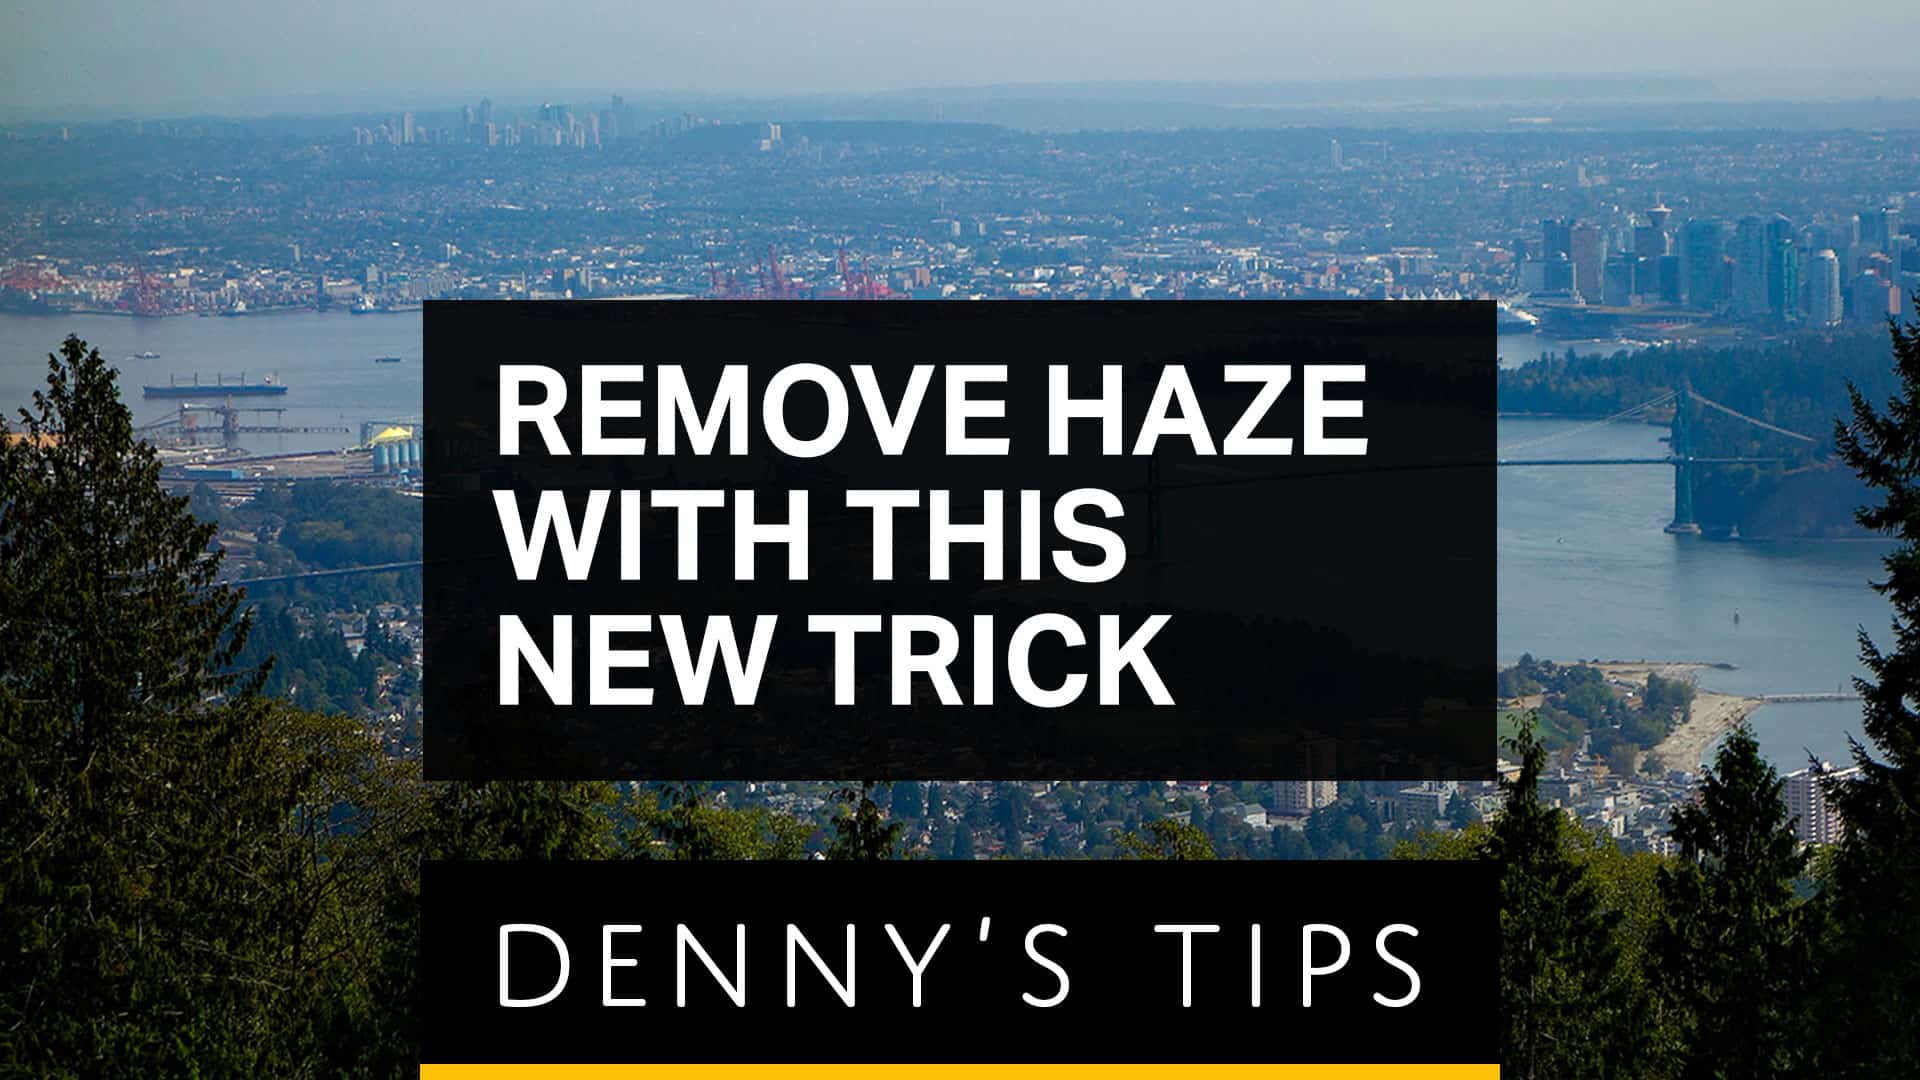
Hello and welcome to this episode of Denny’s Tips where you’ll be learning an awesome new trick on how to Dehaze your photo with way better results. The Dehaze adjustment in the Camera Raw Filter helps reduce haze and restore the contrast in your photo but a lot of times, it doesn’t look that great. In this tutorial, I’ll show how you can trick Photoshop into giving you better results with the Dehaze adjustment.
What do you think of Adobe's Dehaze tool? Is it fine or could it use some improvements? Let me know in the comments below.


7 comments on “How to Trick Photoshop's Dehaze Tool”
In version 22.4.2, the effects filter area does not look anything like shown. It only has two things in it.
Cool trick
Adobe failed their dehaze by using too much clarity
Awesome tips!
I already know that my tutorials are for beginners to learn the basic version.... Which will then be followed by tutorials of auto cad, Pro-Engineer, Ansys and some educational tutorials too when I get a spare time.......
hmmm
Hi Denny:
I am interested in the Actions for the DeHaze filter. When available please let me know.
Thanks, Lyndon