


Make skin look perfect in one-click with these AI-powered Photoshop actions.

Use Ctrl+T to distort the shadow a bit.
Step 33
Add a mask to this layer and use a soft black brush with the opacity about 30% to reduce the shadow's visibility a bit. Apply a Gaussian Blur of 6 px to soften the shadow.

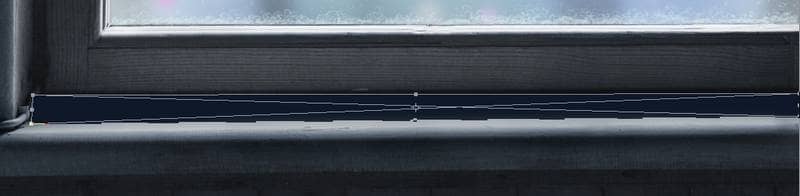
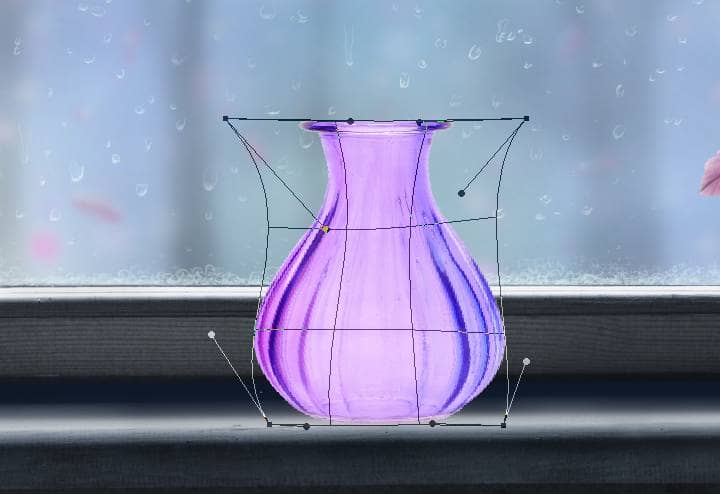
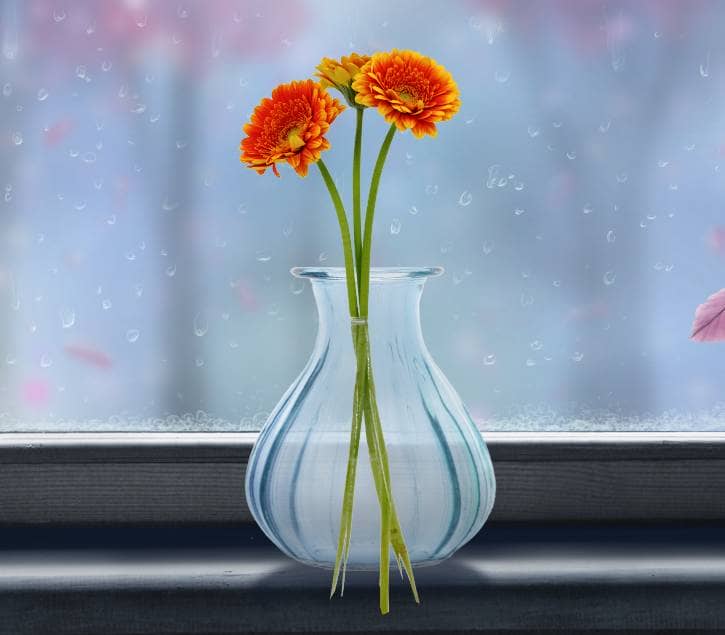
Step 34
Open the vase image and use the Magic Wand Tool (W) to isolate the vases from the background. Use the Lasso Tool to select the purple one to add to the middle of the window. Use Ctrl+T with the Warp mode to change the form of the vase.
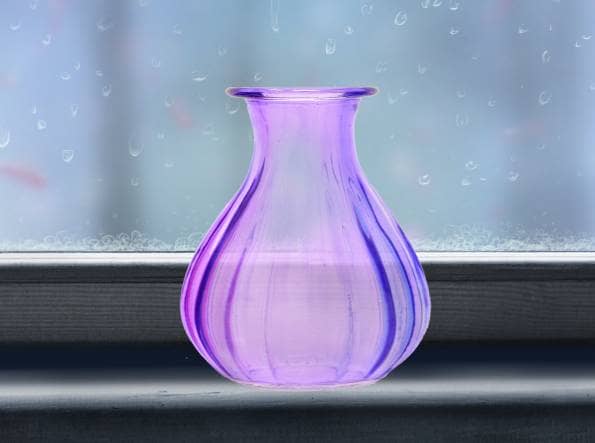
Add a mask to this layer and use a soft black brush to decrease the opacity of the vase to make it appear semi-transparent.
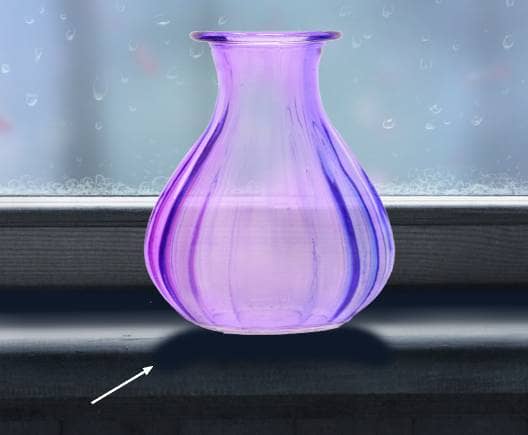
Step 35
Make a new layer below the vase one and use a soft brush with the color #0f192a to paint a shadow for the vase. Lower the opacity of this layer to 70% and add a mask to this layer. Use a soft black brush to reduce the shadow's visibility.

Step 36
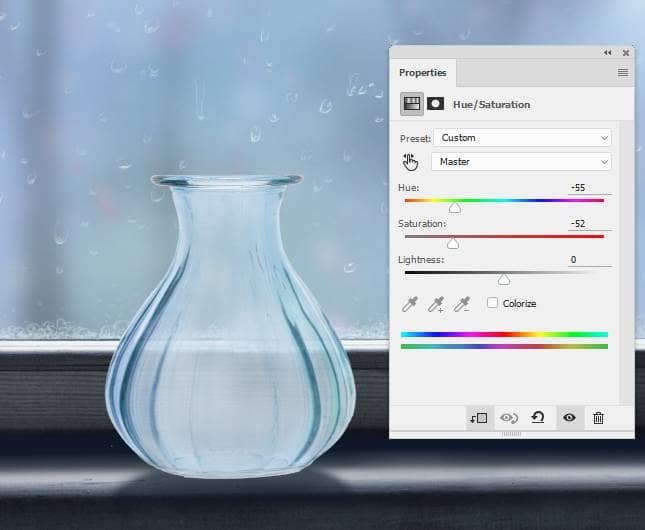
Create a Hue/Saturation adjustment layer above the vase layer (set as Clipping Mask) and change the Master values:
Step 37
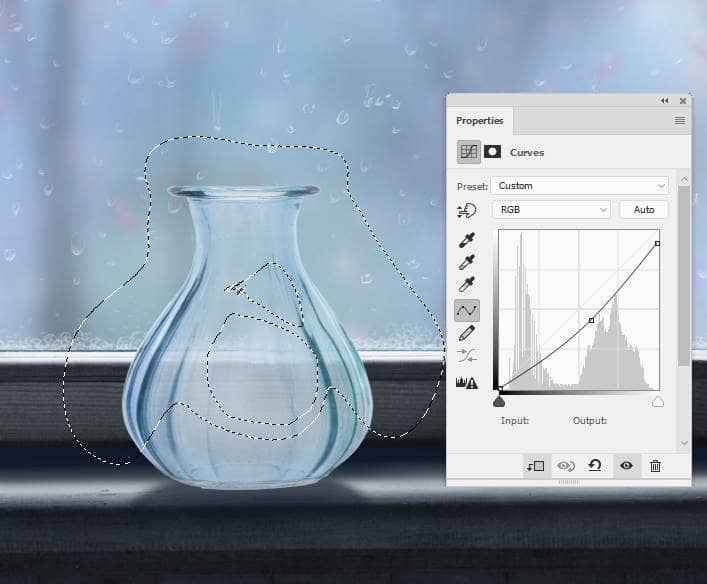
Add a Curves adjustment layer to darken the vase. On this layer mask, use a soft black brush with the opacity about 40% to reduce the effect on some parts below:
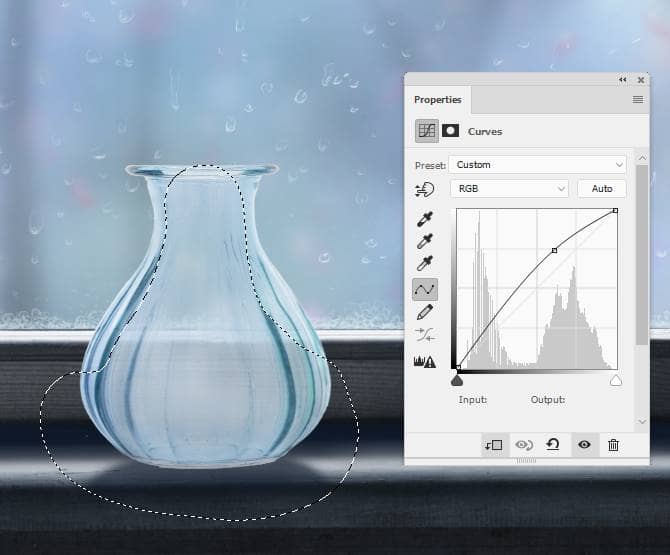
Make another Curves adjustment layer to brighten both sides of the vase. Paint on the rest to keep its lightness.
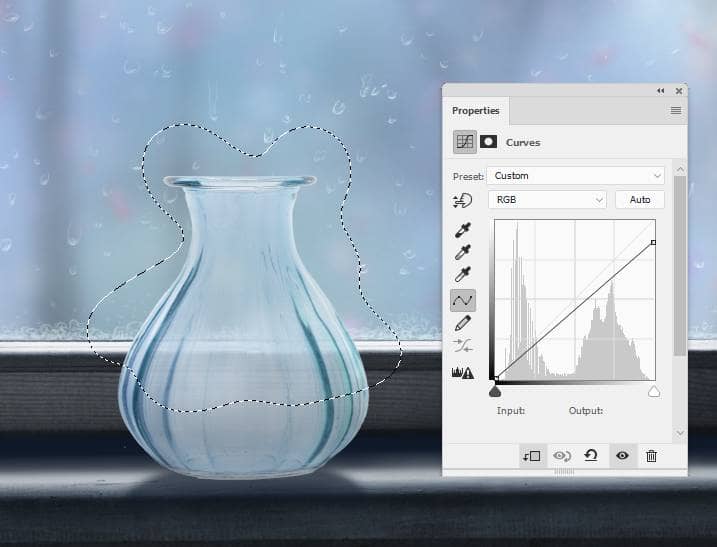
Create another Curves adjustment layer to darken the bottom of the vase as it's hidden by the window's frame from the main light.
Step 38
Make a new layer, change the mode to Soft Light 100% and fill with 50% gray. Use the Burn Tool to make the bottom of the vase darker.

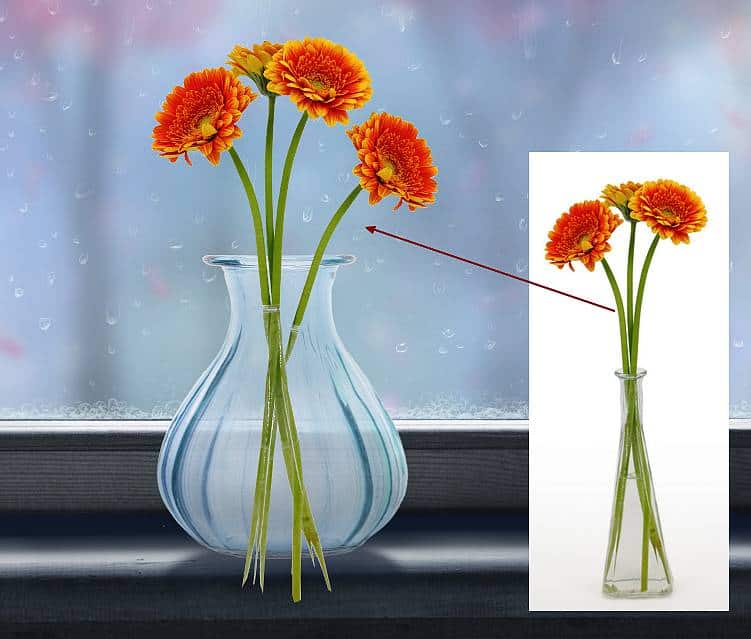
Step 39
Isolate the flowers and place them onto the vase using the Move Tool. Use the Polygonal Lasso Tool to select the flower on the left to drag it into our main document. Flip it horizontally (Edit > Transform > Flip Horizontal) and move it to the right. Convert this layer to a Smart Object and use Ctrl+T to make it a bit smaller. Set this layer below the first flowers one.
Step 40
Go to Edit > Puppet Warp and use the pins to make the flower lean toward the right a bit.
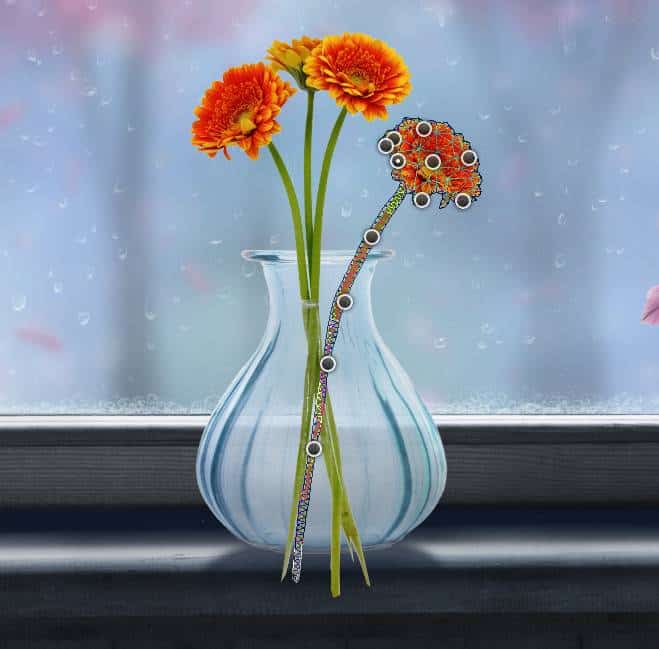
Add a mask to this layer and use a hard black brush to erase some petals on the lower.
One comment on “How to Create a Rainy Window Scene with Adobe Photoshop”
Excellent and very helpful. Thanks for sharing.