


Make your artwork look like they're from an alternate universe. These Cyberpunk presets work with Photoshop (via the Camera Raw filter) and Lightroom. Download all 788 presets for 90% off.
Step 41
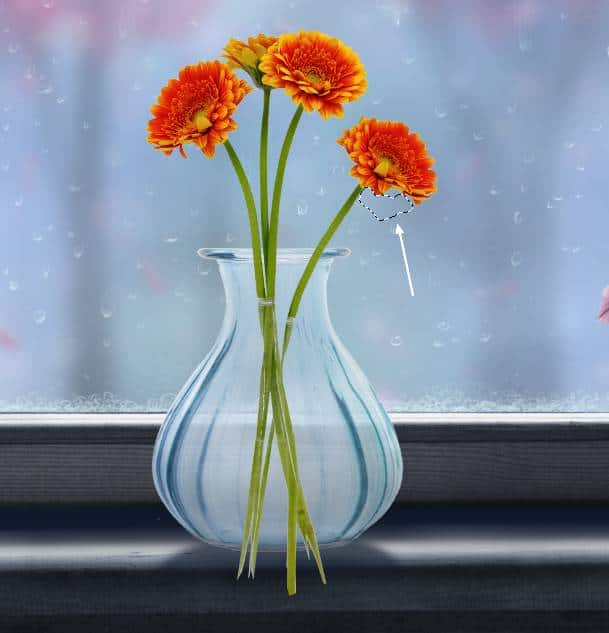
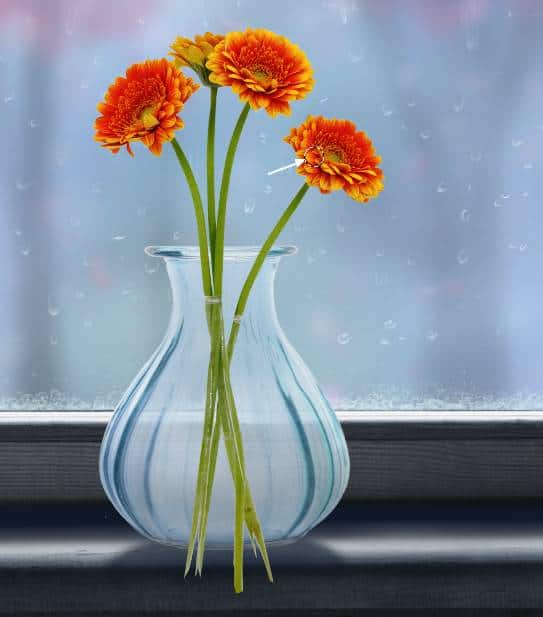
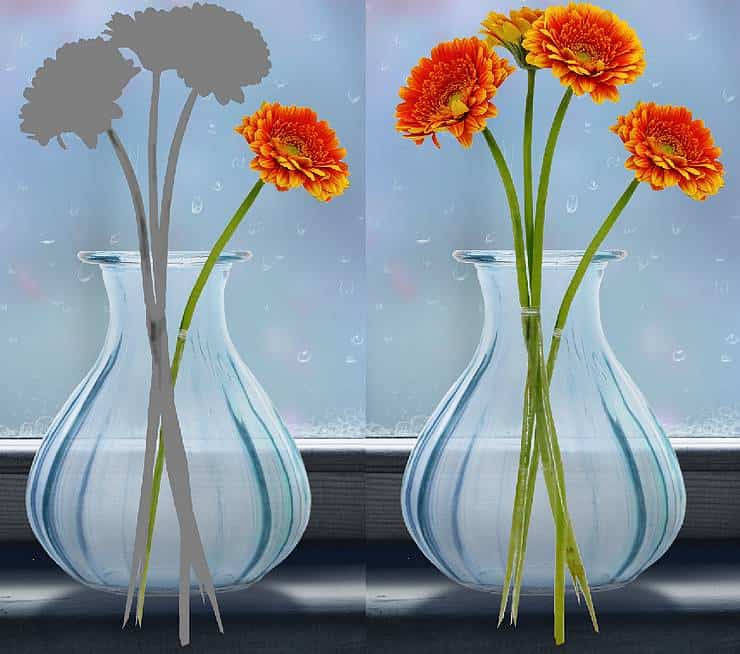
Use the Polygonal Lasso Tool to select a part from one of the stems to add to the missing area of the flower on the right of the vase (the indicated one in the previous step). Use Ctrl+T with the Warp mode to bend this part to fit the form of the flower.
Duplicate this layer and move it downward to make the lower area of the stem a bit thicker.
Step 42
Use the Lasso Tool to select a part from the petals of the flower on the right in the original image. Flip it horizontally and place this part onto the flower on the right of the vase. This step is to make the right flower look different from the one on the left.
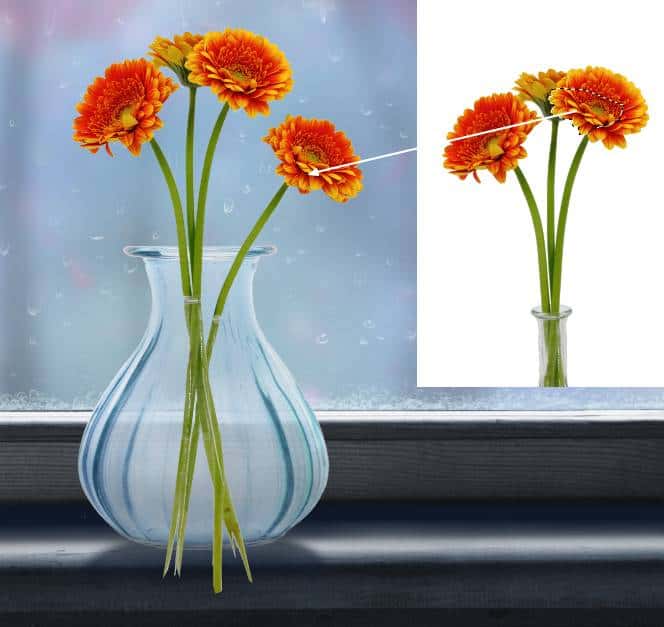
Add a mask to this layer to remove some small details to blend it with the existing petals.
Step 43
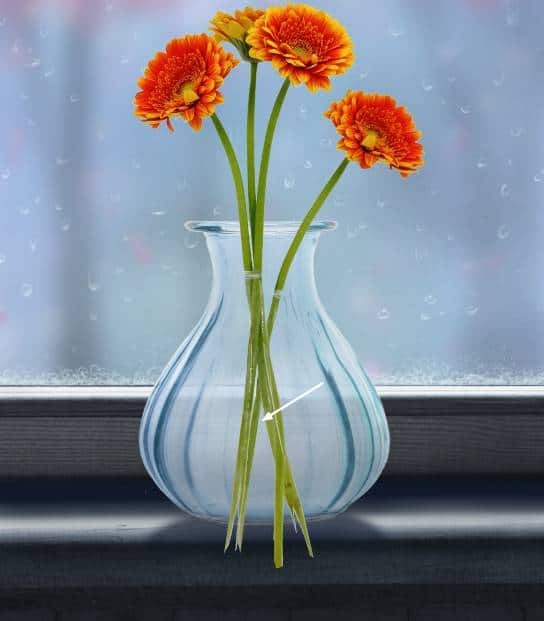
Make a new layer above the first flowers layer, change the mode to Overlay 100% and fill it with 50% gray.. Use the Burn Tool to darken some parts of one of the stems.
Step 44
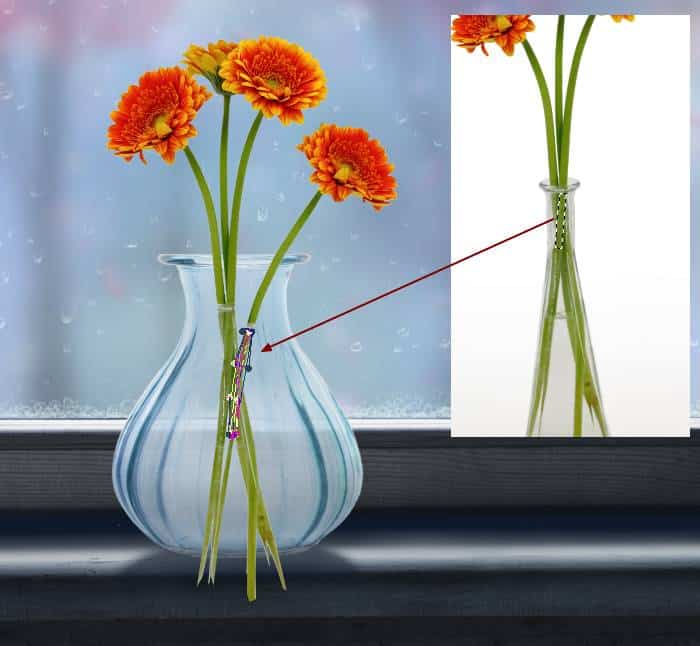
Create a new layer and use the Clone Tool to remove some unwanted details on the flowers' stems.

Step 45
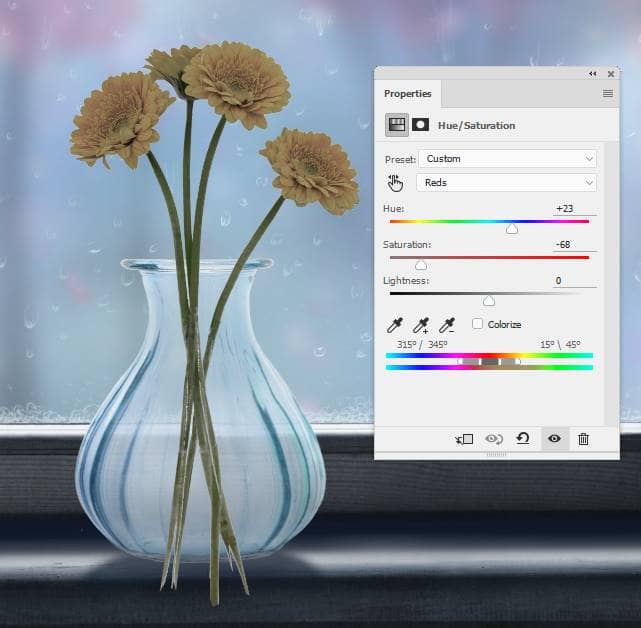
Make a group for the flower layers and the relative ones and add a Hue/Saturation adjustment layer within this group. Alter the Reds and Yellows values:

Step 46
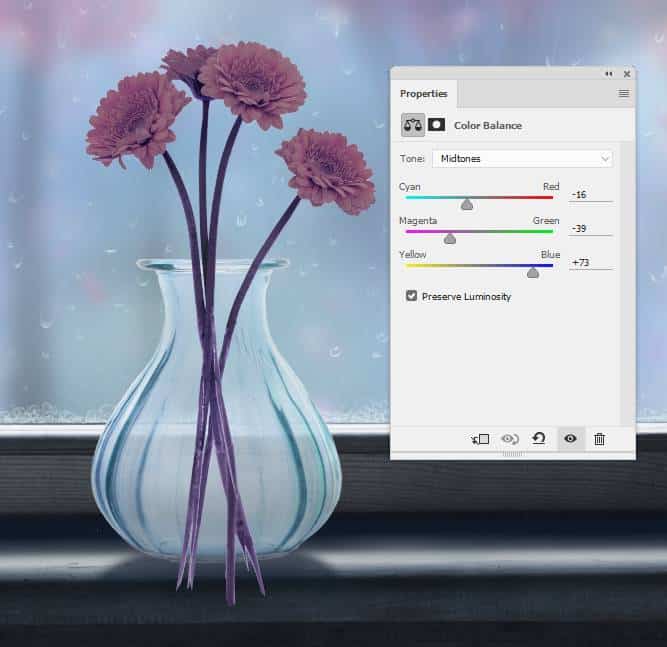
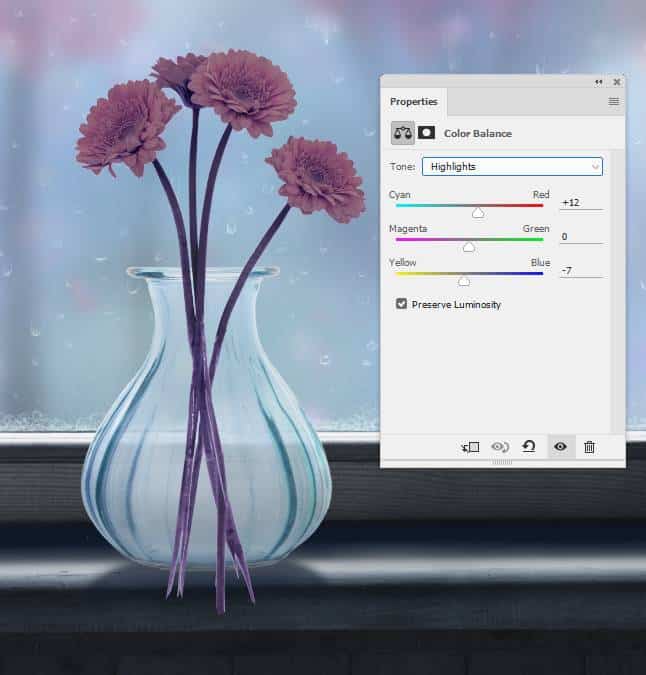
Add a Color Balance adjustment layer to change the color of the petals. On this layer mask, use a soft black brush to remove the color effect on the stems.
Step 47
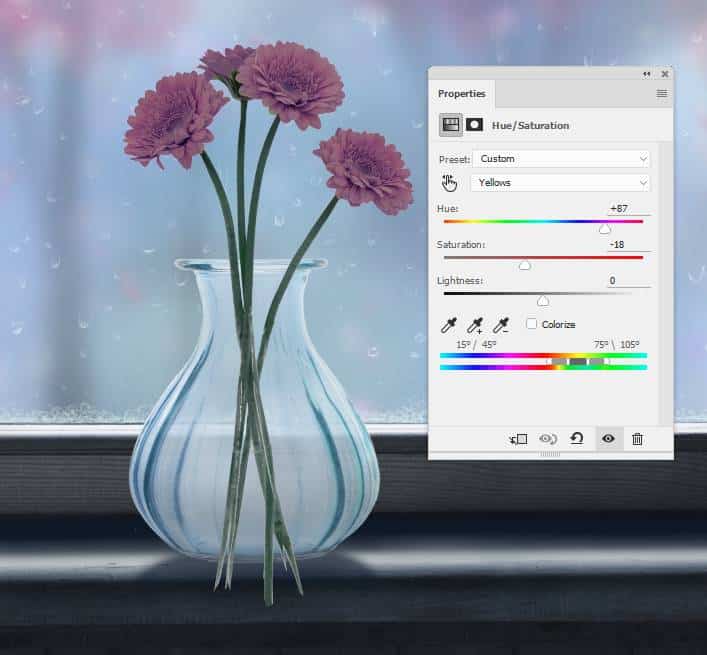
Create another Hue/Saturation adjustment layer and change the Yellows settings to give the stems some cyan/blue to fit the background.
Step 48
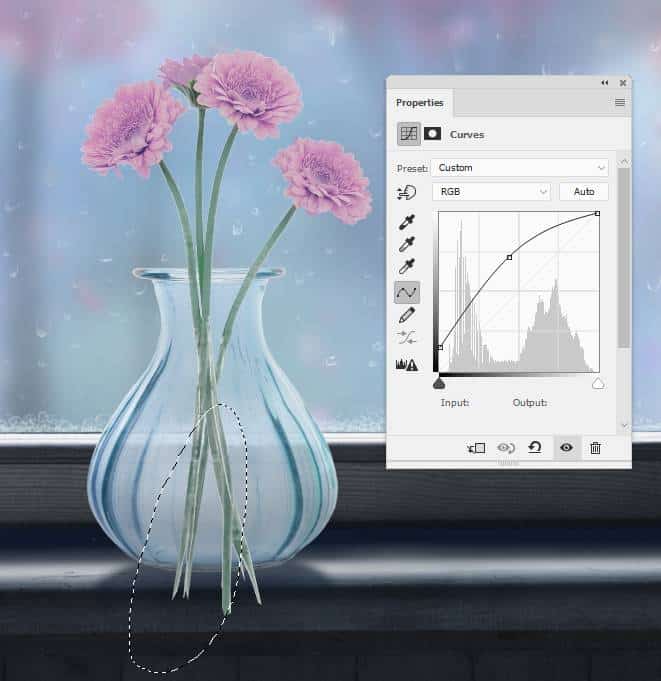
Make a Curves adjustment layer and increase the light and dreamy effect on the flowers. On this layer mask, use a soft black brush with the opacity about 20% to reduce this effect on the bottom of the stems.
Create another Curves adjustment layer to bring more light to the back of the flowers (from the viewer). On this layer mask, use both hard and soft black brushes to refine the light and shadow on the flowers.

Step 49
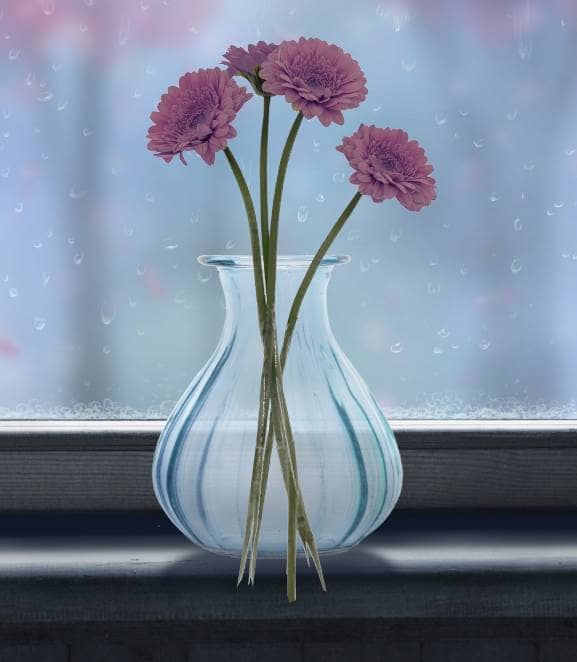
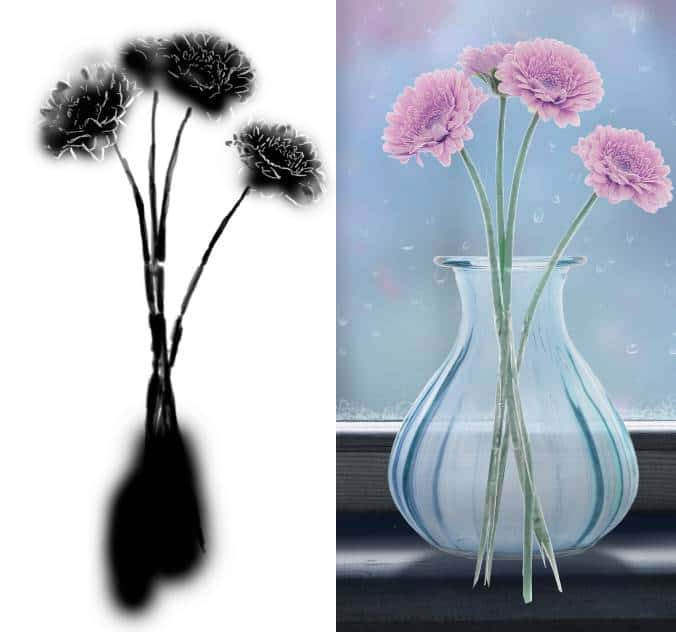
Add a mask to the flower's group and use a hard black brush to erase the stems' parts outside the vase and hide a part of the flowers on the lip of the vase.
One comment on “How to Create a Rainy Window Scene with Adobe Photoshop”
Excellent and very helpful. Thanks for sharing.