

Turn any photo into a dot grid artwork with these Photoshop actions. You'll get great results with dots that change size. They get larger in brighter areas and smaller in darker areas. Free download available.
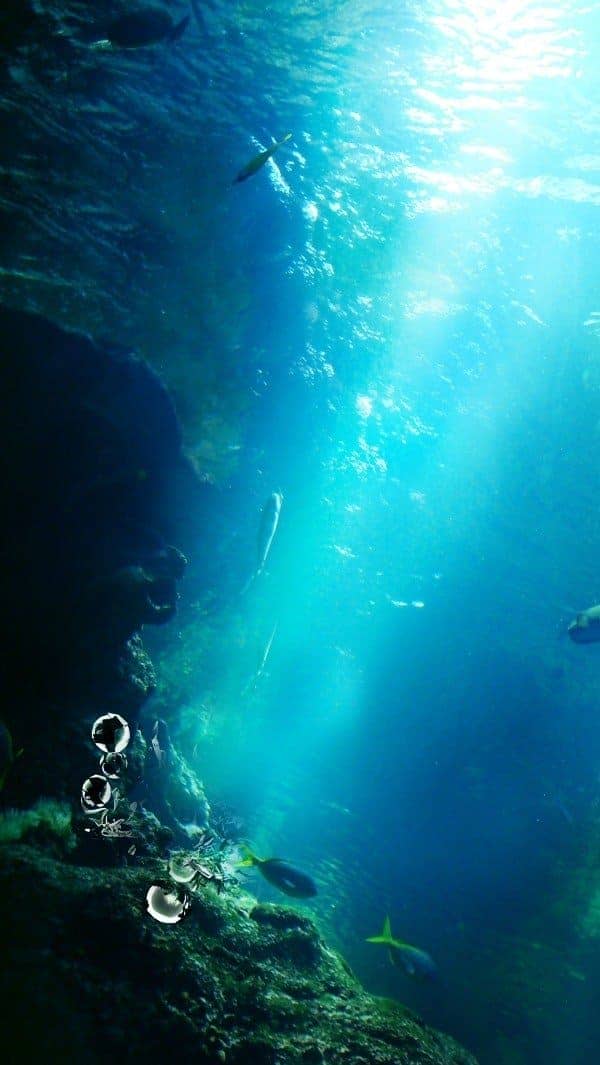
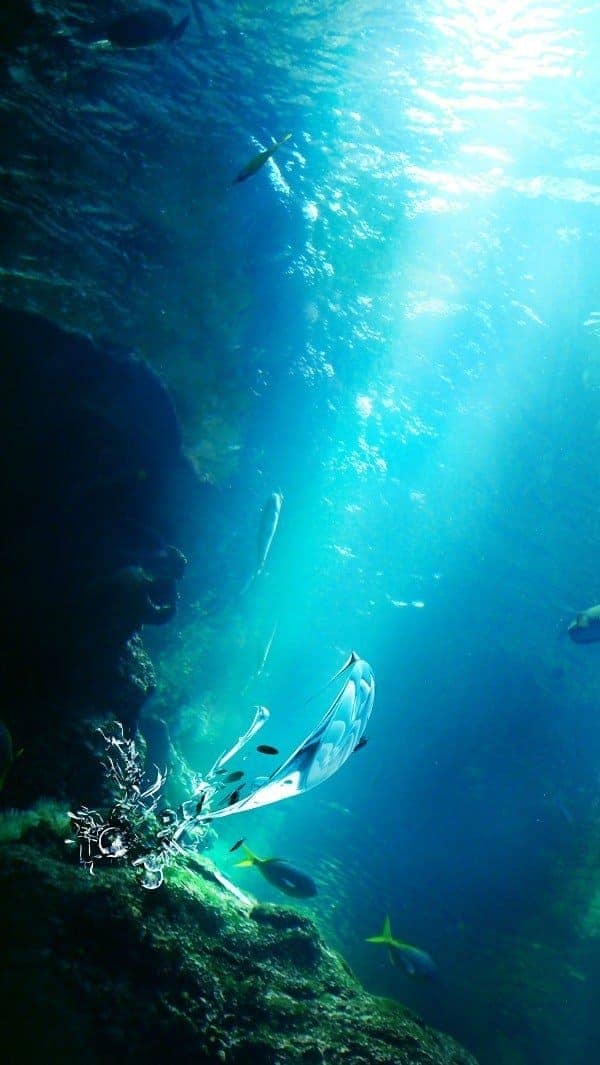
I picked this awesome-looking render (by stinky666) to start off with.

Cool isn't it? But sadly we're just going to use a small part of it, the spheres. Scale, rotate, erase, and set it toHard Light. Just like this.
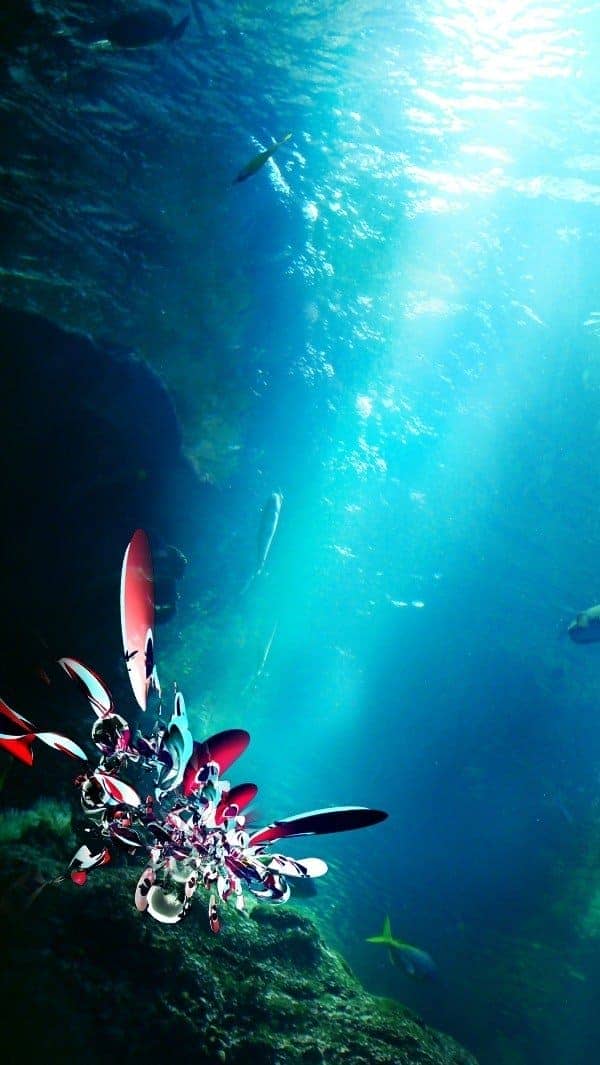
You can try distorting it if you like (Filter > Distort > Wave/Twirl/etc), but I didn't for this case. Place it below the two main C4D renders and you'll have this.
Step 10 - Continue adding C4Ds
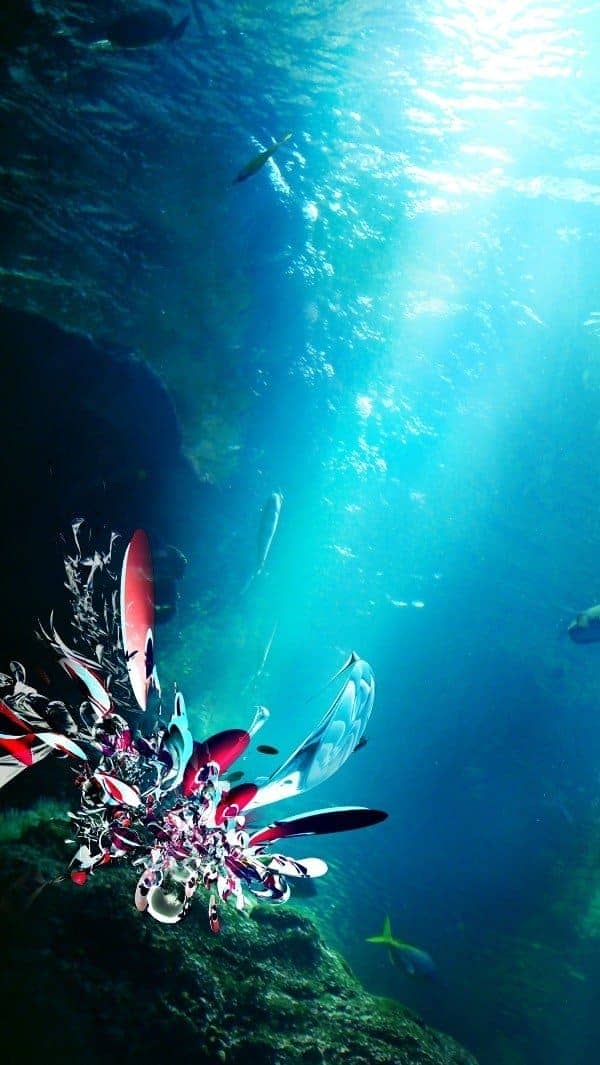
Repeat the previous step. This time I picked this render (by stinky666 as well).

I did it twice, using two layers. Erase unwanted parts and set both layers to Hard Light.
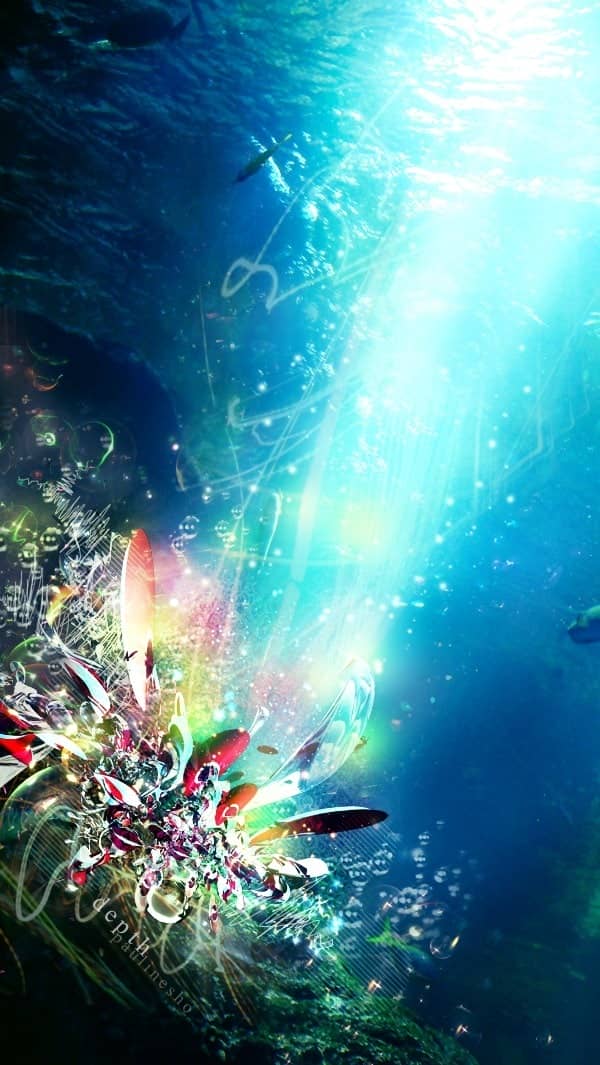
Combining with what we have so far:
Step 11 - The additional 'flavors'
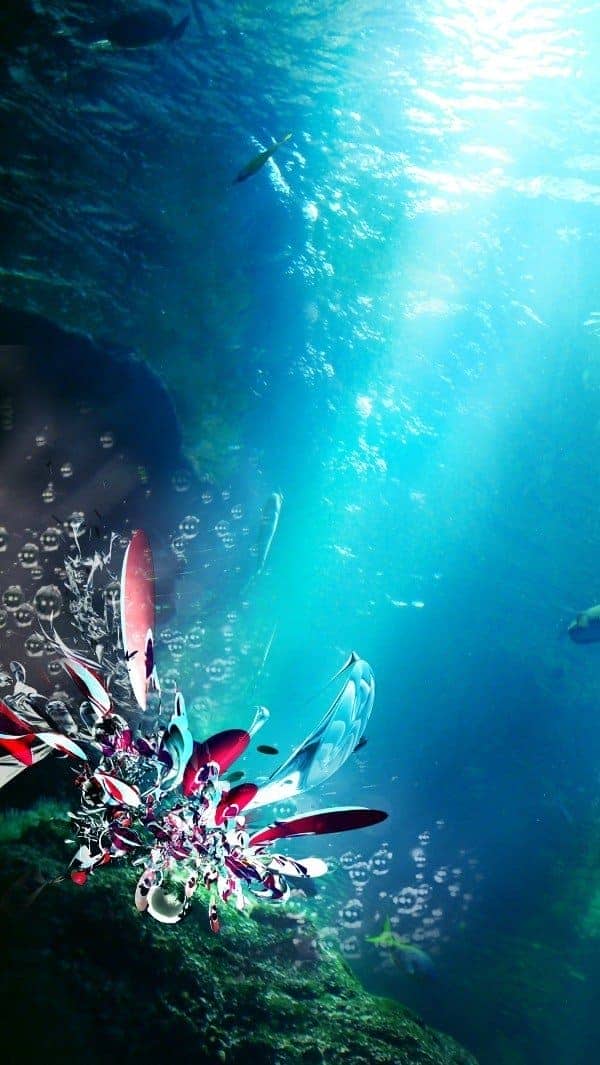
Of course we're not going to just deal with C4Ds all day long. To make photomanipulation piece more interesting, you need different types of resources. Since we're underwater now, the most appropriate image would be bubbles/droplets. Download the water droplets stock by RaeyenIrael-Stock at DeviantArt using the link above.

Place this layer below all the C4Ds and set it to Screen 70%. You'll realize that with Screen, the water droplets stock is a little too bright against the dark background and seems out of place. Lighten, however, seems a little too sharp. If that's case, increase the contrast. I increased straightaway to 100.
Image > Adjustments > Brightness/Contrast.

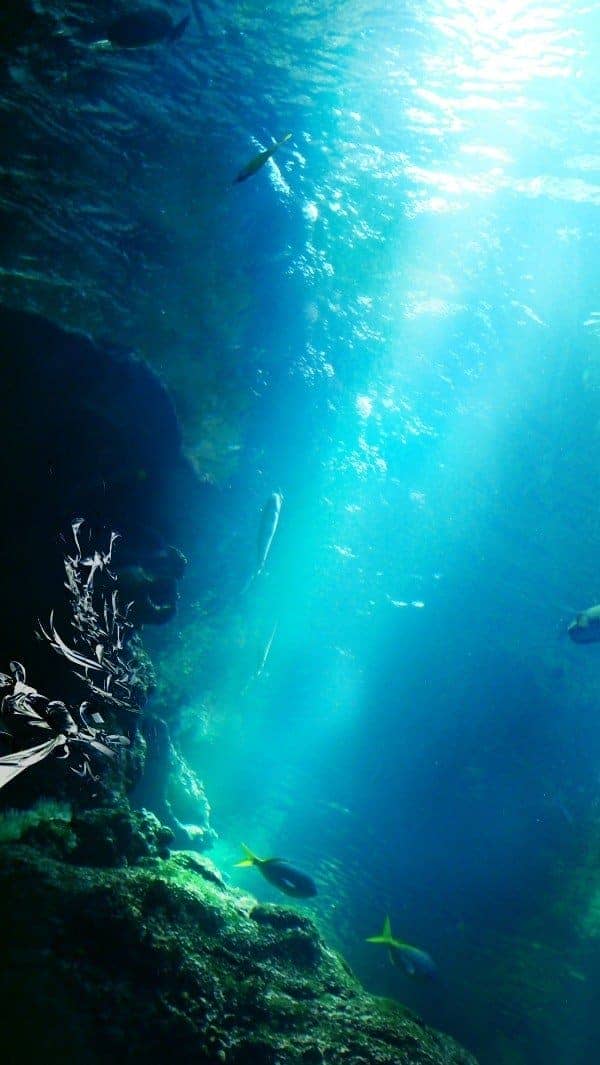
Select the parts you want, erase the rest. Place them on both ends of the C4D. And you should have something like this.
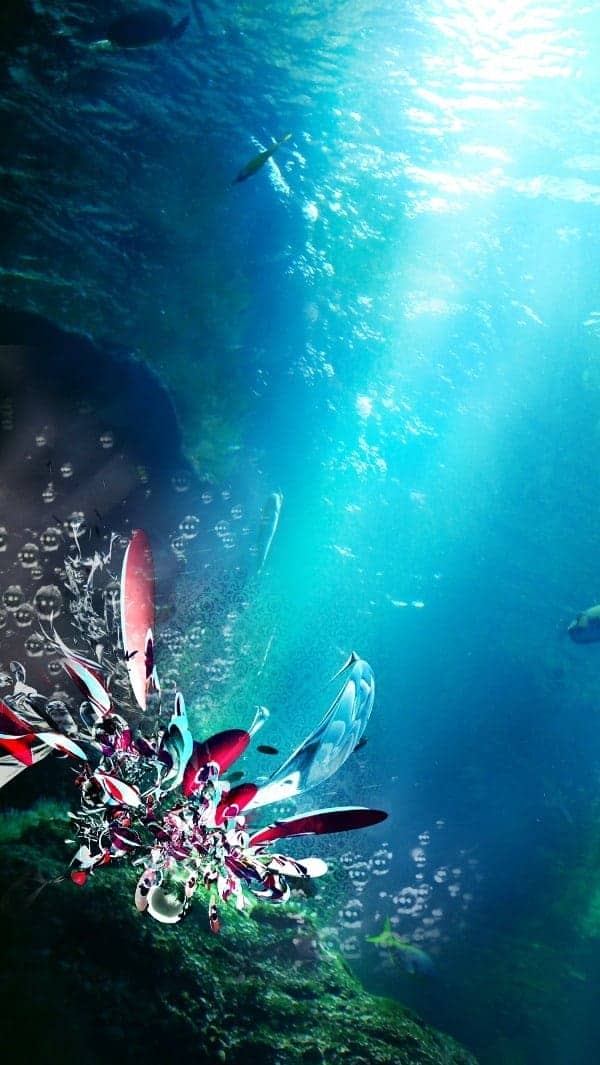
Step 12 - Vintage texture
I don't know if this seems a little random to you, but I think it makes the piece look better. I used a vintage texture which can be downloaded for free at Lost & Taken (link above).

Place this layer below the C4Ds and set it to Overlay. You'll need to decrease the Brightness and increase the Contrast a few times until you achieve this result. The procedure is similar to the previous step.

Step 13 - Light Blurs
Again at Lost & Taken, download several images of Light Blurs. I used this.

Flip it vertically and rotate slightly in clockwise direction for the best flow. Then use a soft brush eraser to erase the edge a little so it doesn't seem like a cut&paste product. It's best to use a soft brush with huge radius because it's more natural and gentle. Set the layer to Lighten 50%.
6 comments on “How to Create an Underwater Abstract Art in Photoshop”
Elle, Glad you got value from the post. I think it's great too. And, I think people often unstmedeirate the curiosity and adventurous spirit in these age groups!
Thankyou for share bz this is extremely nice and useful
Some of these tutorials are extremely good, magazine like. Thanks for sharing!
Thank you for the tutorial. It turned into my first photoshop project; took me a few hours and some frustration, especially at the beginning, but I feel I understand it much better now :) your directions were also very clear!
I really can't find the C4D craze from stinky666, can you maybe share the picture or a link to the picture?
كلشي ما فتهمت