
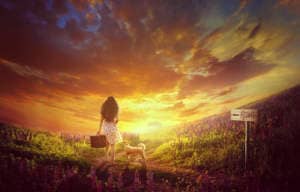

Turn any photo into a dot grid artwork with these Photoshop actions. You'll get great results with dots that change size. They get larger in brighter areas and smaller in darker areas. Free download available.
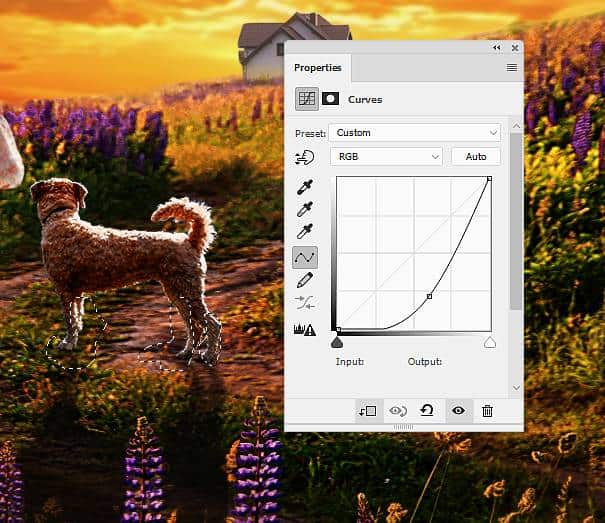
Step 32
Create a Curves adjustment layer to darken the dog. On this layer mask , use a soft black brush with the opacity about 15% and 30% to reduce the dark effect on his legs.
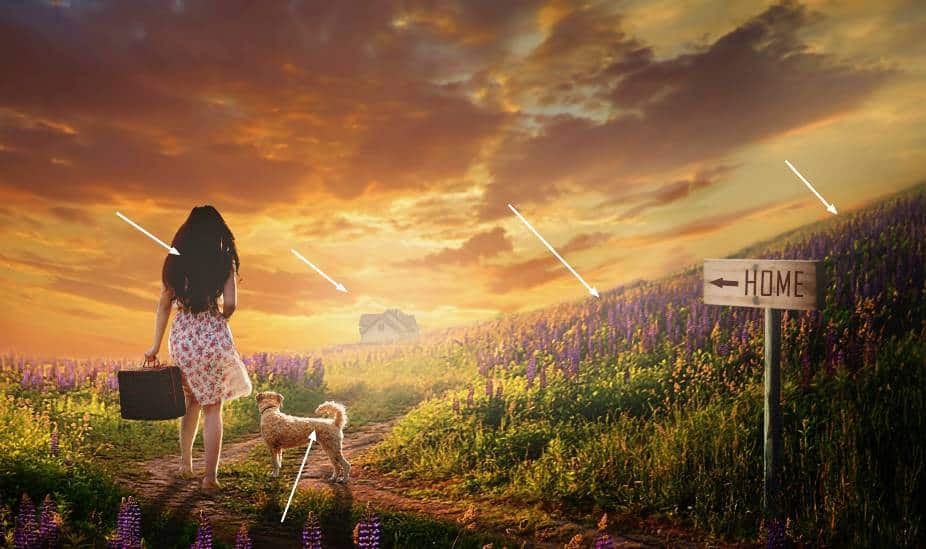
Step 33
Make a new layer on top of the layers and use a soft brush with the color #f8e1b9 to paint on the horizon, field and the dog and the model. Change this layer mode to Soft Light 100%.

Step 34
Create a new layer and use the same brush with the opacity about 30% to paint on the sky's horizon, house and the right of the scene to give them some dreamy light.
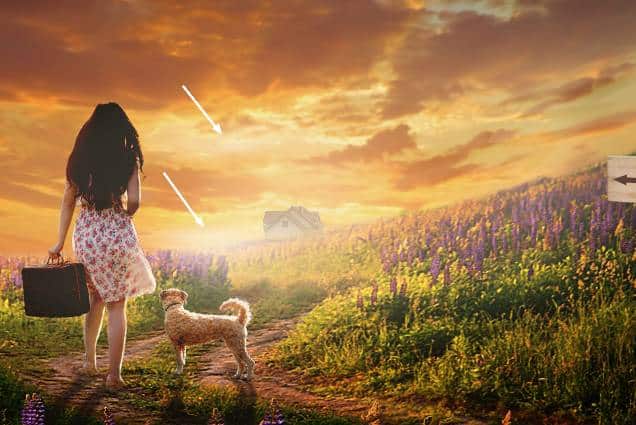
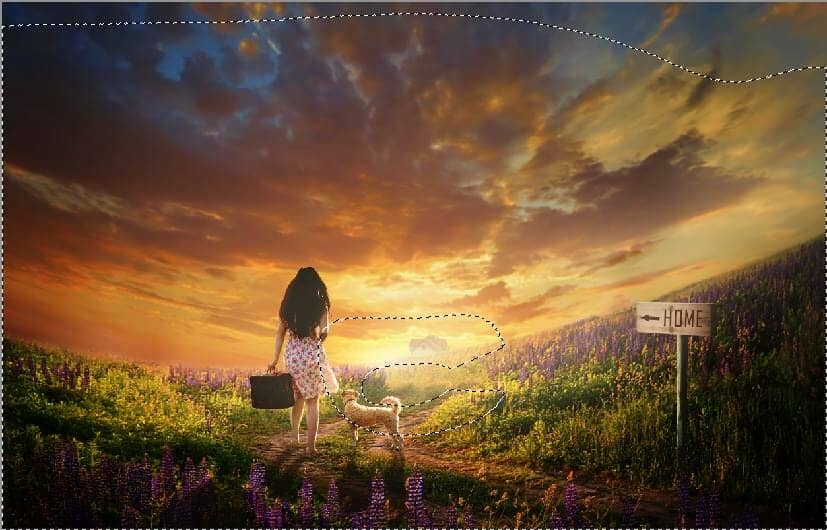
Step 35
Make a new layer and use a soft white brush with the opacity about 40% to paint some highlights for the sky's horizon.
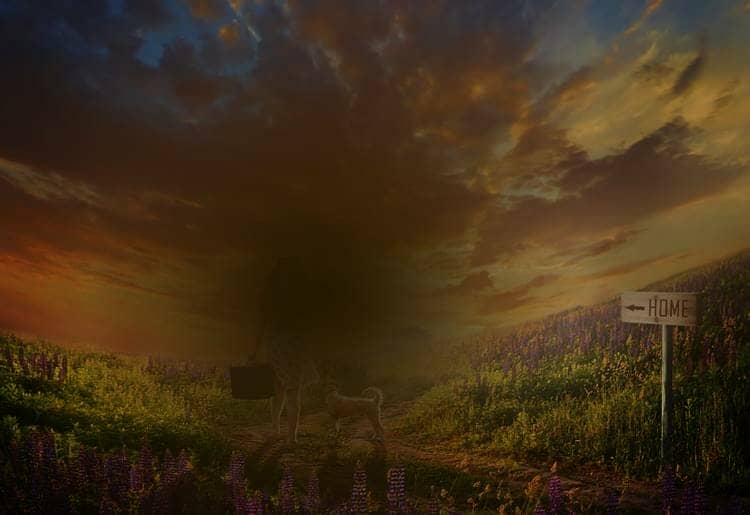
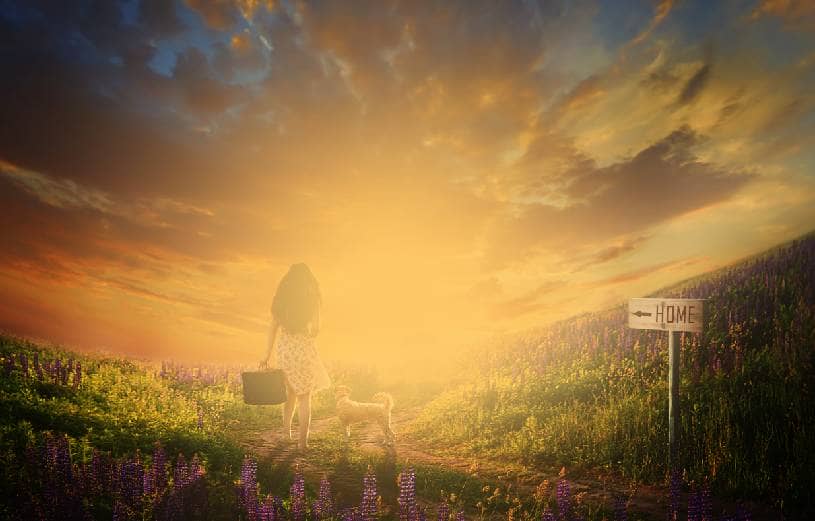
Step 36
Add a new layer and use a soft brush with the color #291b01 to paint on the middle of the canvas. Change this layer mode to Linear Dodge 100% and use a layer mask to erase the light effect on both sides, leaving the effect visible around the house, model and dog mostly.
Step 37
Create a new layer and use a soft brush with the color #ffc863 to paint more yellow light in the middle of the scene. Change this layer mode to Soft Light 100%.

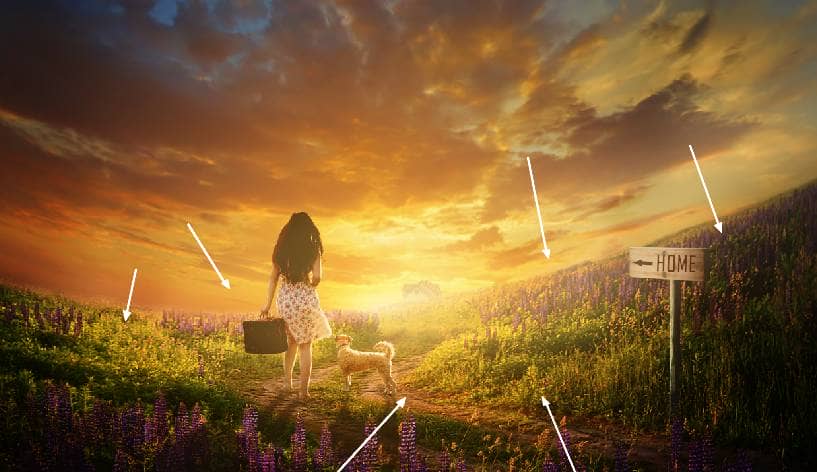
Step 38
Make a new layer and use a soft brush with the color #fc9c06 and the opacity about 20% to paint more dreamy light for the ground. Change this layer mode to Hard Light 100%.
Step 39
Create a Color Fill layer on top of the layers and pick the color #230c01. Alter this layer mode to Exclusion 100%.

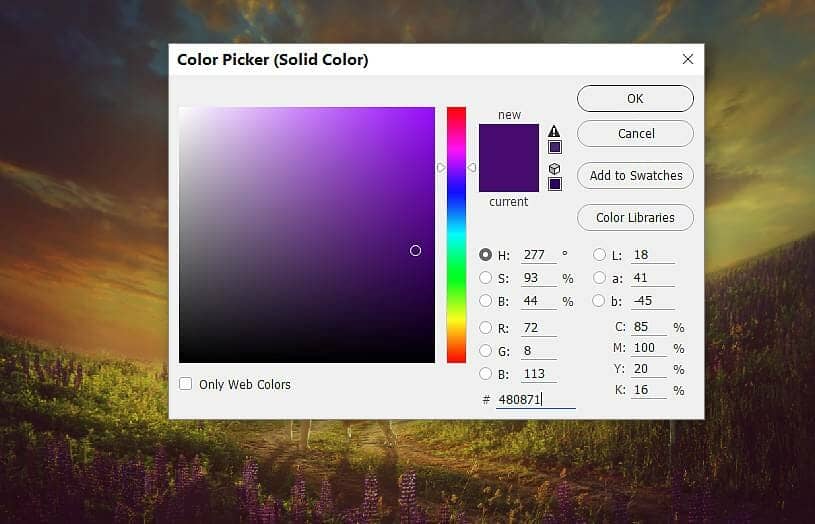
Step 40
Add another Color Fill layer and pick the color #480871. Change this layer mode to Difference 20% and on this layer mask, use a soft black brush to erase the color effect on the top left and the middle of the scene.
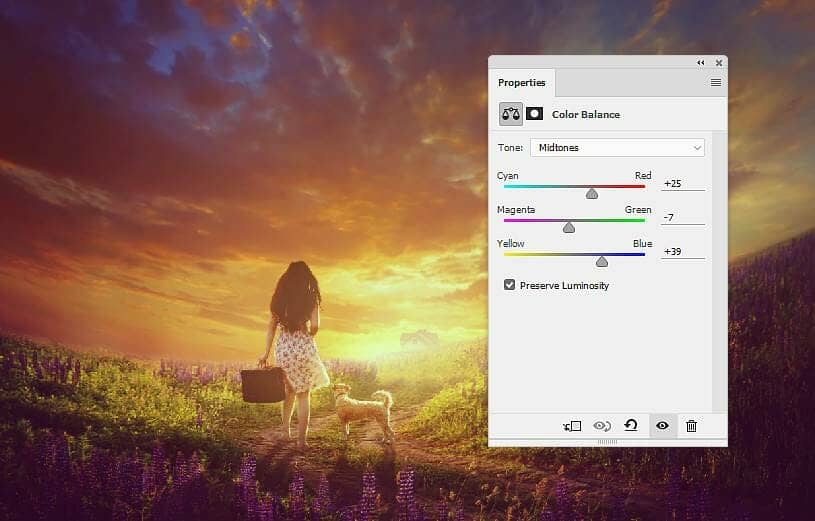
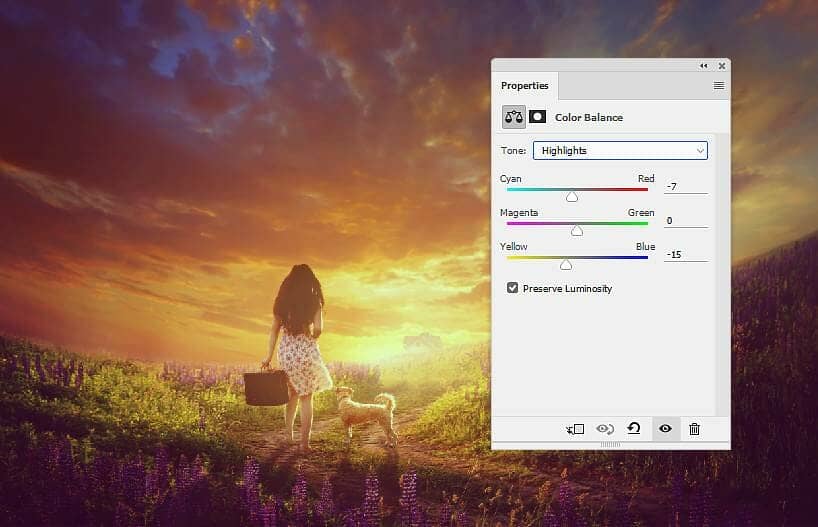
Step 41
Create a Color Balance adjustment layer and change the Midtones and Highlights values. On this layer mask, use a soft black brush with the opacity about 5% to reduce the color effect on the sky a little and increase the brush's opacity to 20% to erase the highlight on the horizon.
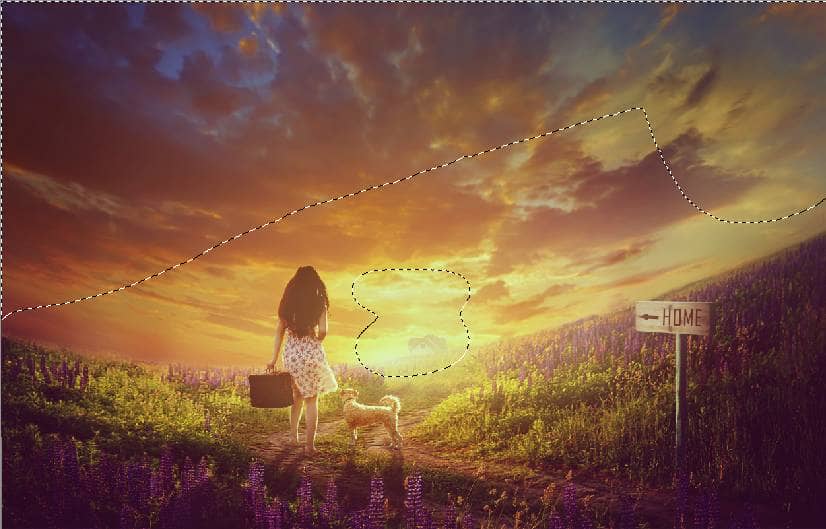
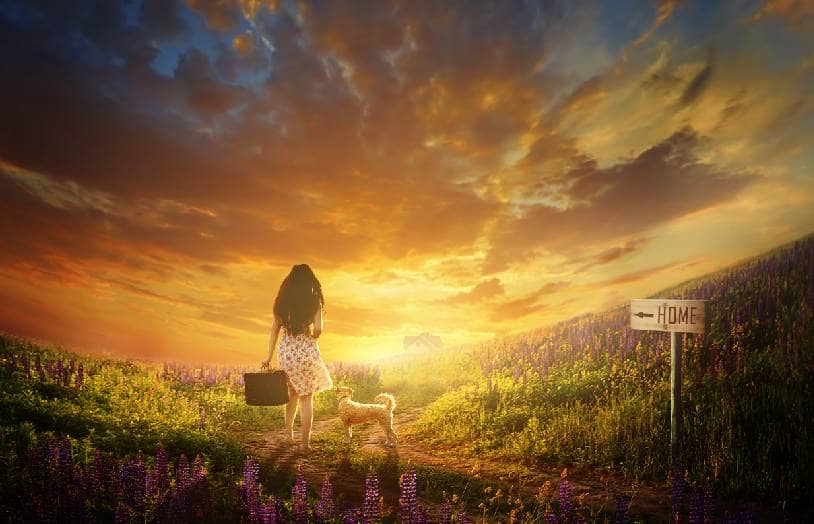
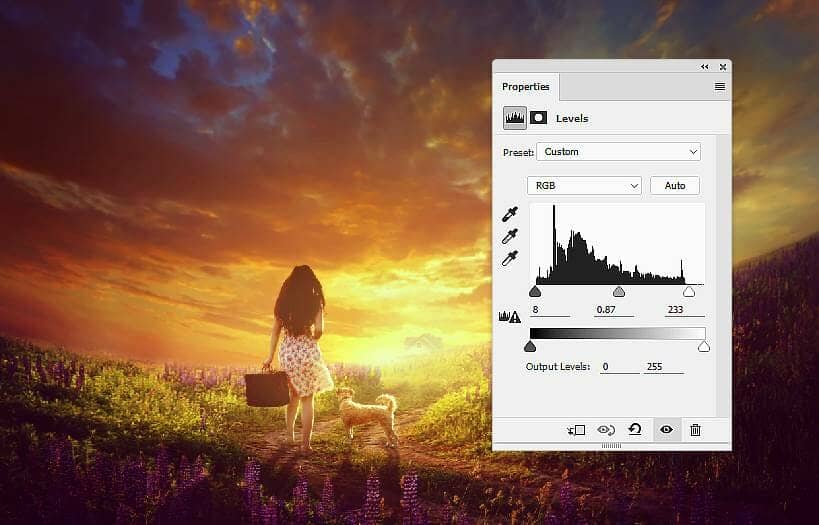
Step 42
Add a Levels adjustment layer to increase the contrast of the whole scene.
Step 43
Make a Hue/Saturation adjustment layer to change the color of the purple flowers a bit.