Download Lightroom presets and LUTs, absolutely free. Use the presets to add creativity and style to your photos.
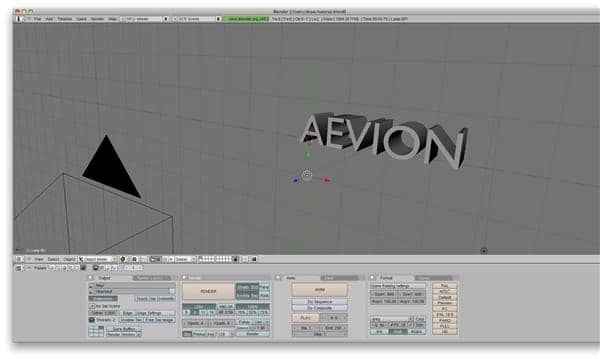
In the materials tab, bring down the energy to .4
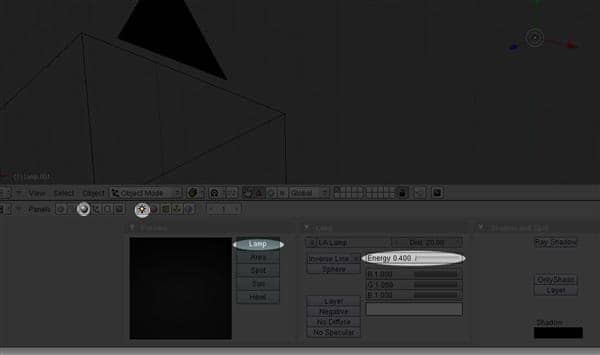
Step 7 - Add Another Light
Just like before, add another lamp, and move it behind the text and center it.
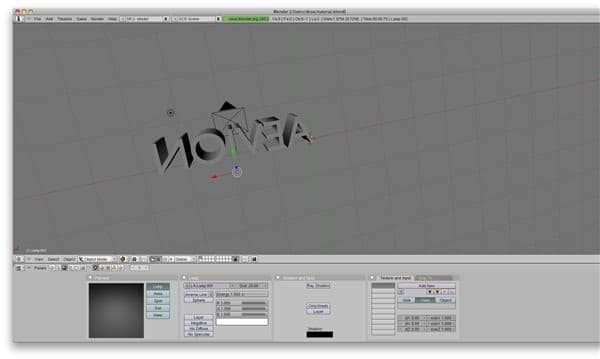
In the materials tab, bring down the energy to .7
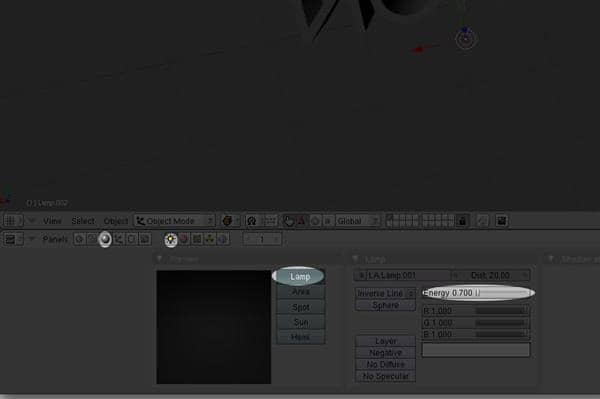
Step 8 - Add Another Light
Hit spacebar, and add another lamp.
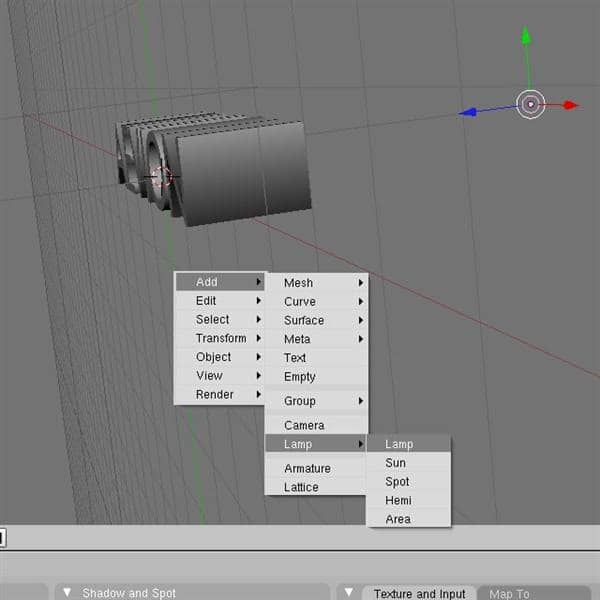
Move it above the text and center it.
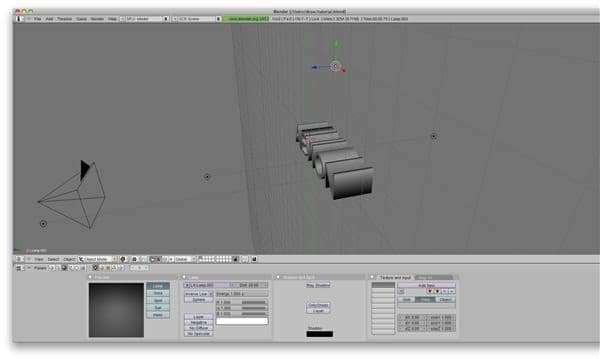
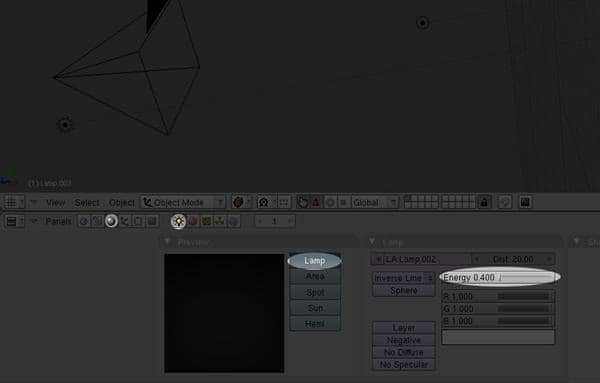
In the materials tab, bring down the energy to .4
Step 9 - Add Another Light
Hit spacebar, and add another lamp.
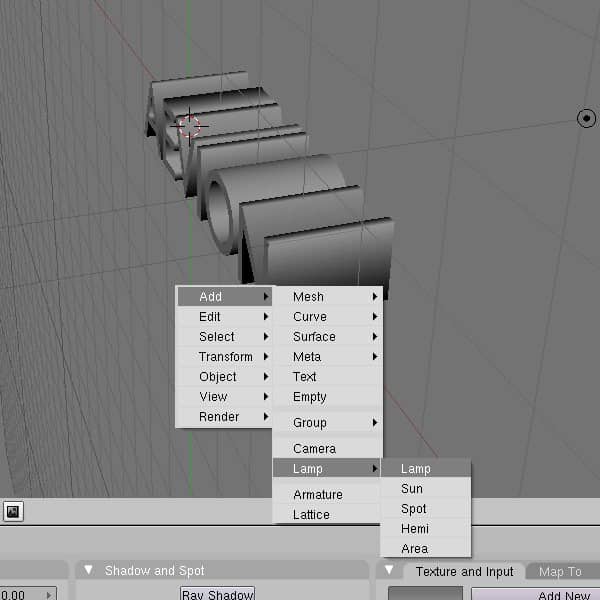
Move it below the text and center it.
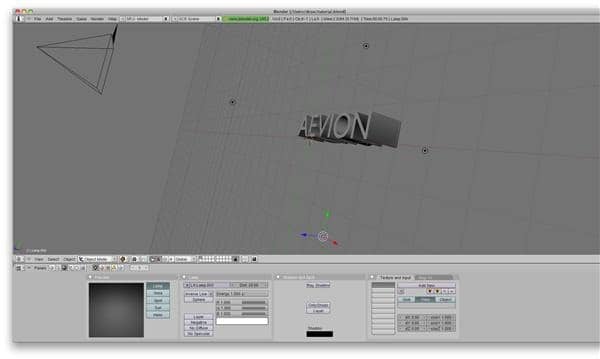
In the materials tab, bring down the energy to .7
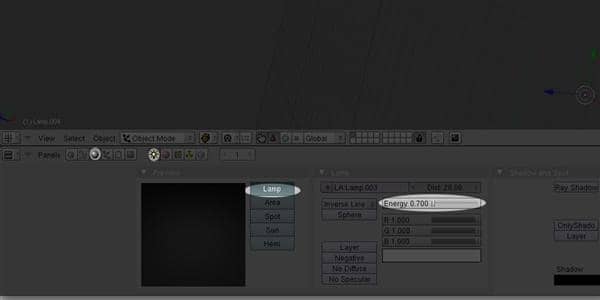
Step 10 - Prepare to Render
Things you want checked: Render tab, Premul, Size (Large enough for our photoshop wallpaper), PNG (instead of jpeg, because we want a transparent background), and RGBA (for transparency)
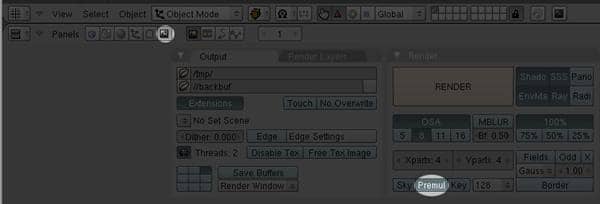
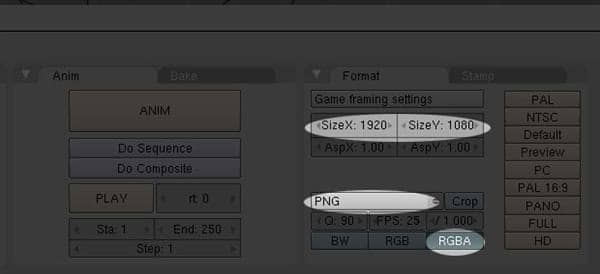
Render away my friends. When your done, hit F3 and that will allow you to save the file.
FRINGE Promotional Wallpaper Tutorial – Part 2
Step 11 - PHOTOSHOP
Ahh, home at last. Go ahead and create a new document that is 1920x1200 (standard HD wallpaper size).
Invert to black (Control/Command + I).
Step 12 - Lights
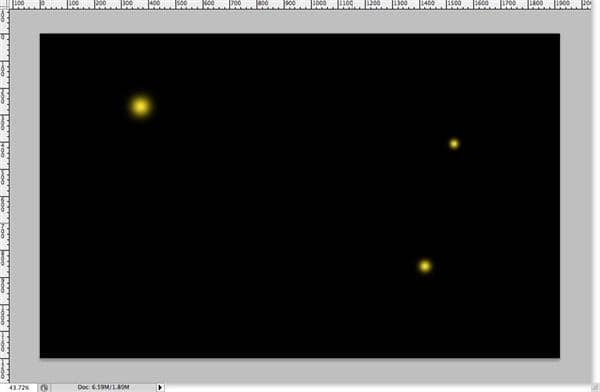
In a new layer, make 3 or so yellow lights. #FFF000 will do fine. Alter the sizes of these lights. Make the lights using a 100% soft circular brush. The biggest one that I made was 100px, and the smallest was around 45px.
Step 13 - Grain
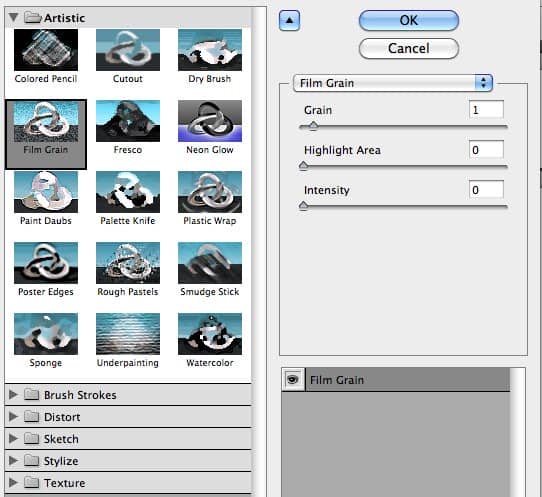
This is a little trick that I always do to images that I want to look like they were taken out of a movie. In a new layer (and be sure that this layer is on the top, and that it stays there), fill the layer with black, and then go to Filters > Artistic > Film Grain, and customize to these settings.
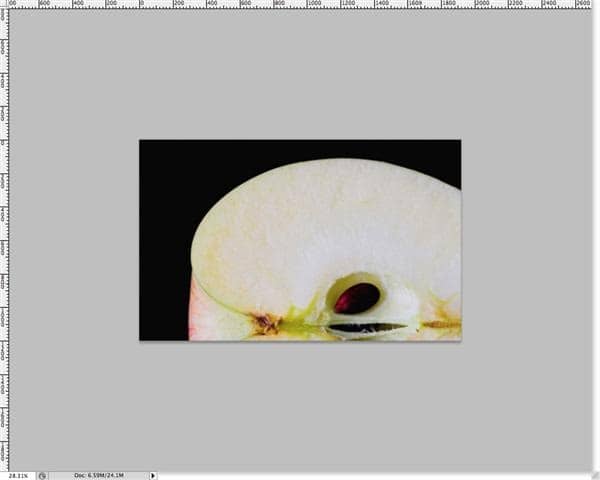
Step 14 - Open Your Apple Slice
Copy and paste your apple into the composition. Right now it is way too big.
Step 15 - Scale It Down
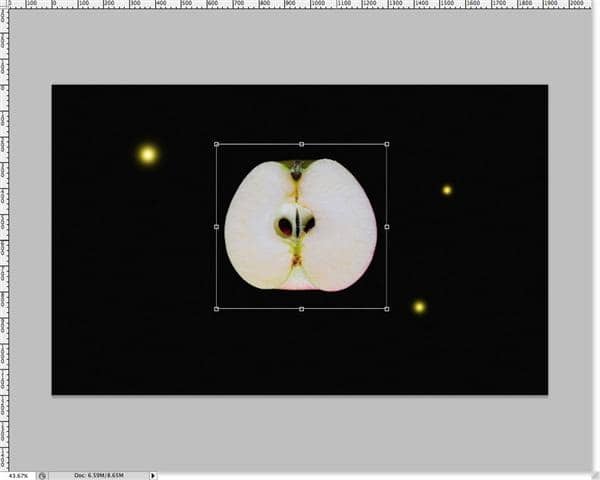
Hit control/command + T and scale the apple down to an appropriate size to work with.
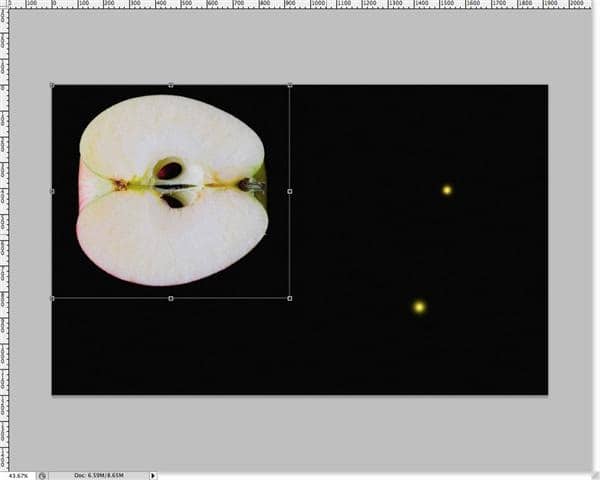
Rotate it and scale it further until your are happy with it.
Step 16 - The X-Ray Effect
I've never read any tuts (assuming there are some) on how to do this, so I just came up with this method, and it seems to work pretty well. Go to Image > Adjustments > Brightness and Contrast, and boost up the lightness and the contrast accordingly. My Values -- Brightness: 10, Contrast: 100.
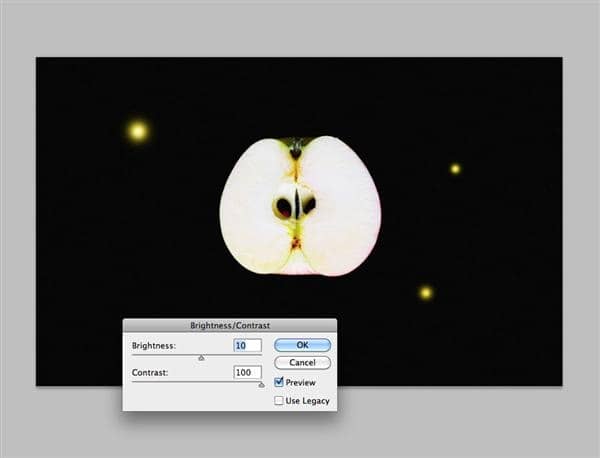
Change the colors by going to Image > Adjustments > Hue and Saturation. Hit the colorize button, and move the hue to 192, and the saturation up to full.

