Download Lightroom presets and LUTs, absolutely free. Use the presets to add creativity and style to your photos.
Learn how to create this beautiful jungle text graphic with Photoshop. This tutorial will show you how to draw vines, berries, and leaves.
Preview of Final Results

Jungle Text Photoshop Tutorial
Step 1
Hit Ctrl + N to open a new project with dimensions of 600 x 375 in RGB/8 with transparent background. For the background, you have two options: You can paint a simple scene with trees, shrubs, and earth then blur them and play with the curves, or you can use a picture (of your own or a free stock photo) of a nice nature scene. Here we’ve simplified this step for you as it takes time, so you can use this image for your scene. After playing with brushes, curves, and blurs, here’s what we’ve came up with:
Step 2
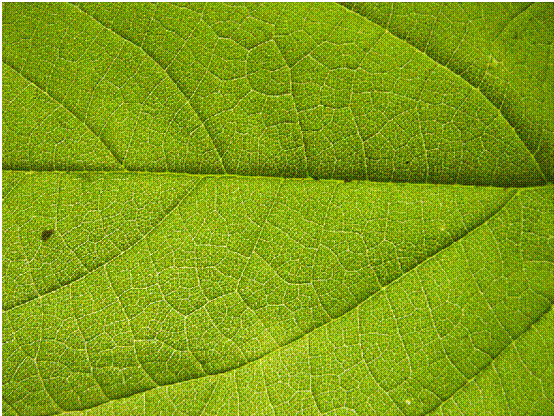
Now you can hide this window as we’ll come back to this later, but first we need to make the leaves and berries. First you’ll need to find a leaf texture. Here is Caleb Kimbrough’s texture from https://lostandtaken.com/
Step 3
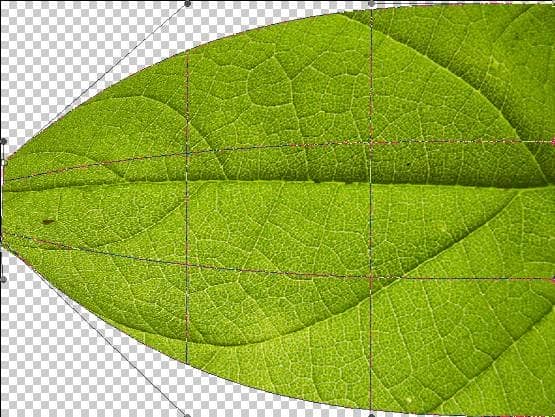
After loading your leaf texture into a new project (name the layer ‘Leaf’), hit M on keyboard to select Rectangular Marquee Tool. Right-click, select Free Transform, right click again, select Warp. Now that your leave is in warp mode, click and drag the top left corner down about 1/3 of the grid, then repeat with bottom-left corner. It should look something like this:
Step 4
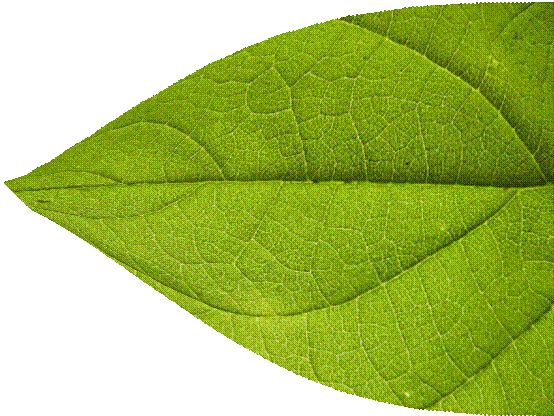
Now play around with the two corners, using the arms (the things with the gray circles) to pull them together creating a sharper point, like this:
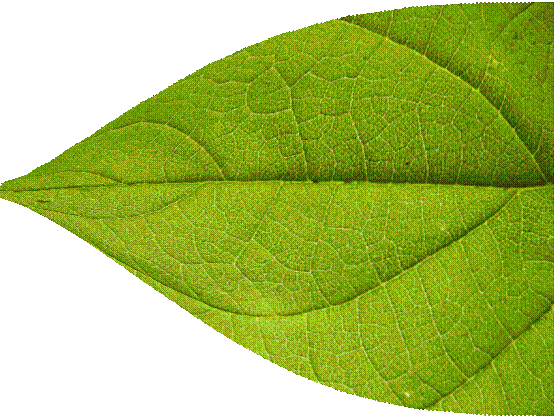
Now we can use the Polygonal Lasso Tool (L) to select the excess parts to make the point sharper. Your leaf should look something like this:
Step 5
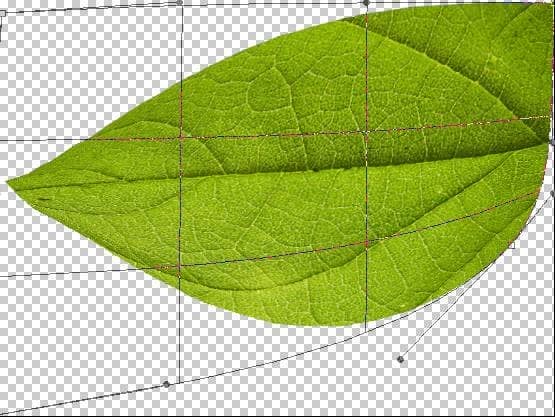
Go back to the warp tool (see step 3) and this time, move the bottom- right corner upward. Make sure the arms of this corner are parallel:
Step 6
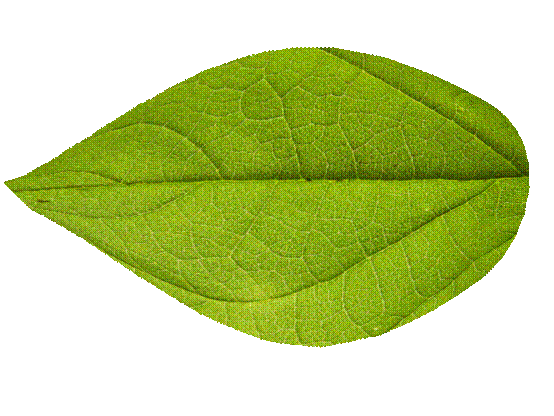
Do the same for the top-right corner,
Step 7
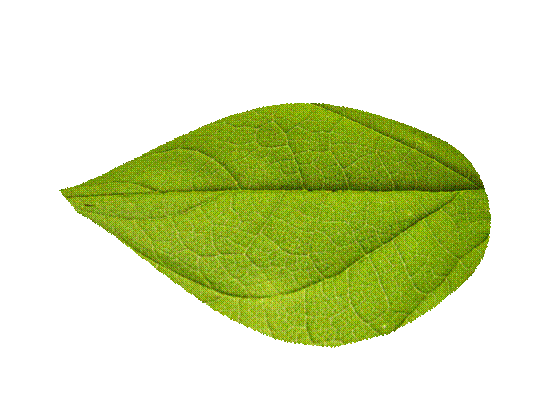
Then go back to free transform, only this time use the distort and perspective functions to give it a bit of a distance perspective:
Step 8
Next, duplicate the layer with the leaf on it and drag this new layer below ‘Leaf’ layer. Warp it a little to show some difference. Repeat process as much as you like!
