

Turn any photo into a dot grid artwork with these Photoshop actions. You'll get great results with dots that change size. They get larger in brighter areas and smaller in darker areas. Free download available.
“I mean, I got everything I need right here with me. I got air in my lungs, a few blank sheets of paper. I mean, I love waking up in the morning not knowing what’s gonna happen or, who I’m gonna meet, where I’m gonna wind up. Just the other night I was sleeping under a bridge and now here I am on the grandest ship in the world having champagne with you fine people.” In this Photoshop Tutorial, we will learn how to create an underwater scene of titanic. First, we created an underwater background, then add Titanic and blended it together. Next, add texture, diver, fish, and some details. Finally, we use Camera Raw Filter.
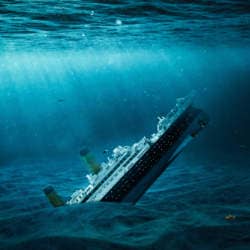
Preview of Final Image

Tutorial Resources
Step 1
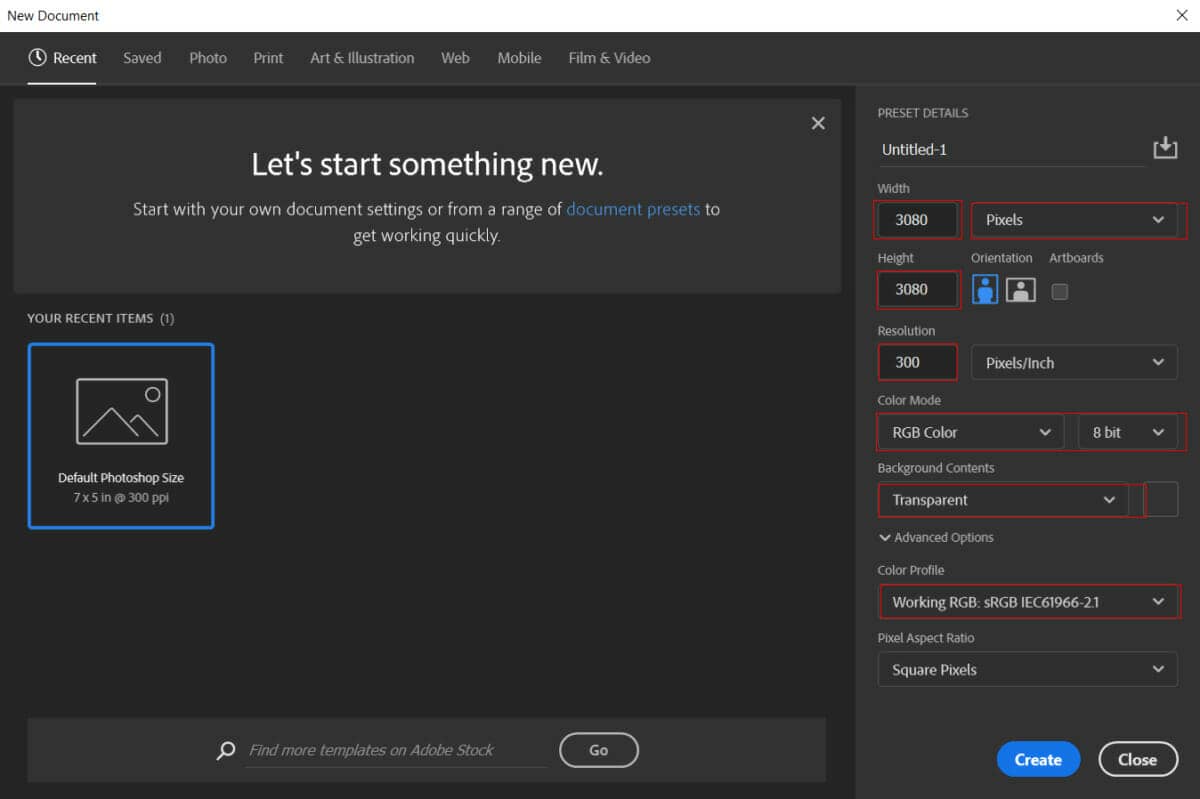
Now, let’s start by creating a new image file, go to the Menu bar and click File > New, and then input the following values on their respective fields
- Preset: Custom
- Width: 3080px
- Height: 3080px
- Resolution: 300px
- Color Mode: RGB Color 8 bit
- Background Contents: Transparent
Step 2
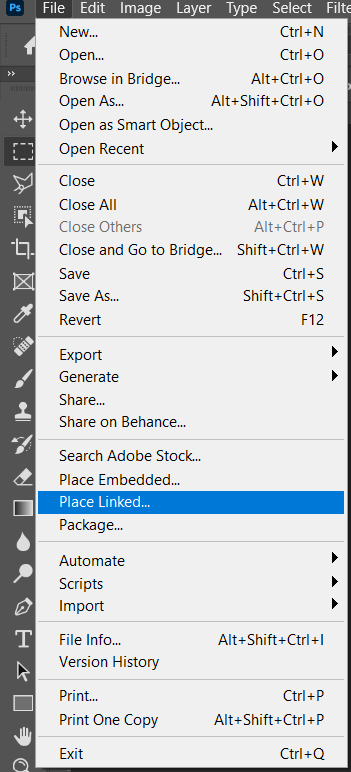
Now, place Underwater Bottom Go to File > Place and select Underwater. Then place it to our work canvas. Then position the image with the transform tool (Ctrl / Cmd + T). Hold Alt + Shift and rasterize like the image below. In Photoshop CC only hold Alt to rasterize all sides together.
Step 3
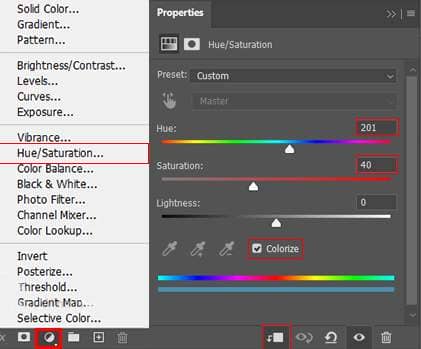
Add Adjustment Layer "Hue/Saturation"
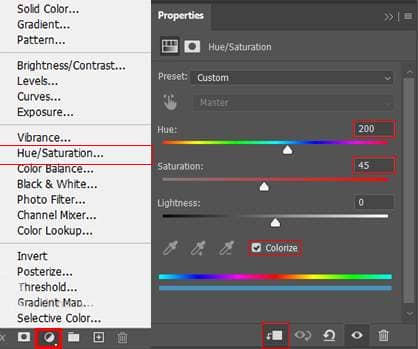
Step 4
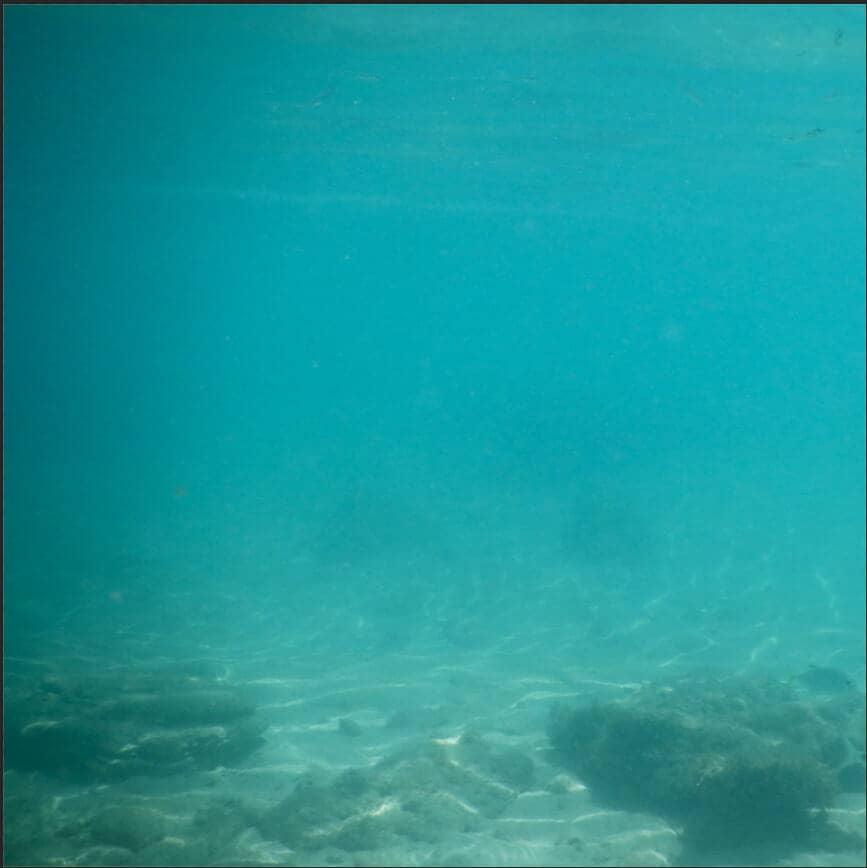
Next, we will open Underwater Sand. After you open the image, use Rectangular Marquee Tool(M).
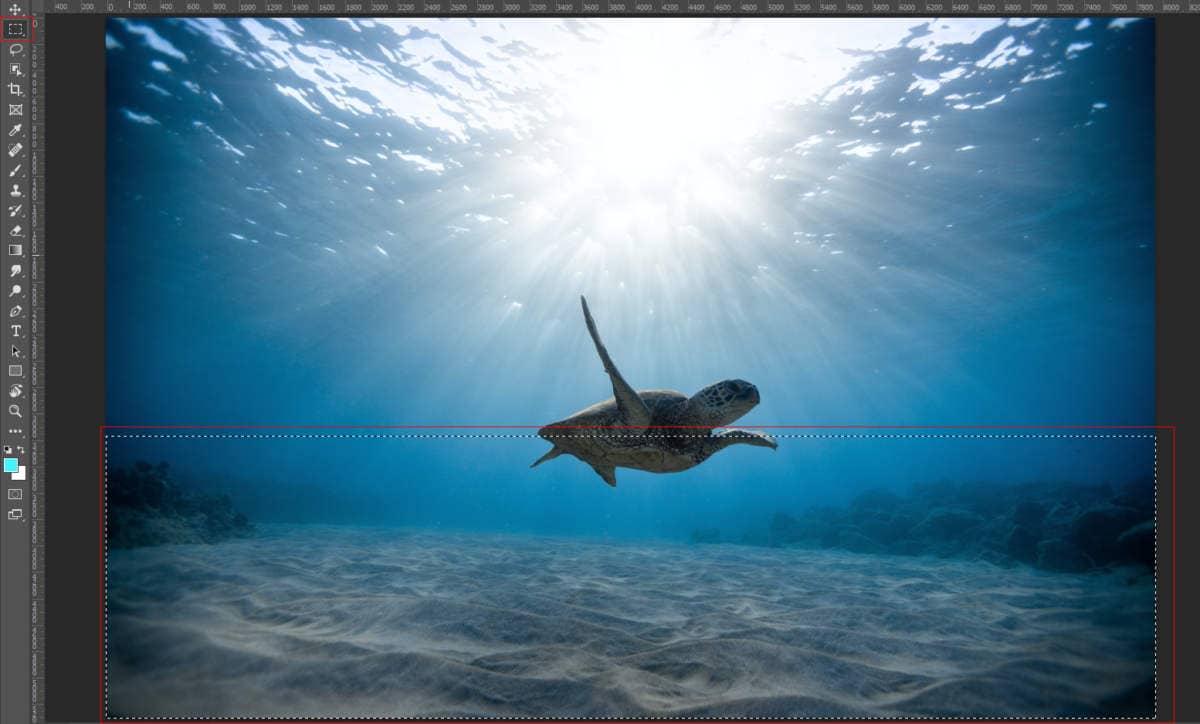
After the selection area has been created, simply copy (Ctrl / Cmd + C) and Paste (Ctrl / Cmd + V) it to our work canvas. Then position the image with the transform tool (Ctrl / Cmd + T). Hold Alt + Shift and resterize like the image below. In Photoshop CC only hold Alt to resterize al sides together.
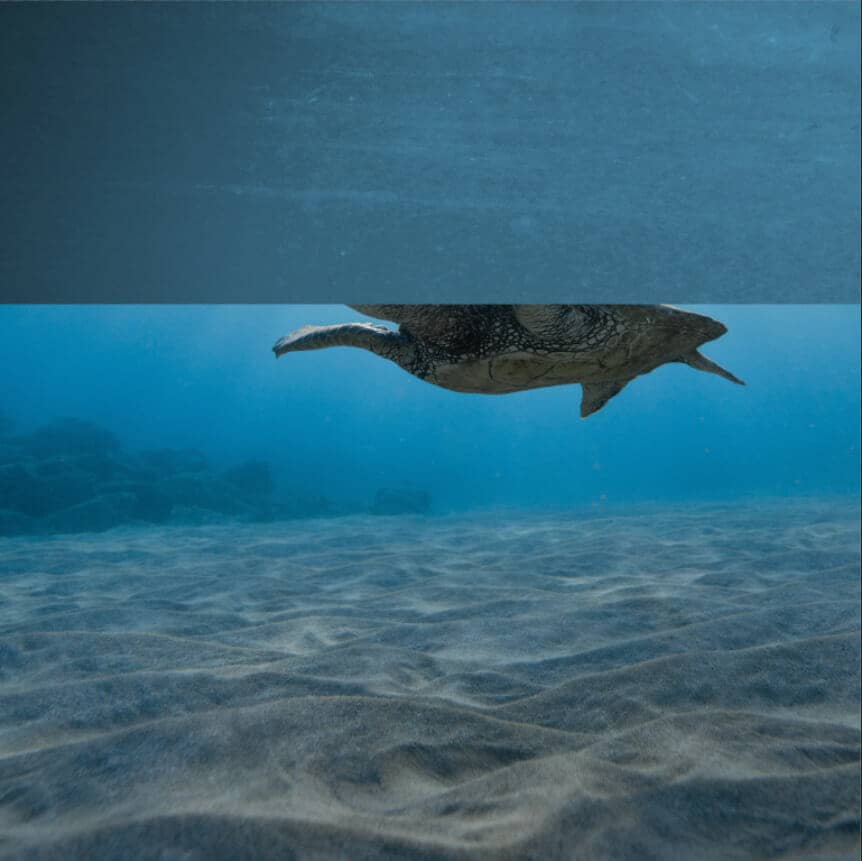
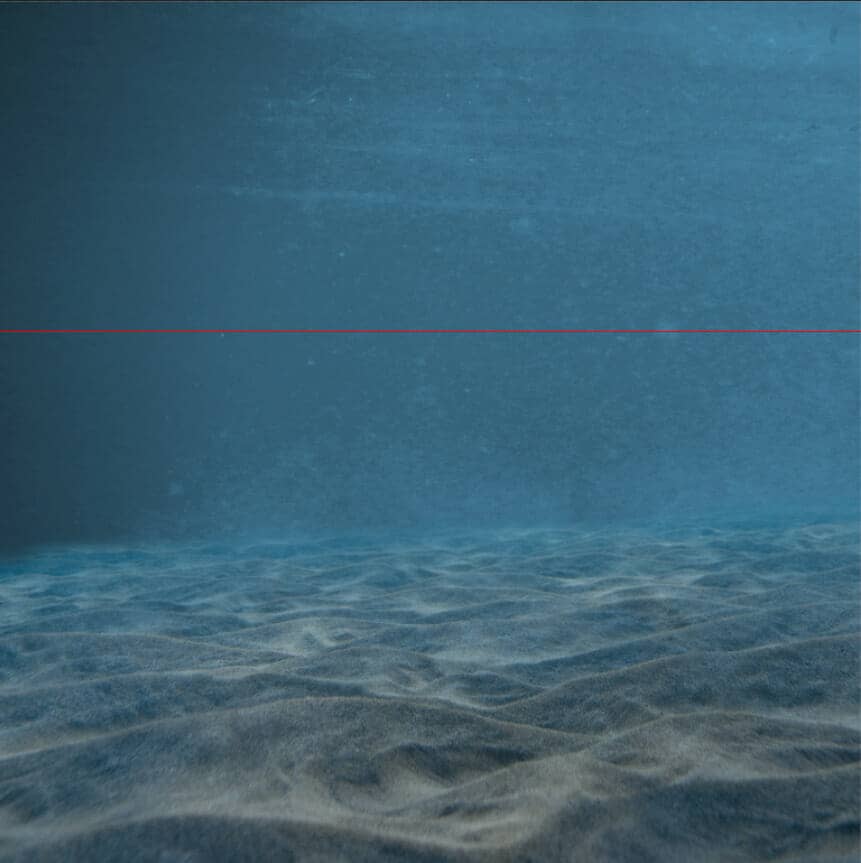
Then create a layer mask and use Brush Tool(B) Soft Round with foreground color black and paint/delete turtle.
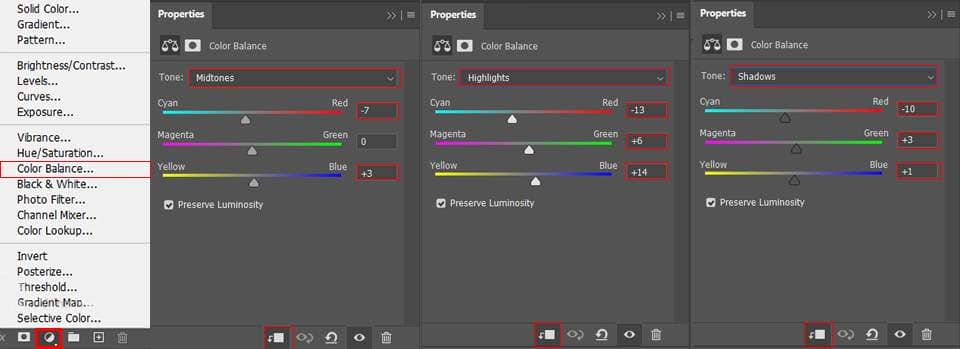
Step 5
Add Adjustment layer "Color Balance"
Step 6
Add Adjustment Layer "Hue/Saturation" Opacity set to 34%.
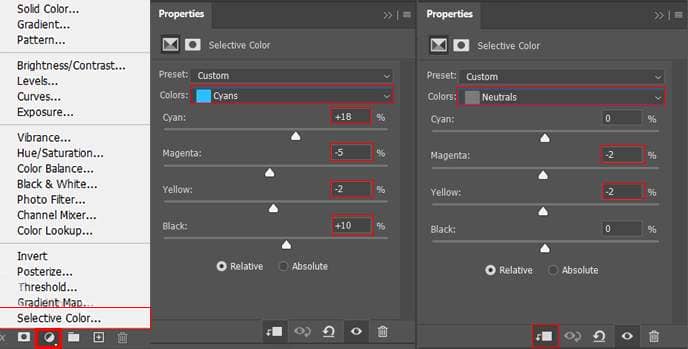
Step 7
Add Adjustment Layer "Selective Color"
Step 8
Next, add the Color Fill adjustment layer. Blend mode change to Soft Light with Opacity 26%
Step 9
Next, place Underwater 2 Go to File > Place and select Underwater 2. Then place it to our work canvas. Then position the image with the transform tool (Ctrl / Cmd + T). Hold Alt + Shift and rasterize like the image below. In Photoshop CC only hold Alt to rasterize all sides together.