
Luminar AI lets you turn your ideas into reality with powerful, intelligent AI. Download the photo editor and see how you can completely transform your photos in a few clicks.
Step 9
Add Adjustment Layer "Curves"
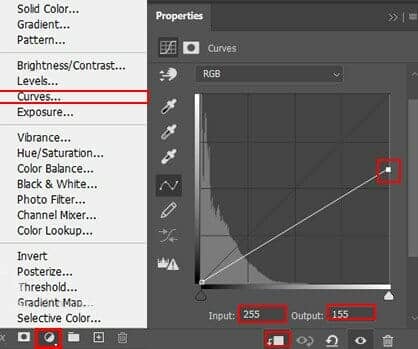
Step 10
Add Adjustment Layer "Hue/Saturation"
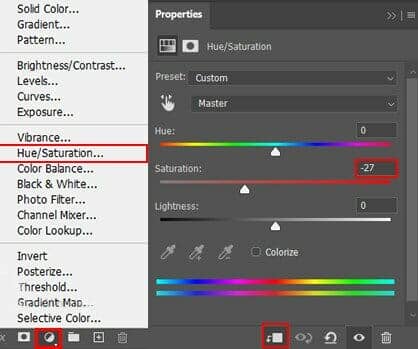
Step 11
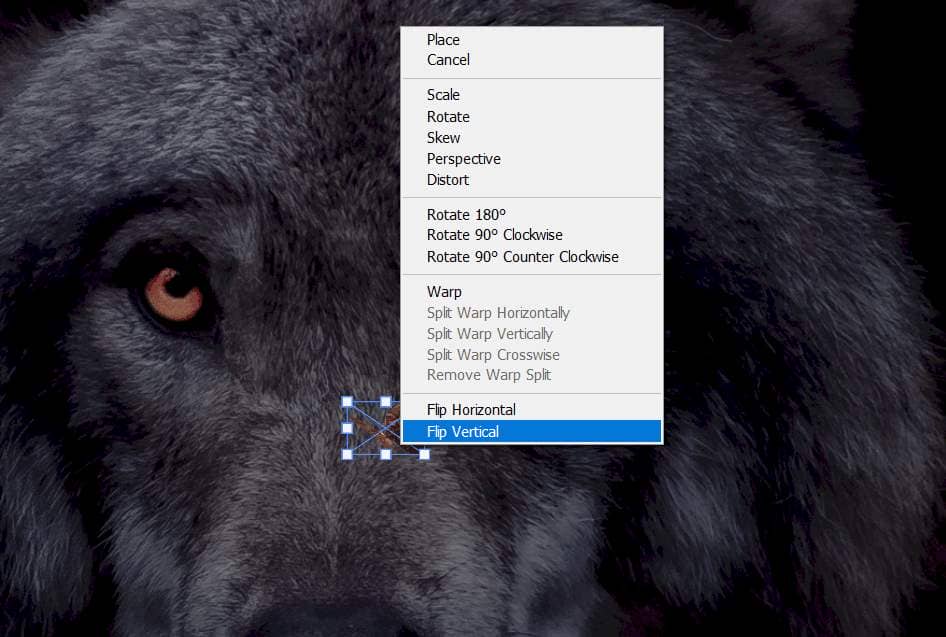
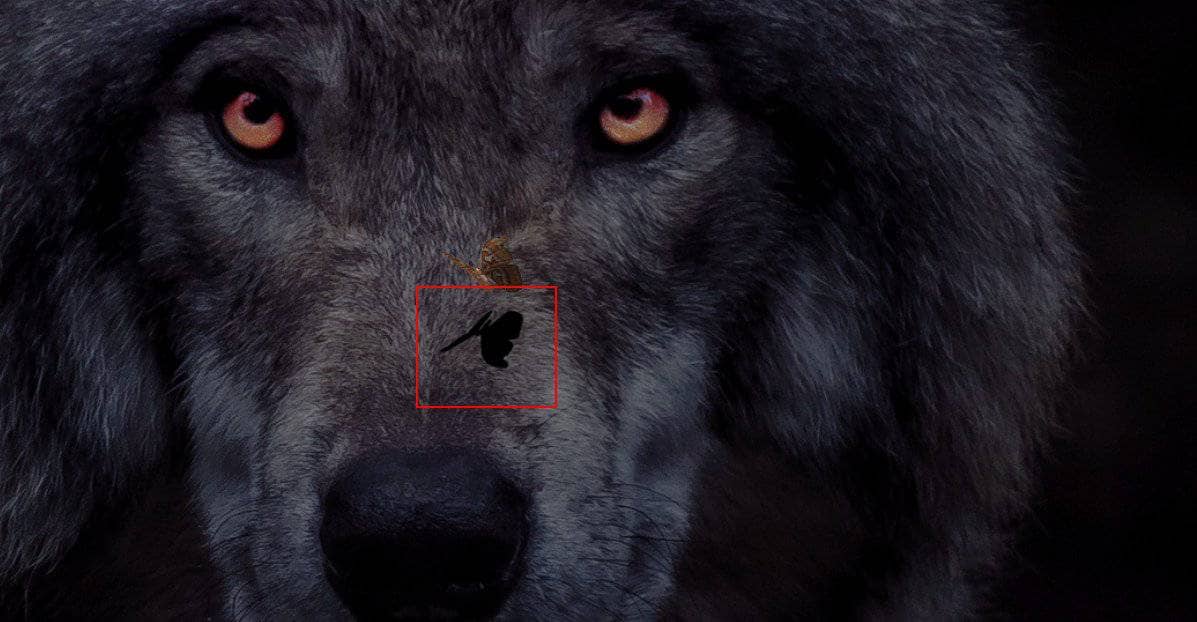
Now select Butterfly layer and duplicate it (Ctrl/Cmd + J) and put it below layer. Then go to Image > Adjustments > Hue/Saturation and put Lightness to -100.


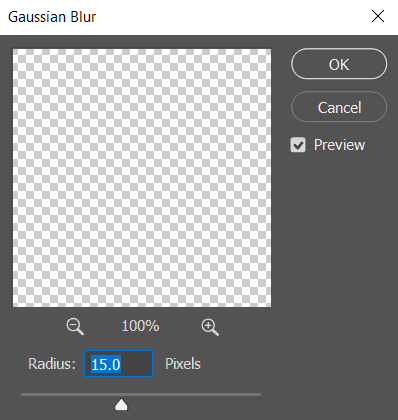
Now open a Transform Tool(Ctrl/Cmd + T) and flip it Vertical. To have complete control hold Ctrl/Cmd and move bottom pointers to left side. Go to Filter > Blur > Gaussian Blur and set radius to 15px.
Step 12
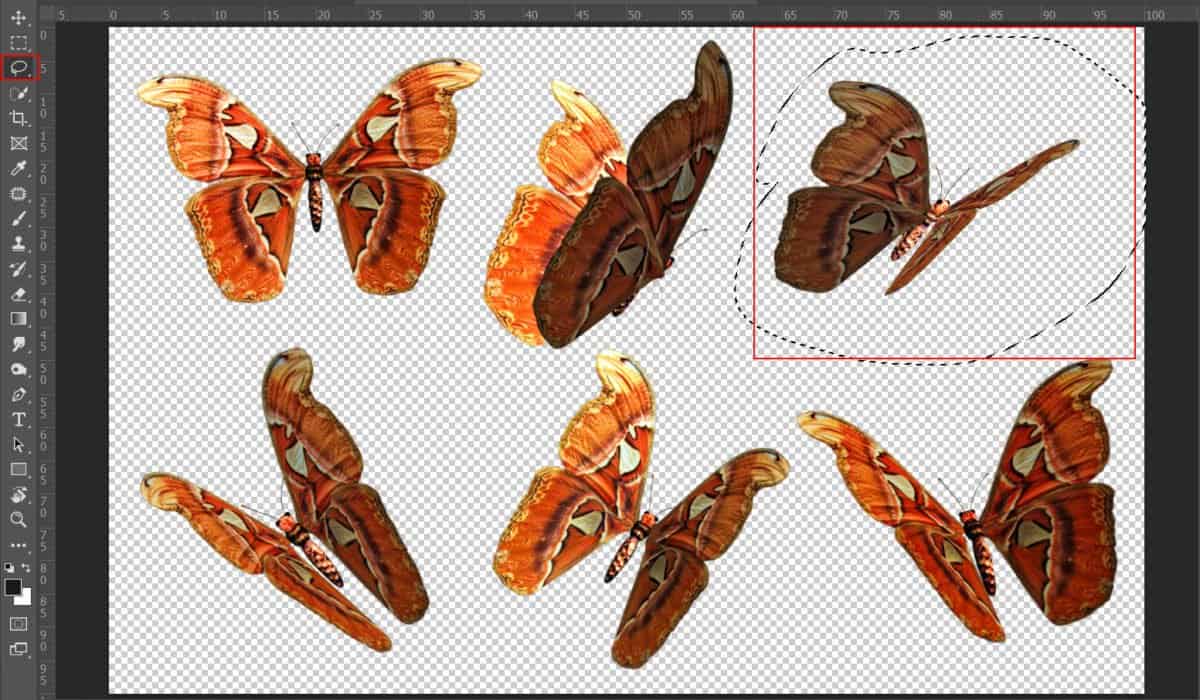
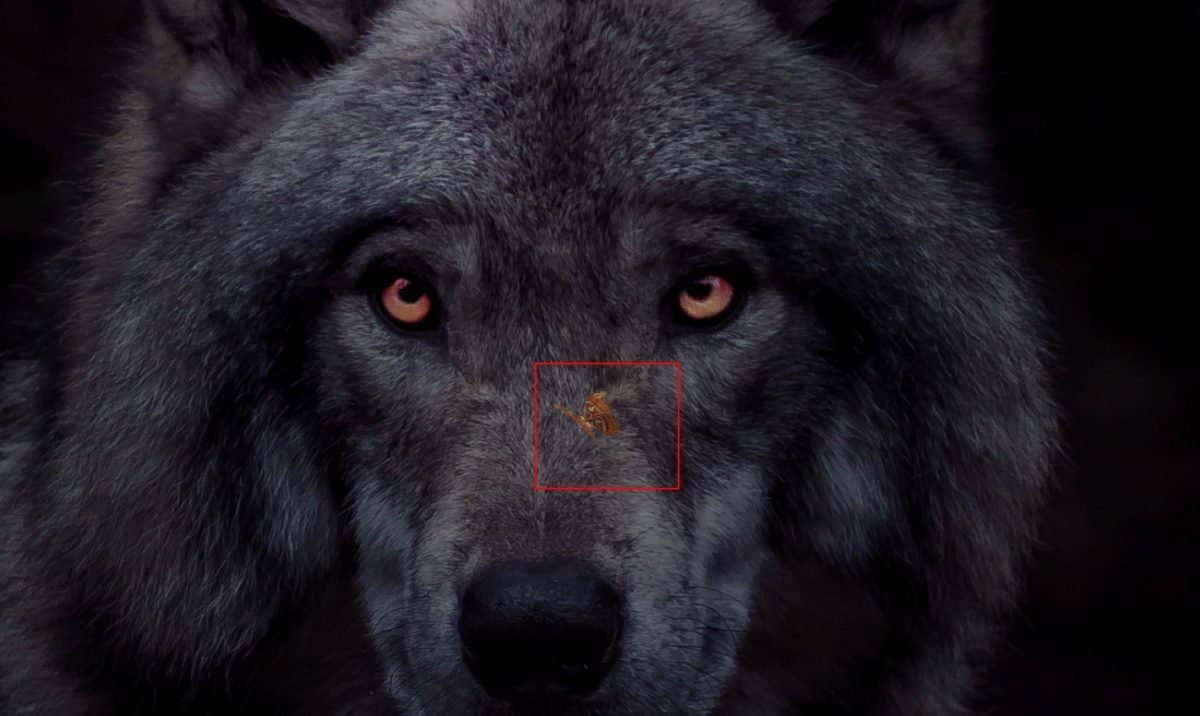
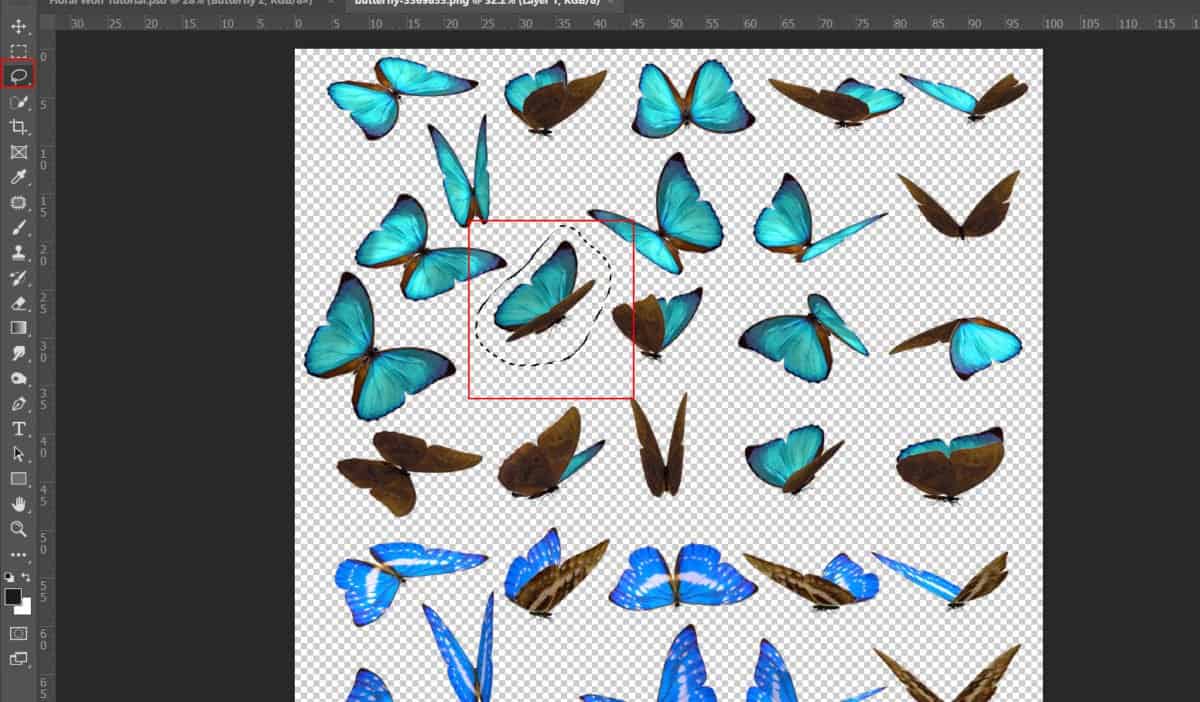
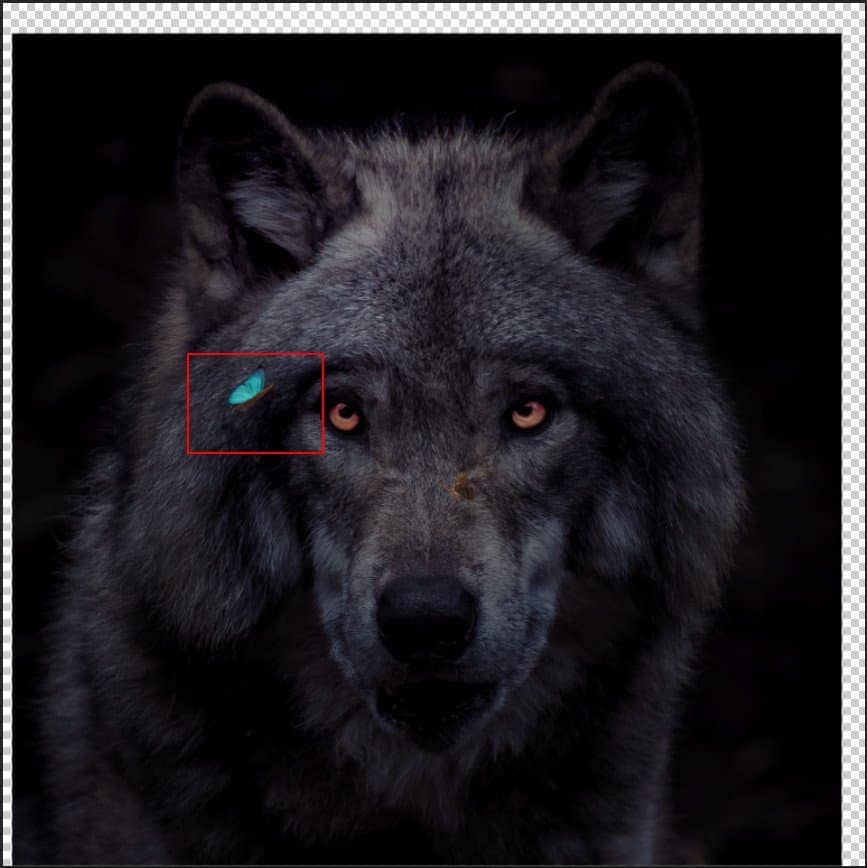
In next step add another Butterfly, Go to File > Open and select Butterfly 2. After you open the image, use Lasso Tool(L) and start selecting butterfly. After the selection area has been created, simply copy (Ctrl / Cmd + C) and Paste (Ctrl / Cmd + V) it to our work canvas. Then position the image with the transform tool (Ctrl / Cmd + T). Hold Alt + Shift and resterize like image below. In Photoshop CC only hold Alt to resterize al sides together.
Step 12
Add Adjustment Layer "Curves"

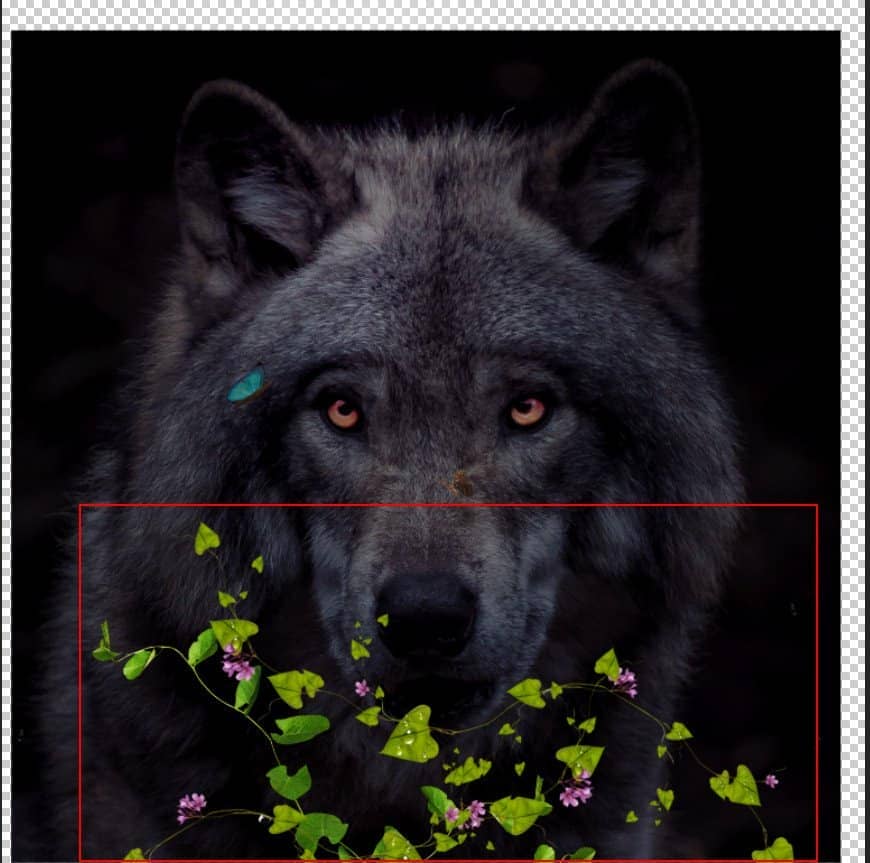
Step 13
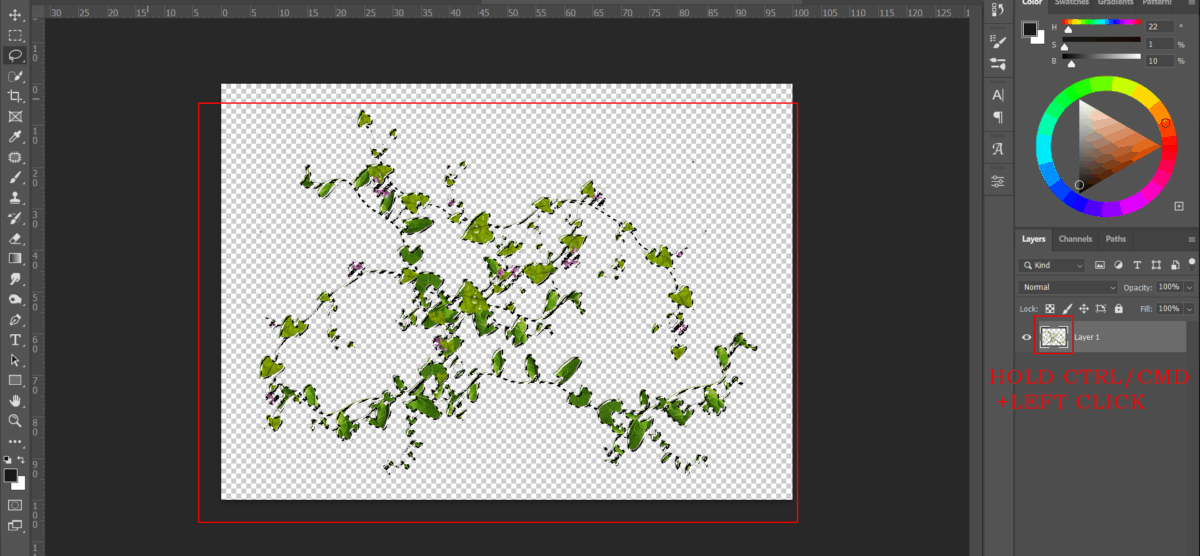
Open Ivy and hold Ctrl/Cmd and click on layer and after the selection area has been created, simply copy (Ctrl / Cmd + C) and Paste (Ctrl / Cmd + V) it to our work canvas. Then position the image with the transform tool (Ctrl / Cmd + T). Hold Alt + Shift and resterize like image below. In Photoshop CC only hold Alt to resterize al sides together.
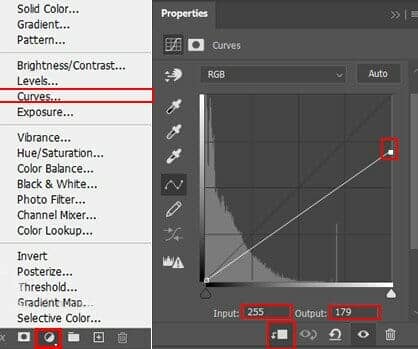
Step 15
Add Adjustment Layer "Curves"
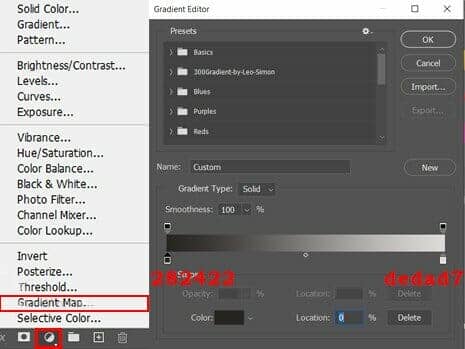
Step 16
Add Adjustment Layer "Gradient Map" and set blend mode to Multiply.
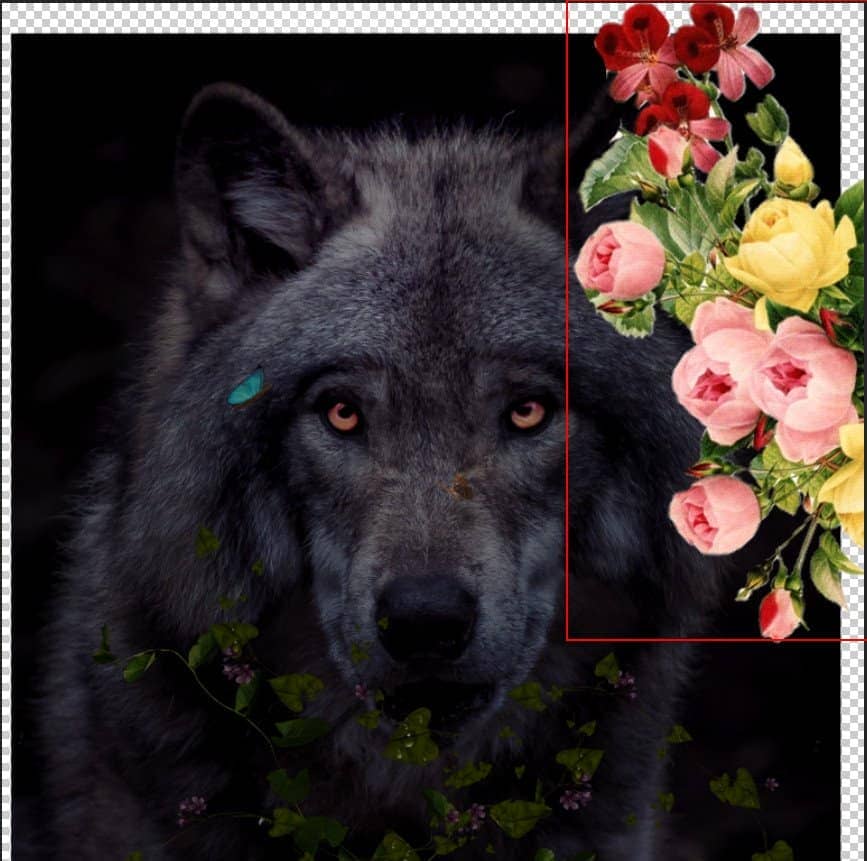
Step 17
Now open Flowers 1 and hold Ctrl/Cmd and click on layer and after the selection area has been created, simply copy (Ctrl / Cmd + C) and Paste (Ctrl / Cmd + V) it to our work canvas. Then position the image with the transform tool (Ctrl / Cmd + T). Hold Alt + Shift and resterize like image below. In Photoshop CC only hold Alt to resterize al sides together.
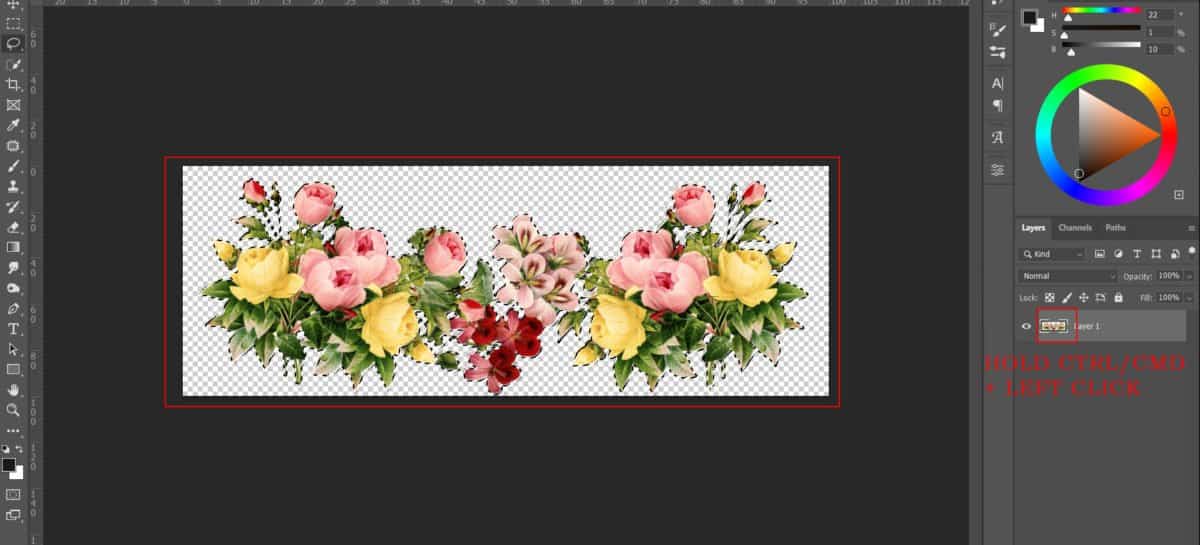
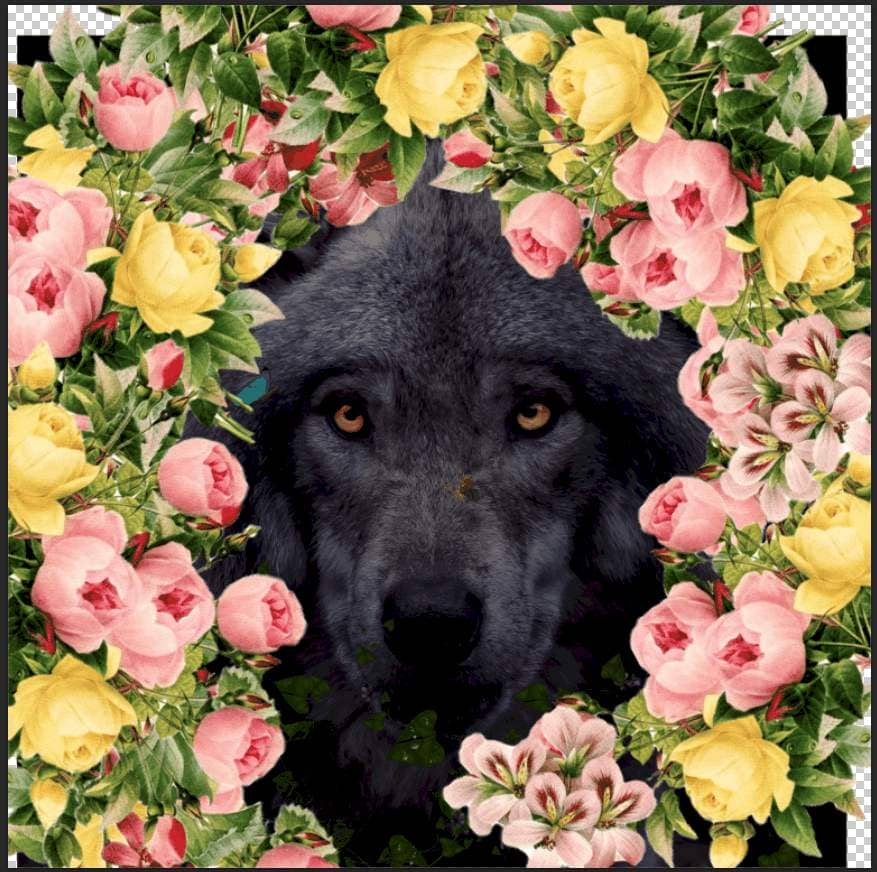
Now we will fill the spaces, we will make 10 copies. Press Ctrl/Cmd +J and make 10 copies, then put in group (select flowers and press Ctrl/Cmd + J). Position the image with the transform tool (Ctrl / Cmd + T). Hold Alt + Shift and resterize like image below.
Step 18
Add Adjustment Layer "Gradient Map" blend mode set to Multiply