
Turn any photo into a dot grid artwork with these Photoshop actions. You'll get great results with dots that change size. They get larger in brighter areas and smaller in darker areas. Free download available.
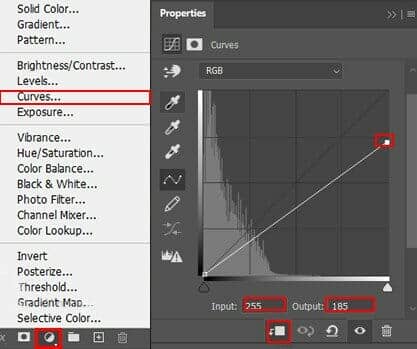
Step 19
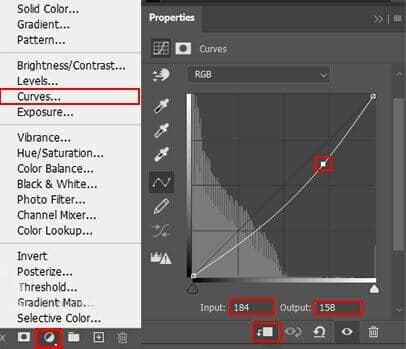
Add Adjustment Layer "Curves"
Step 20
Add Adjustment Layer "Curves"
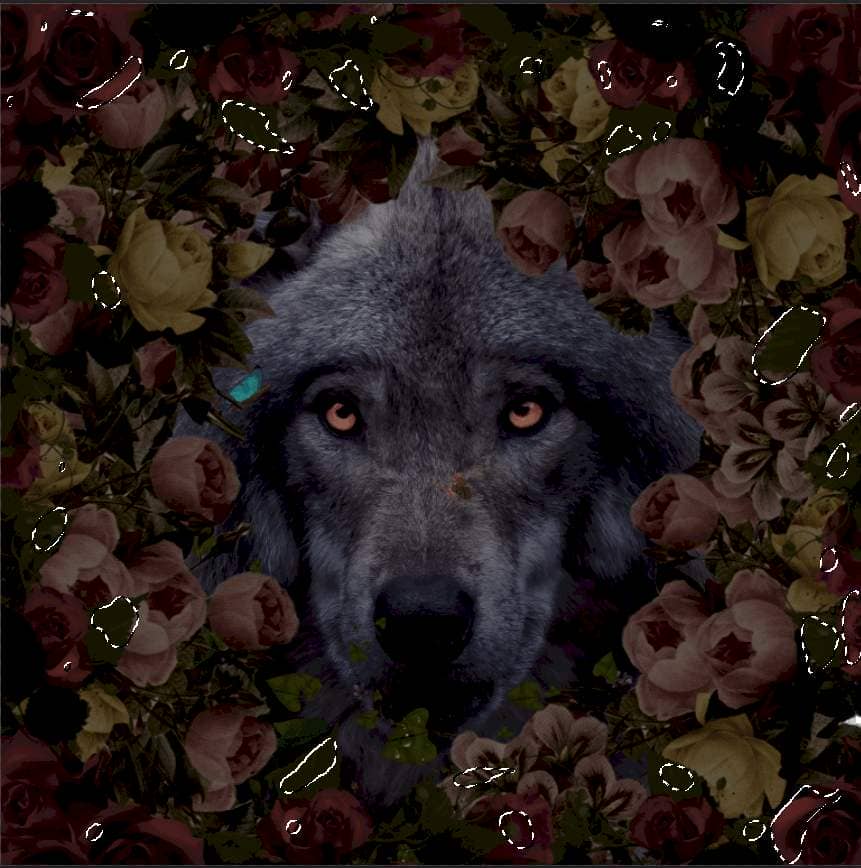
Step 21
We will now repeat a similar procedure as in step 17. First open Flowers 2 Go to File > Open and select Flowers 2. and hold Ctrl/Cmd and click on layer and after the selection area has been created, simply copy (Ctrl / Cmd + C) and Paste (Ctrl / Cmd + V) it to our work canvas. Then position the image with the transform tool (Ctrl / Cmd + T). Hold Alt + Shift and resterize like image below. In Photoshop CC only hold Alt to resterize al sides together.
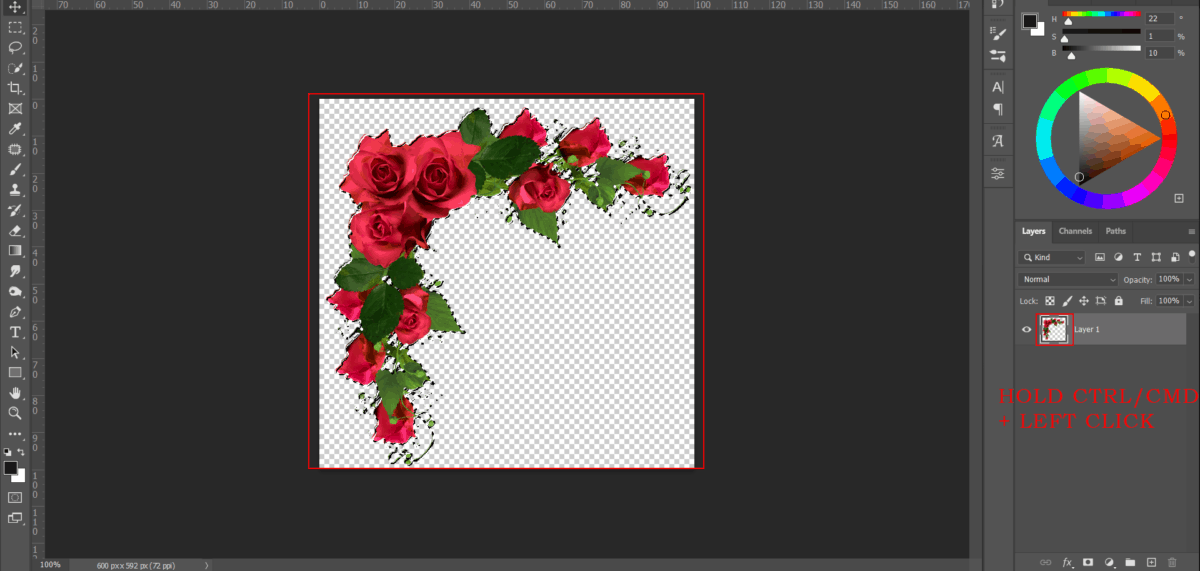
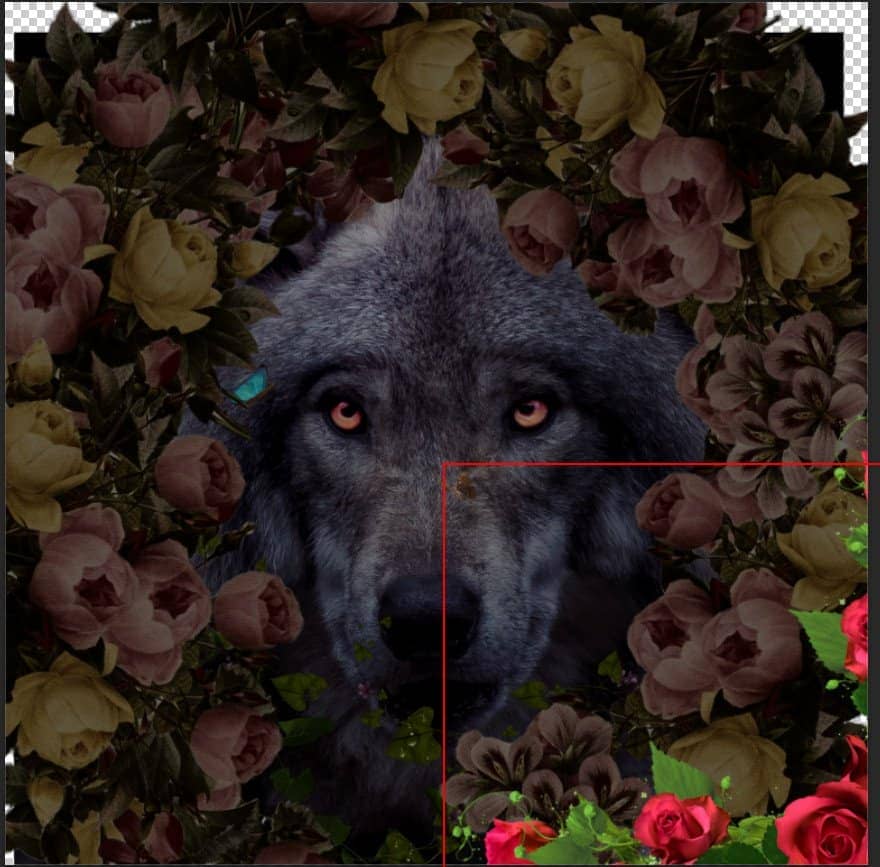
Press Ctrl/Cmd +J and make 3 more copies, Position the image with the transform tool (Ctrl / Cmd + T). Hold Alt + Shift and resterize like image below.
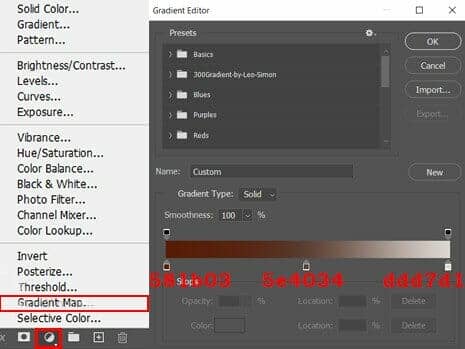
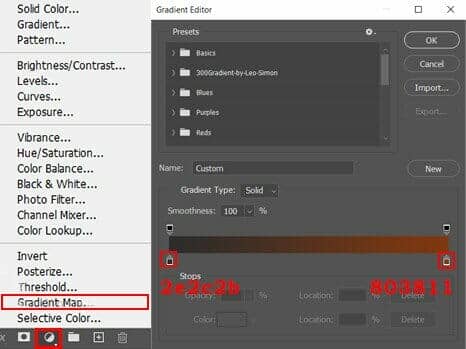
Step 22
Add Adjustment Layer "Gradient Map" Blend mode change to Multiply
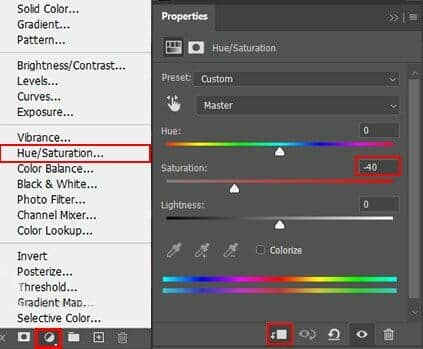
Step 23
Add Adjustment Layer "Hue/Saturation"
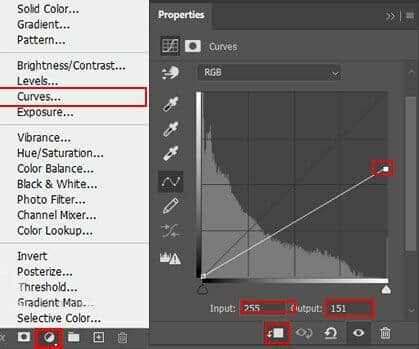
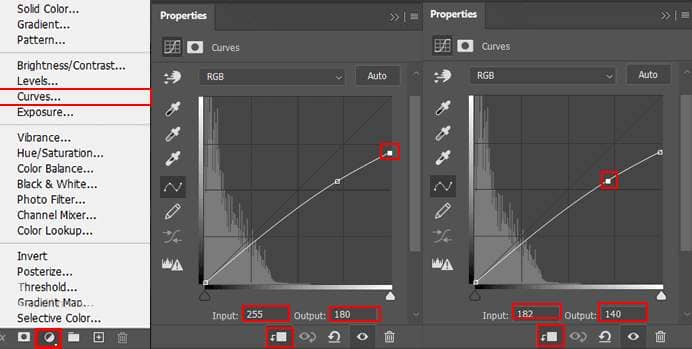
Step 24
Add Adjustment Layer "Curves"
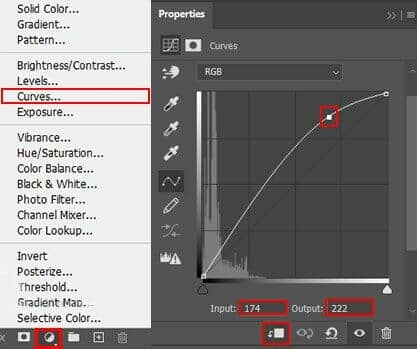
Step 25
Add Adjustment Layer “Curves” and press Ctrl/Cmd + I to invert. Then use Brush Tool(B) Soft Round with foreground color white and paint on Highlight parts.
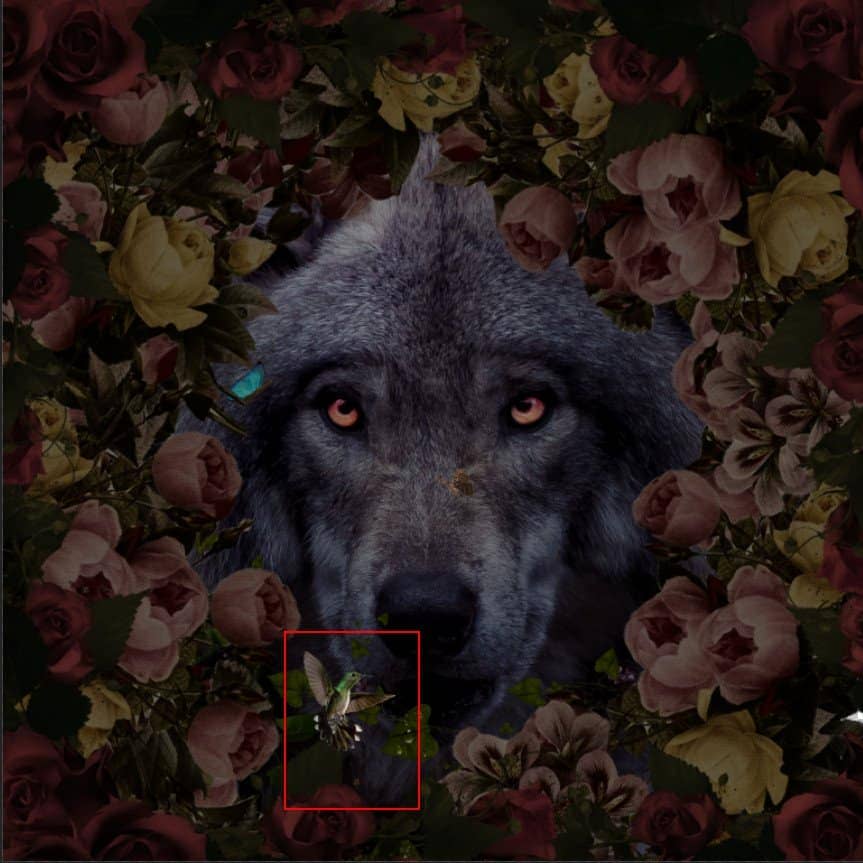
Step 26
Next we will openBird. After you open the image, use Quick Selection Tool(W) and start selecting the Bird. After the selection area has been created, simply copy (Ctrl / Cmd + C) and Paste (Ctrl / Cmd + V) it to our work canvas. Then position the image with the transform tool (Ctrl / Cmd + T). Hold Alt + Shift and resterize like image below. In Photoshop CC only hold Alt to resterize al sides together.

Step 27
Add Adjustment Layer "Curves"
Step 28
Now open a Vines, go to File > Open and select Vines. Then use a Lasso Tool(L) and select first and after the selection area has been created, simply copy (Ctrl / Cmd + C) and Paste (Ctrl / Cmd + V) it to our work canvas. Then position the image with the transform tool (Ctrl / Cmd + T). Hold Alt + Shift and resterize and Rotate like image below. In Photoshop CC only hold Alt to resterize al sides together.
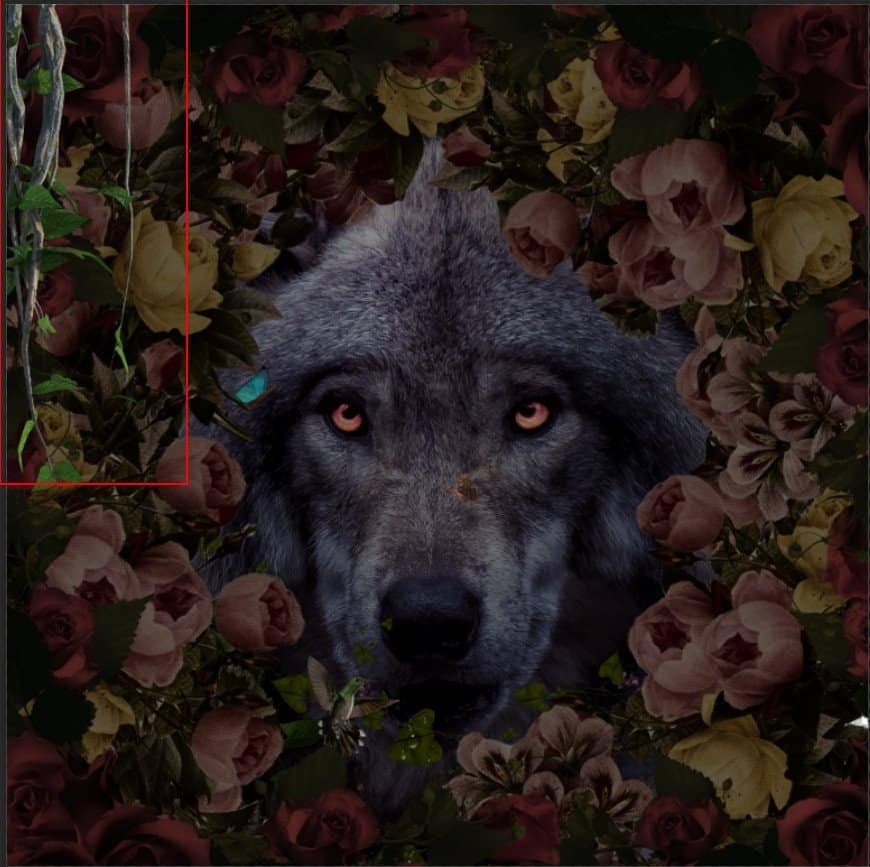
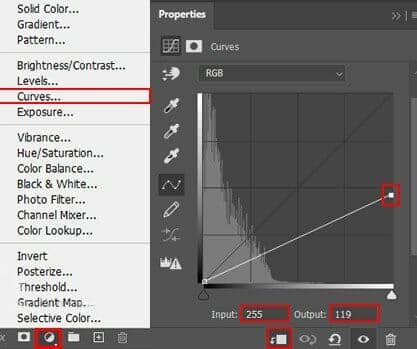
Step 29
Add Adjustment Layer "Curves"
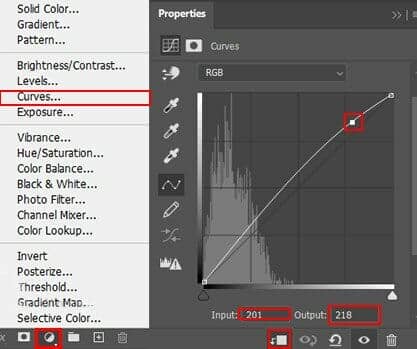
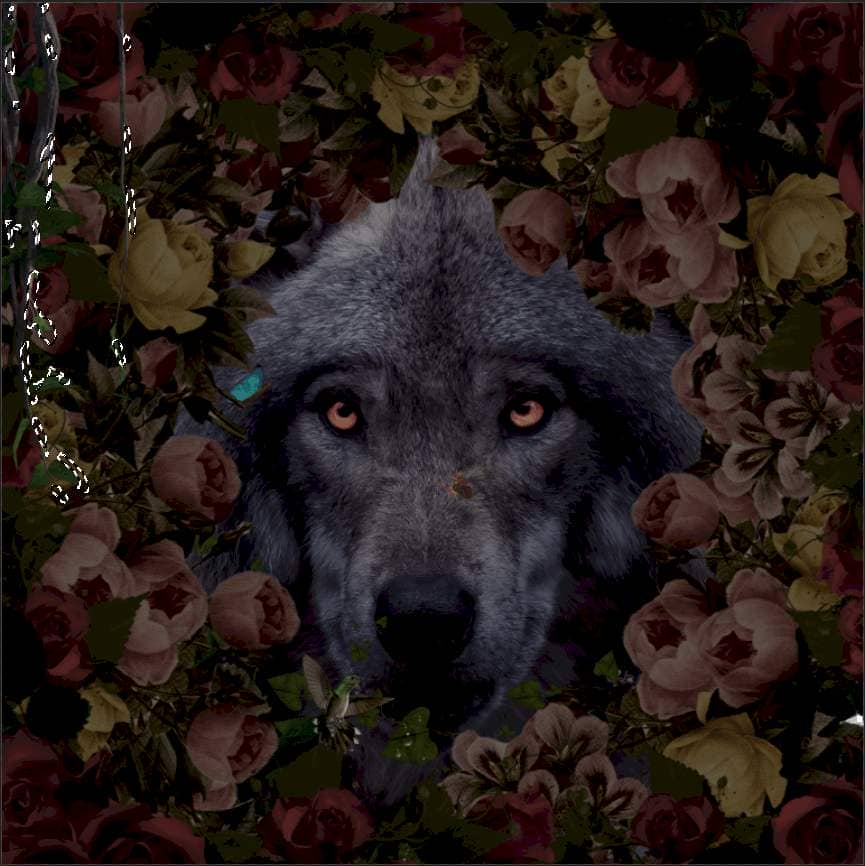
Step 30
Add Adjustment Layer “Curves” and press Ctrl/Cmd + I to invert. Then use Brush Tool(B) Soft Round with foreground color white and paint on Highlight parts.
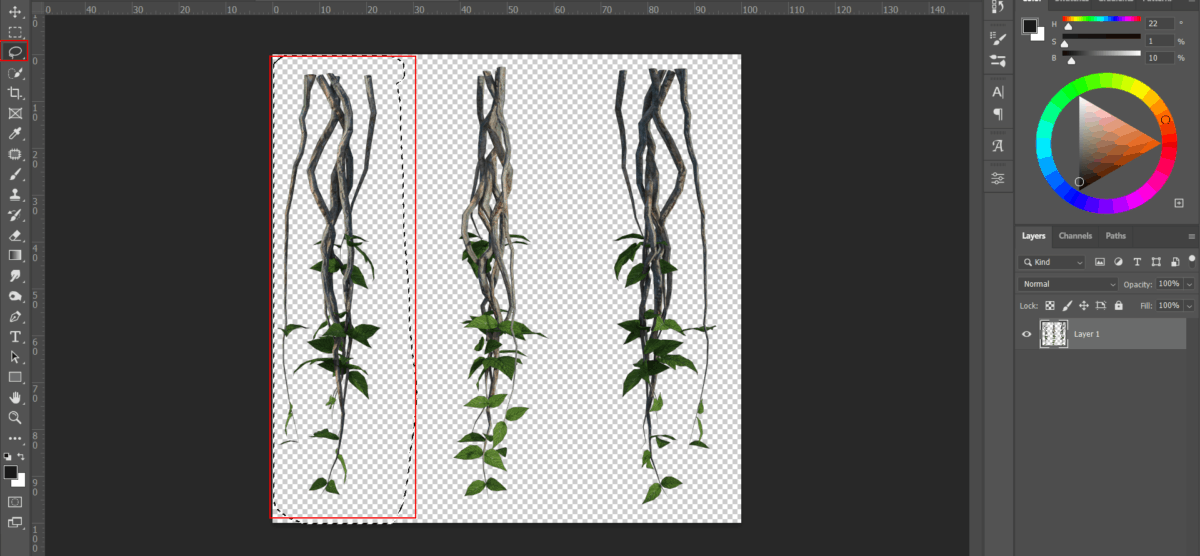
Step 31
Open a Vines, go to File > Open and select Vines. Then use a Lasso Tool(L) and now select second and after the selection area has been created, simply copy (Ctrl / Cmd + C) and Paste (Ctrl / Cmd + V) it to our work canvas. Then position the image with the transform tool (Ctrl / Cmd + T). Hold Alt + Shift and resterize and Rotate like image below. In Photoshop CC only hold Alt to resterize al sides together.