
Make skin look perfect in one-click with these AI-powered Photoshop actions.
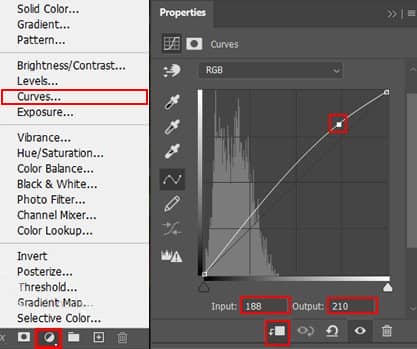
Step 32
Add Adjustment Layer "Curves"

Step 33
Add Adjustment Layer “Curves” and press Ctrl/Cmd + I to invert. Then use Brush Tool(B) Soft Round with foreground color white and paint on Highlight parts.
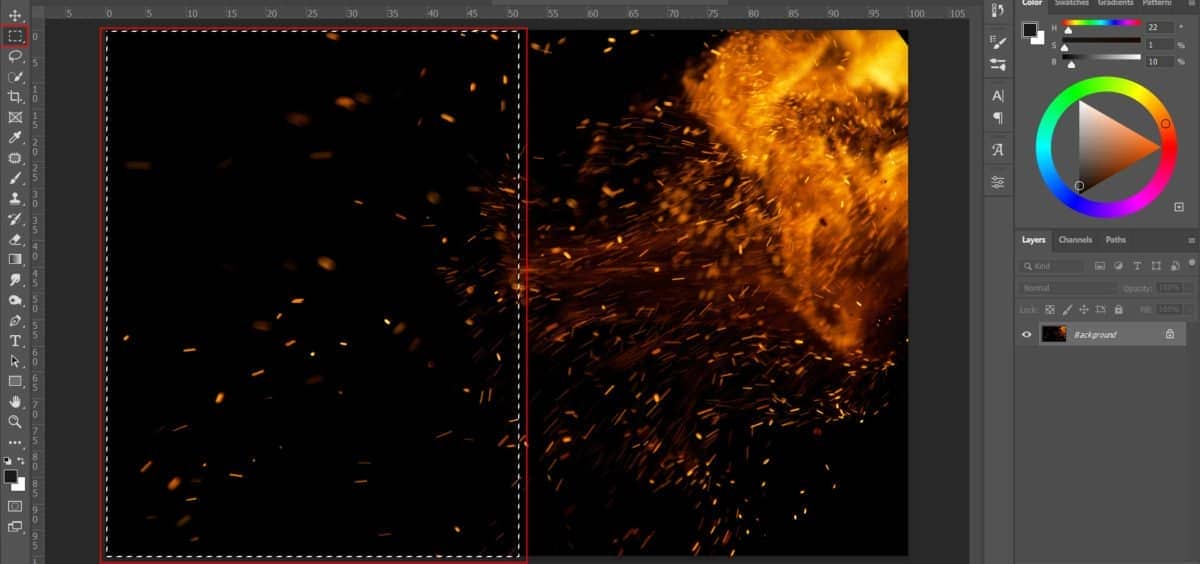
Step 34
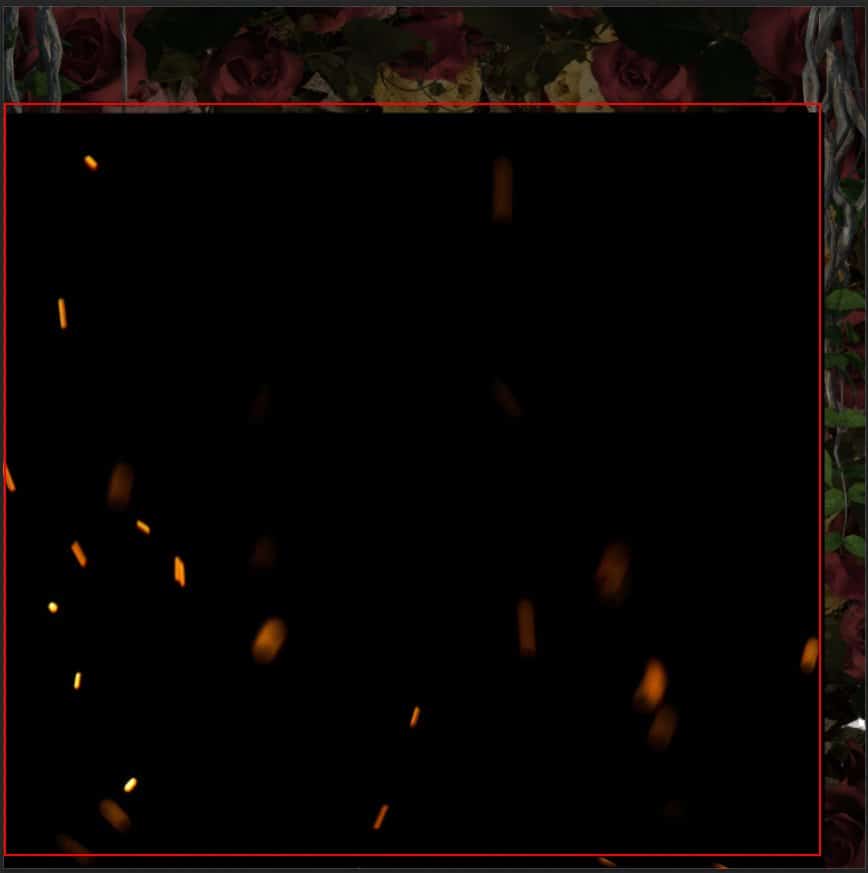
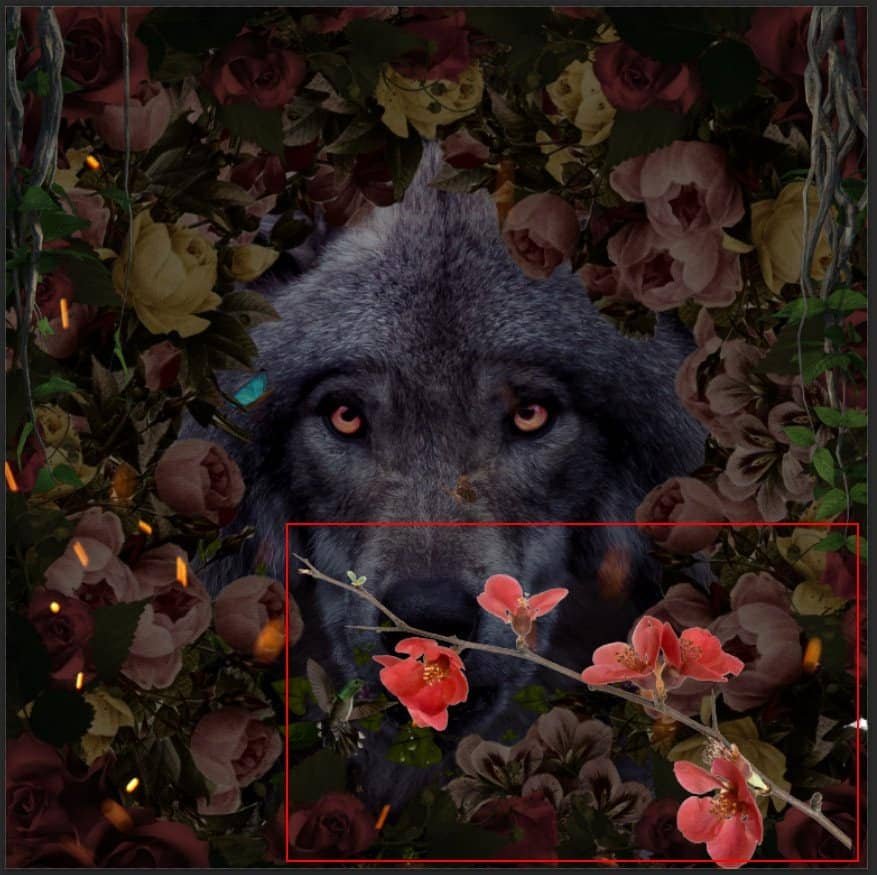
Next, add some fire particles, After you open the image, use Rectangular Marquee Tool(M). With the Rectangular Marquee tool, drag over the area you want to select. Hold down Shift as you drag to constrain the marquee to(release the mouse button before you release Shift to keep the selection shape constrained). Blend mode set to Screen.
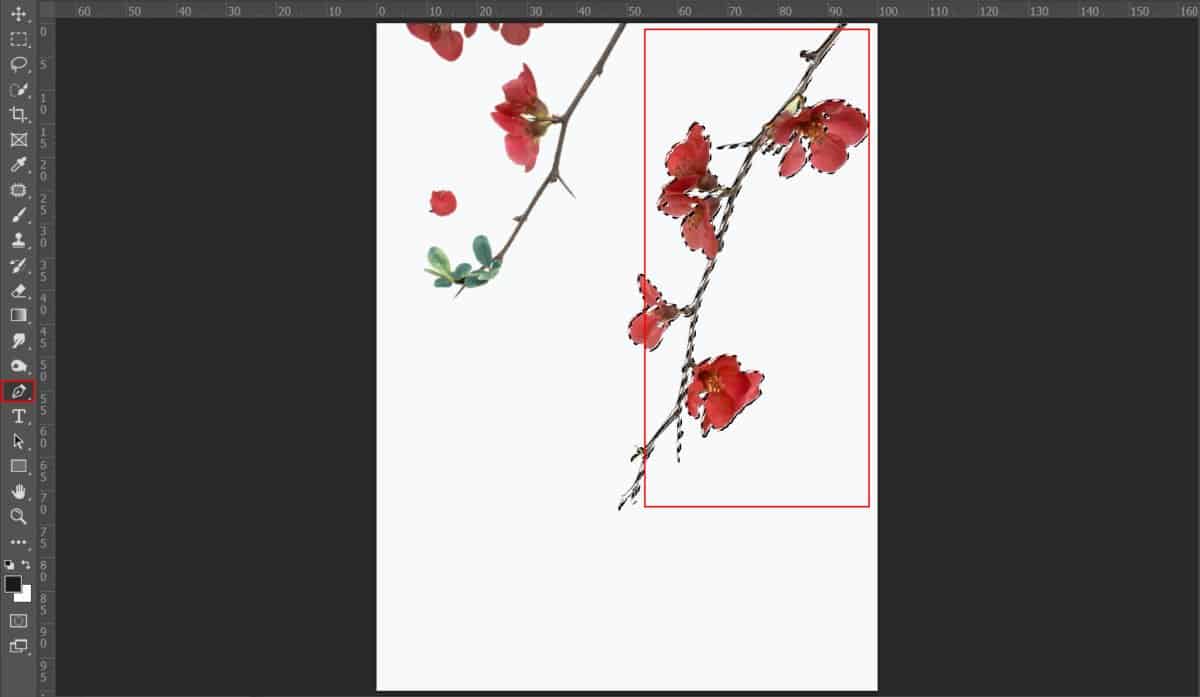
Step 35
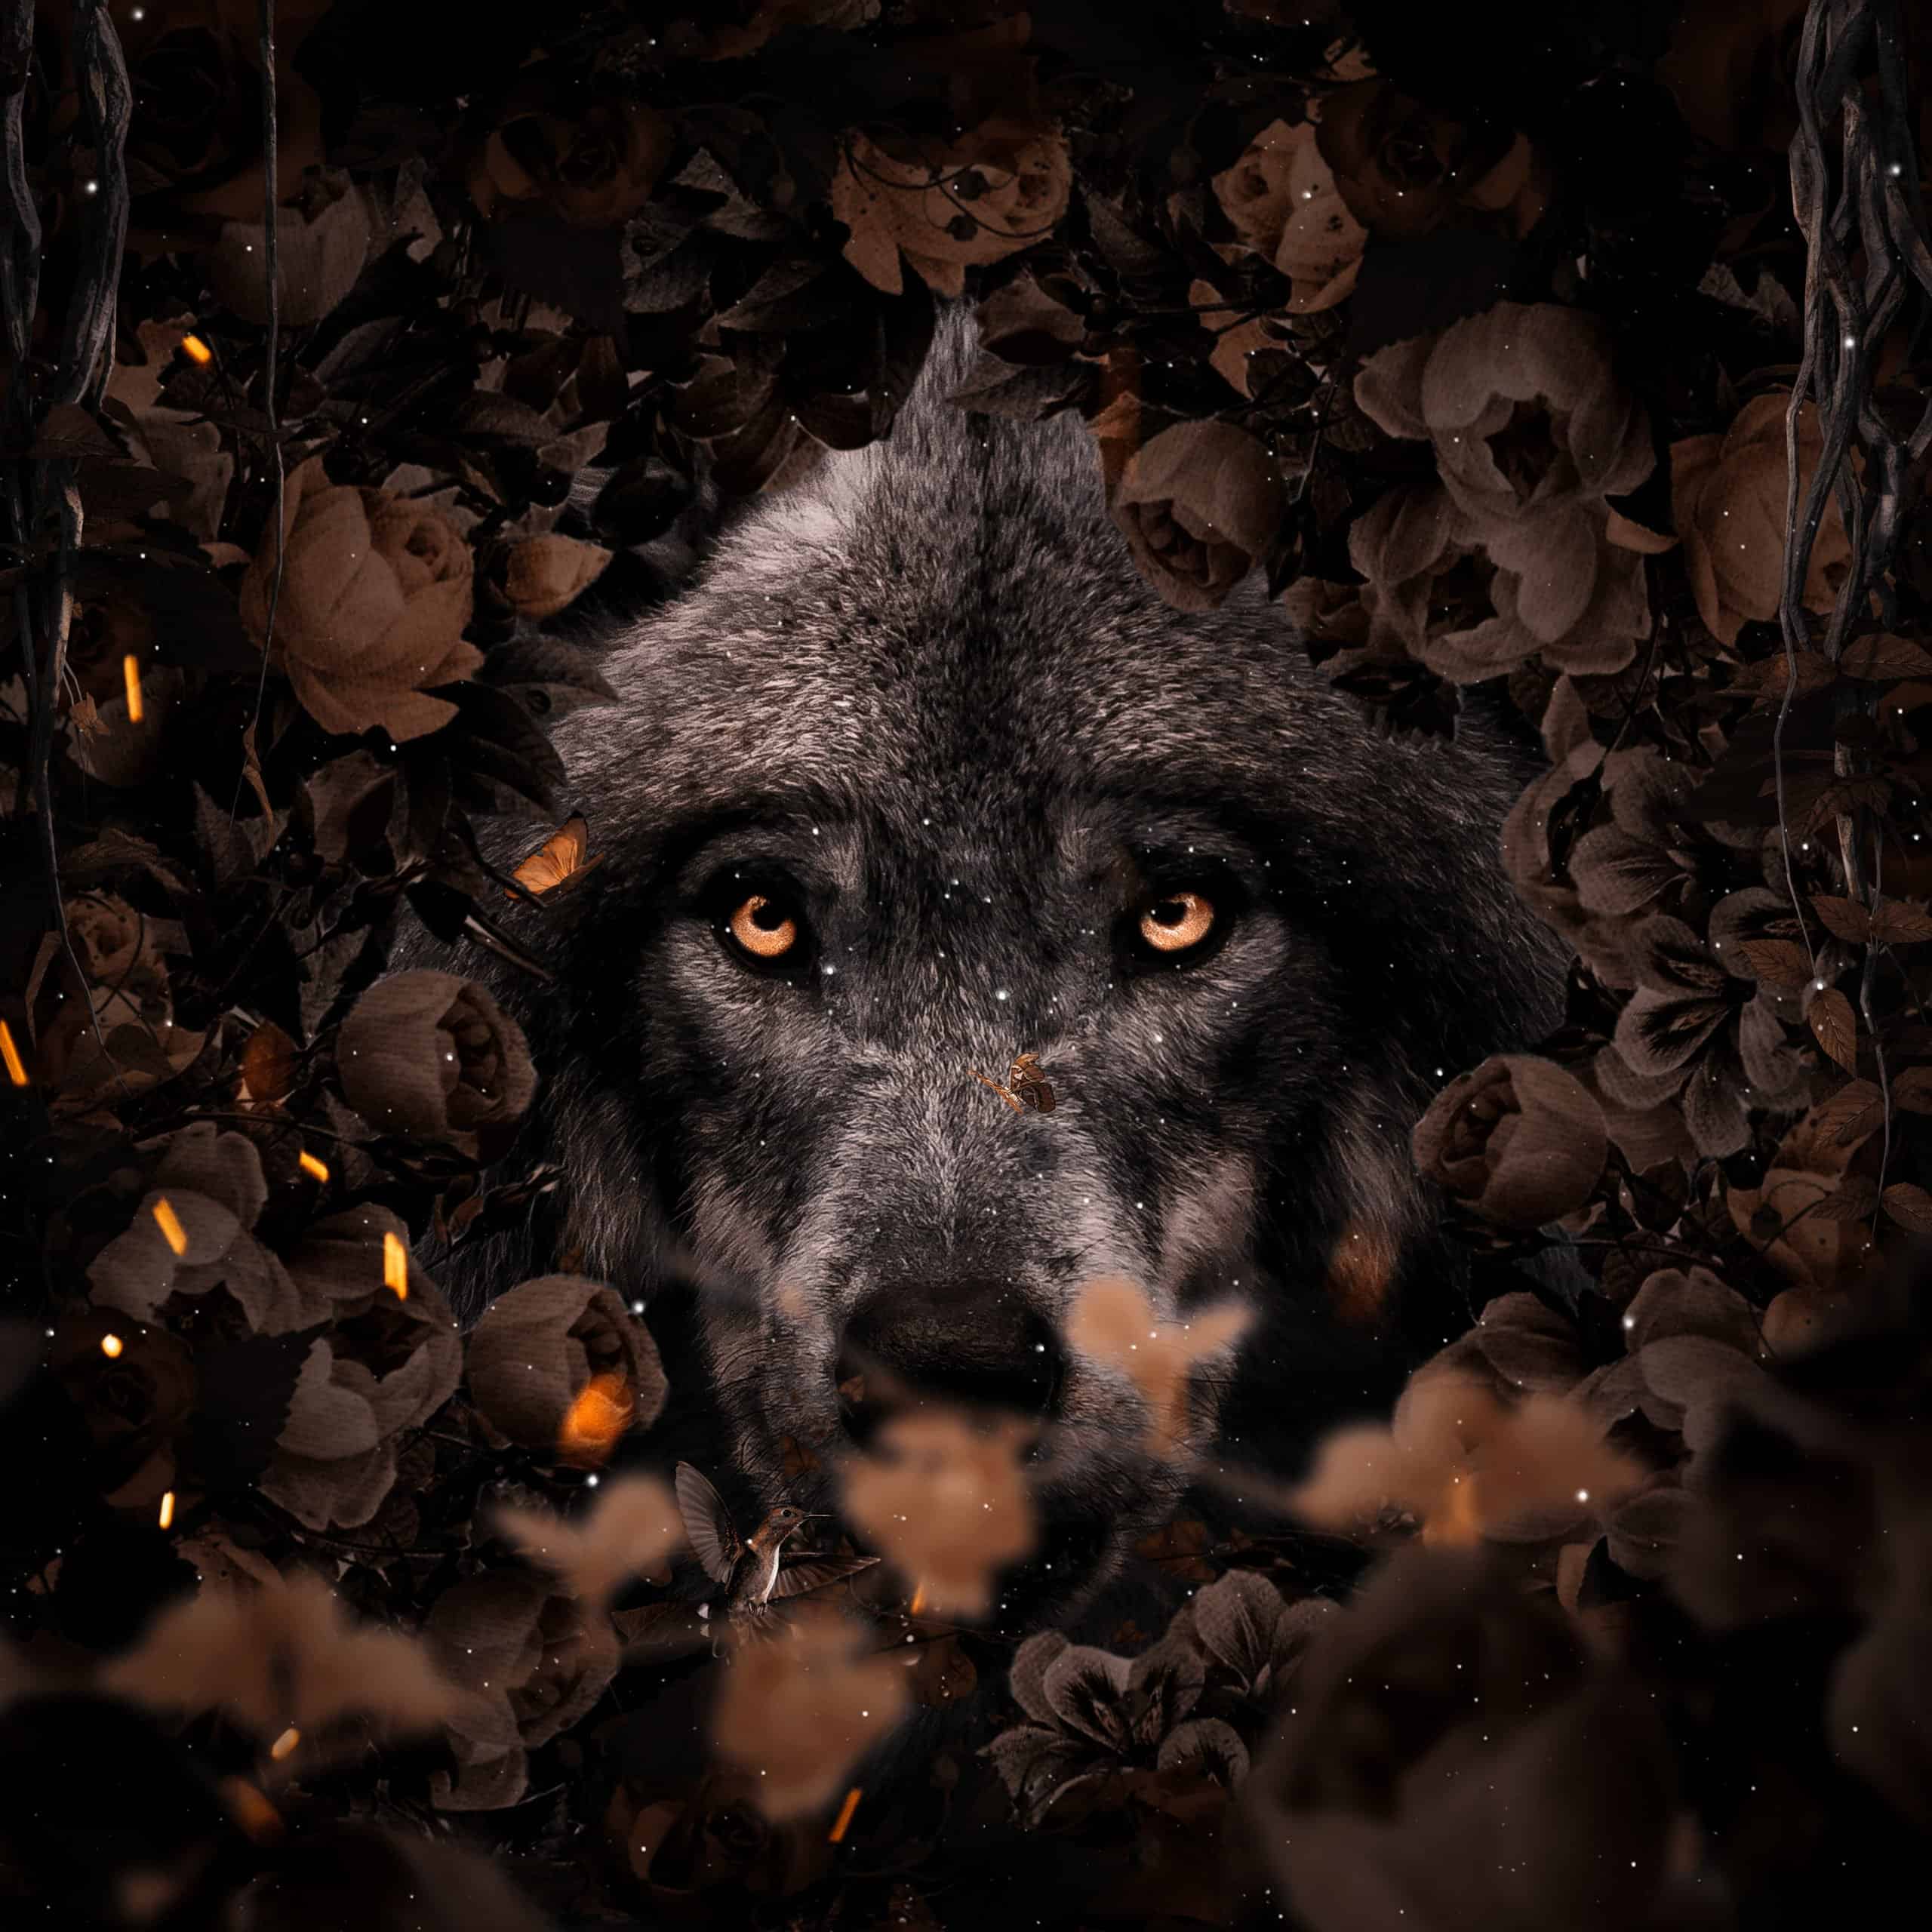
Now, go to File > Open and select Roses. Then use a Pen Tool(P) its and start selecting. When we finish the selection press right click on mouse and “Make Selection” then create layer mask..The simplest path you can draw with the standard Pen tool is a straight line, made by clicking the Pen tool to create two anchor points. By continuing to click, you create a path made of straight line segments connected by corner points.
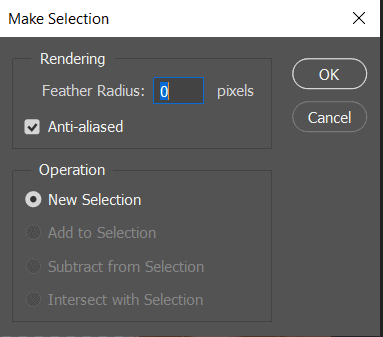
Feather Radius set to 0px and check Anti-alliased. After the selection area has been created, simply copy (Ctrl / Cmd + C) and Paste (Ctrl / Cmd + V) it to our work canvas. Then position the image with the transform tool (Ctrl / Cmd + T). Hold Alt + Shift and resterize like image below. In Photoshop CC only hold Alt to resterize al sides together.
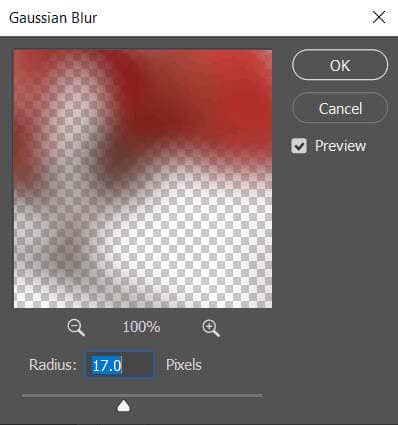
Add some blur, go to Filter > Blur > Gaussian Blur and set value to 17px.
Step 36
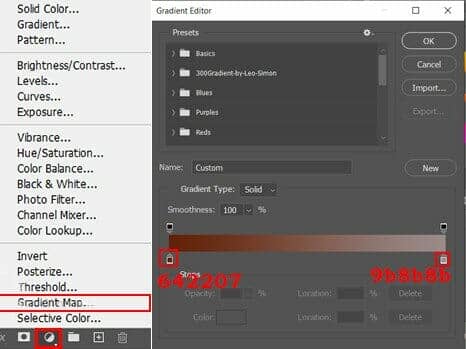
Add Adjustment Layer "Gradient Map"
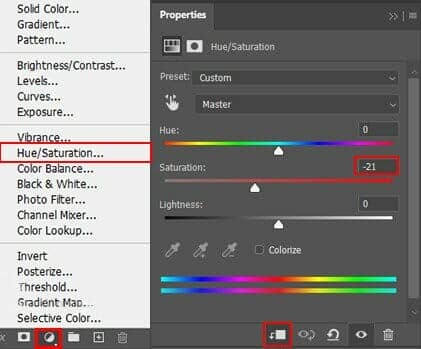
Step 37
Add Adjustment Layer "Hue/Saturation"
Now Hold Ctrl/Cmd and select Rose layer and Adjustment Layers then duplicate it (Ctrl/Cmd + J)
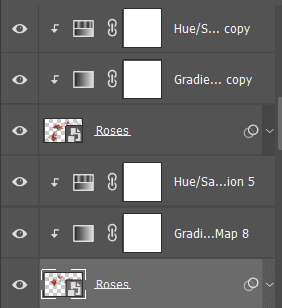
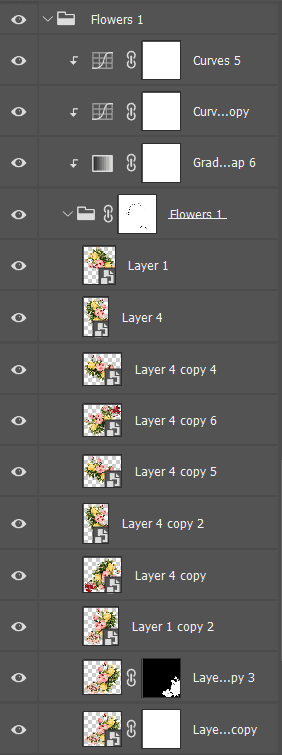
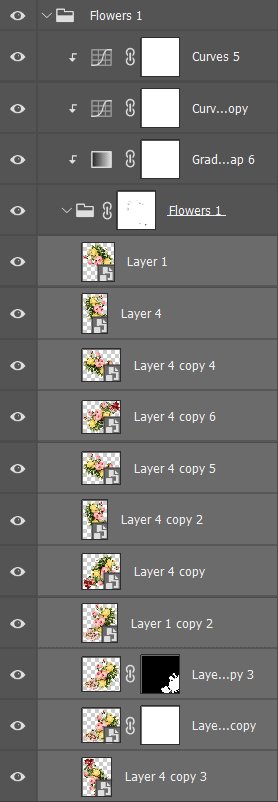
Step 38
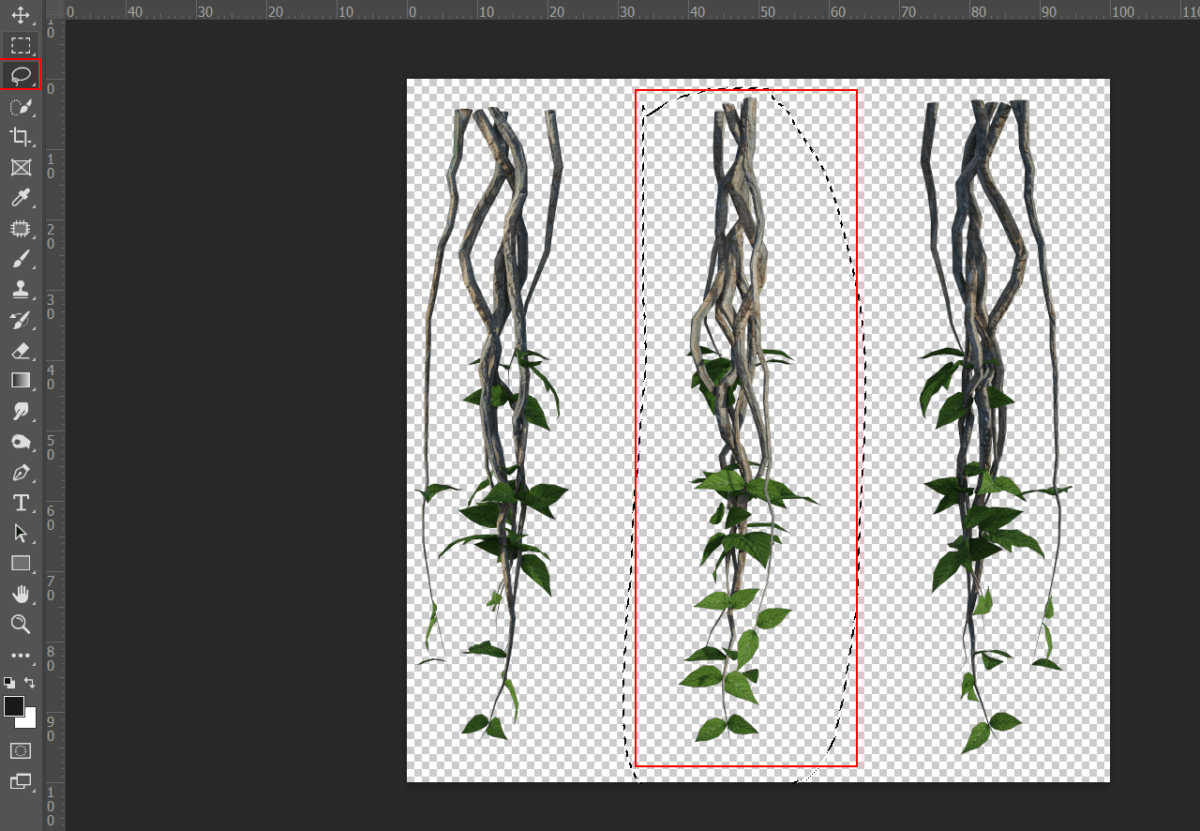
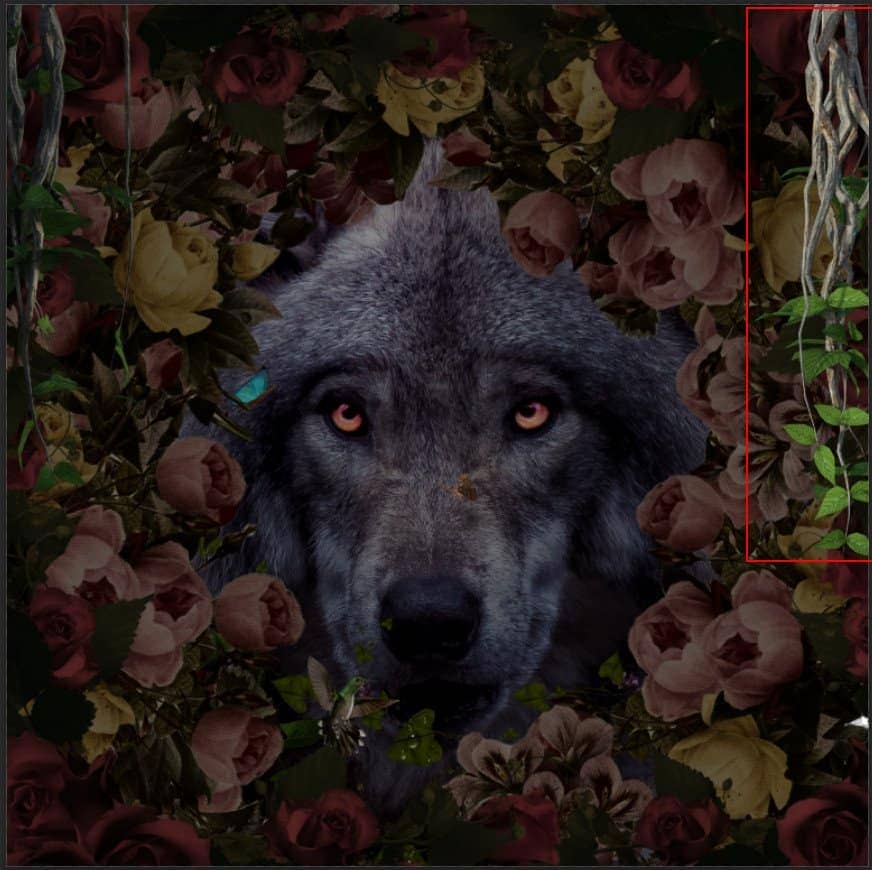
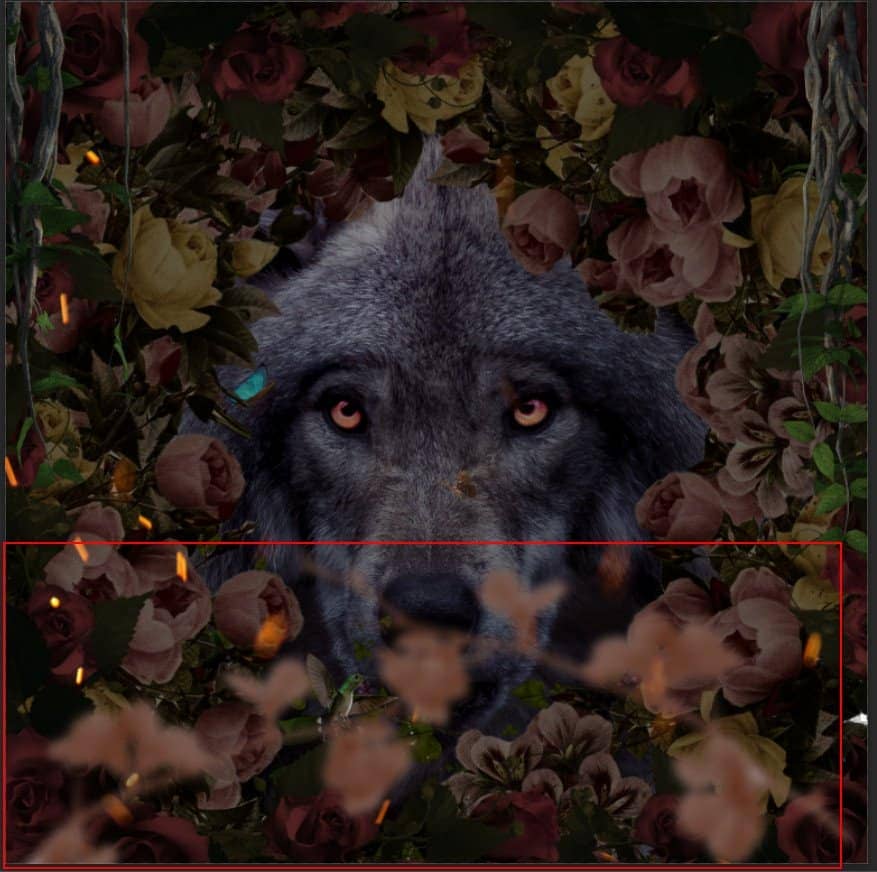
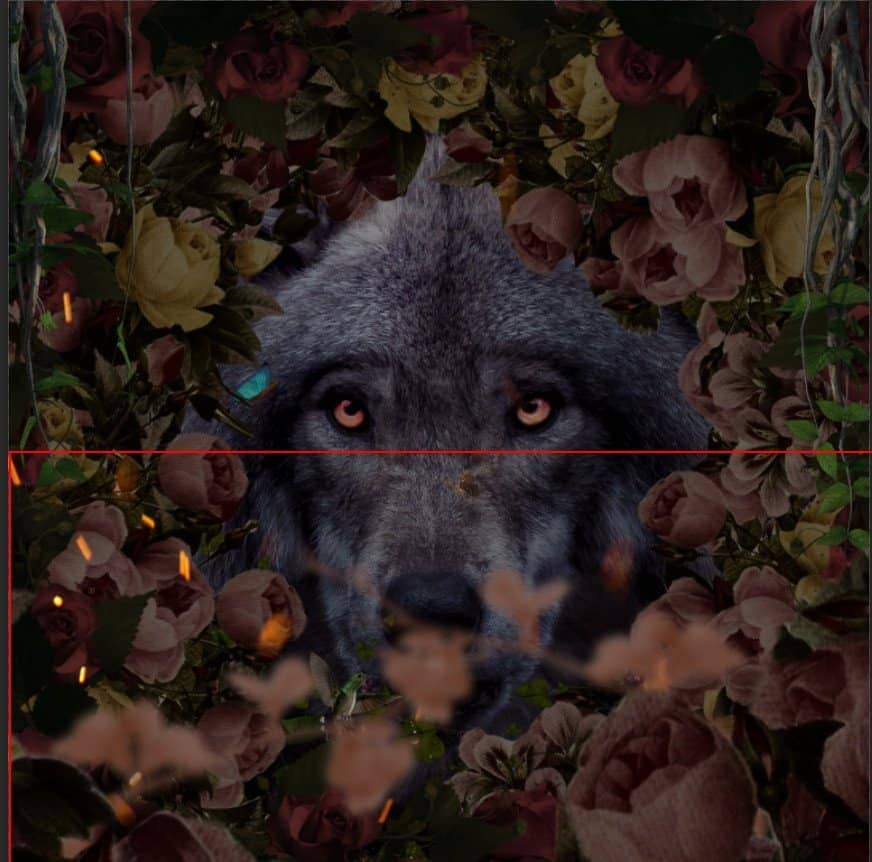
Next, select Flowers1 folder and duplicate it (Ctrl/Cmd + J). Now move it to top then position the image with the transform tool (Ctrl / Cmd + T). Hold Alt + Shift and resterize like image below. In Photoshop CC only hold Alt to resterize al sides together.
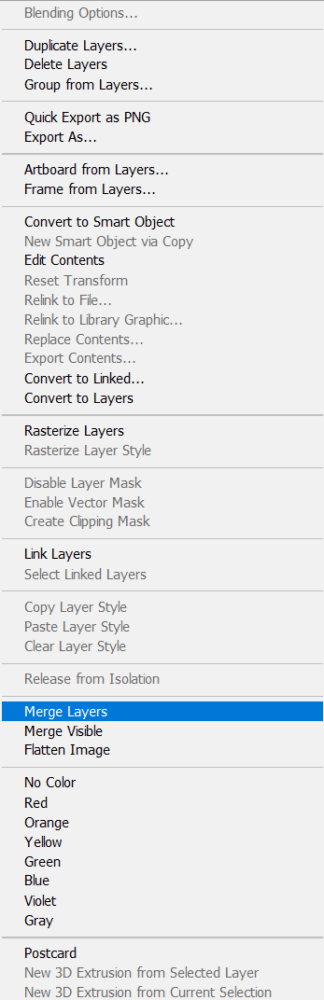
Open folder and select all flower layers then merge layers (Right click > Merge layers)
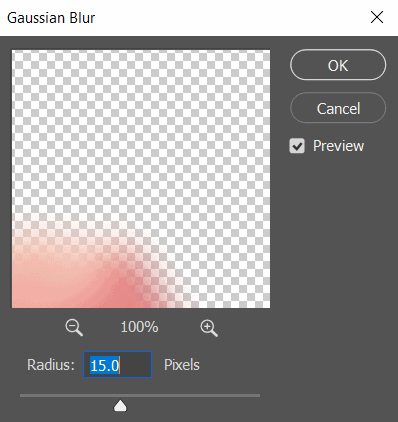
Next, add some blur Go to Filter > Blur > Gaussian Blur and set value to 15px.
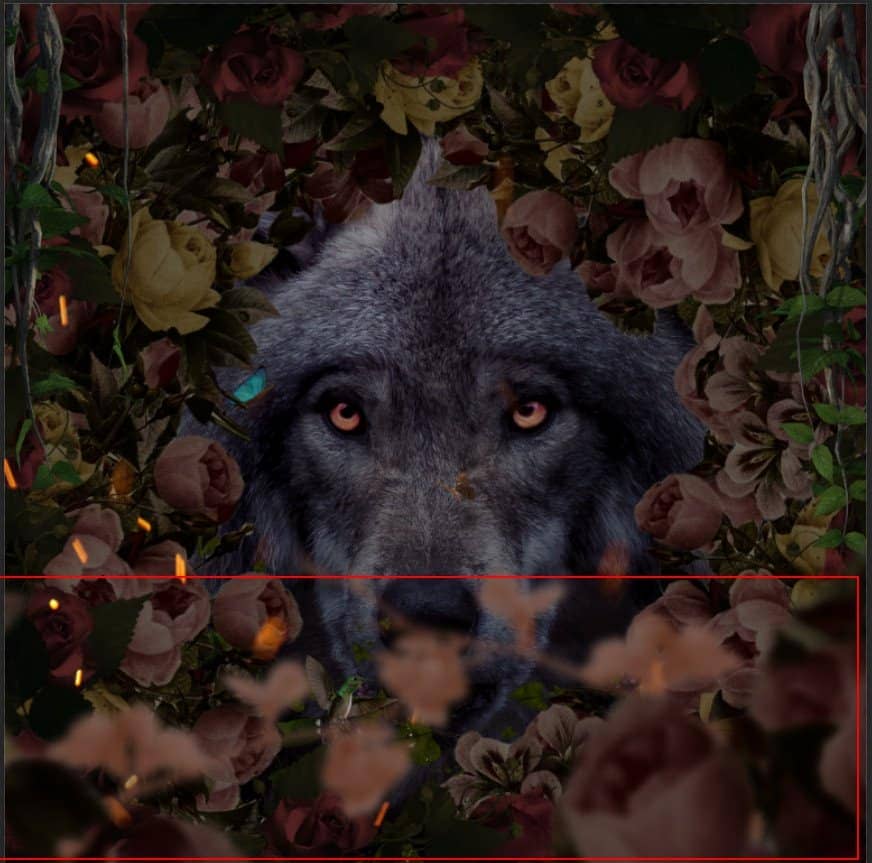
Step 39
Add Adjustment Layer "Gradient Map" Blend mode set to Hue