


Make skin look perfect in one-click with these AI-powered Photoshop actions.
Step 38
Drag the light image into our working document and move the highlight of this image onto the right eye area. Change the layer mode to Screen100%and use a layer mask to remove the part below the right cheek.


Step 39
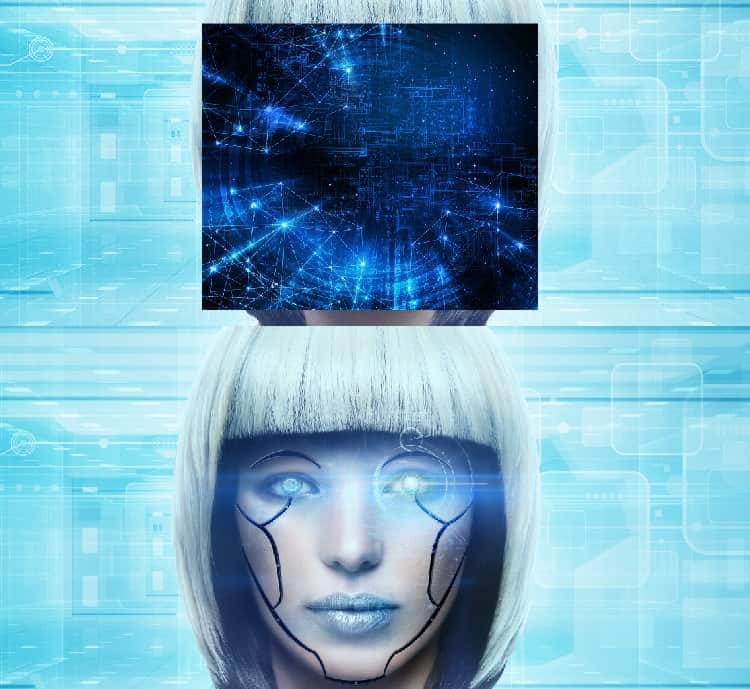
Open the sci-fi background and place it onto the model's face. Change the layer mode to Soft Light 100%and use a layer mask to remove the hard edges, leaving the details visible mostly on the cheeks,nose and forehead.
Step 40
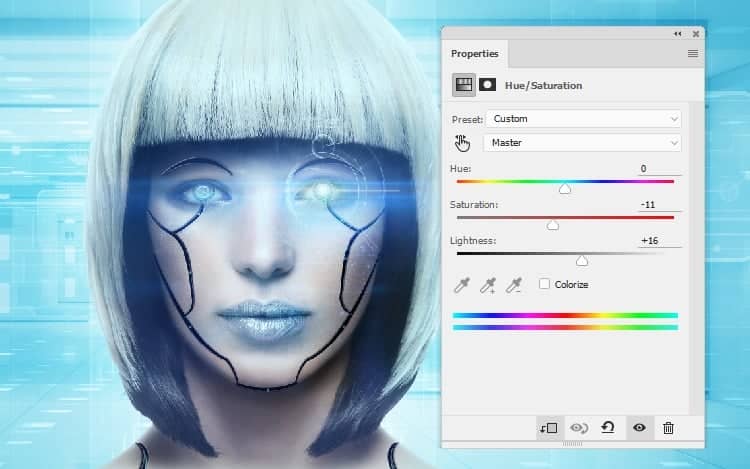
Make a Hue/Saturationadjustment layer to change the light and color of the effect a bit.
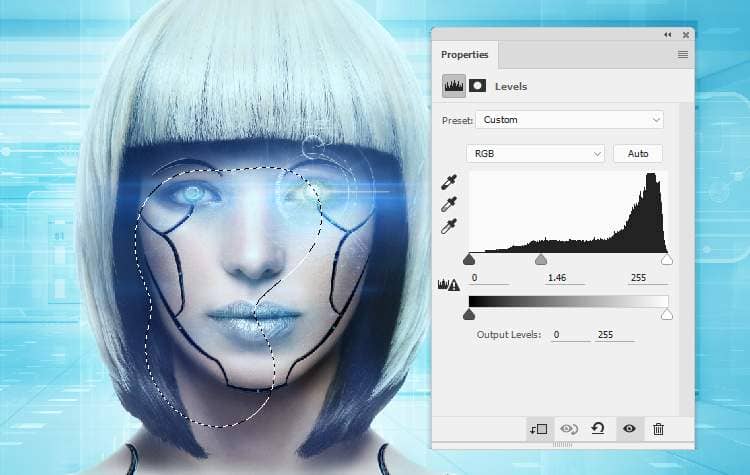
Add a Levelsadjustment layer to brighten the effect on the right cheek Paint on the rest to keep their lightness.
Step 41
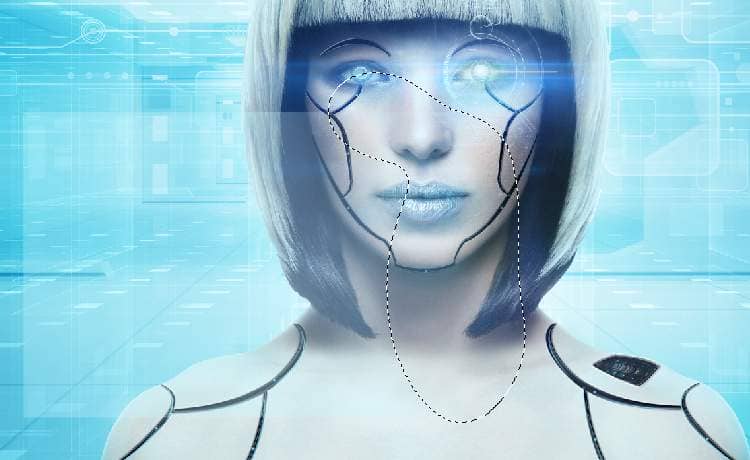
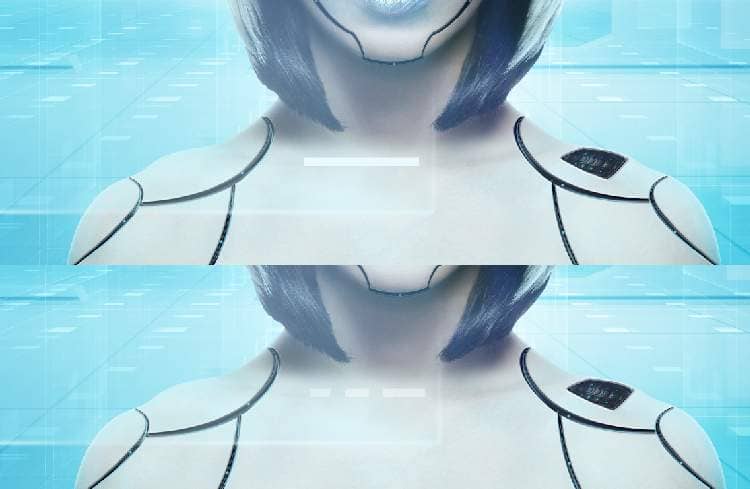
Make a new layer and use a soft brush with the color #72cce5to paint on chin and neck of the model to give these parts some dreamy light. Change the mode to Screen 100%and use a layer mask to remove the unwanted detail and the effect appears more natural.

Step 42
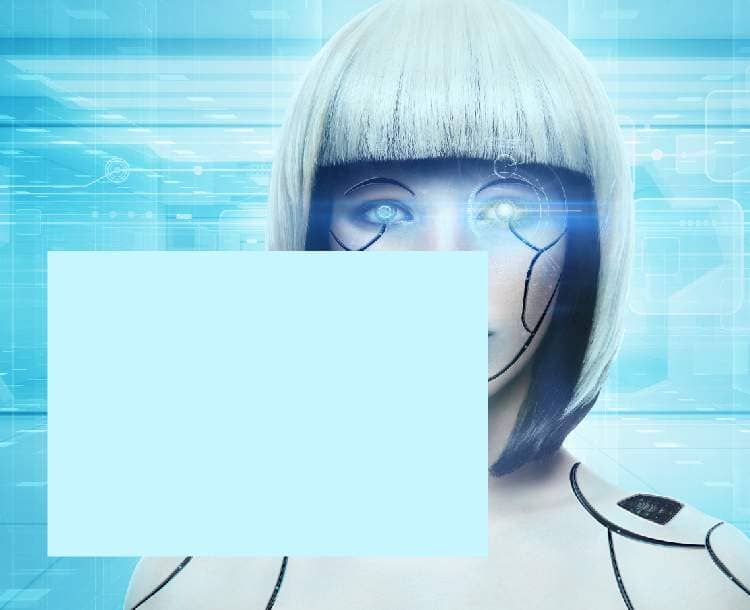
Create a new layer and use the Rectangular Marquee Tool (M)to draw a selection on the lower of the left. Fill this selection with the color #c8f7ff and lower the opacity of this layer to 30%. Use a layer mask to erase the part on the face and body of the model.
Step 43
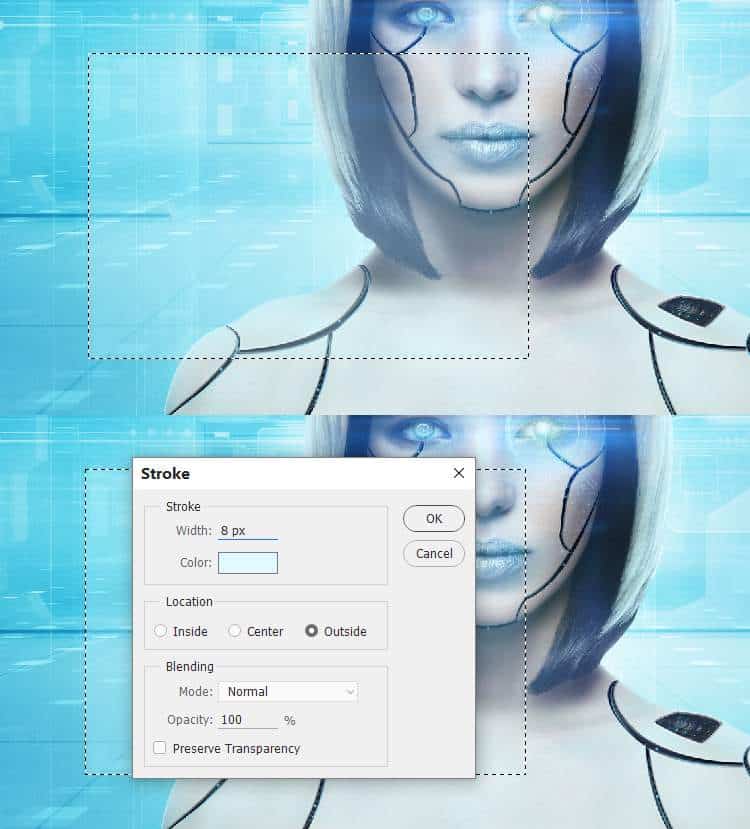
Hold the Ctrlkey and click the thumbnail of this rectangle layer to load its selection. Go to Edit > Strokeand pick the color #e2fbff.

Convert this layer to Smart Object and go to Filter > Blur > GaussianBlurand set the radius to 4 px.
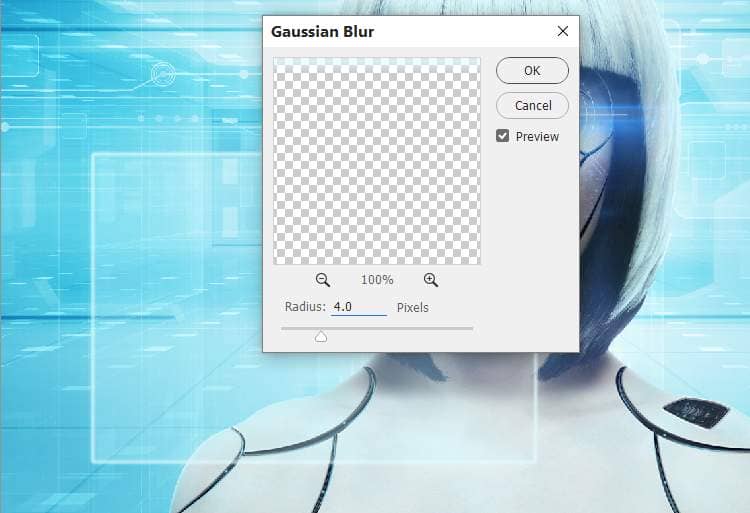
Add a mask to this layer and use a soft black brush to reduce its opacity.

Step 44
On a new layer, use the Rectangular Marquee Toolto draw a small selection on the lower right of the big rectangle and fill with the color #ebfafe. Change this layer mode to Soft Light 100%and use a layer mask with a hard black brush to separate it into three parts.
Duplicate this layer twice and move them to the lower and upper left of the rectangle. Use a hard black brush on each of these layers to separate these lines into 3 or 4 parts as you like.

Step 45
Duplicate this layer once and resize it to be smaller. Right click this layer mask, choose Delete Layer Mask. Move it outside the bottom corner of the left of the big rectangle.
4 comments on “How to Create a Cyborg Photo Manipulation with Adobe Photoshop”
I can't do step 22 with the pen stroke, I waste too much time on how to do it, I give up.
I love this tutorial but I wish we didn't have to pay for the images... :(
Great editing photos I ever saw. Nice retouching for this picture.
Tener que comprar las fotos para el tutorial, no me parece correcto.